
I have the cutest guest post today from Amy Chappell of Ameroonie Designs. She's sharing a free pattern for these wool snowmen hoop art projects! Perfect for bringing some winter cheer to your decor! And cute for Valentines too!
Amy is a pro at embroidery and has a great, free embroidery introductory series on YouTube (click here) where she introduces tools, how to transfer your pattern, what needles and threads to use, and multiple embroidery stitches.

Here's Amy:
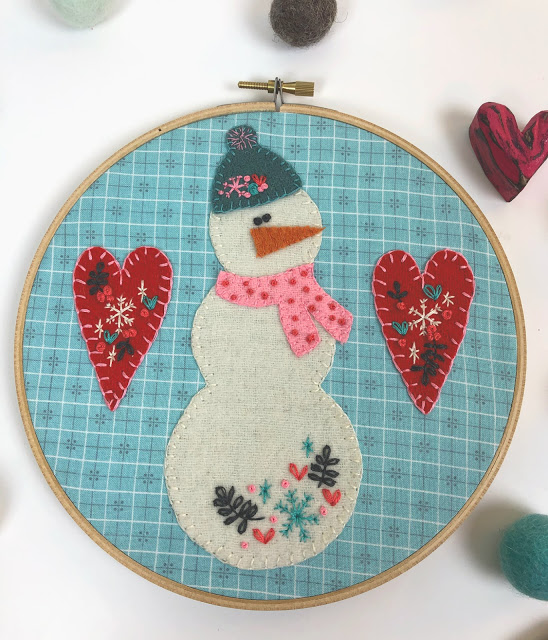
I love that snowmen are always happy and cheerful. They have big smiles and warm everyone they greet. Why not applique some loving Snowmen for your home so you'll always get that happy feeling without having to step foot outside in the cold and snow! These cute little snowmen stitch up pretty quickly and you can embellish them as much or as little as you like. The pattern even includes accessories like hats and scarves you can stitch onto your fuzzy wool friends.
- woven wool or wool blend felt- I am using woven wool available from Riley Blake Designs
- embroidery floss and hoops- for this project I am using a 4", 5" and 7" hoop.
- Fabric or other backing for your applique.- These are all Lori Holt prints- 2 from Autumn Love line and the gingham is from Cozy Christmas.
- Pattern- you can download the free patterns templates here
Preparing Applique:
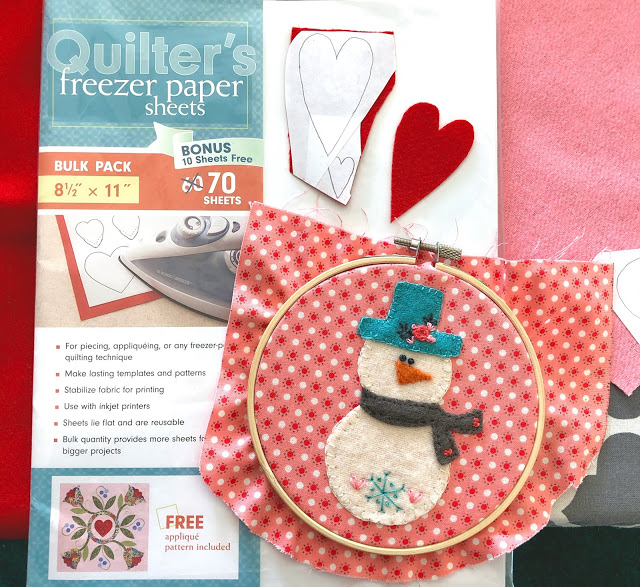
I recommend using freezer paper when cutting out wool shapes. You can trace the shapes onto the paper side of freezer paper torn off the roll, or you can print your pattern directly onto the freezer paper.
I like to use these precut sheets, but if you don't have them, you can cut a sheet of freezer paper to the size of printer paper and tape the freezer paper sheet to a regular sheet of paper using a small piece of tape at the top. Make sure you place the sheets in the carrier tray so the pattern is printed onto the paper side of the freezer paper.
Once your pattern in traced onto the freezer paper, use an iron at wool setting with no steam to adhere the waxy side of the freezer paper to the wool. It only takes a couple of seconds of heat to do this.
Cut out your shapes and then peel off the freezer paper. It's magic! You can even re-use the freezer paper shapes if you like, but I rarely do.
After cutting out all your shapes, you can start stitching! If you don't want to stitch all the shapes on, you can use fabric glue, or a fusible adhesive such as Heat n Bond.
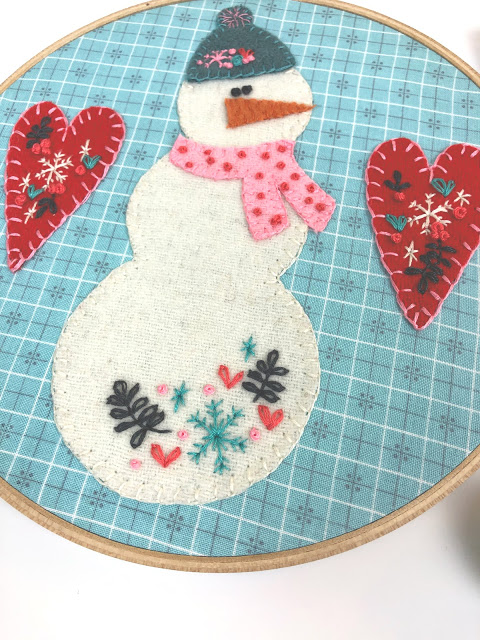
Personally, I love the freedom of adding embellishments to my heart's content using embroidery, so I just stitch the shapes down. I used a combination of back stitch (snowflakes and fern stem), lazy daisy stitches (hearts and leaves of fern), french knots (small berries/flowers), woven wheel (large flowers) and blanket stitches (attaching the shapes) to add details to the snowmen.
(You can see many of these stitches demonstrated in my free Embroidery Youtube video here.)
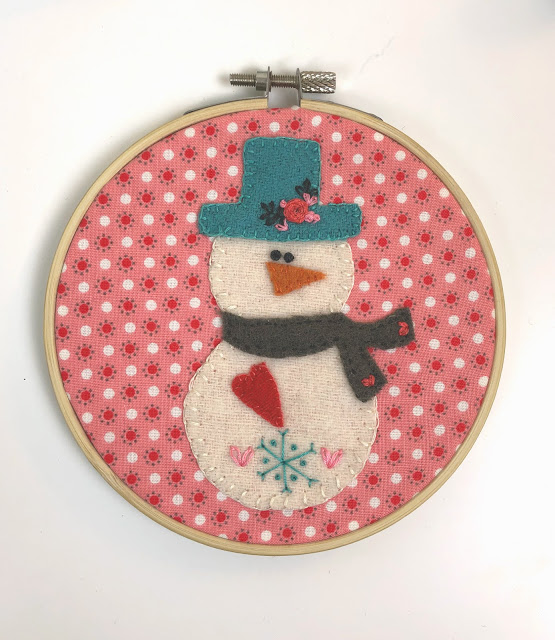
You can leave them in embroidery hoops, add them to a mini quilt or as ornaments. I can't wait to see how you add your own creativity to them!

Thanks Amy! She also has more great Hand Embroidery Tips here.
You may remember another one of Amy's guest posts, her Dolly Diaper Bag pattern and Accessories tutorial.
Or this Travel Laundry Bag tutorial here.
Be sure to check out Amy's Etsy shop for her fantastic patterns.
You can see more of Amy's darling projects, tutorials and patterns on her blog, Ameroonie Designs, more video tutorials on her YouTube Channel and on her Instagram account.
Carmen Montmarquet
Thanks Amy for such cute snowmen. Love this idea of using embroidery hoops, can't wait to try it! Really love all your demos. Thank You for all you do!! Wishing you and your family a very Merry Christmas!!!
Sandy
Thank you for the pattern ,
Barbara
Thanks Amy! Super cute. Did you add embellishments after snowmen and hearts were stitched down?
Amy
Yes- I'd recommend embellishments after felt pieces are stitched in place.