
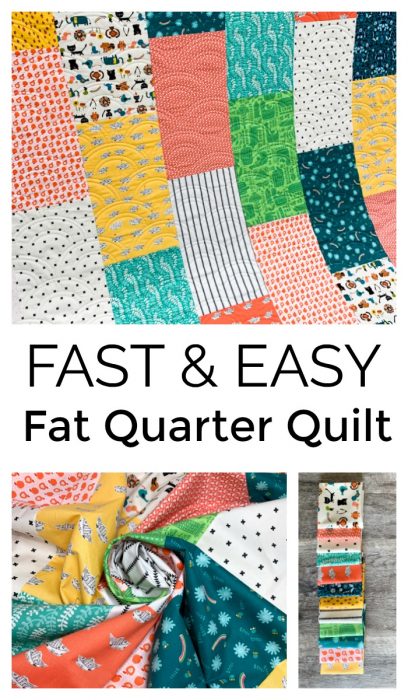
Are you looking for a fast and easy quilt pattern? It might be the fastest Fat Quarter quilt ever! This easy fat quarter quilt tutorial from Kaitlyn of Knot and Thread Design is perfect for busting through your fabric stash, making a fast finish, or even a simple project perfect for teaching a beginning quilter how to sew.
![]() Hi friends, my name is Kaitlyn of Knot and Thread Design, and I am a longarm quilter, a pattern writer, a wife, and a hopeless fabric-lover. I have been quilting since I was 11 years old.
Hi friends, my name is Kaitlyn of Knot and Thread Design, and I am a longarm quilter, a pattern writer, a wife, and a hopeless fabric-lover. I have been quilting since I was 11 years old.
I have been longarming for 15 years and running my own longarm business for the past 6 years. I do computerized edge-to-edge quilting and I LOVE it. I also write patterns when I can find a minute to take a break from longarm quilting.
I'm so happy to be a guest poster on Amy's blog today, and happy to share a quick and easy fat quarter quilt.
This quilt is a perfect project for a beginning quilter, someone in need of a quick gift, or a fellow fabric-lover who’s trying to make a little dent in that fat quarter stash sitting on her shelves!
I first spotted this quilt when it had been made by my sweet cousin Jody. She graciously let me share it. She made a goal to make quilts for all of her nieces and nephews, and thought cutting a fat quarter in half was a quick and easy way to do that!
So here it is:
Fat Quarter Pile Up. All you need for a great sized lap quilt is 12 fat quarters!
This quilt will finish around 57" x 70". A great lap size quilt that comes together so quickly!
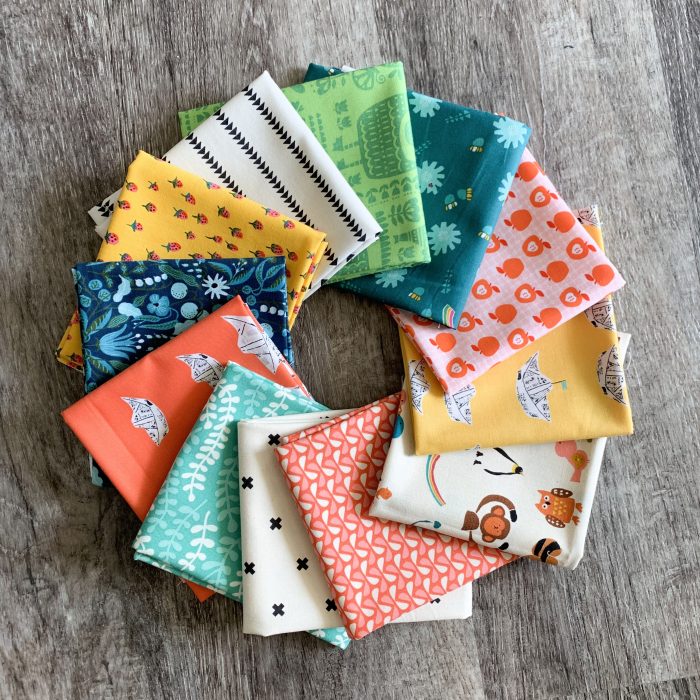
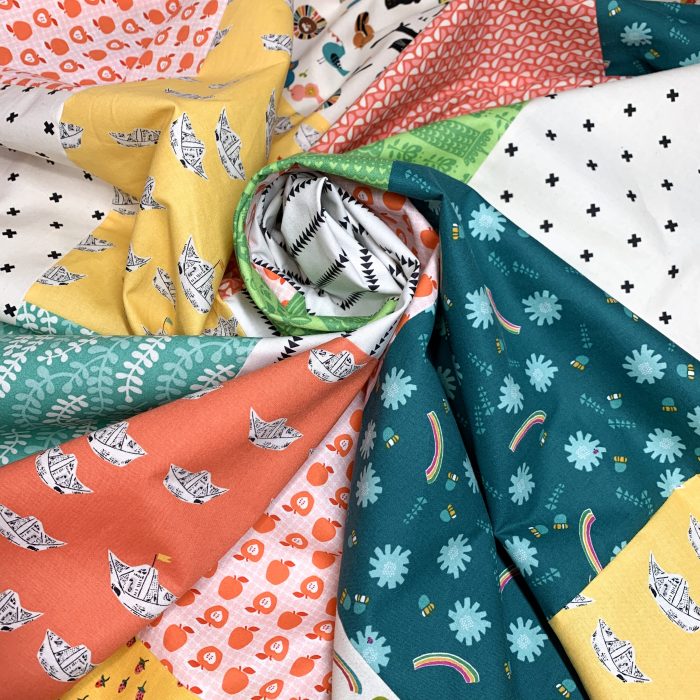
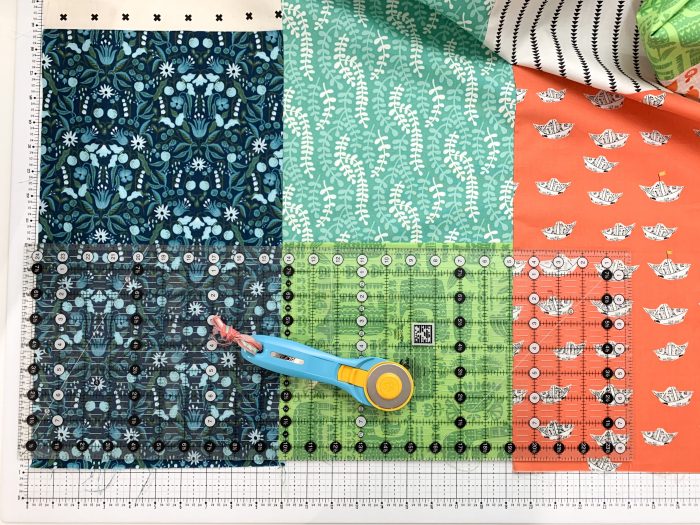
I was able to meet up with Holly from Maker Valley to pull this bright fun Fat Quarter Bundle.
This pattern is perfect for large scale prints. It's also great if you have a focal print you'd like to coordinate other fabrics with. It’s a very forgiving quilt so just have fun with it!
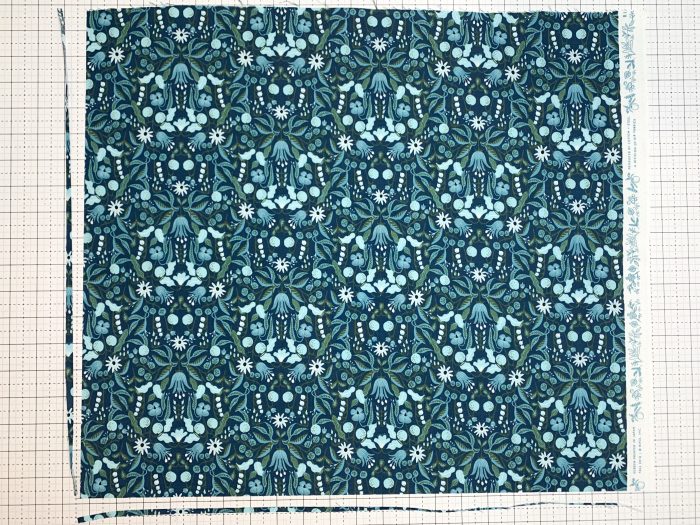
First things first: press your fat quarters and square up two sides (I like to start with the edge opposite the selvage so I can save my selvage edges for a special quilt I'm working on.)
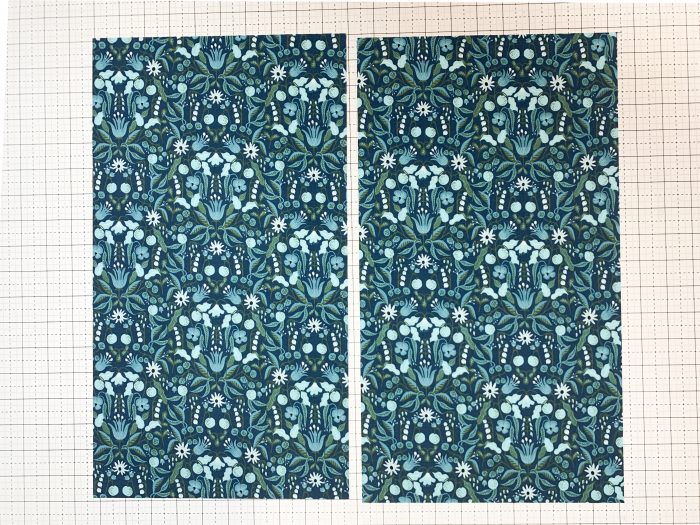
I love using my Creative Grids 20.5'' square ruler to cut out the two 10'' x 18'' rectangle pieces I need for the quilt. There is little to no waste in for this quilt.
You will end up with 24 rectangles 10" x 18".
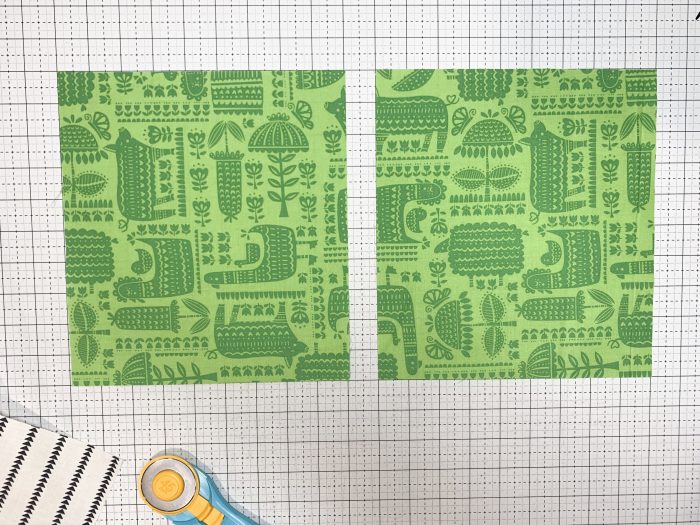
Pick three of the 10” x 18’’ rectangles and cut them in half to give you (6) 10’’ x 9’’ rectangles. These will be used to alternate the rectangles, to give you a brick-like effect.
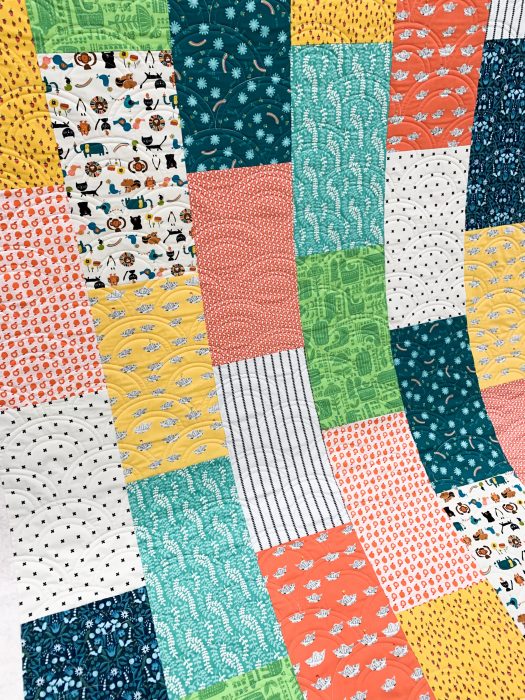
Lay out your quilt in columns. For the 57" x 70" lap size you will have 6 columns.
The first, third, and fifth columns will have 4 whole 10’’ x 18’’ rectangles.
The second, fourth, and sixth columns will start and end with the 10’’ x 9’’ half rectangles with three complete 10’’ x 18’’ rectangles in between.
Sew the columns together. Then attach the columns to each other.
You will have an extra ½’’ of fabric hanging over the edges of the first, third, and fifth columns. Trim off the excess.
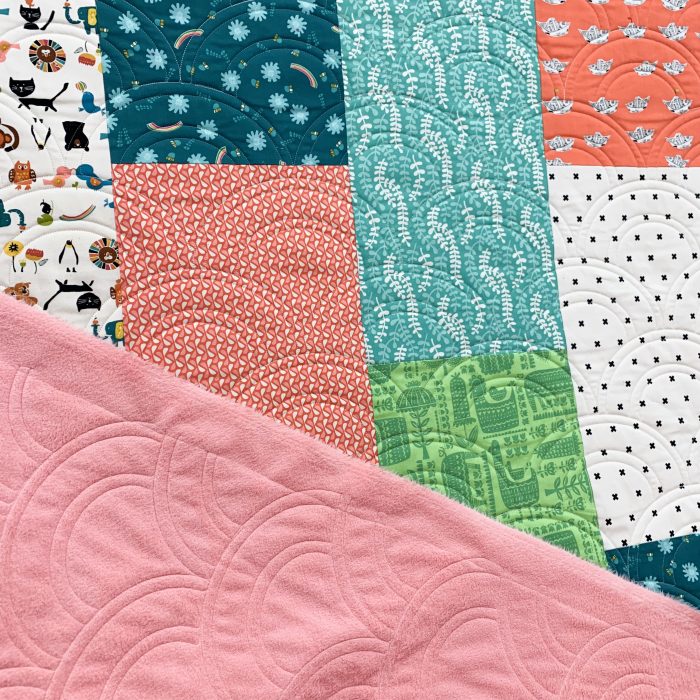
Quilt that baby up for a perfectly fun throw! For backing you will need 3 ¾ yards of regular fabric. If you're using 60" wide minky, you can get away with 2 ¼ yards if you're careful.
I backed these two versions in Moda Fireside, and a Shannon Minky. I love a good cozy quilt this time of year. This quilting design is called Rolling Hills.
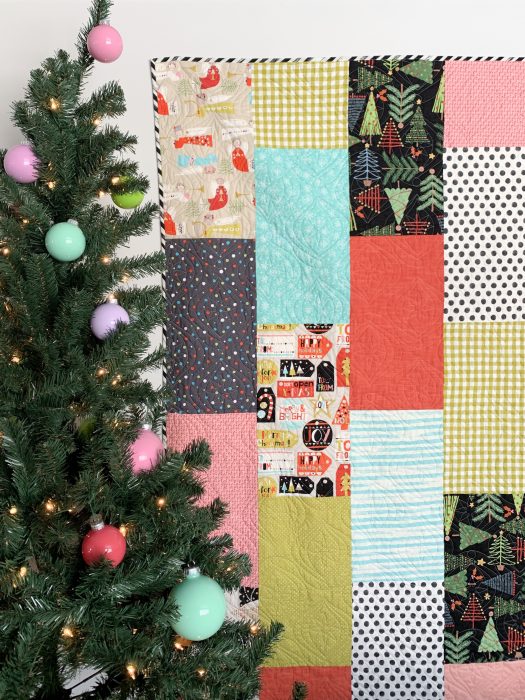
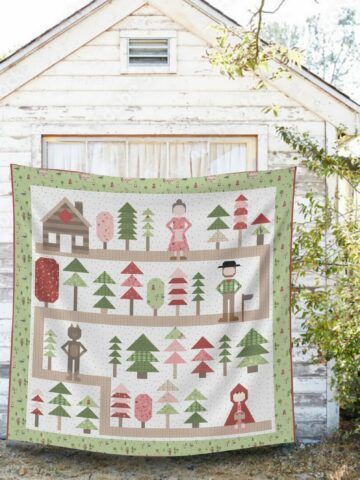
Here’s a fun Christmas version I pulled for while retreating at Stitch Supply Co.
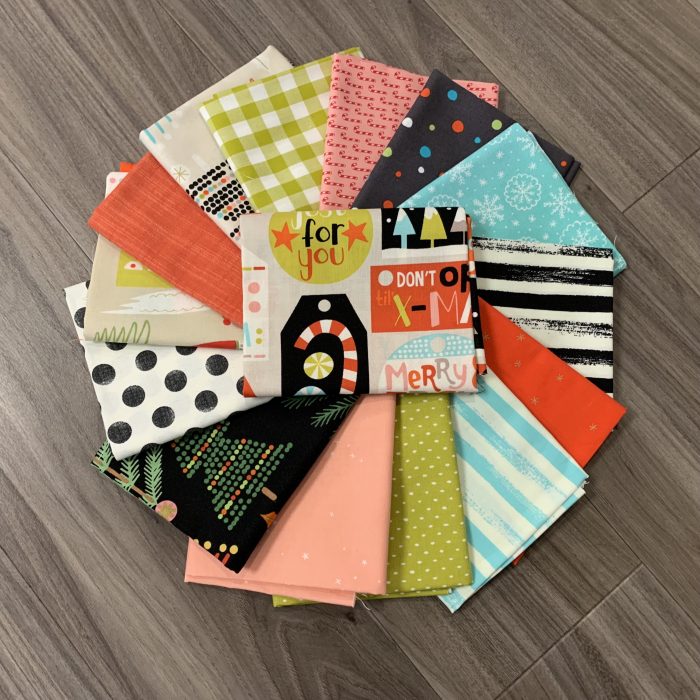
I used 15 fat quarters for this version to add just a little extra variety. Pick a few really fun, colorful Christmas prints as your jumping off point and then pick coordinating colors and prints to complement them.
While these fabrics are now out of print, Stitch Supply Co. still has a great variety of novelty Christmas prints.
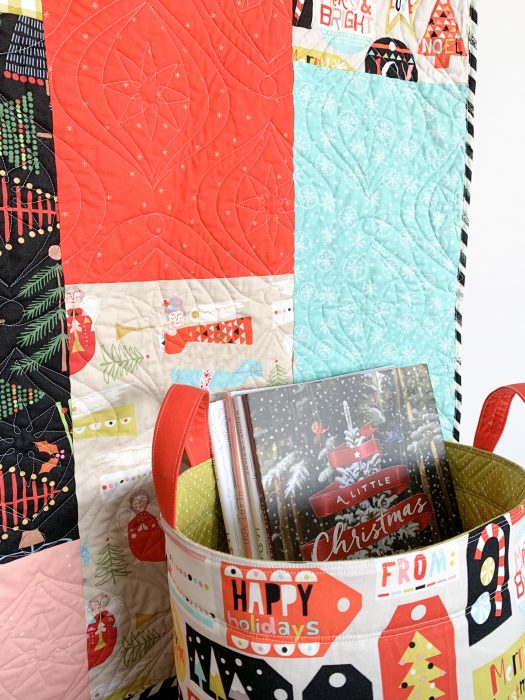
I also used one of these focal prints to make a coordinating Olivia’s Basket (pattern here) to store all my Christmas books.
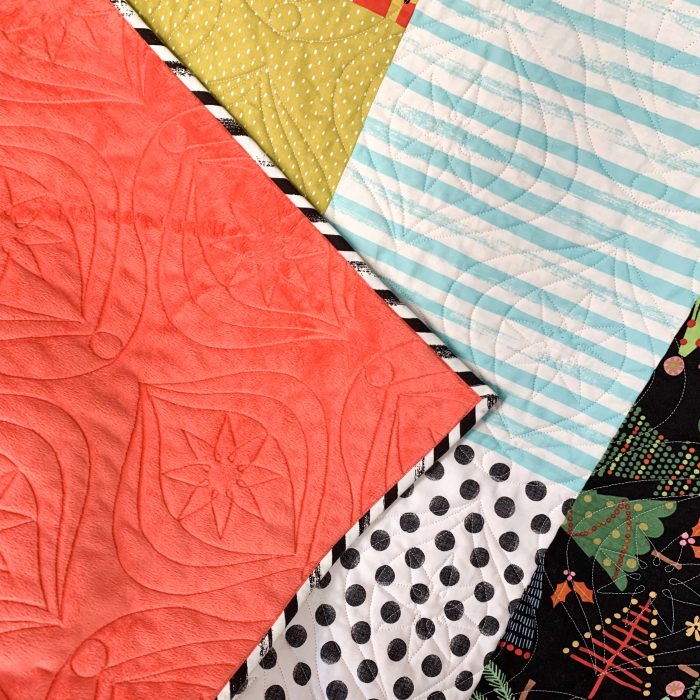
This quilt also has minky on the back, making it a super snuggly throw quilt. The quilting design is called Christmas Star.
 If you’d like to purchase a printable version of this tutorial, here is a link. It includes 2 additional sizes.
You can see my other patterns available here.
Thank you so much Kaitlyn! That is such a handy idea for busting through some fat quarters to make a quick lap quilt as a gift or for charity quilts.
You can learn more about Kaitlyn's long arm quilting services here (and see some of her past work here) and be sure to check out her handy tutorials here.
Have you made and easy fat quarter quilt before? Let me know in a comment below!

Charlotte Brown
A beautiful quilt and looks so easy. My kind of quilt.
Mary Hodge
I prewash my fabric, so not all of my fat quarters are big enough to cut out two 10 x 18 rectangles! 🙁
I guess I need to figure out new proportions for my rectangles, but I am math challenged.
Amy
With blocks this big and no intersecting seams, it won't matter if you just scale down all of the block slightly. Just cut the smaller blocks the same scaled-down width as the large blocks.
darlene
Looks great and I have been looking for a pattern to use up a lot of my fat quarters. Can't wait to try it
Susie
I am not seeing the larger blocks on this quilt. They all look the same size. Great looking quilt but I’d like to see the larger blocks.
Amy
There are 24 large blocks that are all the same size: 10" x 18". There are 6 small blocks measuring 10" x 9".
I hope that helps!
Dana Hill
The small blocks are along the top and bottom only. Scroll up to the very first picture, the one with the christmas tree. You can see two of the smaller block at the two. They allow the larger blocks to off set. Hope that helps!
Donna Ferguson
I made this quilt for my son for Christmas. Super easy and fast!! Love the pattern❤️
Amy
Awesome!!
casagray16
I looked at this pattern, and was thinking of making it king size. How many fat quarters would that take?
Amy
Reach out to the author of the pattern, Kaitlyn from Knot and Thread directly. She may have an answer: https://knotandthreaddesign.com/blog/
Mary
Can I use 18 blocks instead of 24. If so, how would the pattern change?
Amy
A different number of blocks will change the size. You can use any number of blocks you want! Just lay out your pieces in the order and layout that you like best. 🙂
Debbie
Do you know how many FQ I need to make a queen by just sewing them together?
Keri Craig
Thank you for this easy to follow pattern. I have now made 2 lap quilts with this pattern and they turned out great.
Amy
That is awesome!
Lee
Thanks for posting this. I used this pattern to make a quilt for my college bound daughter. Easy and fast.
Amy
That's awesome!