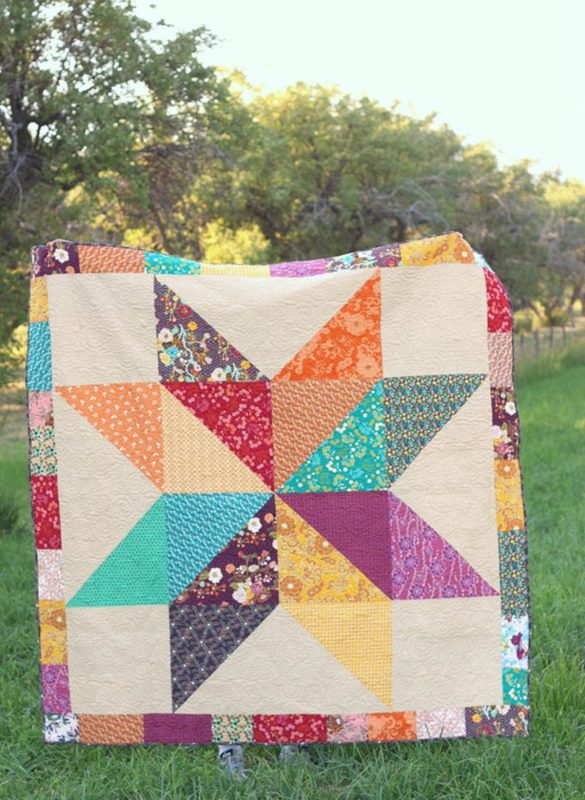
This baby quilt project is a simple 39″ x 39” quilt using a traditional Lone Star block motif. This is an ideal project for using pre-cut 10” x 10” squares.
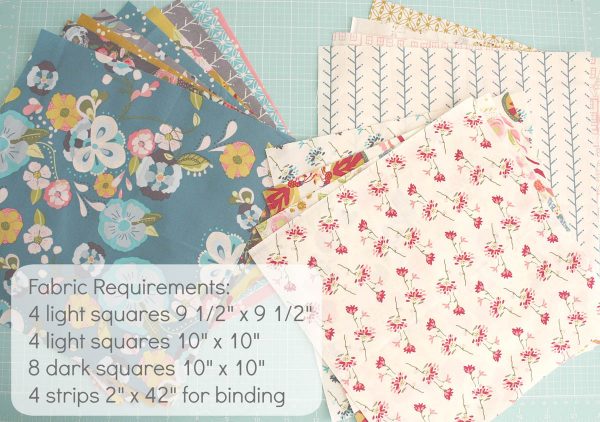
The fabric requirements for this baby quilt project are:
- 4 light squares 9½” x 9½”
- 4 light squares 10” x 10”
- 8 dark squares 10” x 10” (the quilt looks best if these are a variety of different prints)
- 4 strips 2” x 42” for binding
- 1 ¼ yard for backing
- ⅜ yard for binding
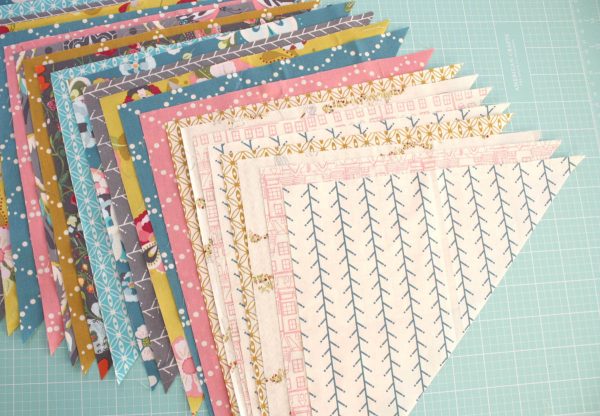
Start this project by taking the twelve 10” x 10” squares (4 light and 8 dark) and cutting them in half once on the diagonal.

You will now have 24 triangles.
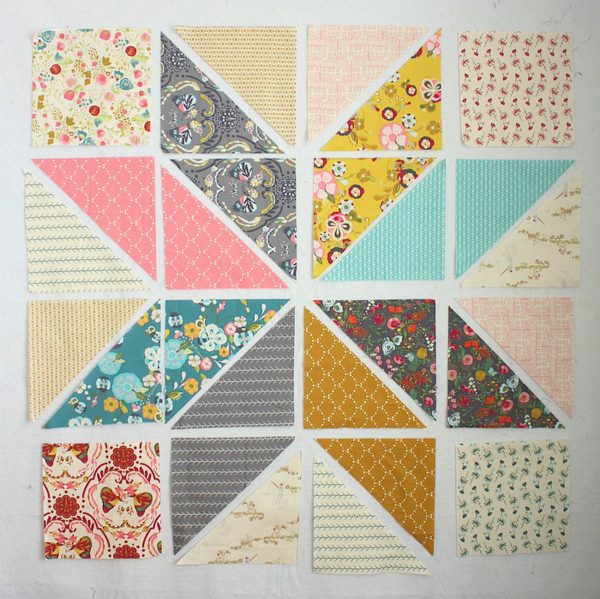
Layout your pieces as shown. This is a great way to play with color and get your eight star points well balanced. Use your four 9½” x 9½” light squares in the four corner blocks.
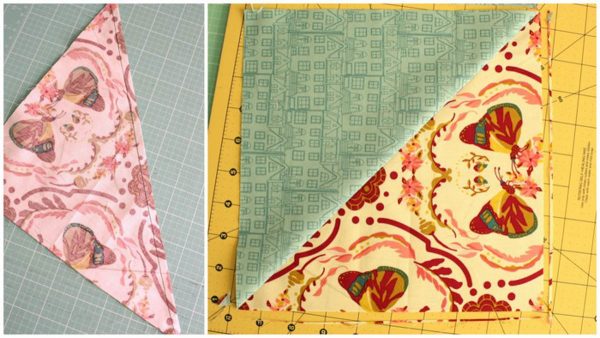
Sew the triangle pieces into twelve half-square triangle blocks. Match up the long diagonal edges and sew them together carefully using a ¼” seam allowance. Let the machine feed them through without pulling so that you don’t stretch the bias (diagonal) edges.
Press seams to one side. Then square-up your blocks so that they are all an accurate 9½” x 9½” square.
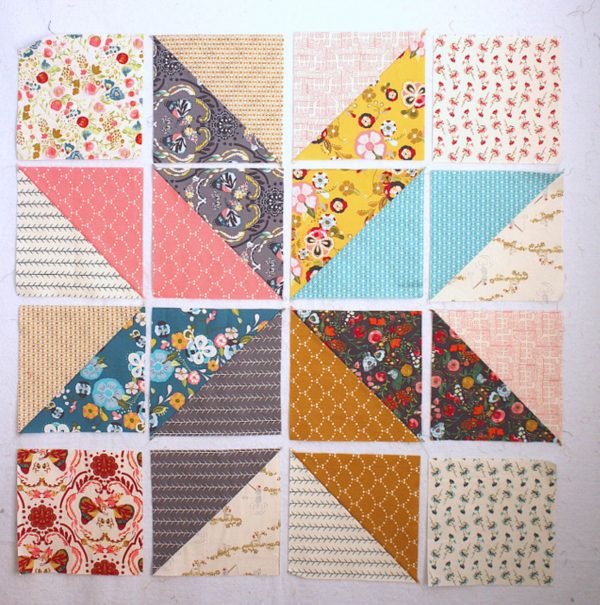
Quilt laid out with squared-up blocks will look like this.
Then sew the blocks into four rows of four blocks. Press seams to the left on rows 1 and 3 and press seams to the right on rows 2 and 4.
Sew rows together to get pieced quilt top. Opposing seam allowances should match up and nest together, helping points to match up as well. Press row seams all the same direction.
Add borders:
Trim two of the 2” x 42” strips to 2” x 36 ½”and pin the strips to opposite sides of the quilt and sew in place using a ¼” seam allowance. Press seams toward the border strips.
Trim the remaining two strips to 2” x 39 ½” and sew them to remaining sides. Press seams toward the border strips.
Finishing the quilt:
Make sure quilt top is well pressed and flat.
Fabric requirements:
- Batting 41″ x 41″
- Backing 1 ¼ yard
- Binding ⅜ yard—cut into 4 strips 2 ½″ x 42″
There are lots of batting options—you can read more details in this batting post, but to sum up, since I’m going to machine quilt this myself, I like to use a low-loft cotton or cotton/poly blend batting. The one I’m using is Quilter’s Dream 100% cotton (because it’s what I had on hand). This means it will shrink more when it’s washed, giving the quilt vintage, used feed and a softer drape.
Center the pieced quilt top on batting and backing fabric with the right sides facing away from the batting. You should be able to see all three layers from the front. Now we are going to baste the quilt sandwich together so that we can “quilt” it—or stitch all three layers together with the batting in the middle.
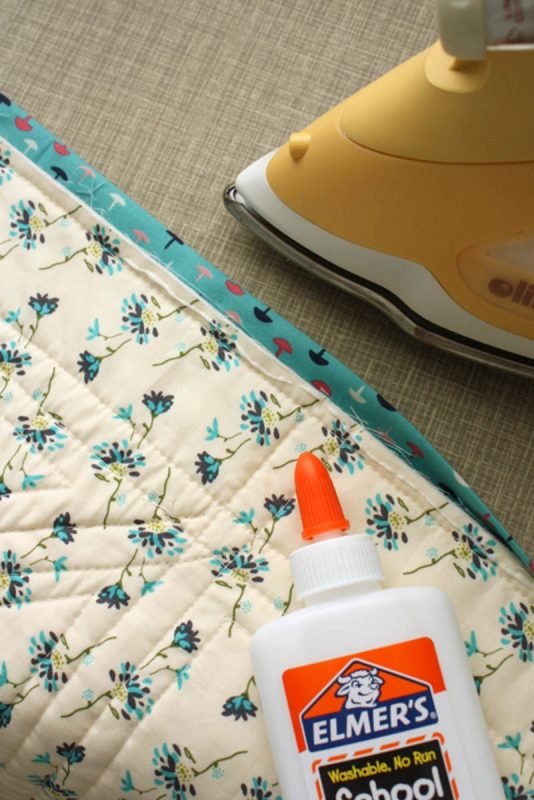
After I’ve put the three layers together, I like to take all three layers to the ironing board and iron them all together. This is trickier with a larger project, but I like it for smaller projects because it ensures wrinkles are out and everything is nice and smooth in every layer before you baste.

Also, if you are using a cotton/poly blend batting and ironing on a cotton setting the batting will melt ever so slightly, just enough to ‘stick’ to the quilt backing and front, preventing it from shifting when you go to quilt. Just be sure you don’t run the iron over the parts where the batting is exposed around the edges as you don’t want it sticking to your iron.
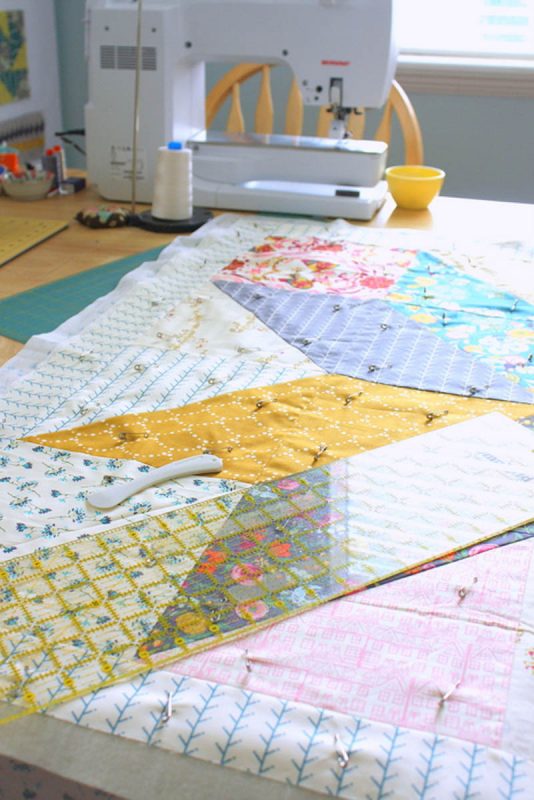
Before we can quilt the layers together, we need to baste the quilt. Basting a quilt is essential for many reasons. It keeps the layers from shifting and moving when you are quilting as well as preventing puckers in the back layer that you can’t see when you’re moving the layers through the machine.
There are lots of options for basting a quilt, (I talk about options for basting a quilt here). For this quilt because I’ve ironed my layers together, I’m going pin the layers together. If you will be quilting a lot of projects in your future, I definitely recommend investing in curved basting pins—they’re safety pins with a bent side that makes them easier for hooking through flat layers.
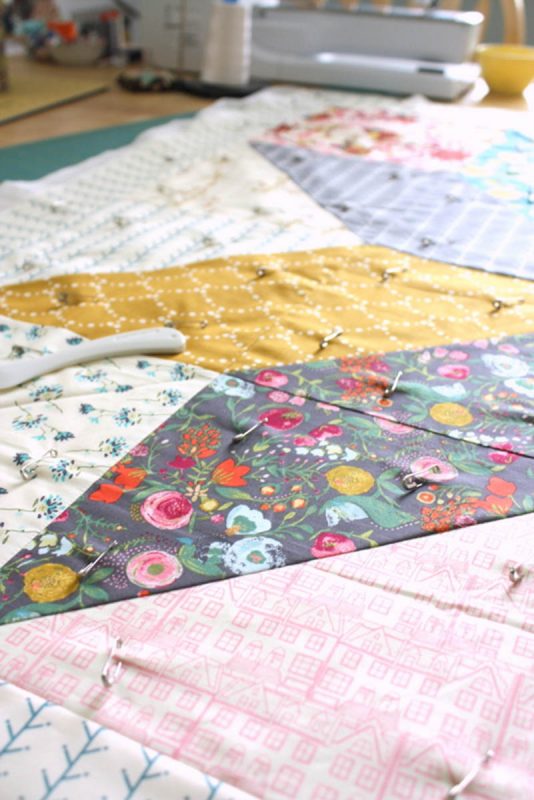
Lay the three layers on a flat surface (i.e. table if it’s small, floor if it’s big) and pin at least every four inches or so. Honestly, the more the better. Here’s a tip I learned to save your back when you’re pin basting—just hook the basting pins in place while the quilt is laying down and then pick up the layers and sit down with the quilt in your lap and close all those pins while sitting. A lot easier on your fingers and your back/neck.
Marking the quilt:
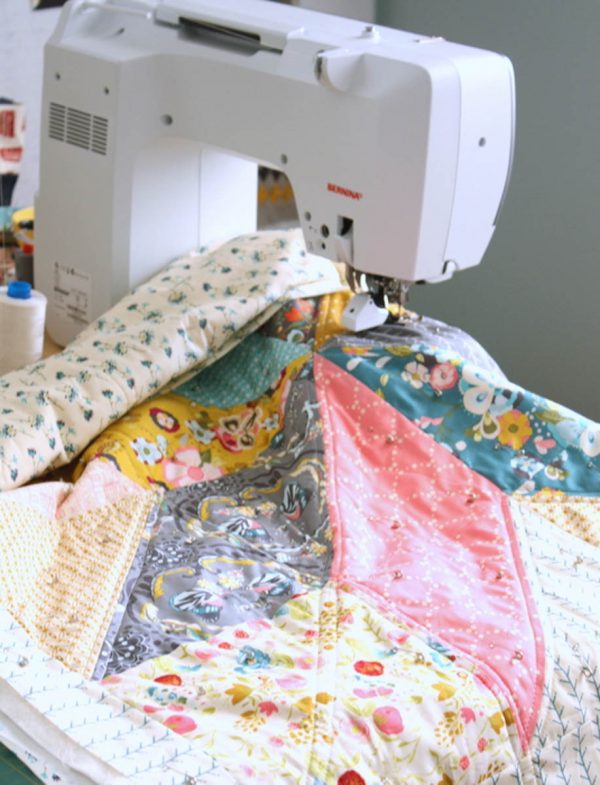
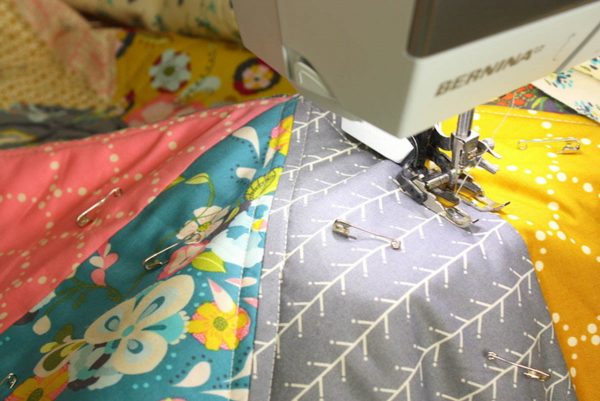
I decided to straight-line quilt this Lone Star (mostly because that’s what I’m most comfortable with). A walking foot is really helpful for machine quilting because it basically adds feed-dogs to the top of the quilt as well, pulling all layers of the quilt evenly. If your machine has a dual-feed function, it works very much the same way.
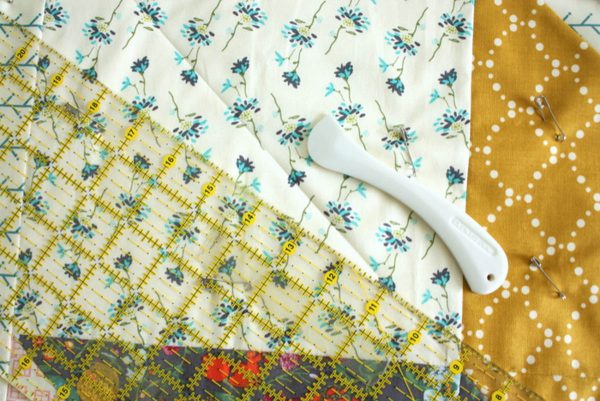
There are lots of ways to mark you quilt. There are disappearing marking pens and pencils. I love to use a Hera quilt marker (made by Clover and found in the quilt notions department). It basically ‘scores’ the fabric to give you a quilting guide. I used it to extend the diagonal lines in the four corner blocks to extend those quilting lines.
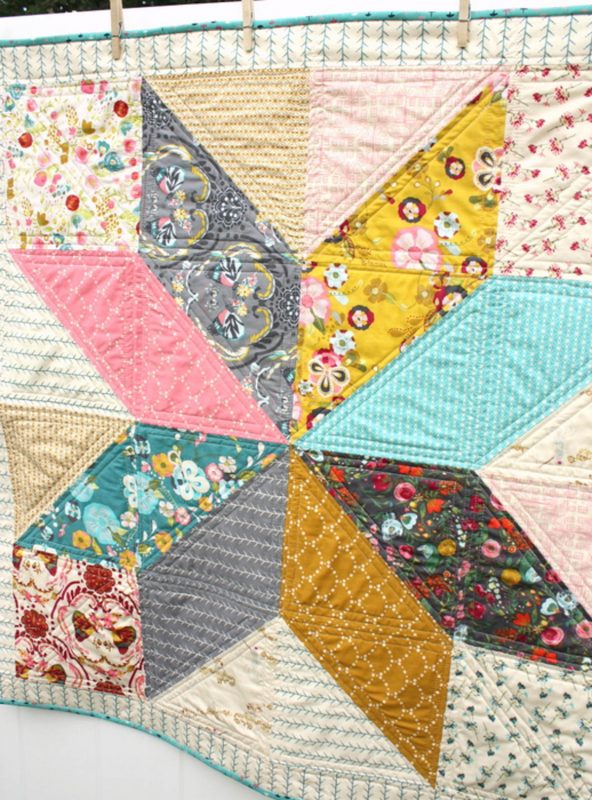
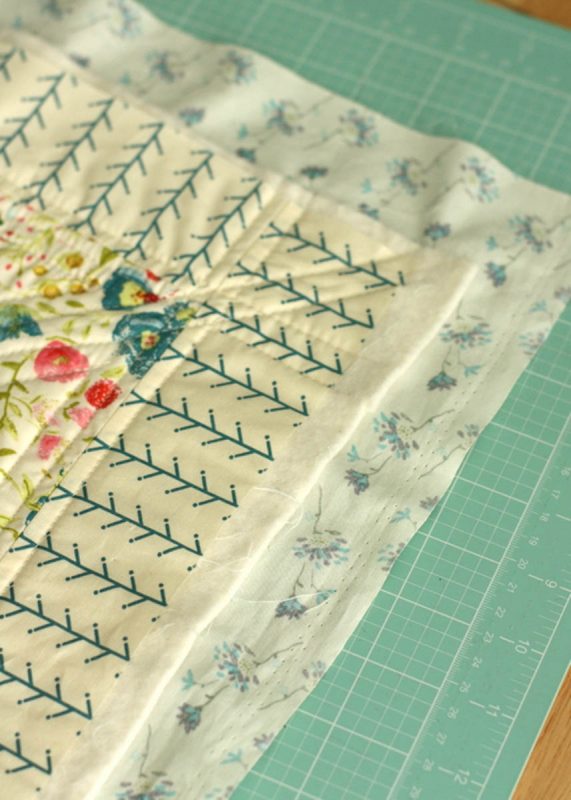
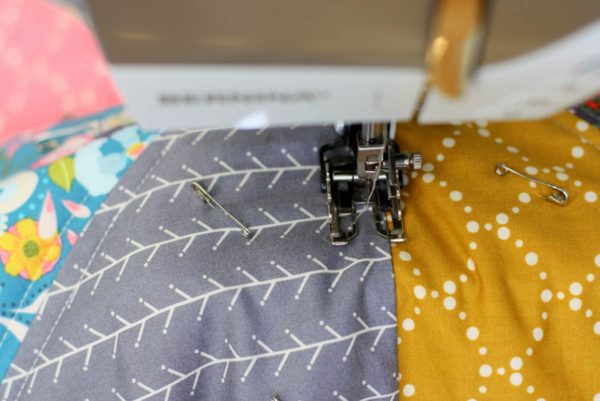
When quilting with straight lines, you can use your seams as your guide for the quilting lines. You can quilt right on the seams themselves or a set distance away. I used my seams as guides and quilted a ¼″ away on both sides of the seams, both straight and diagonal.
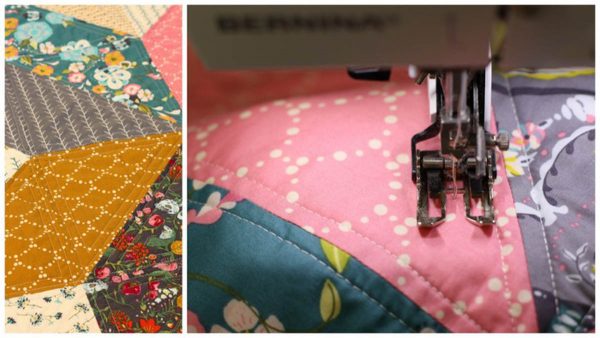
I also added an extra triangle of quilting inside each triangle block.
There are lots of ideas for machine quilting your quilt. You can read more machine quilting basics here as well as a guide to free-motion quilting here.
It’s fun to experiment and try new things. The more densely your quilt is quilted, generally, the more durable it will be. But dense quilting can also make the quilt more stiff, so there are pros and cons of both dense and light quilting. I generally like a happy medium.
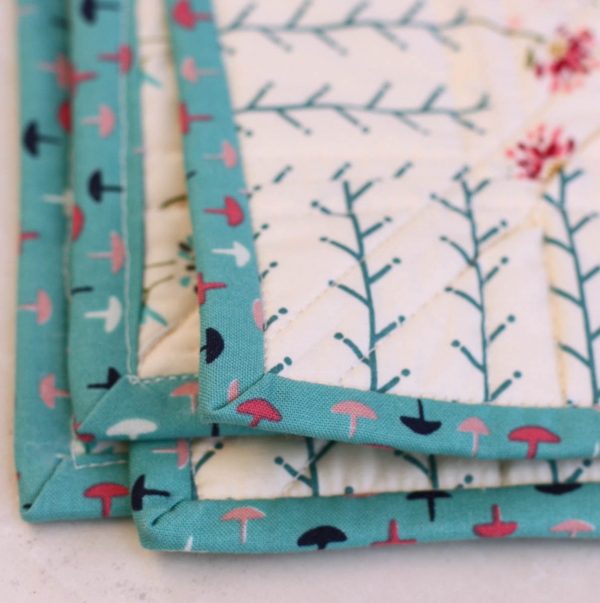
Using your quilt top as a guide, trim away the excess batting and backing fabric. Binding the quilt is the process of adding a finished edge to cover the exposed three layers at the side edges of the quilt.
I like to make my own binding to coordinate with the fabric in the quilt. I also always make a “double-binding” meaning it’s folded into two layers to give it added wear.
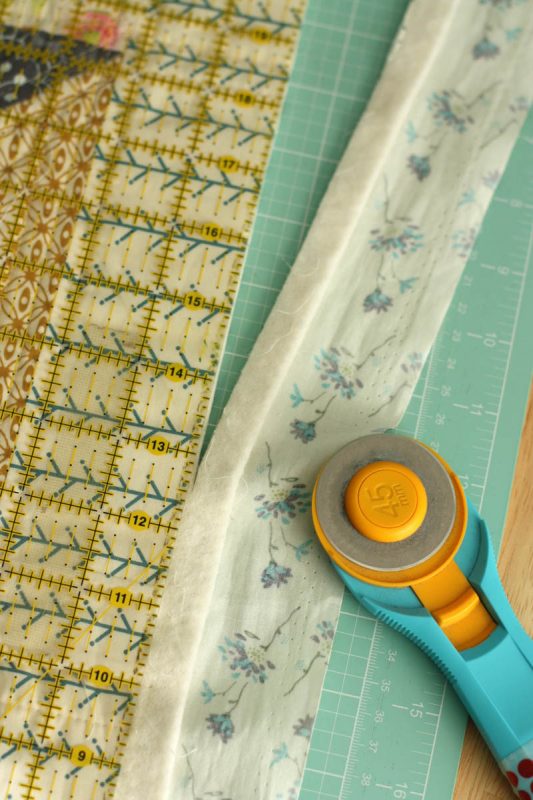
Cut your binding strips into four strips 2 ½″ wide x 42″ (or roughly the width of the fabric from selvage to selvage).
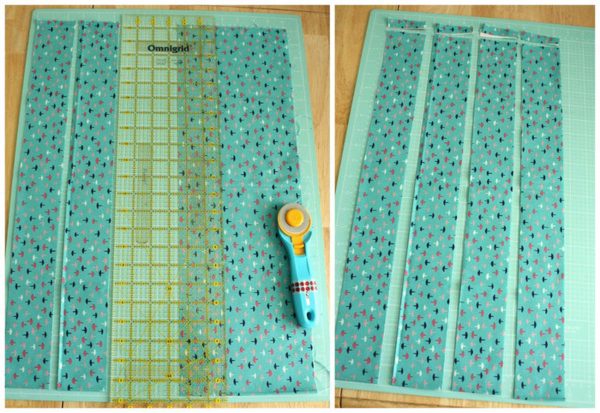
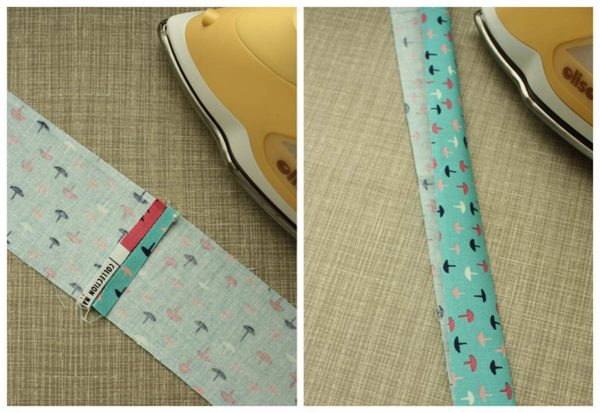
Trim the selvage edges of the strips and sew them together end to end to form one long strip. Press those seams open. Fold the long strip in half lengthwise and press to create a creased edge.
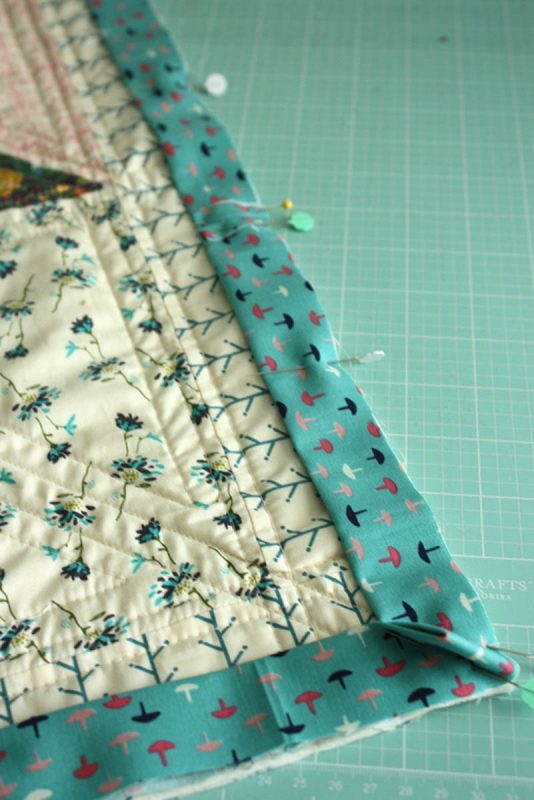
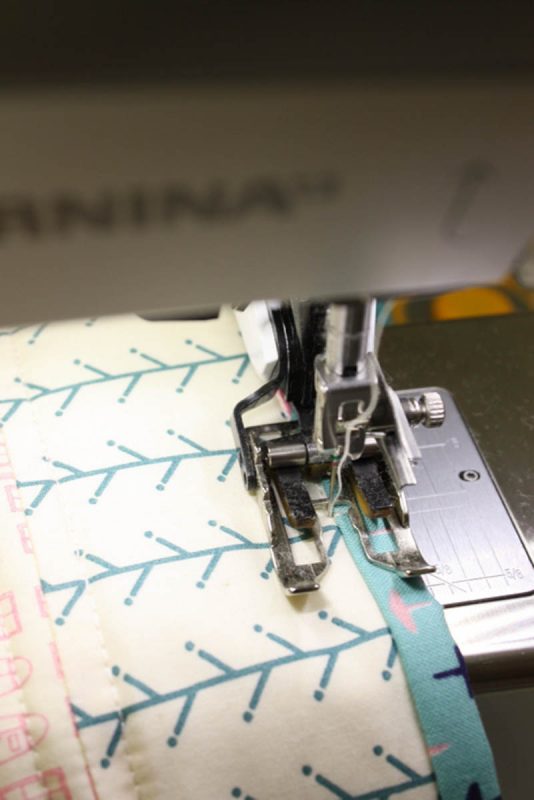
Line up the raw edges of the binding strips with the raw edges of the front of the quilt. Pin binding in place around the edges of the quilt. (See this post for more details about mitering the corners and joining up the strips). Sew the binding to the quilt front—again I recommend a Walking-Foot or Dual Feed if you have them to keep those layers from puckering or slipping.
Basically you’re sewing the binding strips to one side of the quilt and then folding the binding over and tacking it down on the other side. The tacking down can be done by hand or machine. My favorite method is to hand bind because I think it’s relaxing and I can watch a movie, but if I’m in a hurry, then machine binding is more efficient.
For this quilt I used a glue-basting technique to hold the binding in place so I could sew in in place without having to use pins. I know it sounds scary and messy, but it’s so slick. I used basic Elmer’s school glue and I highly recommend the link above to show you more in depth, but basically, you’re going to apply a very fine line of glue to the edge at the top of the quilt back, fold the binding down on top and press down with an iron to set the glue so it holds the binding in place.
I sewed the binding edge down from the front of the quilt, right in the ditch next to the edge of the binding. The glue will wash out as soon as you wash the quilt.
And that’s it! This is a quick quilt project perfect for showing of some of your favorite fabrics.
If you would prefer a printable PDF version of three of these star baby quilts you can find one here for $3.00.
(Post originally posted at WeAllSew blog.)
If you’d like to make a giant version 68” x 68” of this quilt design, check out this tutorial by Jeni Baker.