
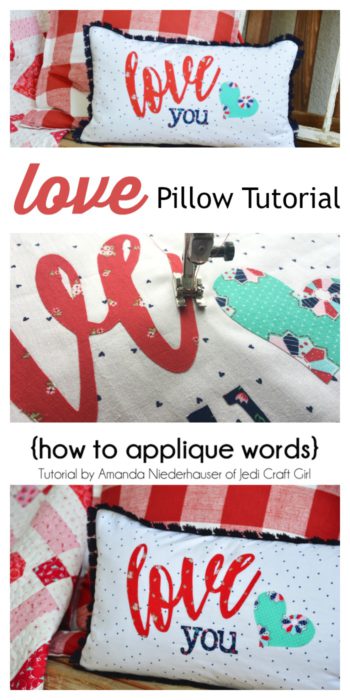
Today I have another fun guest post, this time from the creative Amanda of Jedi Craft Girl. She's going to share a quick LOVE project - perfect for last minute Valentines decor - as well as tips for how to create and applique any custom word/script designs. Text designs are so popular right now and you could use these tips for making your own custom projects.
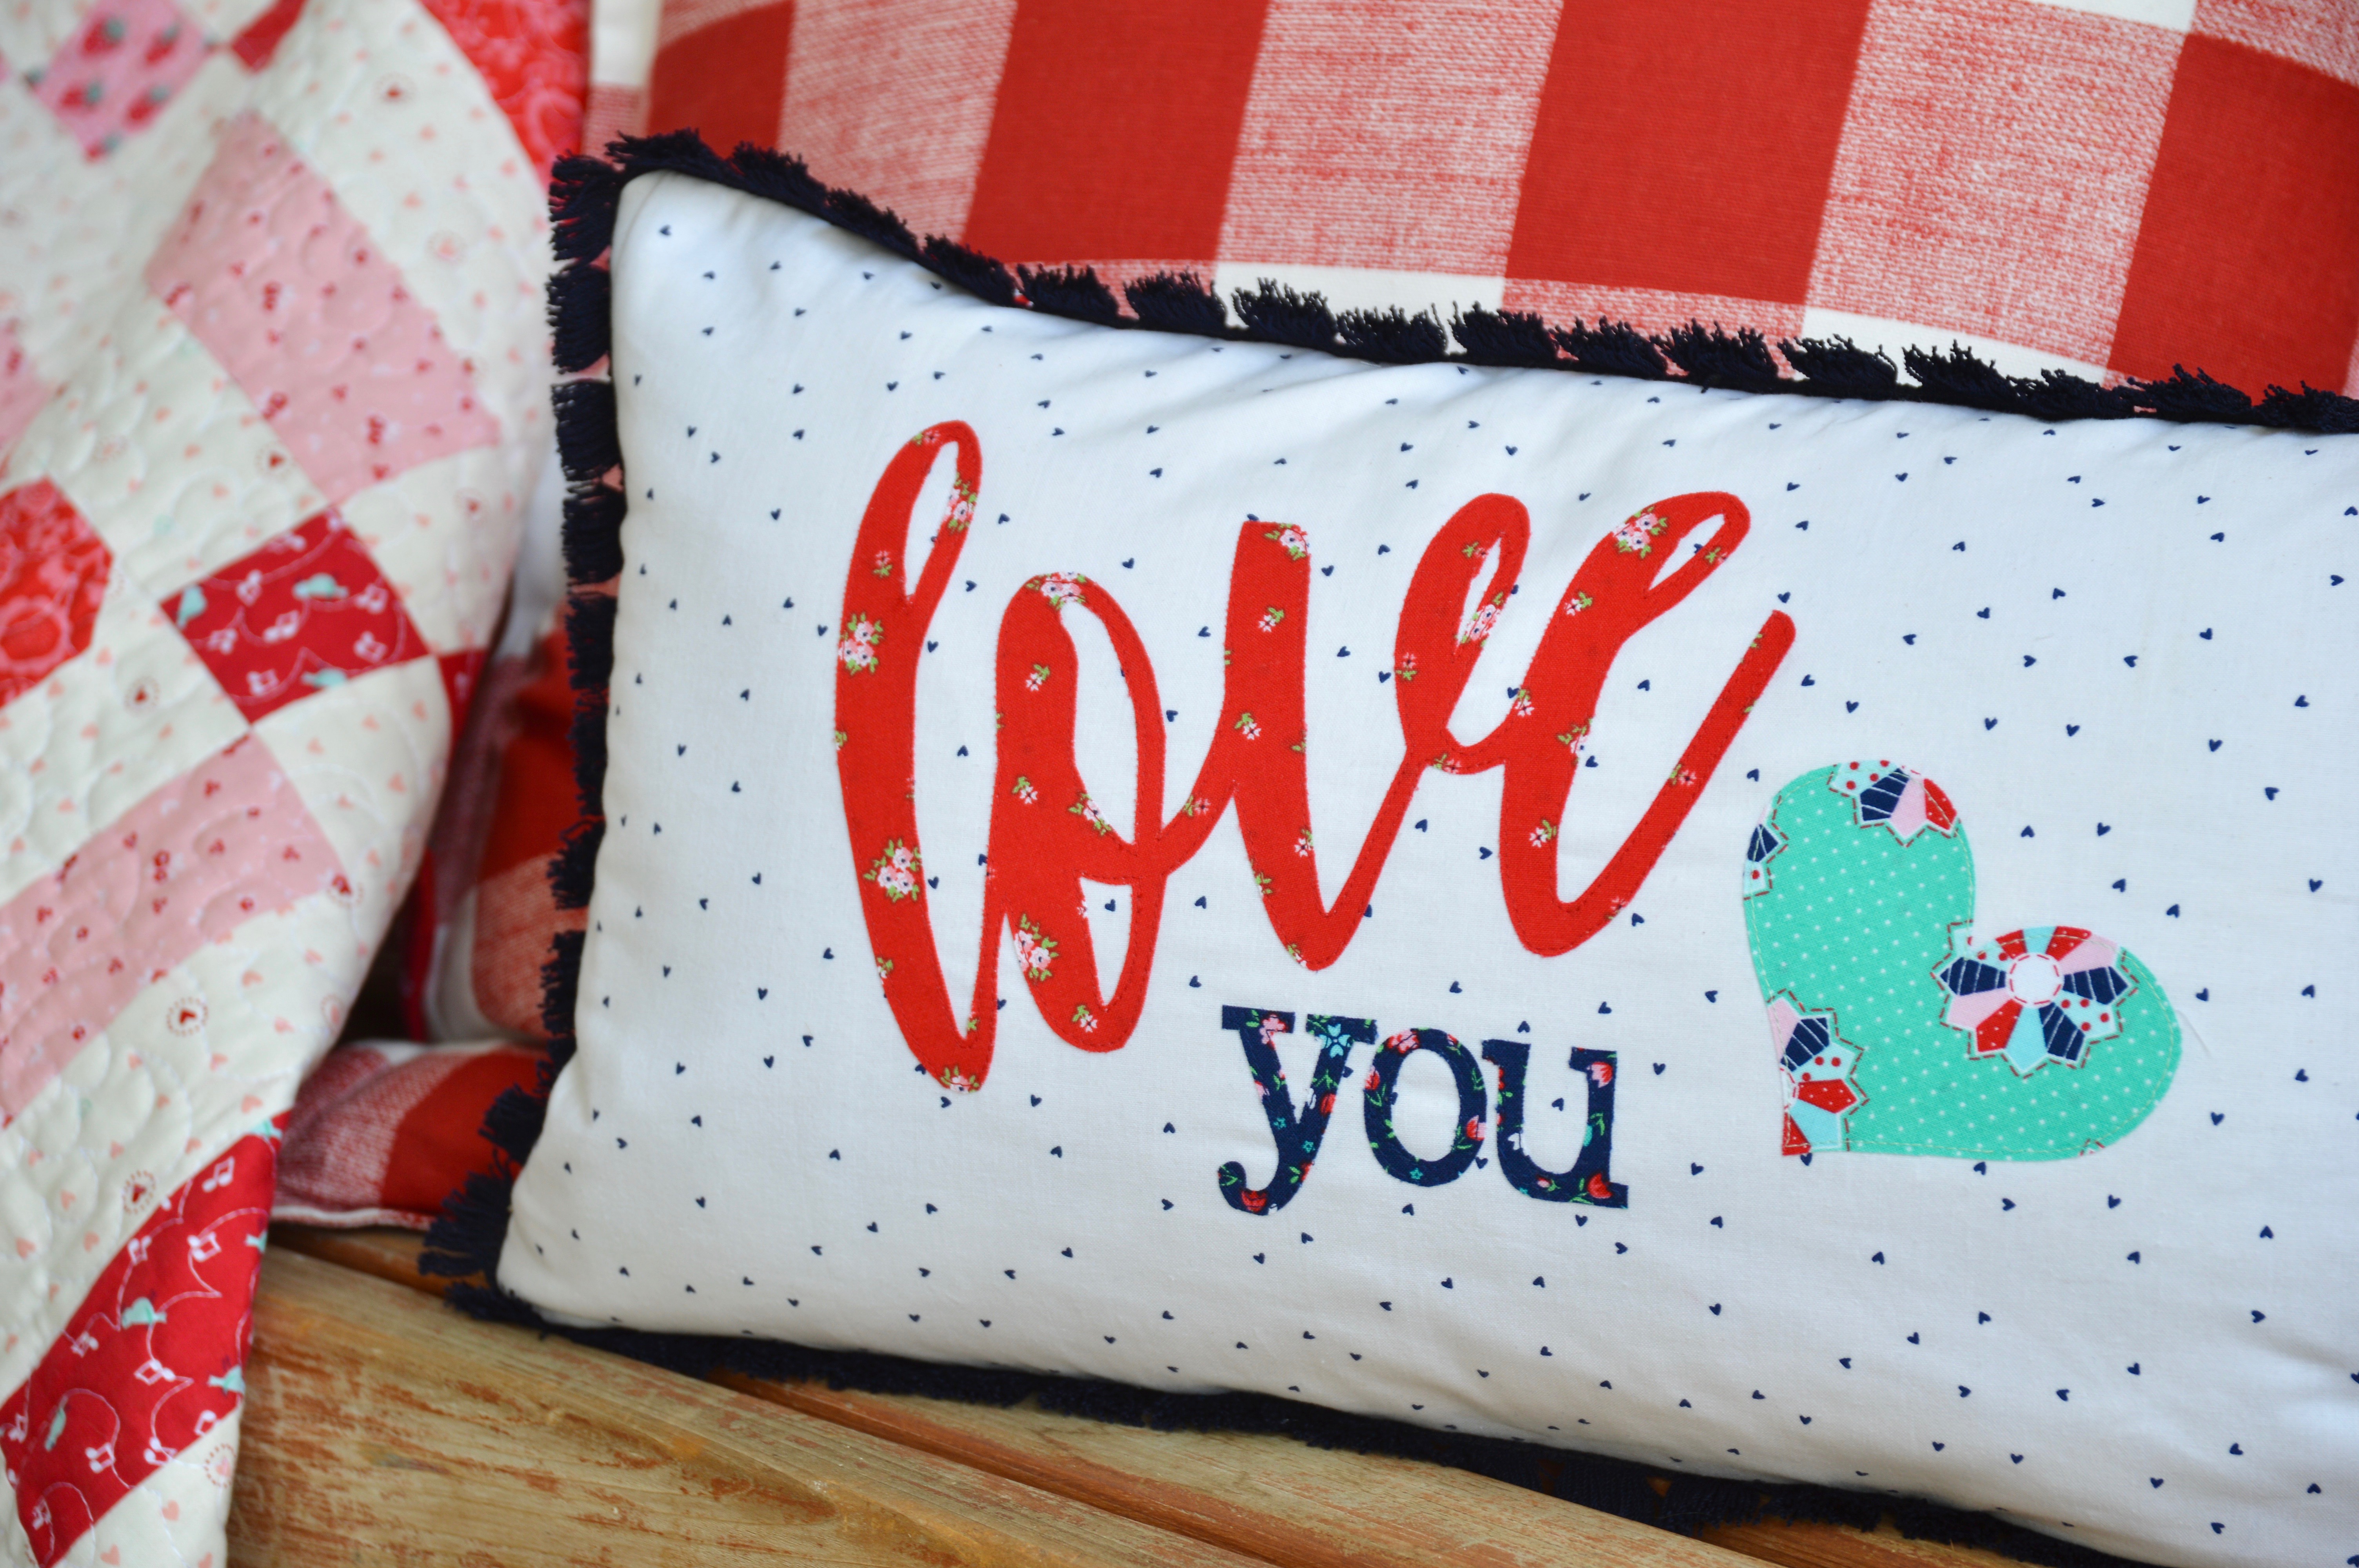
Happy almost Valentine's Day from Amanda over at Jedi Craft Girl!! I am a word-a-holic and I LOVE anything with words: signs, mugs, pillows, t-shirts, you name it! I love adding words to my sewing projects and today I am going to show you how to do this start to finish!
Supplies:
words printed in reverse - click HERE for the exact letters I used in this project
Scraps of fabric for the words and heart
½ yard background fabric
½ yard of backing fabric
2 yards of trim (optional)
(The fabrics used in this project are from the collection A Little Sweetness and can be found here and here.)
Select the Font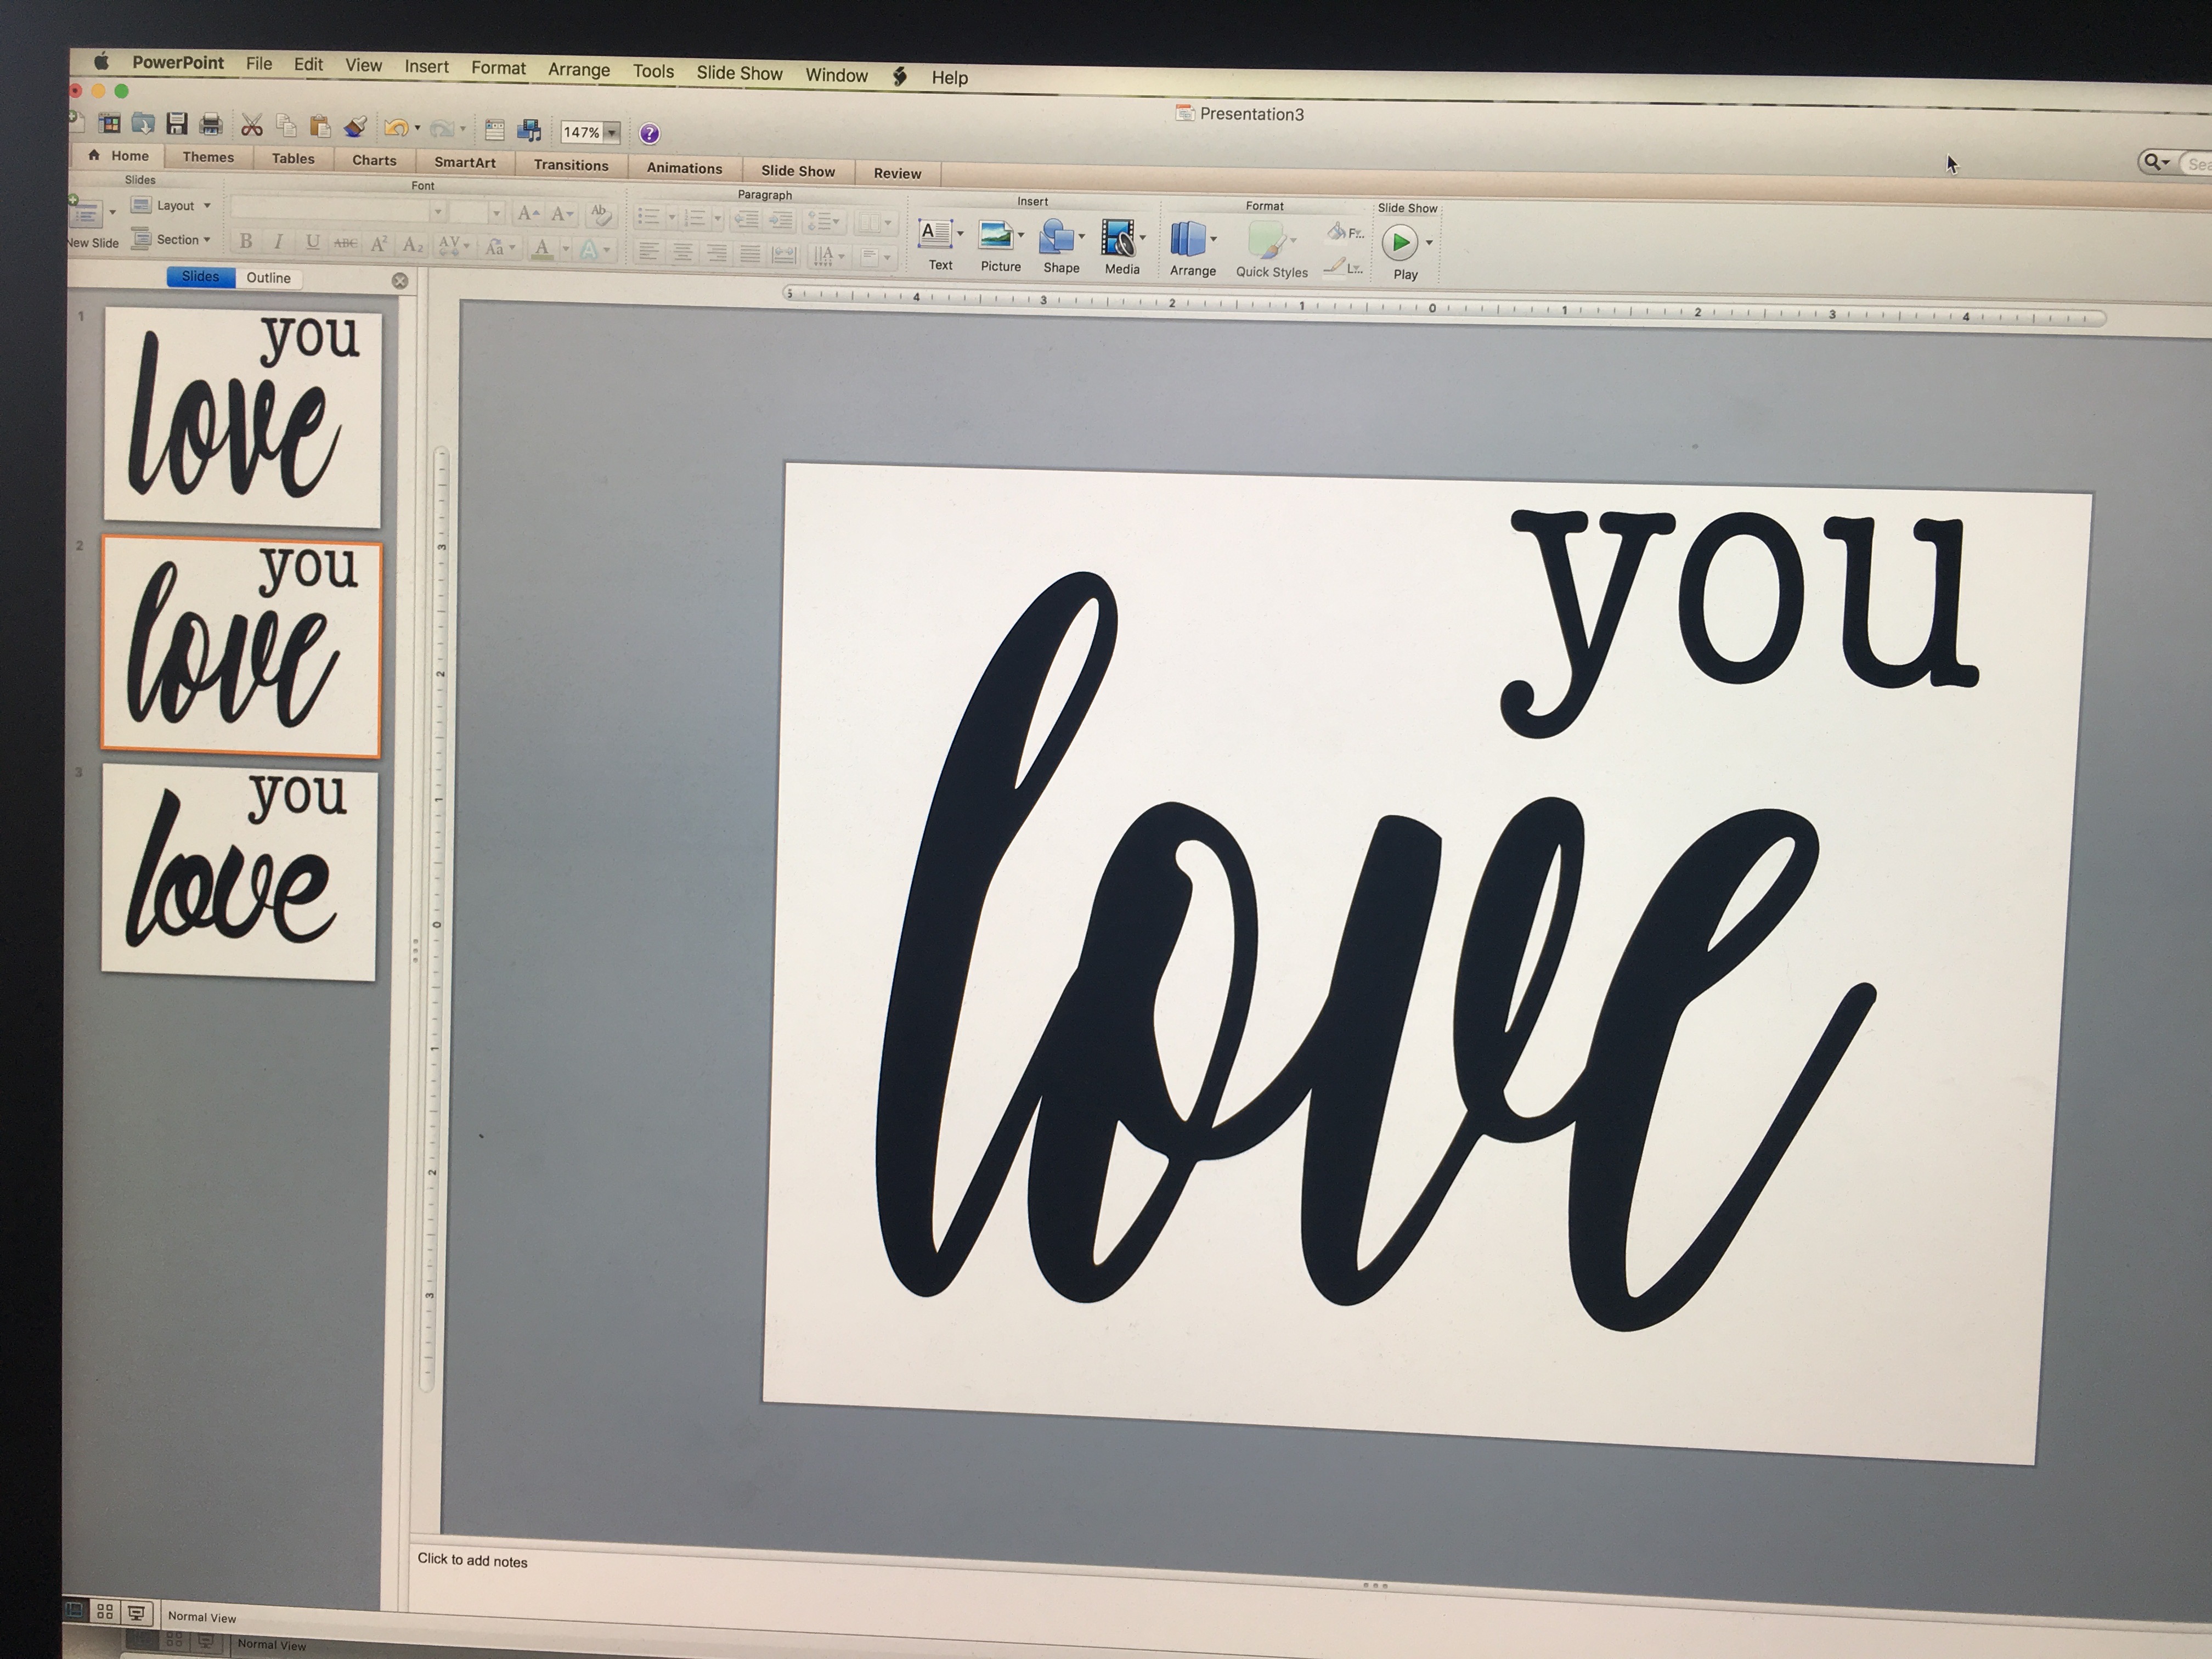
I use Microsoft Power Point to create all my words. I can easily change fonts and drag the text to be larger with the text edit option. Once you've created your words, make sure to print in "reverse" or "mirror" for the fusible appliqué.
Fusible Applique
I love Heat n Bond Lite because it isn't stiff.
Trace the words onto the Heat n Bond, making sure they are in reverse.
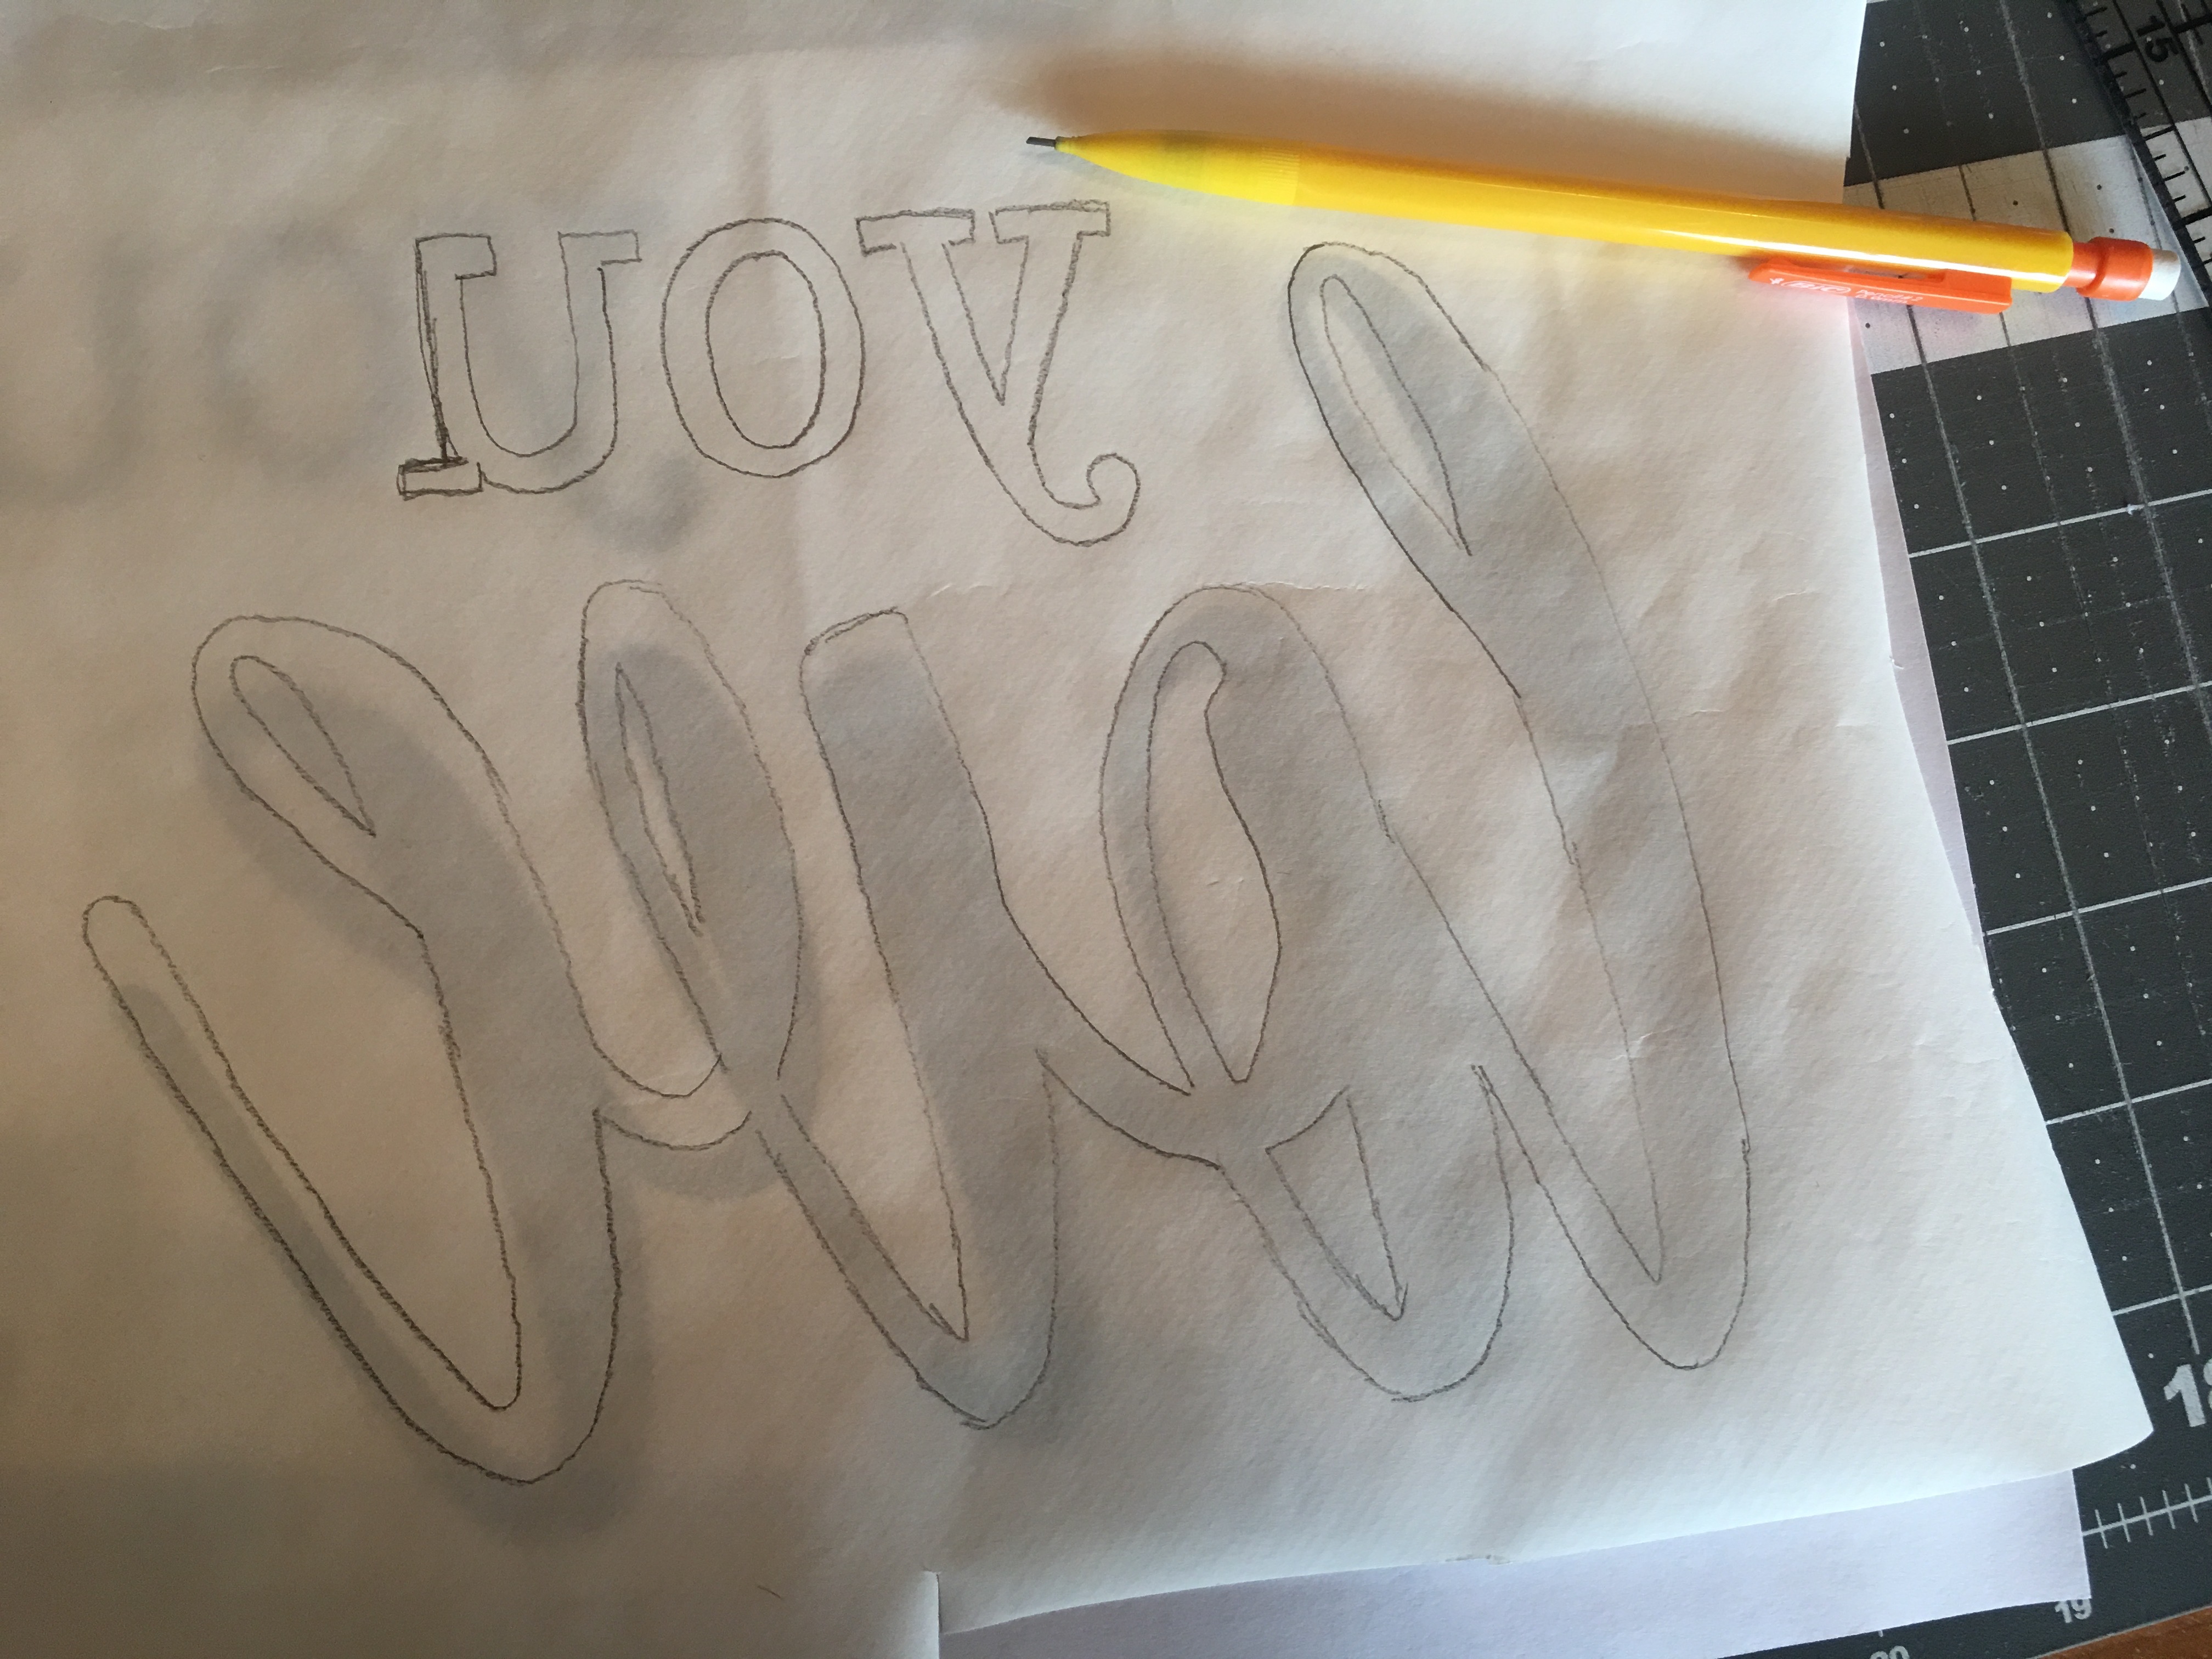
Cut out about ¼" around the letters.
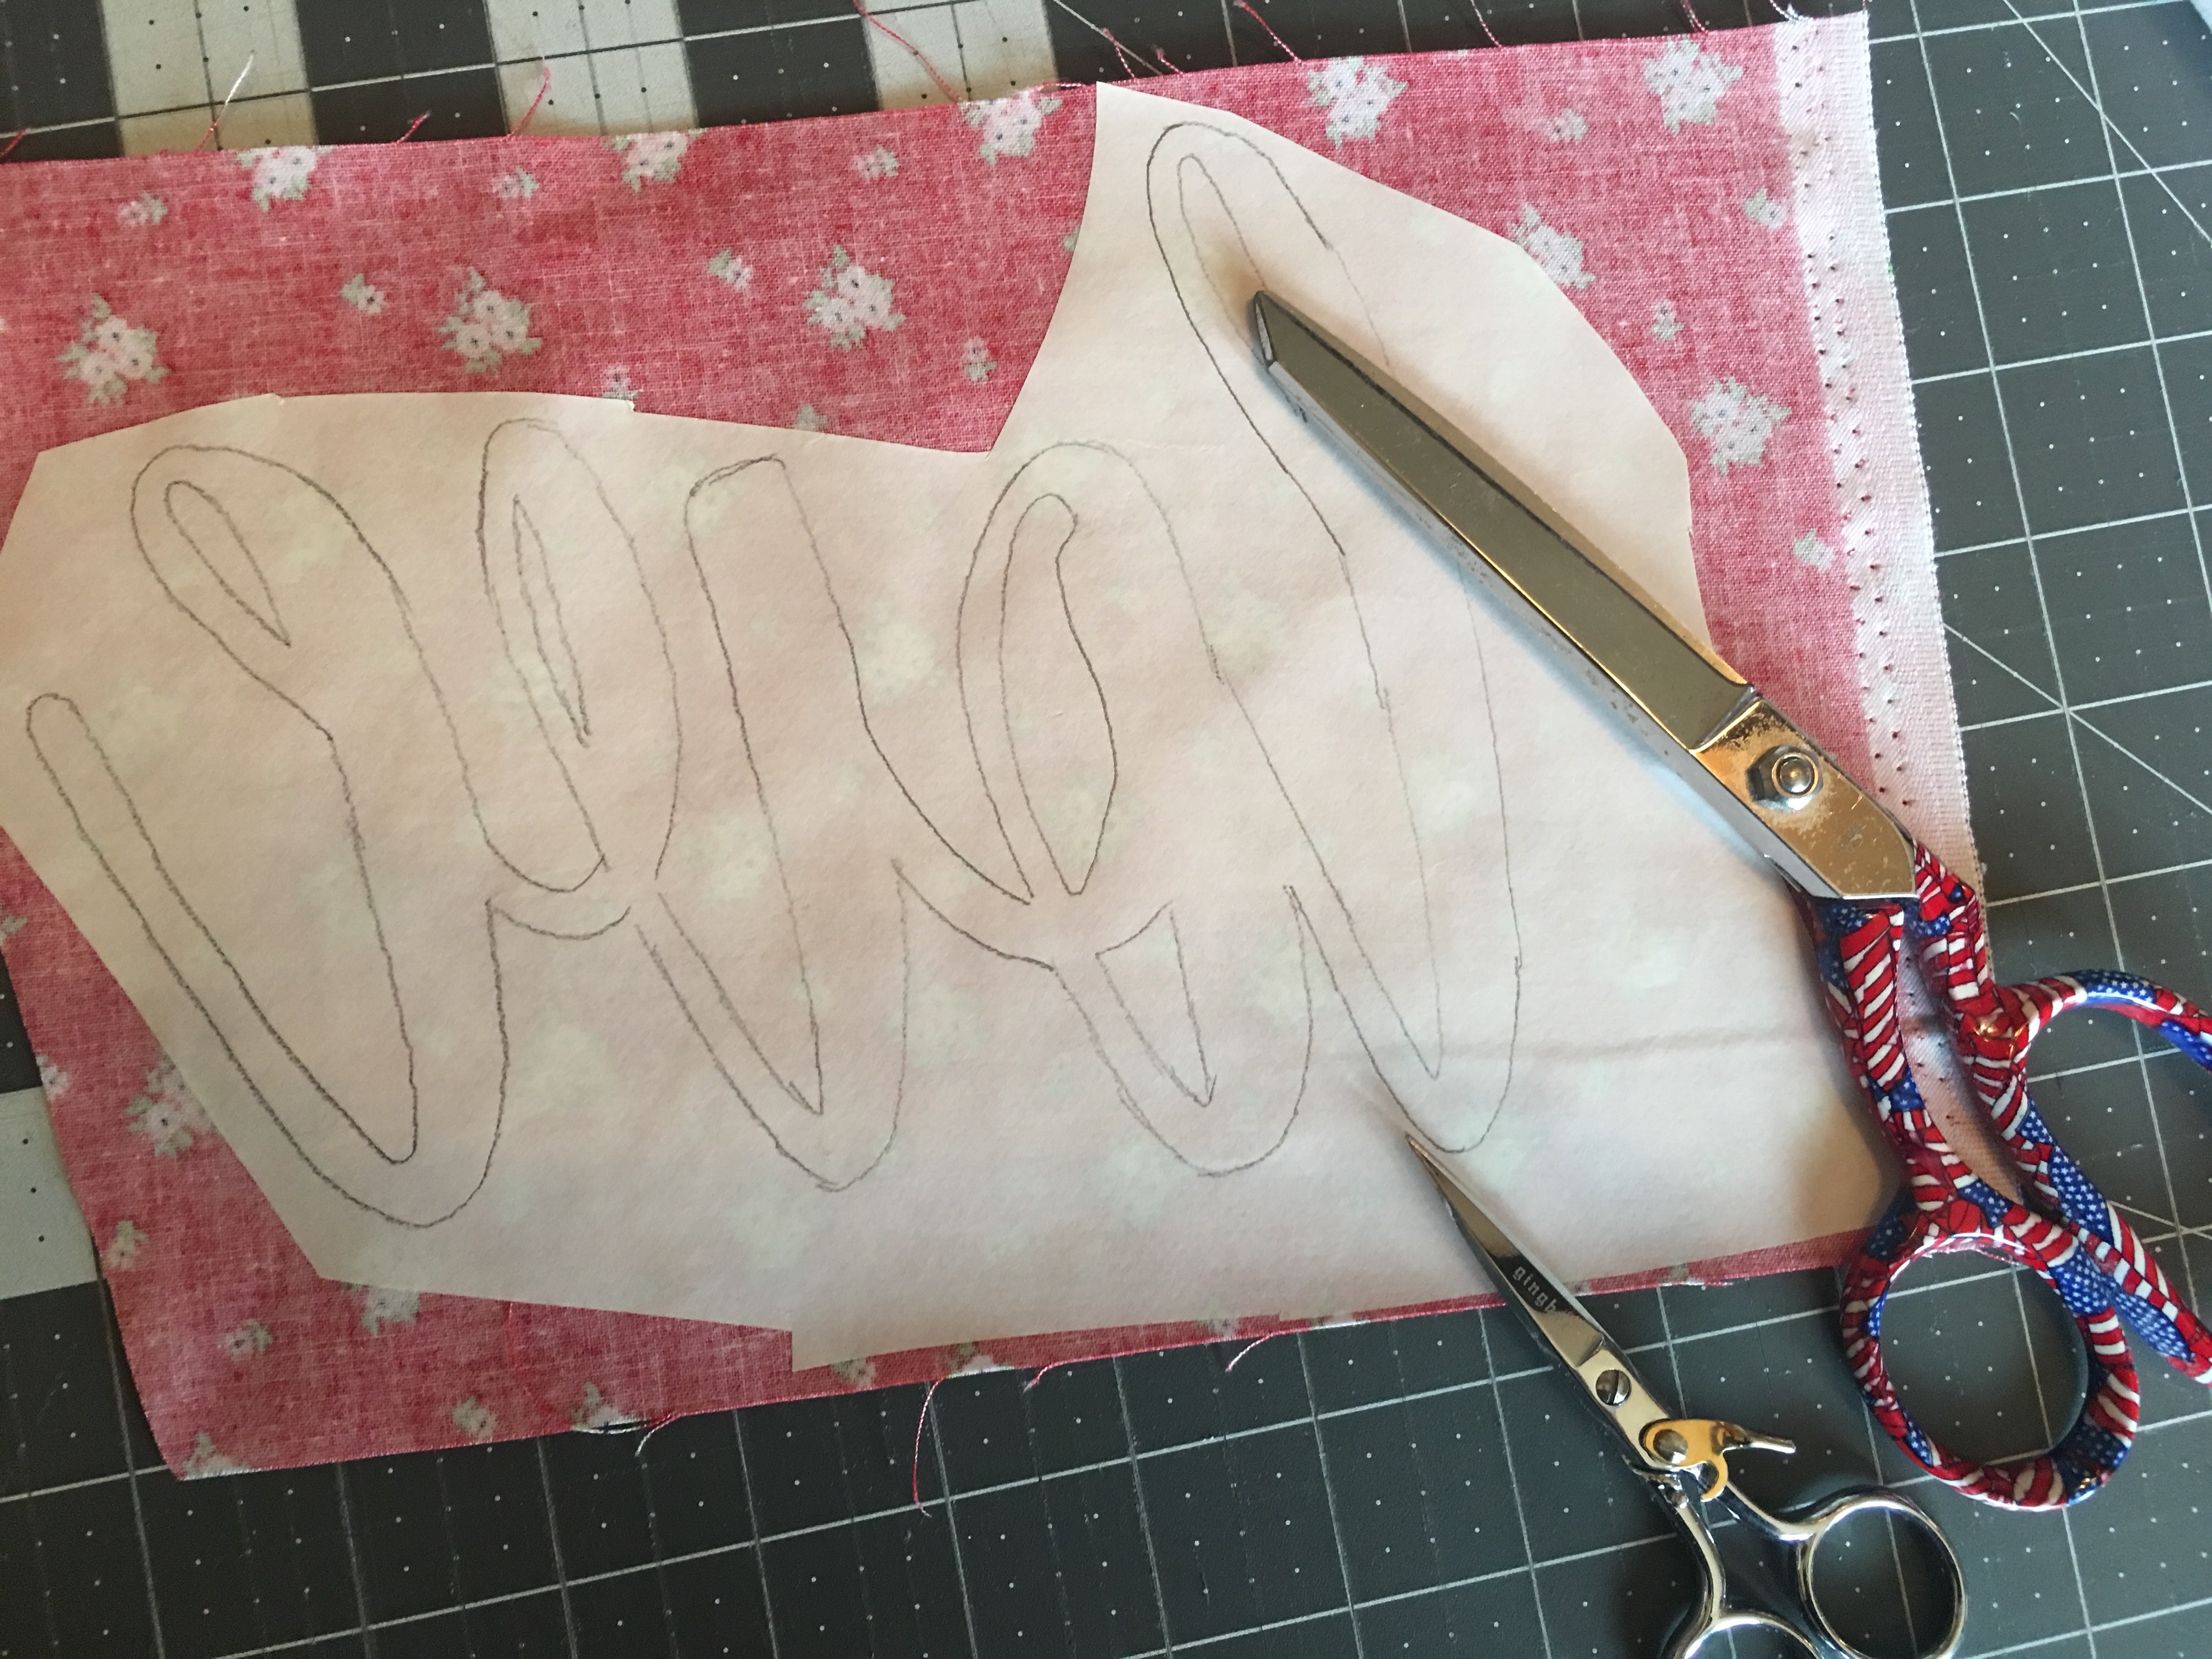
Position the HNB onto the wrong side of the desired fabric and heat set into place using a dry, hot iron. Let cool.

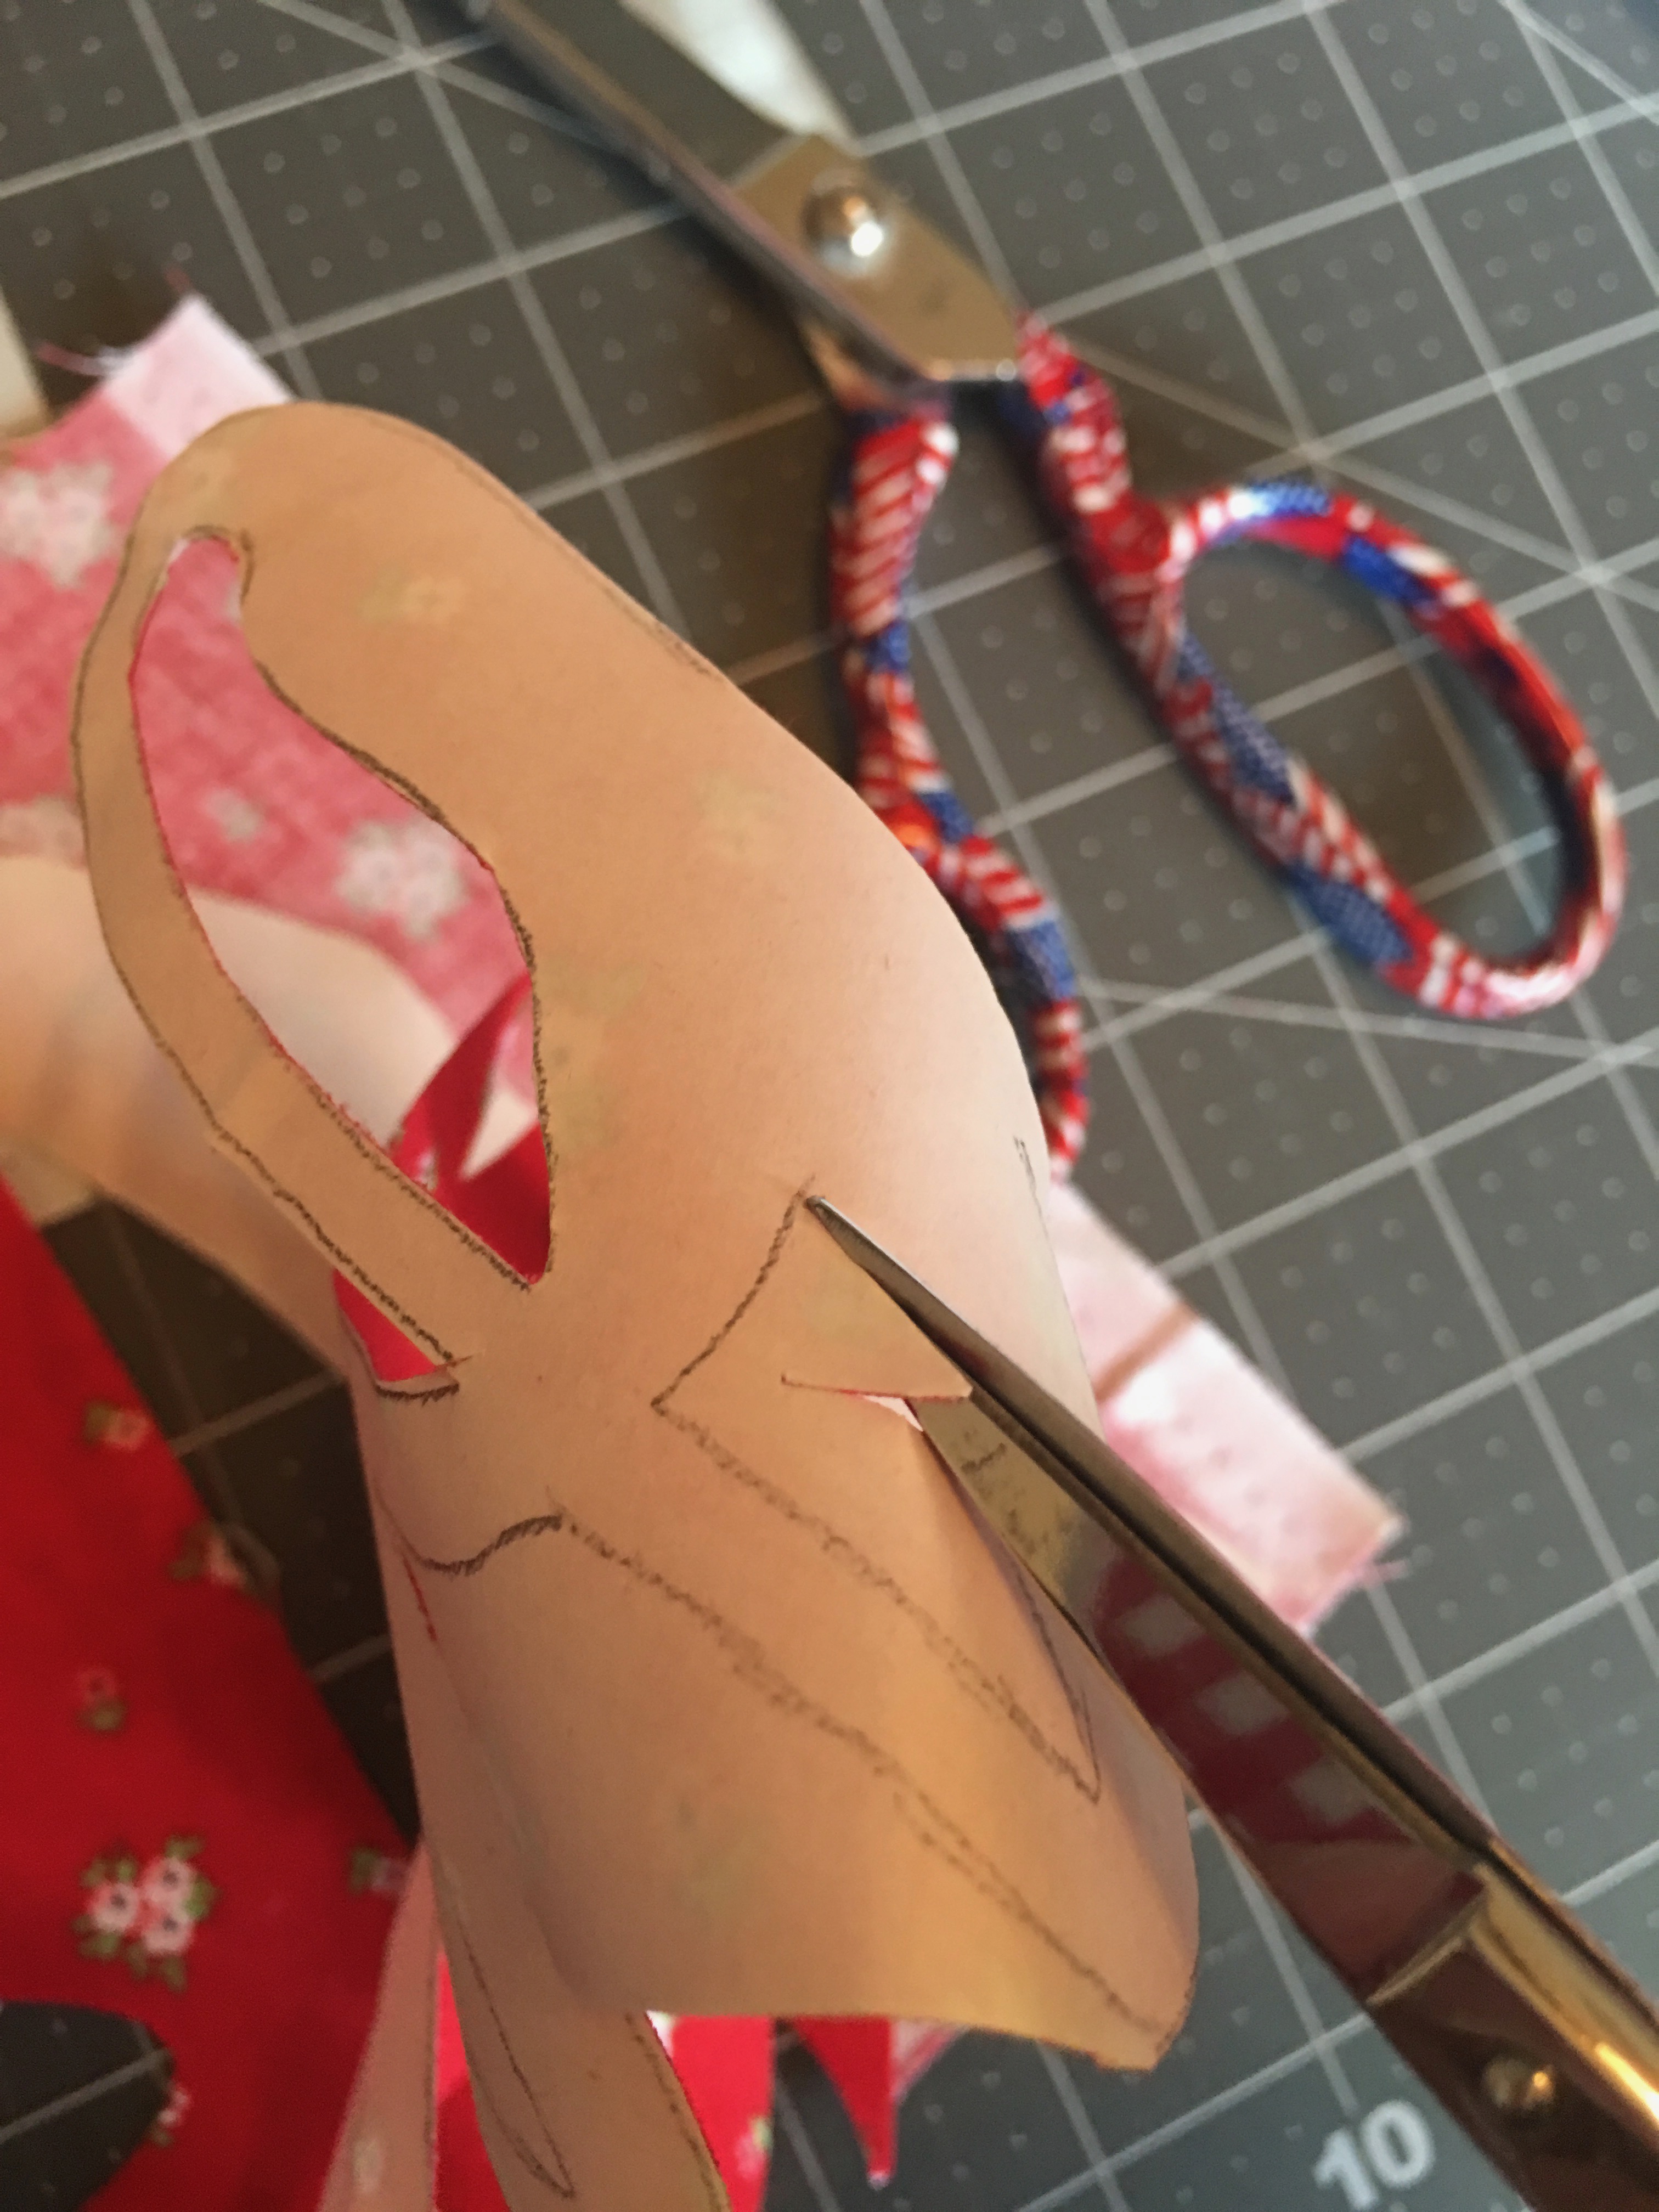
Cut the letters with sharp scissors on the pattern line. Words can be small and intricate. Make sure to have a sharp pair of embroydry scissors handy for the insides of letters. Take your time 🙂
Those tiny little places can be tricky so the small scissors are really helpful!
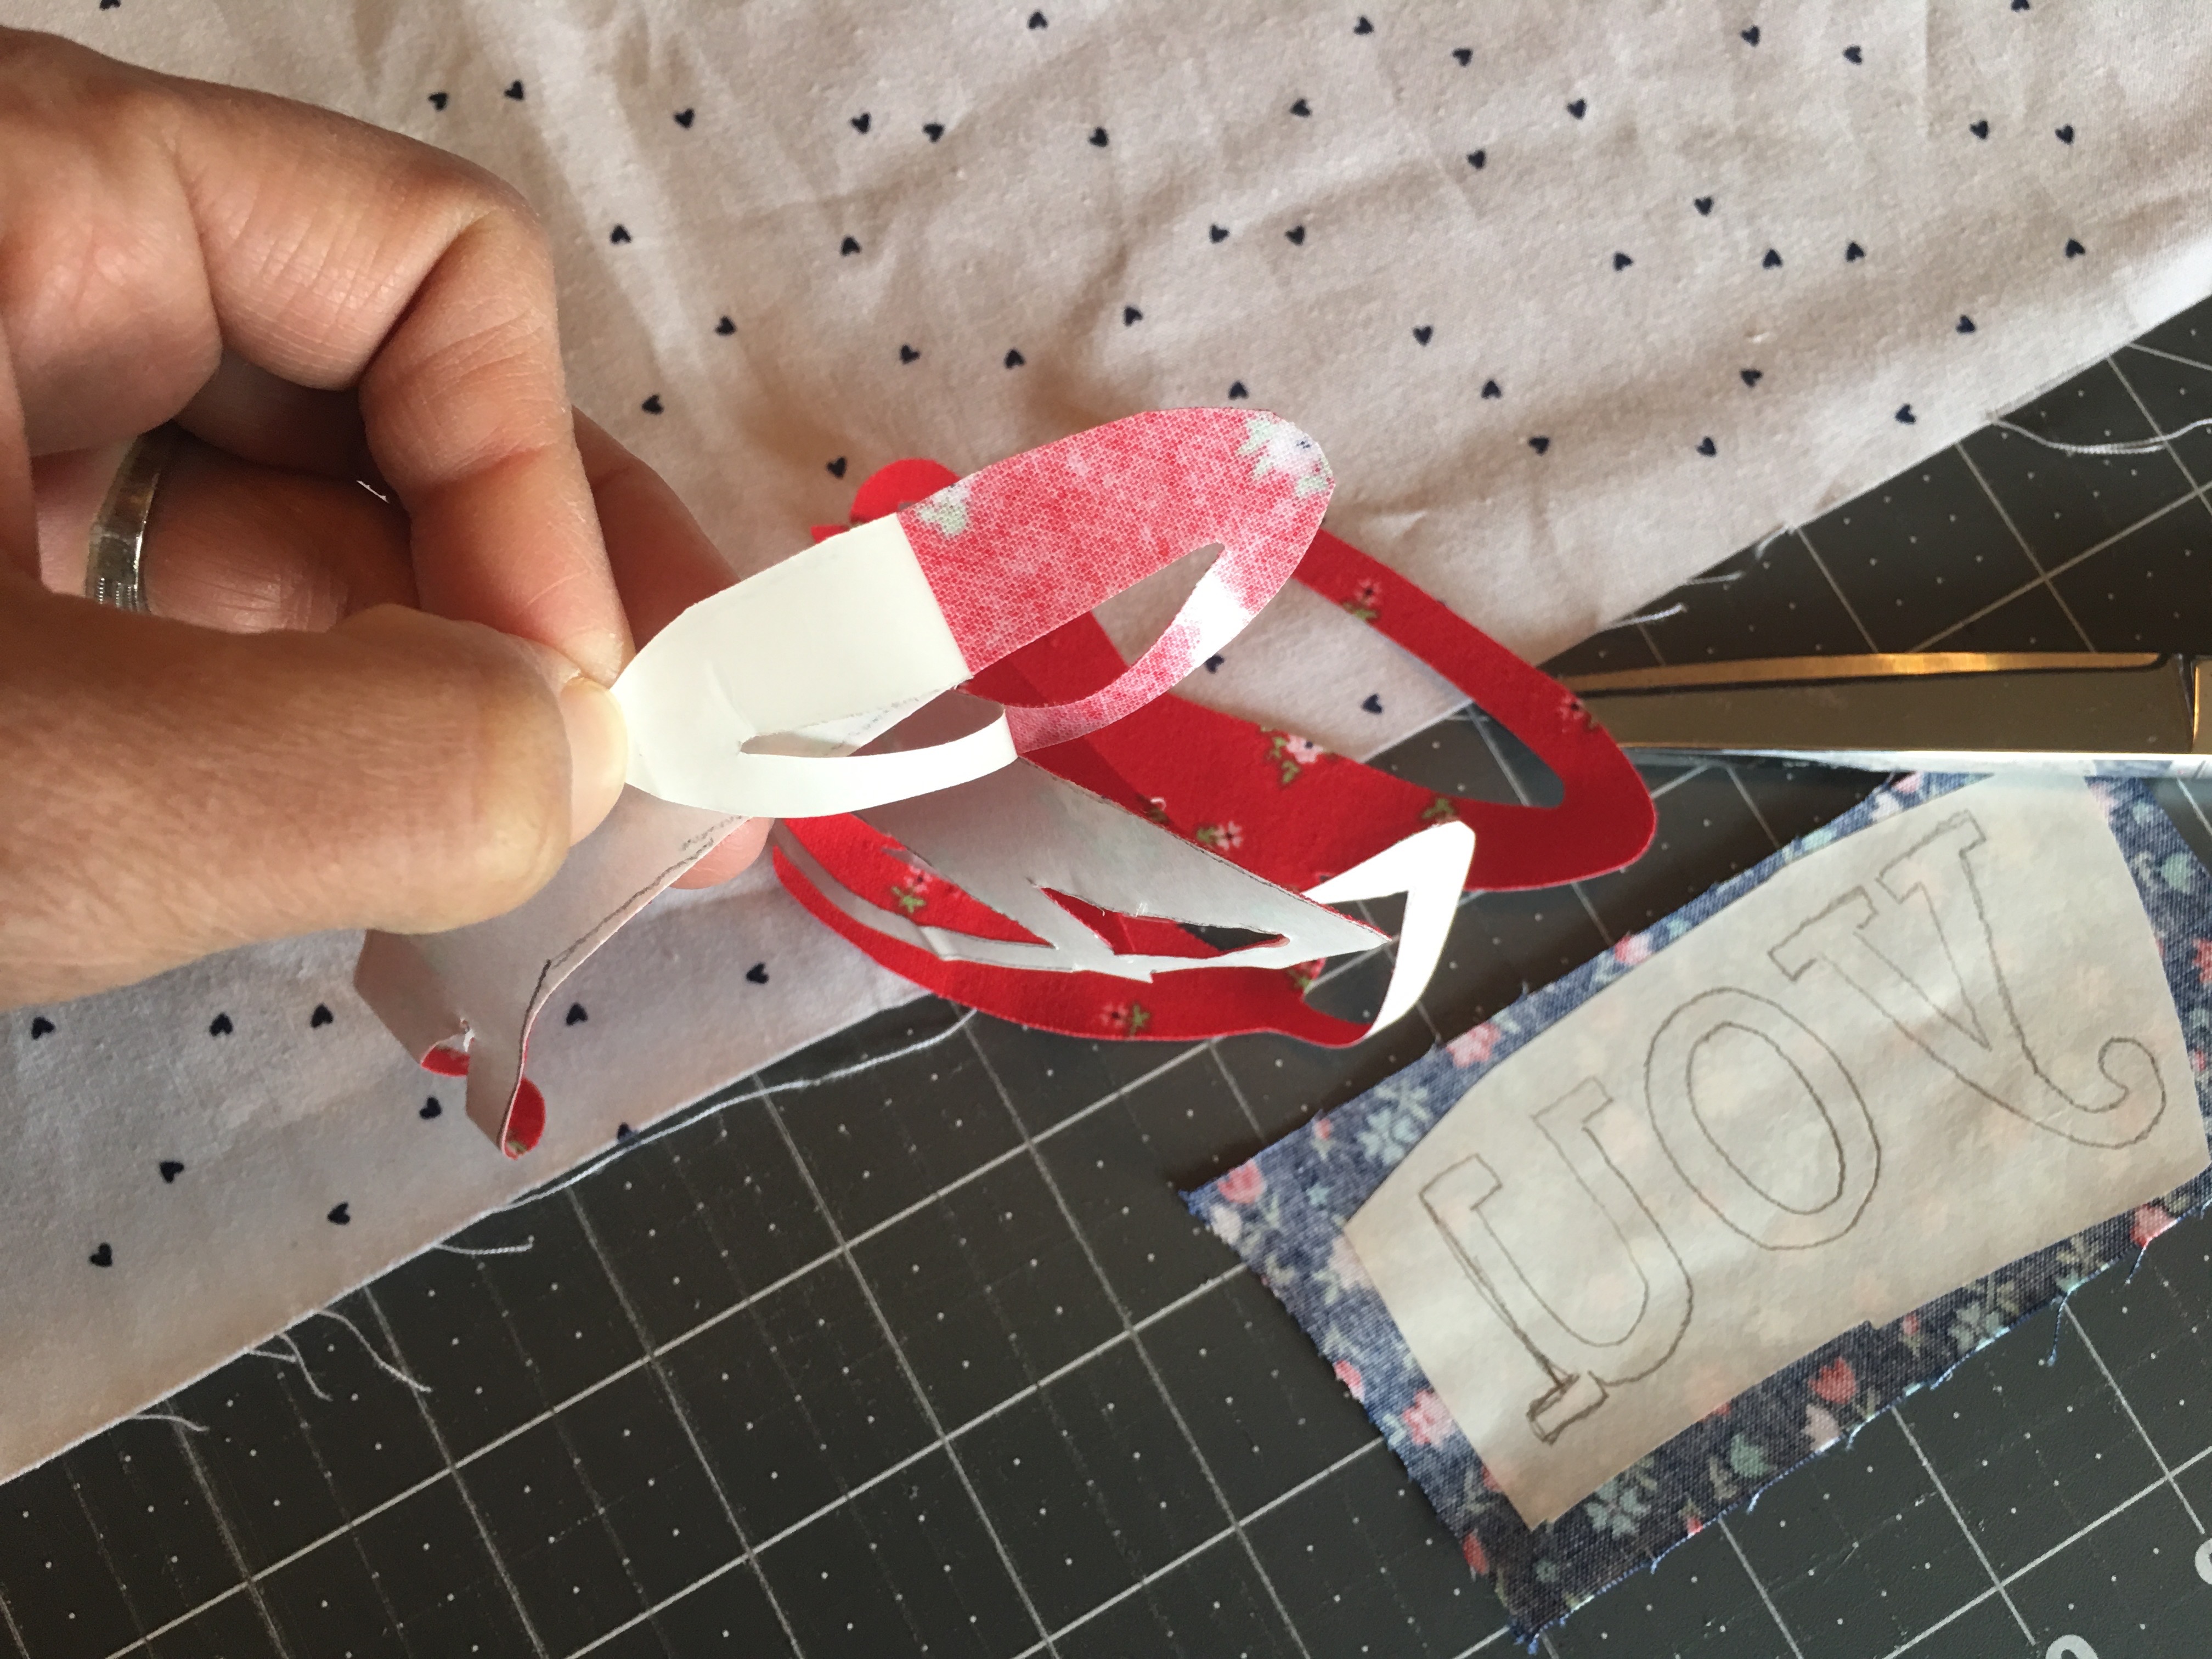
Peel off the backing paper. Repeate the process for the heart.
Appliquéing the letters
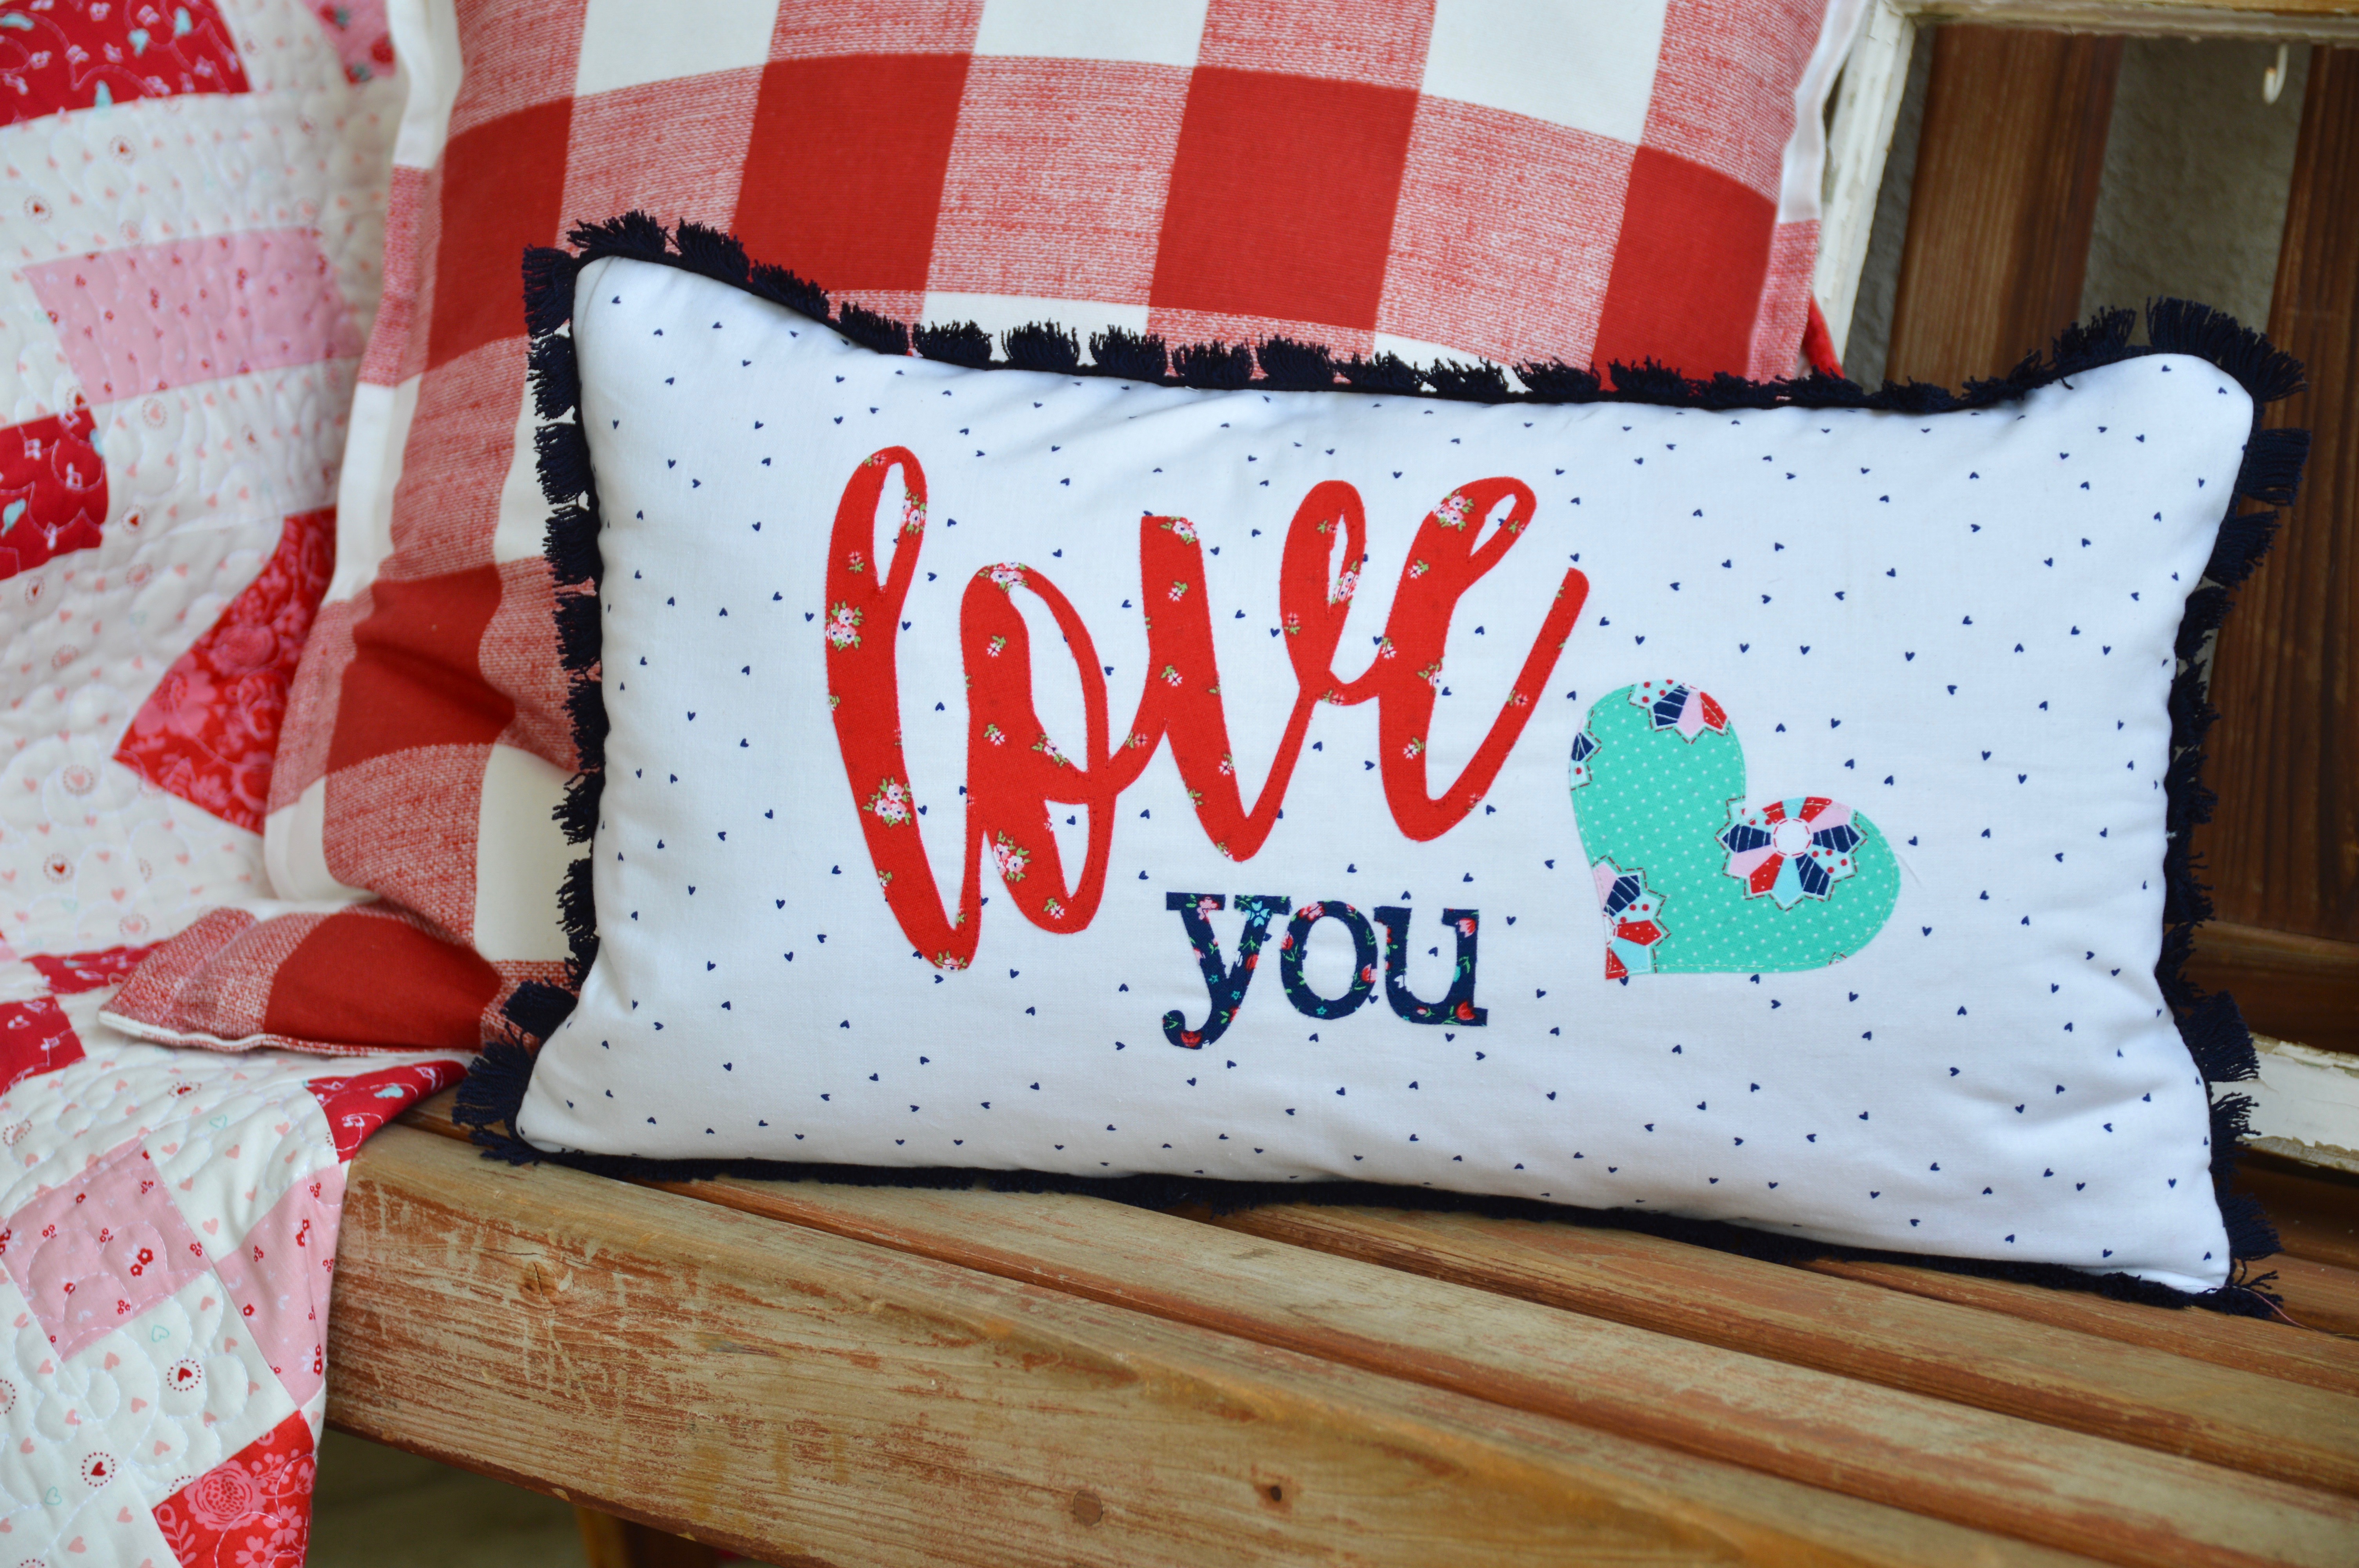
For this pillow project, I cut the background fabric 12" x 20" (which is the size of my pillow form). My other favorite size pillow is 20" square.
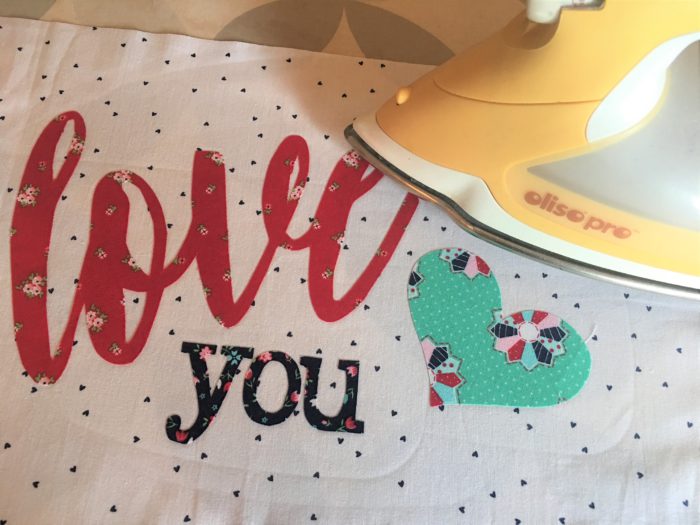
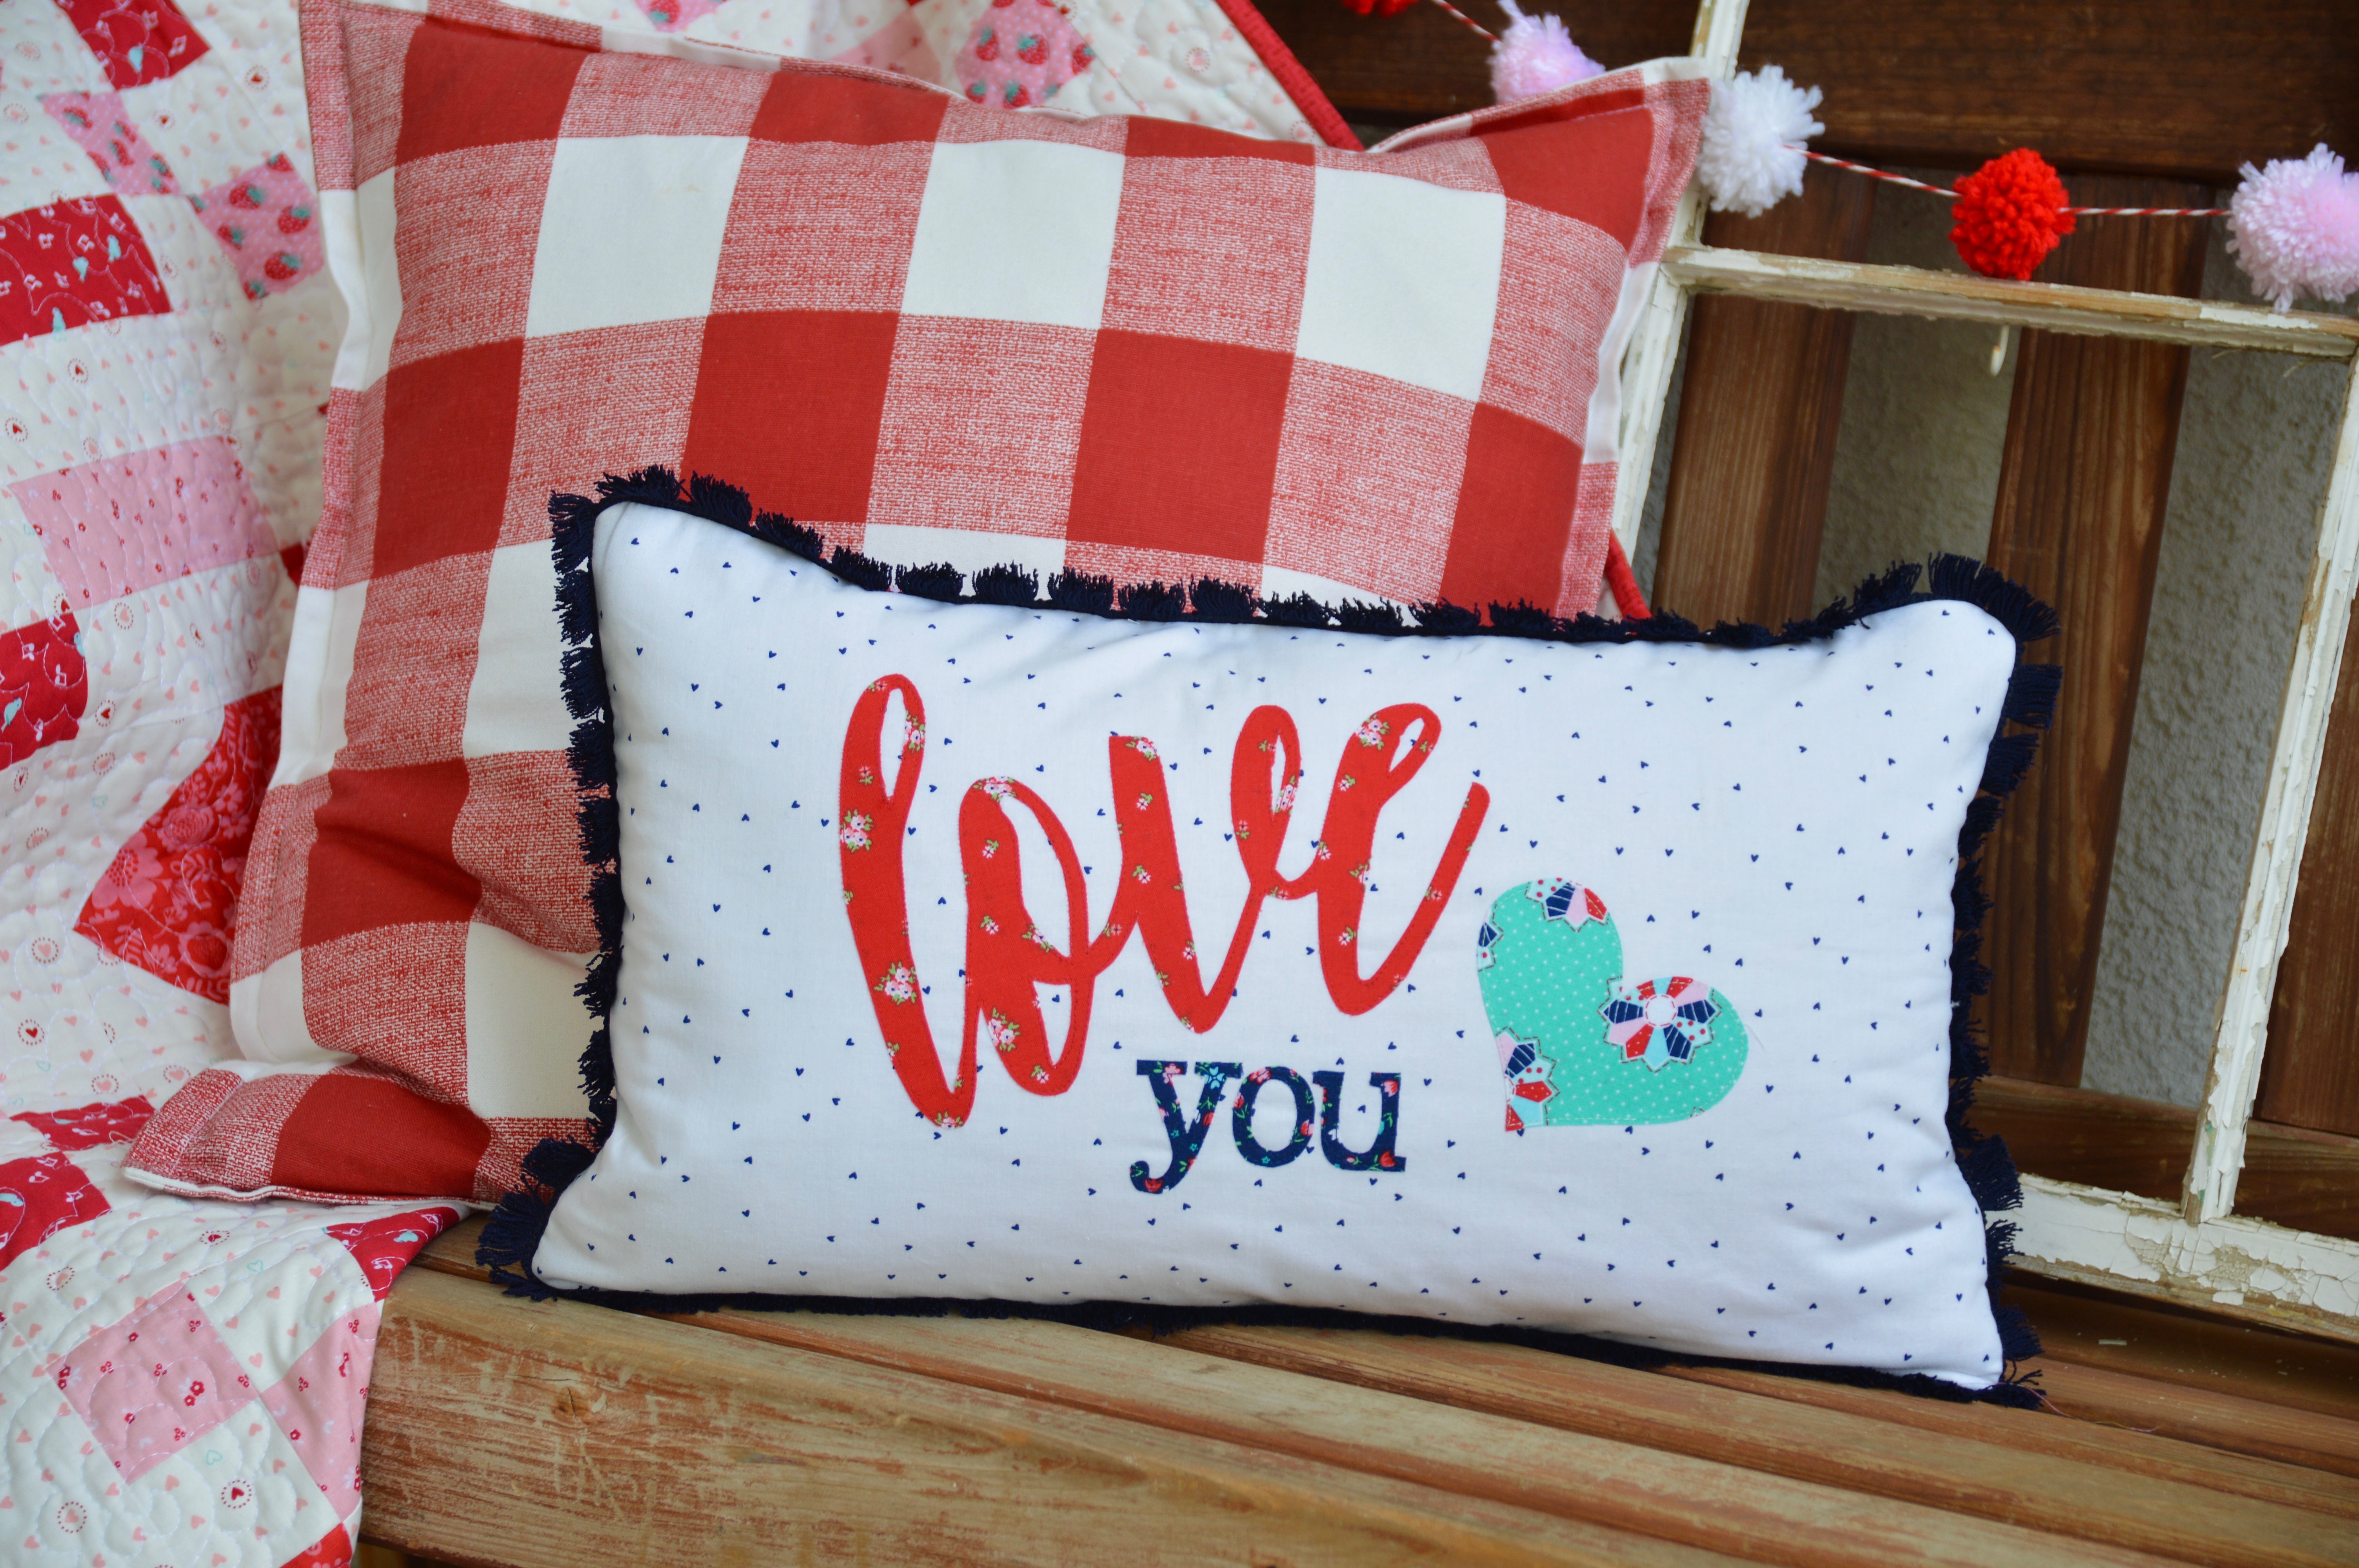
Position the "LOVE YOU" letters and heart on the background fabric and heat set into place. Let cool.
There are many ways to machine appliqué. My go to method is a straight stitch. Sometimes I stitch 2-3 times around the appliqué piece in black thread for a "sketchy" look. For this project I wanted the letters to stand out on their own so I choose to straight stitch with matching thread and sewed 1 time around each piece.
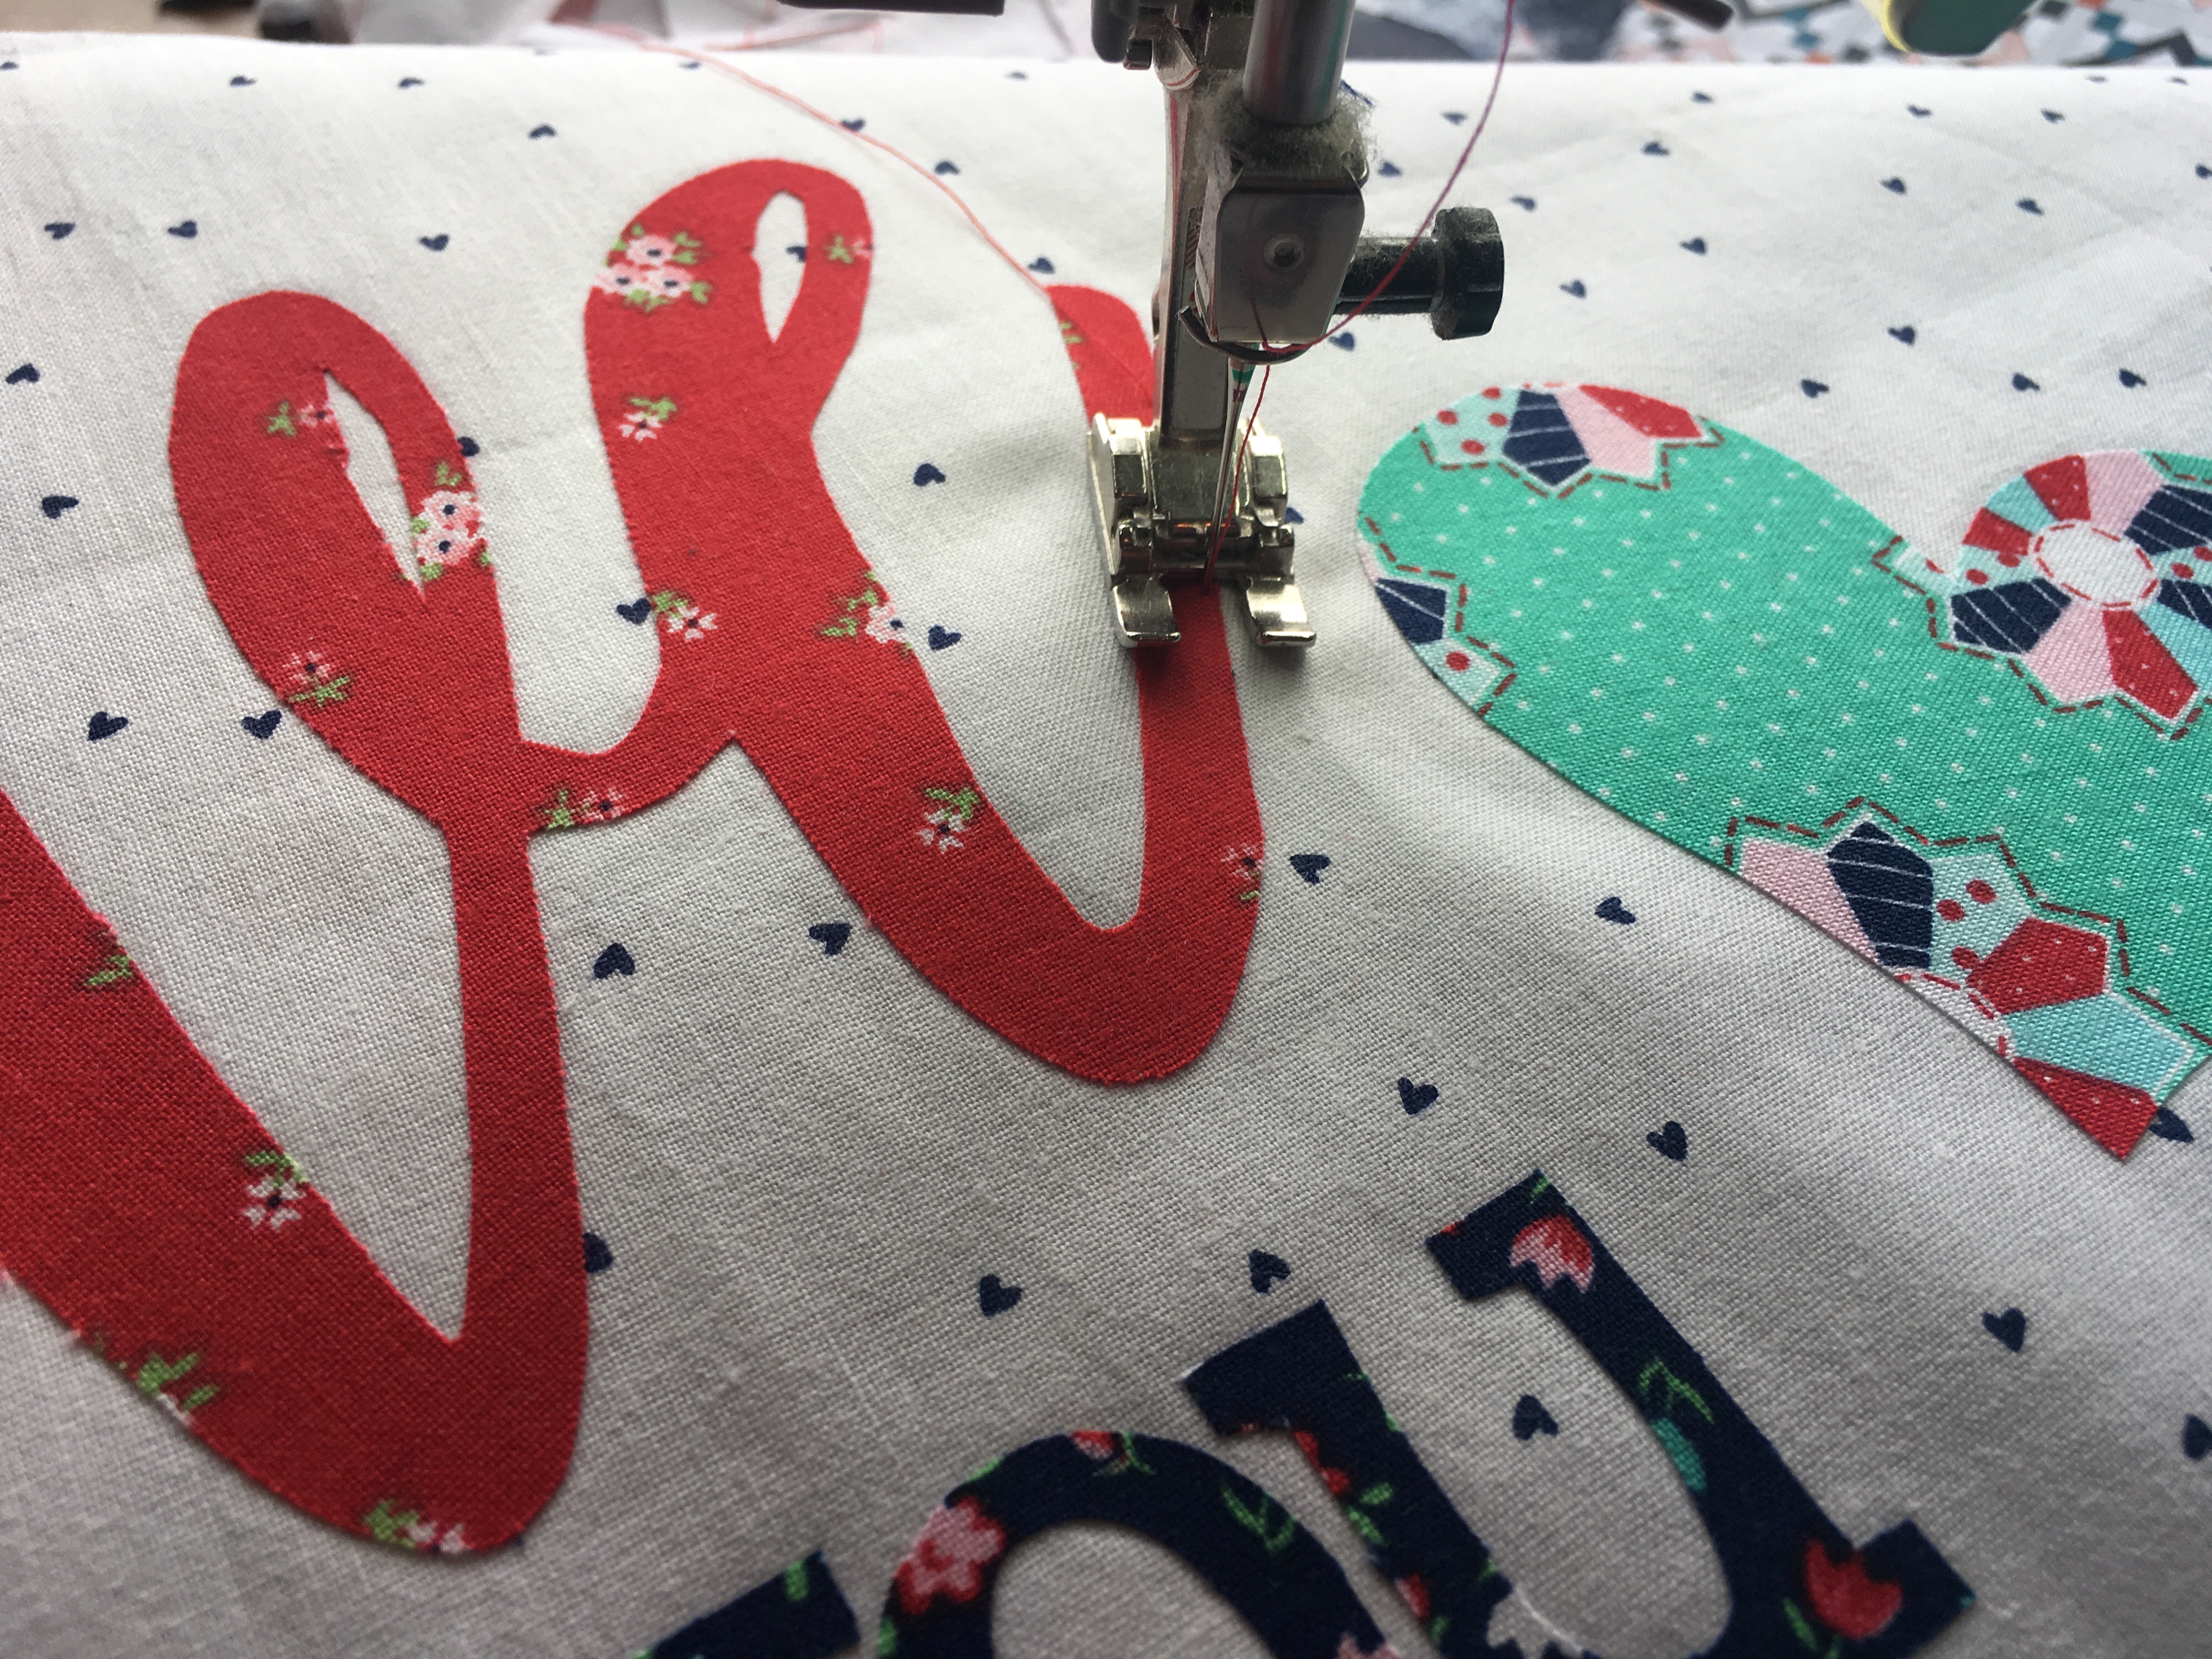 It can be tricky to appliqué around small letters. Pro tip: It's best to use an open embroidery foot and to use a knee lever to raise the foot so you can use both hands for guiding the fabric. Just go slow and take your time - especially around the curves.
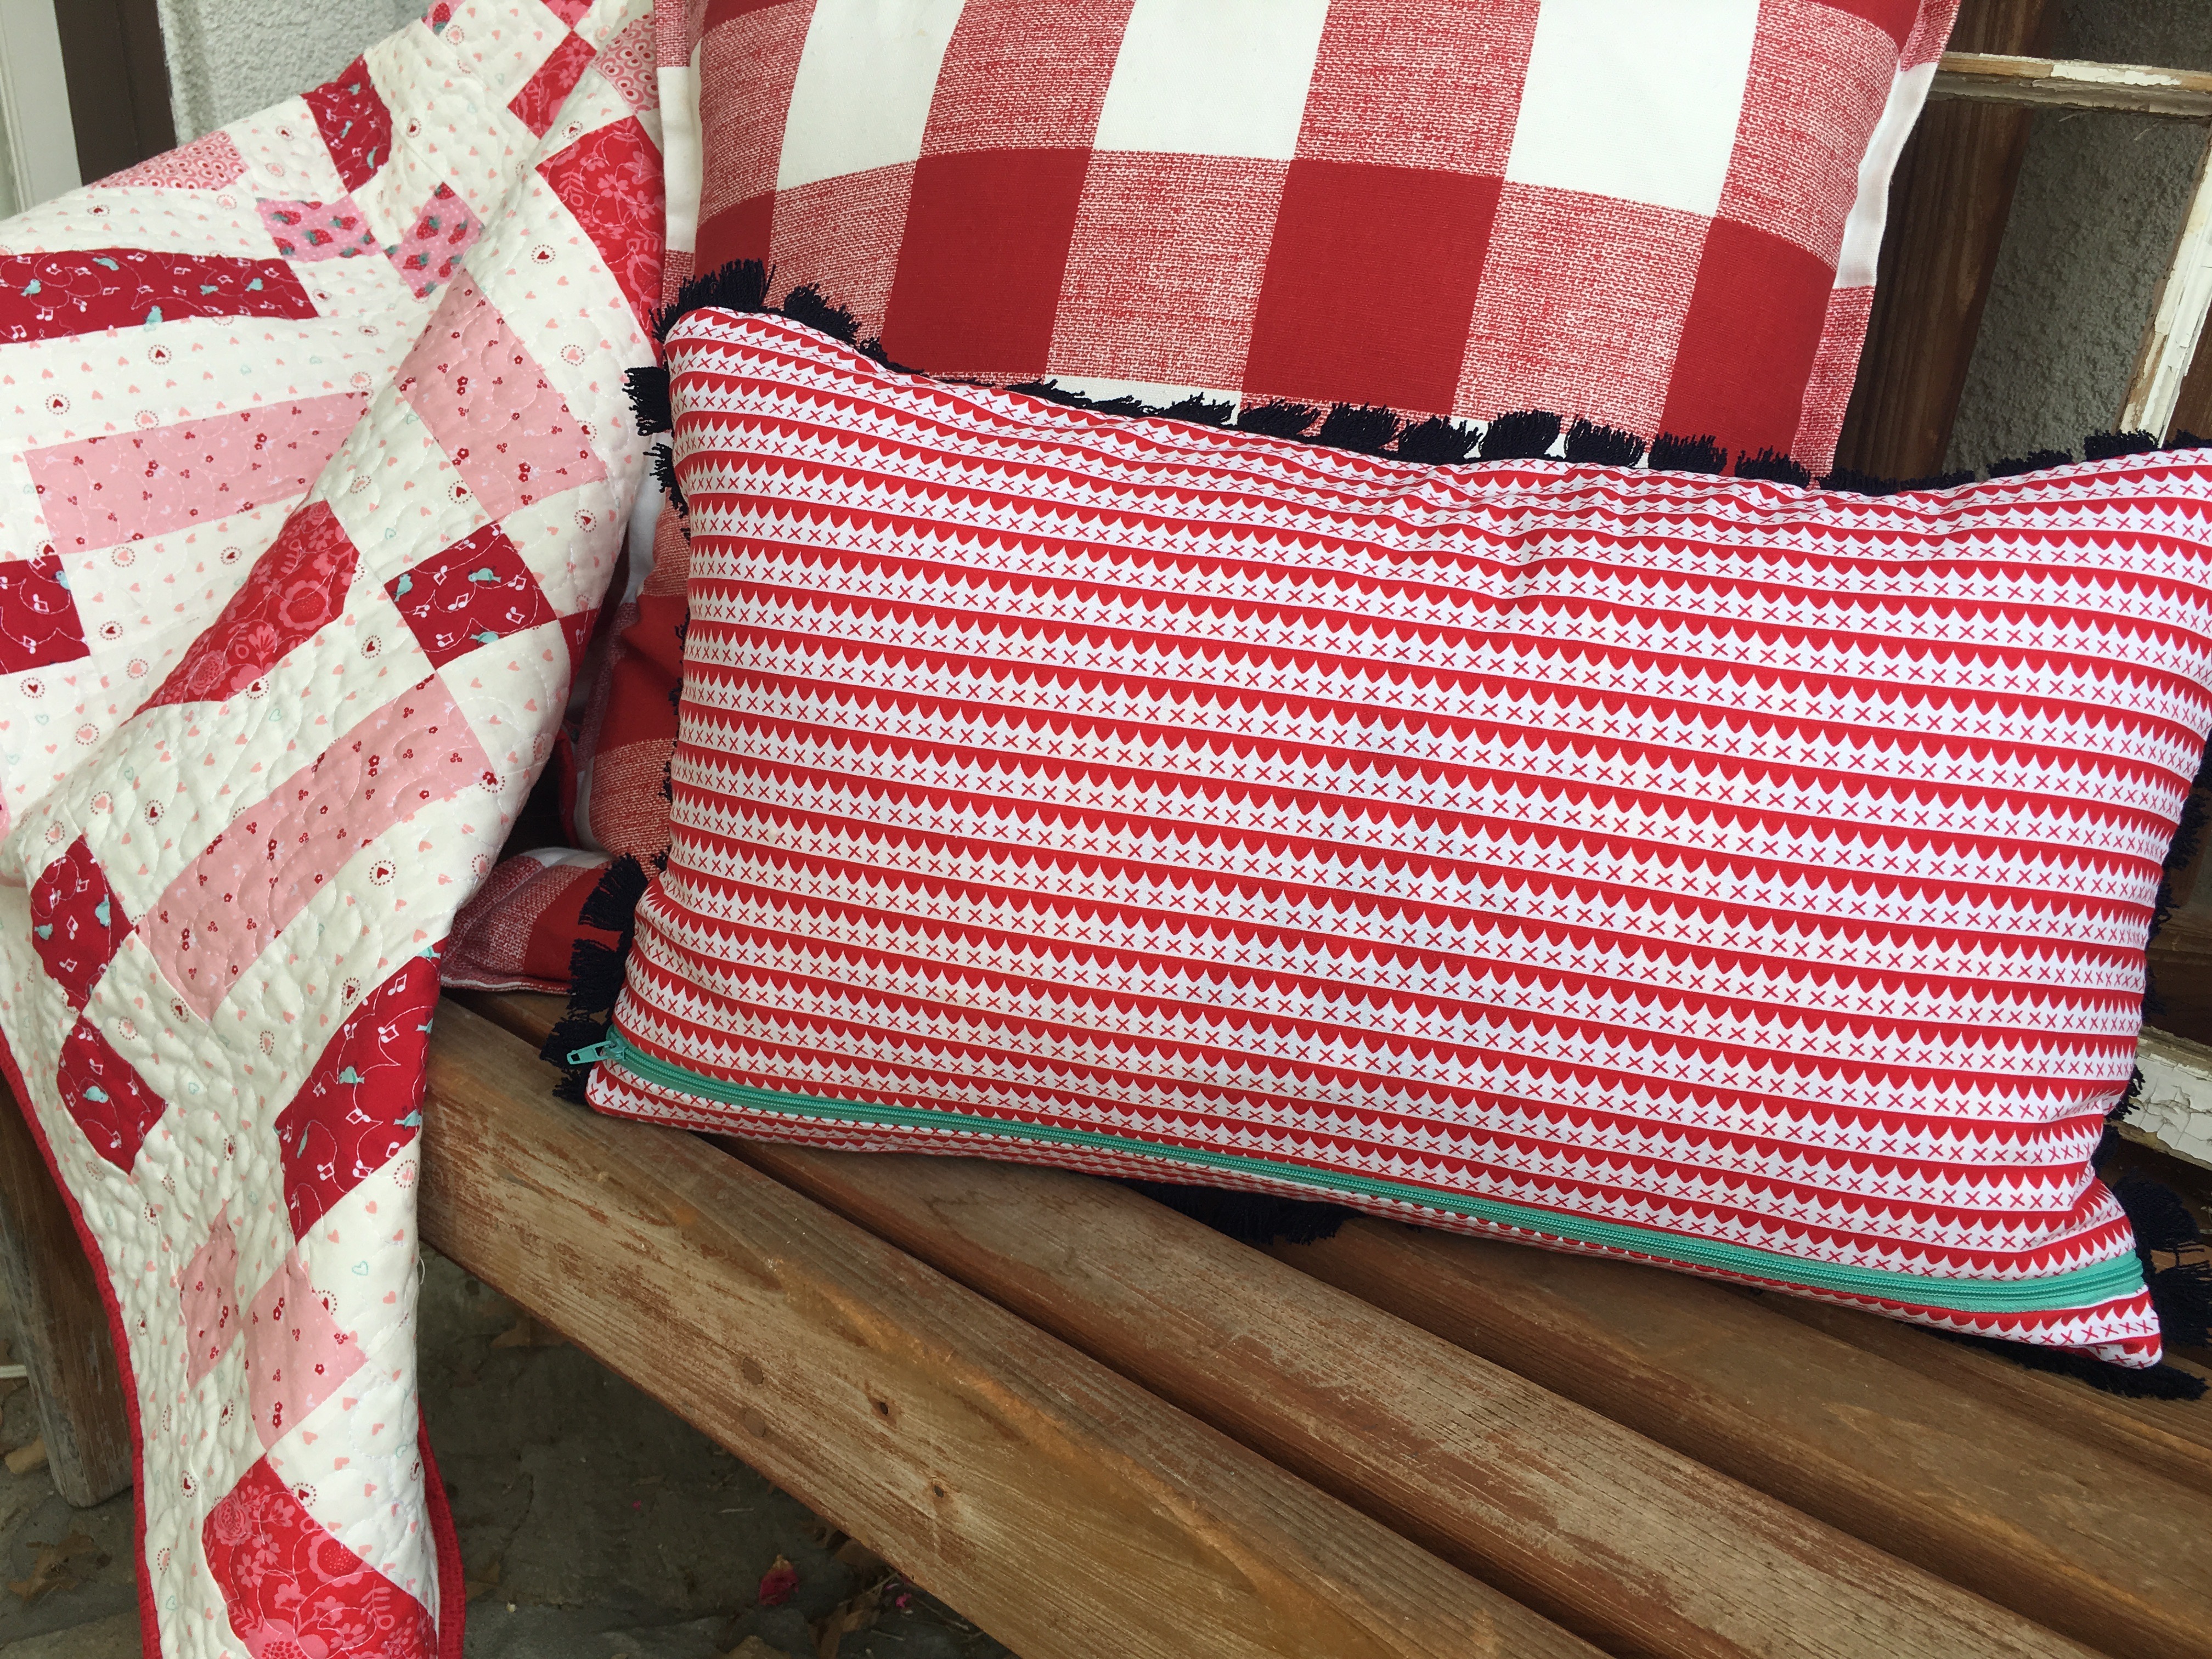
Once the appliqué is finished you can turn It into a pillow using your favorite method; mine is a zipper closure on the back. For more information on inserting a zipper into a pillow, click HERE.
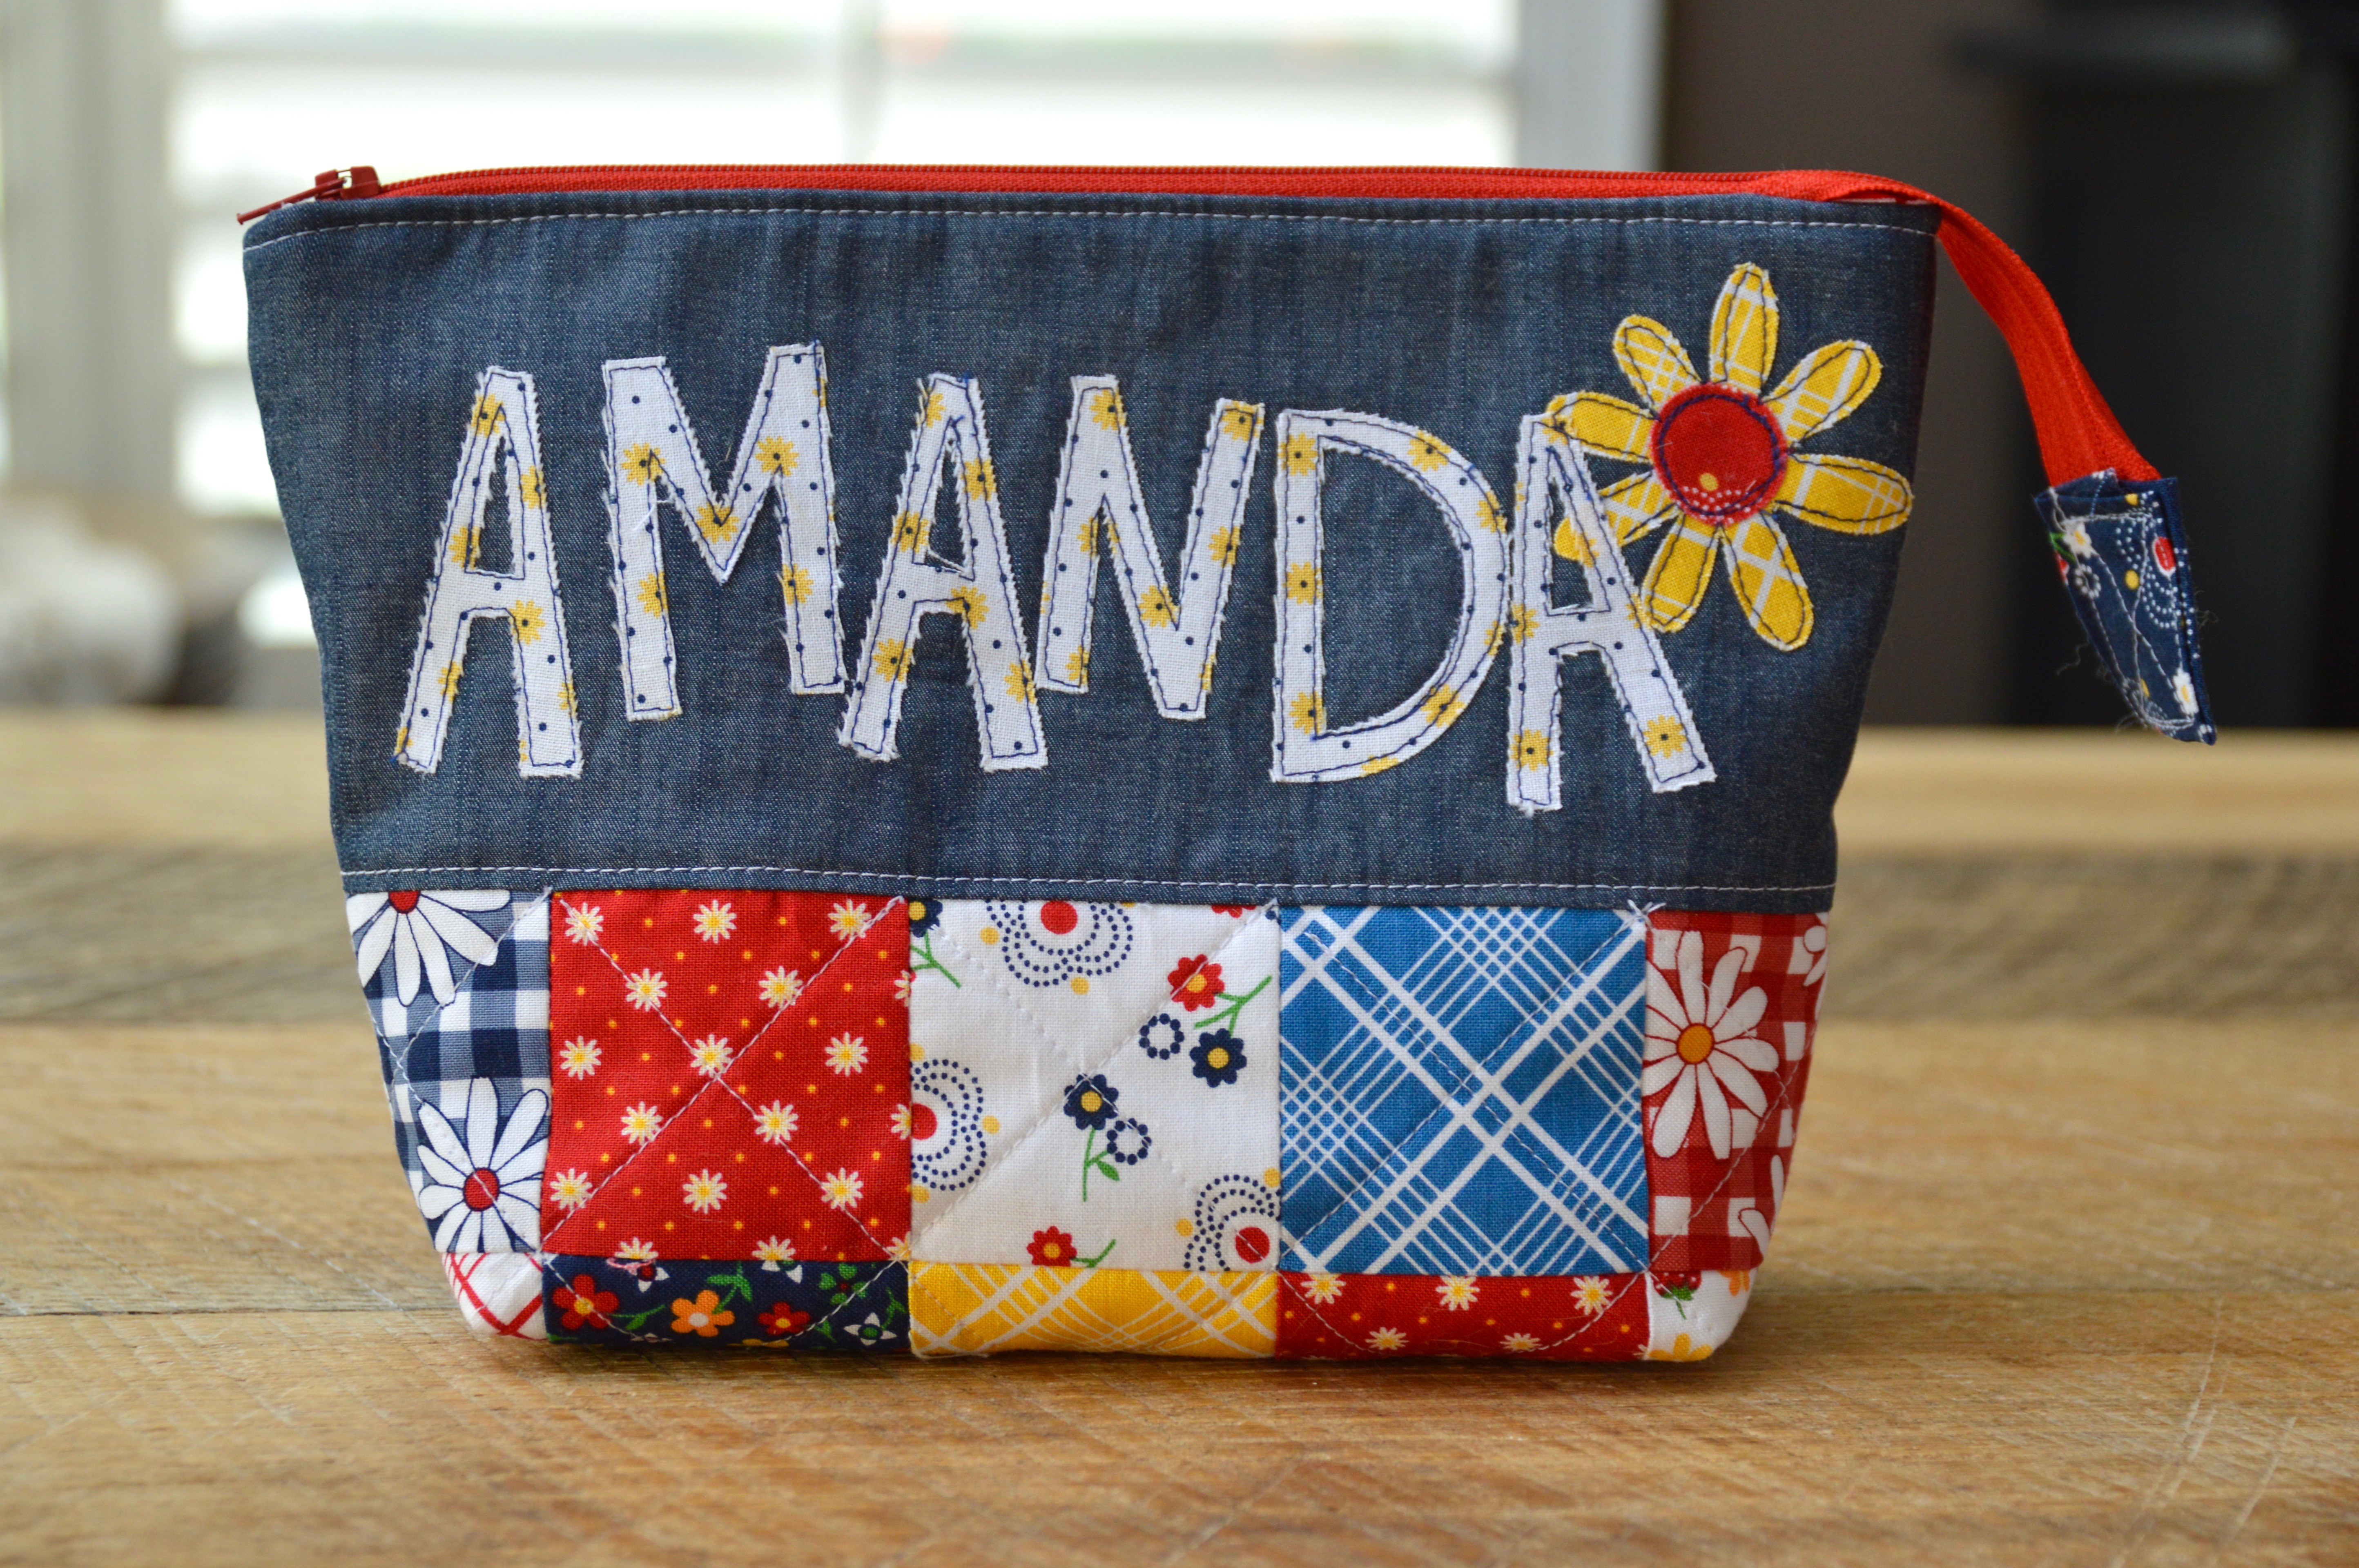
Here is another example of a fun word appliqué project! Click HERE for the tutorial for this pouch made with Gingham Girls fabric!
Thanks, Amanda! I'm feeling inspired get creative with more text/print ideas! I hope this post inspired some of your own creativity.
Amanda has some really darling quilt patterns in her Etsy shop including this Country Flowers quilt pattern and her popular I Love Cats quilt pattern.


Monica Kostak
This is sew cute..i will add it to the list in my little notebook for next year 🙂 Thanks for sharing! 🙂
Carolyn
Super cute! I know it won't get made by this Valentines but I'm thinking on my bed would be awesome and then I can enjoy it year round! Thanks for sharing Amanda and Amy!
Lenore
Gorgeous. Thank goodness I have a Brother Scan and Cut. It is perfect for projects like this. X
billiemick
Cute, cute, cute
csgamble
Thanks for this tutorial. I would like to add words to future projects. Can you share what fonts you used for these words? I am also debating the purchase of a Brother Scan and Cut to cut out words like this.
Susan
That pillow is absolutely adorable - thank you so much for the tutorial! I would probably hesitate to make this due to the applique, but using a straight stitch around it (even 3x) takes some of the pain away - thanks for the idea!
Rosemaryflower
This is a cute pillow, I love it
Liz
Do you put Fray Check on the edges? What happens if you wash the pillow case with just the straight stitching?