
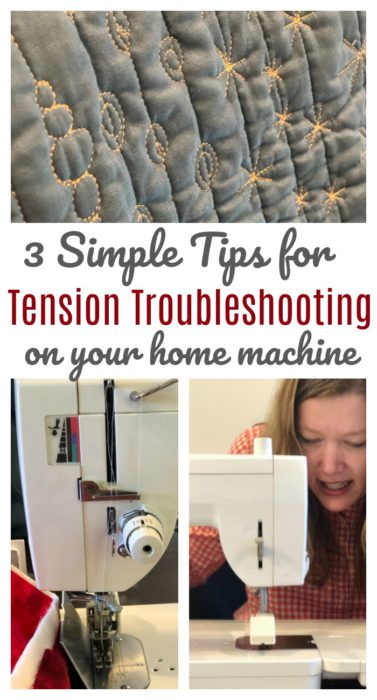
I'm excited to have Dara Tomasson back sharing a guest post about a common issue when we machine quilt from home: sewing machine tension. Machine quilting on our own machines can easily create tension issues because sewing through multiple layers (including batting) is going to be different than just sewing through two pieces of cotton like when we are piecing. Dara has some simple tips to help you diagnose and adjust your tension issues at home.

Hi! I'm Dara Tomasson of Stitched Quilting Company. From my own personal experience and from teaching hundreds of women to free motion quilt, tension is one of the biggest obstacles to quilting your projects yourself. (Maybe you feel this way when you're unpicking after tension woes.)
This post is dedicated to providing you with a three step plan to reducing 90% of the tension problems you will face when free motion quilting.
Before I introduce the three step plan, remember that to get the best results the thread weight and needle size need to be coordinated. You can find more information thread weight and needle size in this post.
This method for adjusting your tension is called TNT- thread, needle, tension. Go in this order and you will get great results.
1 Thread- First, try simply rethreading your machine right from the spool.
If you are not sure how exactly to thread your machine check the owner's manual. You can even try YouTube - search for your sewing machine brand and model. It is amazing what videos are available out there. If you do not have an owners manual, check to see if it is online. (I once found a 1985 sewing machine manual there!)
After rethreading the machine, try to stitch. Did it make a difference? If not, go to step two.
2. Needle- Change the needle.
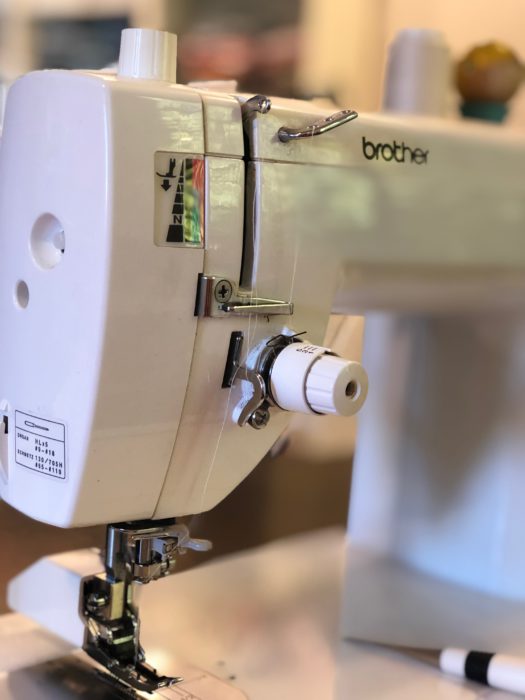
There are so many different needle types out there which causes all sorts of confusion. Select a Top Stitch needle. A top stitch needle has a longer front groove for the thread to travel in as it goes into the eye. The eye is also longer. The tip of the needle is sharp but not too sharp to cut the fabric, rather divides the fabric for the thread to enter through. Also, the needle size and the thread size need to be compatible.
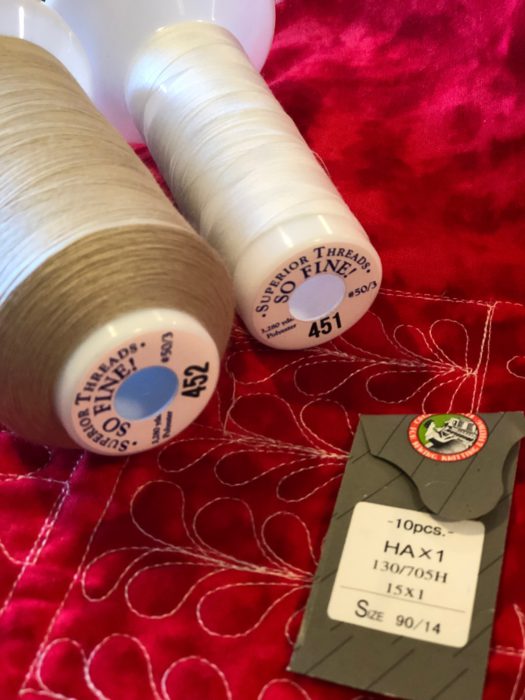
My secret to success is a 50 weight thread (my fave is So Fine by Superior) and a 90/14 needle size.
Some needles are defective. Usually the main reason to change the needle is that it has worn down and a fresh needle will do all that it has been intended to do.
3. Tension- Alter the tension on the machine.
This could be an entire book but I will try to keep to the basics. When machines come out of the factory they are usually set for sewing clothes. We need to adjust the setting for free motion quilting.
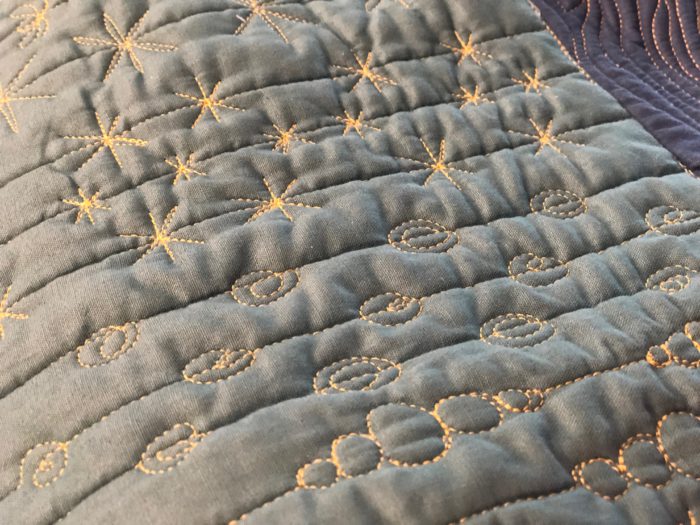
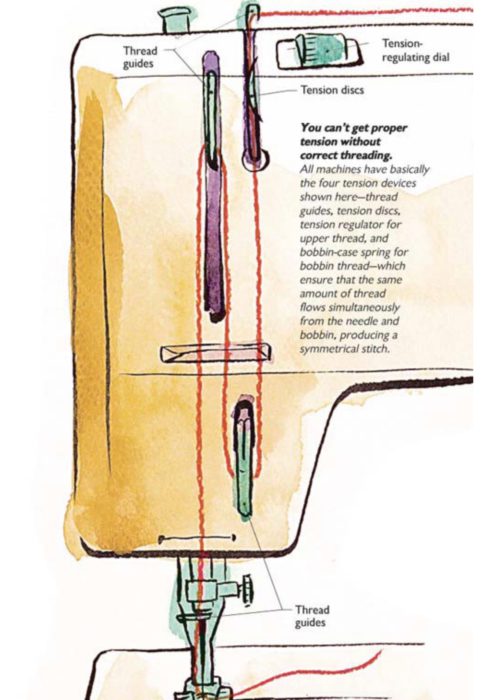
Here is a diagram explaining how the thread travels from the cone to the needle. There are several points along the way that control the speed. The tension disks are like two plates that are facing each other being opened or closed at varying degrees controlling the amount of pressure on the thread.
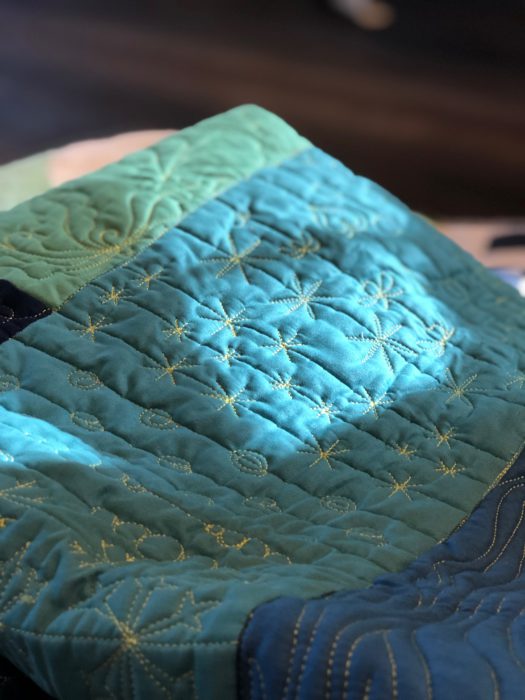
Start by turning all tension controls to zero. If you are working on a quilt, practice on a quilt sandwich. This is really important because the machine tension needs to be the same as the project you are working on.

With the darning foot on, try stitching. Stitch for about 30 seconds. Take a look at the back. How does it look?
If it isn’t right move up the tension just a little and try again. Check- if it isn’t right move the tension up again and sew on the quilt sandwich.
*Only make one change at a time until you get it right.*
This TNT method (thanks Handiquilter for your super helpful video on this) resolves about 90% of free motion quilting tension troubles. If you are still having troubles achieving your proper stitch there could be problems with the timing or some other mechanical issue. YouTube videos or your local repair shop are great resources to help you out.
Here is a handy free printable Tension Troubleshooting handout to use as a reference. I have even included some bonus tips!
Learning a new skill is often overwhelming and daunting. If you'd like to get helpful machine quilting tips and videos sent directly to your inbox, you can sign up for my newsletter on my website. You can also check out tips and tricks that I've shared on my YouTube Channel.
Summary: TNT Troubleshooting Thread Tension Troubles
Thread- rethread the machine
Needle- change your needle
Tension- put your machine at 0 and slowly work your way up by practicing on a quilt sandwich checking tension on the top and bottom of your quilt.
 Additional bonus tips
-
Use Top Stitch Needles for best results.
-
Co-ordinate the size of needle to the size of thread. I usually use 50 weight thread with a 90/14 needle.
-
The higher the number of thread, the thinner the thread.
-
Look at the way the thread is wound onto the bobbin- if the thread is wound criss cross then the thread needs to be lifted up off the spool then strung through the machine.
-
Only use good quality thread- if in doubt of age or quality, don’t use it.
-
Clean the bobbin and casing regularly.
-
Make sure your bobbin is threaded evenly with good pressure.
-
The bobbin casing can be too tight or too loose to allow the thread to pass though or restrict the passage. Ensure that the thread passes at an even rate. (Each machine and thread type varies- there are great resources available for this)
-
Recognizing balanced tension. My favourite description of this process is explained best here by Superior Threads.
Thanks Dara! Free Motion quilting on my own machine still intimidates me a little, but Dara always makes me feel like I can do it! I know I just need to get in some good practice.
Dara has another great post here with Tips and Tricks for Free-Motion Quilting on your home machine!


Sue
Such a helpful post!
Dara TomassonDara
I am so thrilled it was helpful!
auntiepatch69
I wish I had read this a week ago. I quilted 3/4 of a twin quilt on my machine before I noticed I had a tension problem. I had worked on a sandwich sample before and it was fine. Took me 4 days to tear it all out. Tomorrow I'll start again.
My question is this: not all spools of thread have a weight listed on them. How do I tell the weight without it listed? I'm new to quilting. Please tell me it's something simple...….
Little Quiltsong
Thank you for this post! My tension seems fine with my walking foot and otherwise, but FMQ is still a problem. These tips were great!
Gretchen Barclay
Make certain you know how to position the needle in the machine. Some models are flat side to the back and others to the side. If it's installed the wrong way, it will never sew properly.
Sue selock tysinger
This was so helpful
desidear
The photo at the top of the post is of the same machine I have. I have a thread stand for cones. Where do I put it?? If I put it behind the machine, it is constantly knocked over by the quilt. If I put it to the right side it seems to be on a long path. Do I use the adjustable wire arm as the first pass through (as I do for sewing/piecing)? I struggle with this every time I quilt with criss cross thread.
Sandra
When adjusting tension, it helps to use different colored thread. You can tell which tread to adjust by color. This works on home machines and especially overlocks.
Amy
Great tip!
Debra Campbell
I have learned that the first thing to check for is lint build up in the bobbin casing. That often solves my tension issue. (I bought a whole new machine before I figured it out though.) Also re-thread your bobbin when you re-thread your needle.
Amy
Really great additional tips!
dani
It is a best write up on troubleshootsewing machine problems. I enjoyed reading this article.I like how you have researched and presented these exact points so clearly.I am sure many people will come to read more about it in future.