
I'm always excited for guest posts from the talented Sedef Imer. Check out this adorable quilted coasters tutorial - perfect for gifts or summer entertaining! This tutorial features Sedef's fabric collection, Rhapsody from Riley Blake Designs.
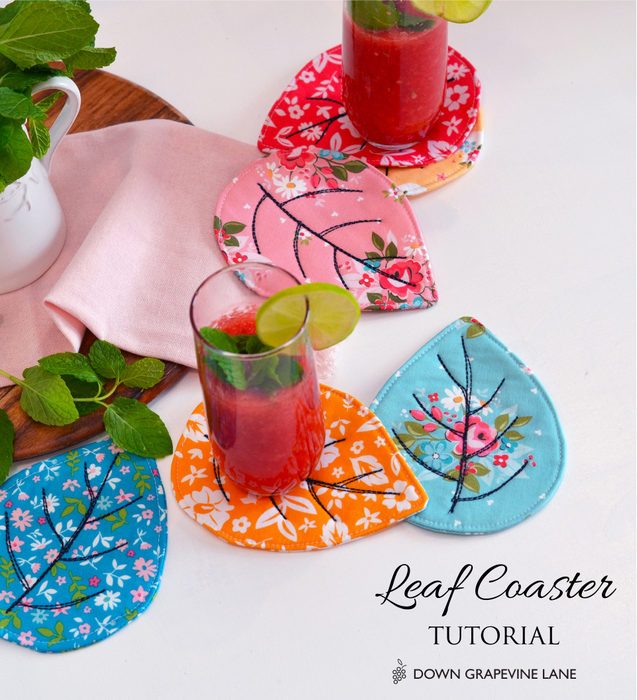
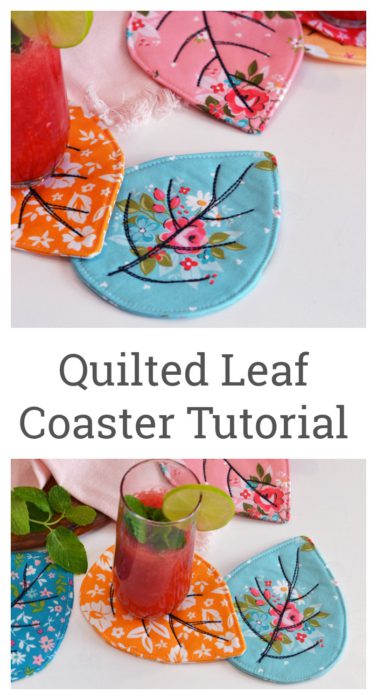
Quilted Coasters Tutorial
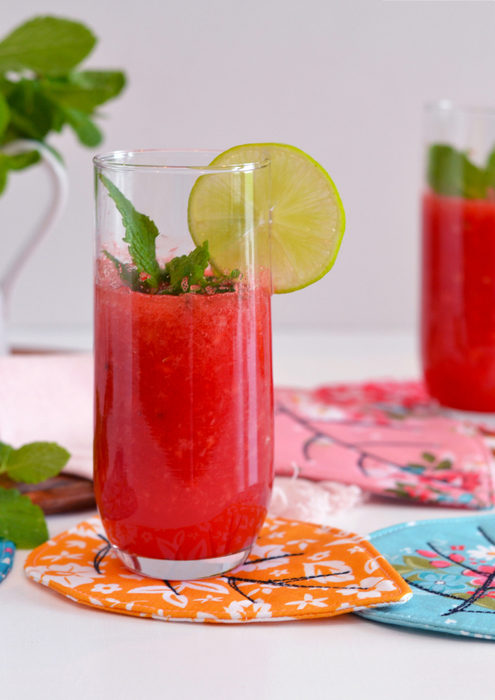
Hi, it's Sedef Imer here, from Down Grapevine Lane . I'm delighted to be back as a guest blogger on Amy's blog today! My sewing mantra is 'sweetly modern' so today I will be sharing a free tutorial to make this cute set of coasters that really reflects my sewing style. Happy, floral, and very Zakka!
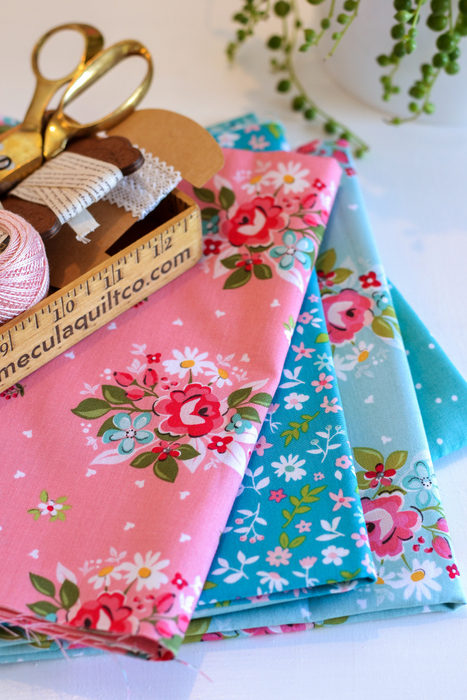
The fabrics I used are from my collection called 'Rhapsody' for Riley Blake Designs (not out of print). The cheerful, bright colours of this line was inspired by the bohemian riot of multi-coloured houses in the beautiful Italian villages of Cinque Terre - a place that I visited with my husband many years back and have so many happy memories from.
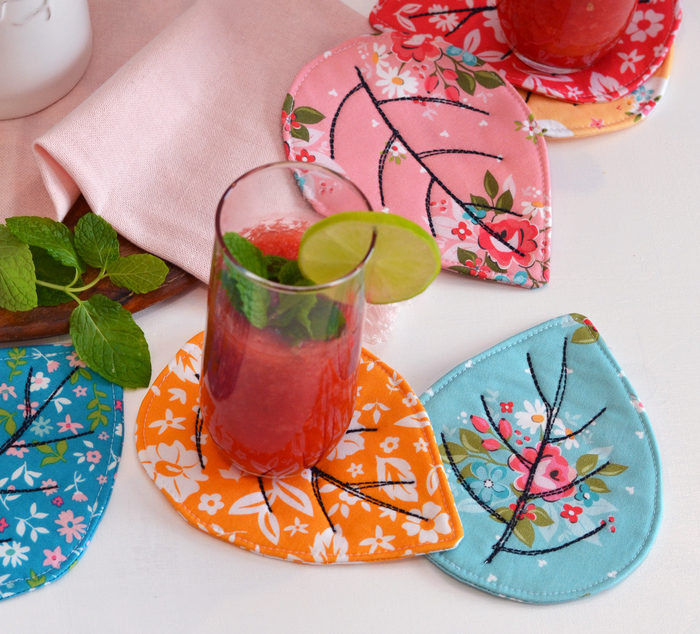
Here are the materials you will need and the steps to make these sweet coasters. Happy sewing!
MATERIALS (FOR ONE COASTER)
(1) 7" square print fabric (coaster top)
(2) 3 ¾" x 7" print fabric (coaster backing)
(1) 7" square wadding (batting)
STEPS
1. Sew the two 3 ¾" x 7" pieces together along one long edge with a ¼" seam, leaving a 2" unsewn gap in the middle - this is the gap through which we will turn the coaster inside out later on. Press the seam open. Your finished coaster backing piece should measure 7" square.
2. Print the PDF coaster template and tape to a window (or use a lightbox if you have one). Place the 7" coaster top fabric on top, right side facing towards you, lining it up with the 7" square in the template. Using a removable fabric pen trace the leaf vein outline in the centre (no need to trace the outline of the leaf on this piece).
3. Next place the 7" backing piece from step 1 on top of the template on the window (or light box), wrong side facing towards you, lining it up with the 7" square in the pattern. Trace the leaf outline on the wrong side of the backing piece.
4. Place the 7" square of wadding on the table, then place the coaster front on top, right side facing up, and the coaster backing on top of that, wrong side facing up. Pin the three pieces together.
5. Sew along the traced leaf outline all the way around, securing your beginning and end stitches well. Trim off the excess fabric and batting with pinking shears.
6. Turn the coaster inside out through the opening at the back. Using a turning tool or a blunt pointy instrument such as a chopstick push out the edges until you get a nice leaf shape. Hand sew the gap closed with a blind stitch or whip stitch.

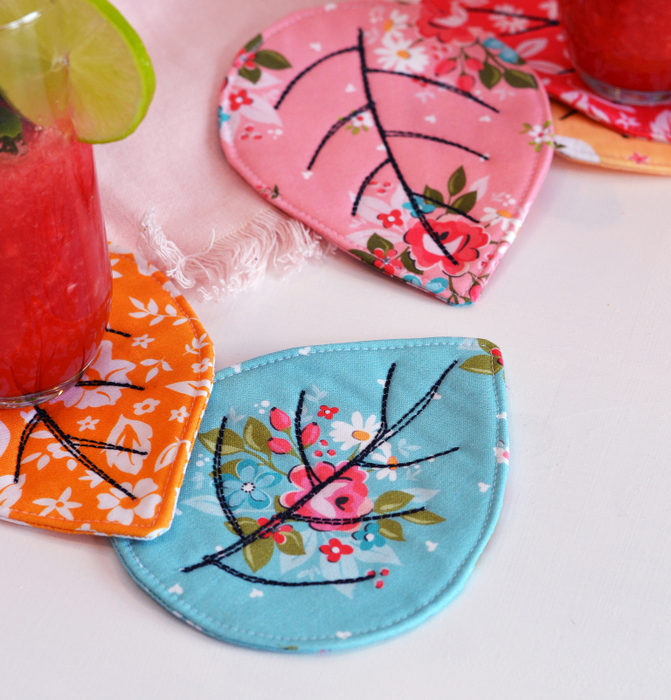
7. Top stitch around the perimeter of the coaster. Quilt the coaster by sewing along the leaf vein tracing. I machine quilted using 12wt Aurifil thread in black and going over the veins a couple of times. You can hand quilt also.
And that concludes my quilted coasters tutorial - thank you for joining me today! Please come visit me over on my blog Down Grapevine Lane and you can also follow me on Facebook and Instagram where I share lots more ideas and inspiration. Also check out my new book Zakka Home which is full of sweet patterns similar to this one. Happy sewing!
Thank you, Sedef!
Sedef's Rhapsody fabric collection is available on Etsy and from the Fat Quarter Shop (while supplies last).
You can also check out Sedef's popular past tutorials including this fun Scandi style throw pillow, and Simple Sprocket pincushion tutorial.
I'm also a fan of Sedef's beautiful Zakka Home book - you can see my review and the project I made with it here.


pamela Allen
I would love to make the leaves, but maybe around a quilt and scattered around through the quilt. Beautiful!
Amy
That is such a great idea!
Lisa Stallings
These look like the perfect size for baby teething! Adding a thick ribbon and the end of the leaf would add more feel to keep baby interested but what could be used inside to create that papery crinkly sound and feel???!!
Ruth
Love the leaf coaster ?
Thank you.
Debra Campbell
Great tutorial! That fabric line is beautiful too ?.
Deanna
So cute!!
artemis
maybe just add pictures to the instructions. I kind of follow pictures, so words without them don't make any sense to me.
Lori
I also am very confused with the instructions. I am probably going to have to use the leaf template and see it the way I think it makes sense. If there were pictures I am sure it is a clever way to do it.
Kathy Kompass
These are very cute and fun for summer!
Jan Weicksel
Thank you as always for your inspiration! A small project is perfect for this time of year! You always have great places and ideas to link to... I wish I had more time to sew!
Pat
you do not say where to cut the hole in the back of the leaf
Amy
You leave a space open when you sew the center seam between the two 3 3/4″ pieces. This will be the hole for turning. (See step 1.)
Cynthia Smith
Beautiful! I’d like to edge q quilt with those lovely leaves all over the quilt sides! Excellent idea!
Barbara Dahl
So the top fabric is a 7" square and the bottom is a 7" by 3 3/4"?
Barbara Dahl
Nevermind. I get it. Thanks!
Sharon Luedeman
I love this sweet coaster. Thank you for the tutorial and the template. I think they are adorable.
carla
cool coaster i am thinking how about a leaf oven MIT. thx
Jessica Monte
Do you have any step by step pictures how to do this. I am a little confused. I would love to make a few of these.
Jessica Monte
I am a little confused in step one do you sew the right side together or the wrong sides together. Do you have pictures how to put it together. I dont quite understand.
Alifia Bhatt
Would love to make these but pictures would be really helpful.xx
Darlene A Withrow
When sewing the two pieces to make up the back together you leave an opening so you don't completely sew closed the seam.
Cathy S.
Oh, this was so much fun. I whipped up a set of 4 for my bestie's birthday. The directions were clear and simple.
I wish I could provide a photo. I like to buy gifts, but one of the gifts HAS to be homemade.
They will be great out by her pool. I used fat quarters that my momma gave to me. It is a great project to use up odds and ends.
Amy
Awesome! What a great gift!
Elaine
It would be nice to have some pictures to go with the instructions. Especially what the back of the leaf looks like. Otherwise, it’s,adorable.
Mary
For everybody wanting pictures. If you read all the instructions you will see a direction to PRINT A TEMPLATE so that you can draw around it making it easy to sew up.
Stephanie Adlam
What weight is the batting?