
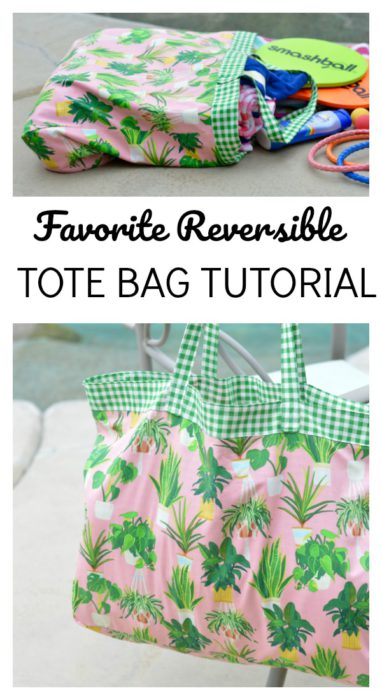
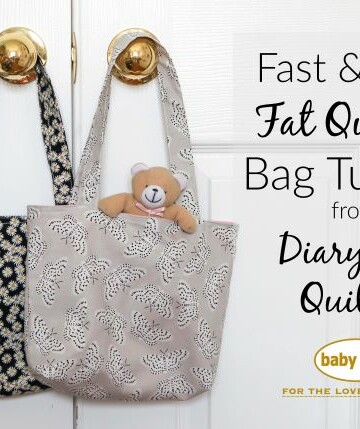
Who's ready for summer trips to the pool or the beach? Or the mountains or the lake? Pretty much summer trips outside, wherever you plan to go, are the best. Today we've got a handy reversible tote bag tutorial from guest Amanda Niederhauser of Jedi Craft Girl to make your own simple tote bag.
Reversible Tote Bag Tutorial:
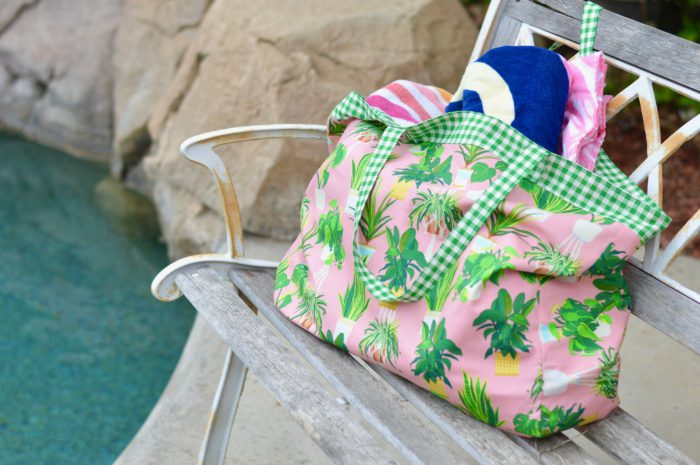
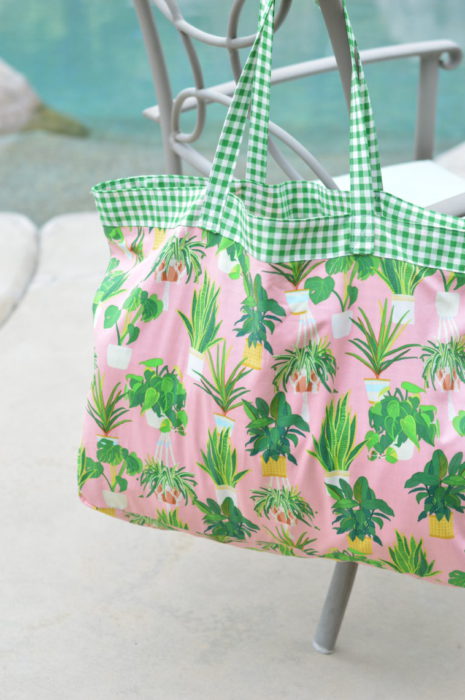
Hi there! It's Amanda from Jedi Craft Girl stopping by to share with you a tutorial for my favorite beach bag. And by favorite I mean I could have 20 of these bags!!!
Beach bags come in many shapes and styles - some are sturdy and stand on their own, some have lots of pockets and zippers, and some are mesh to let out all the sand.
Here are 9 reasons why this bag is my favorite:
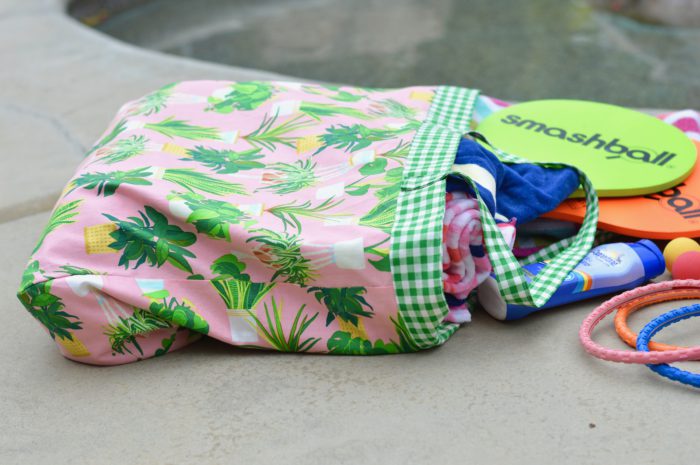
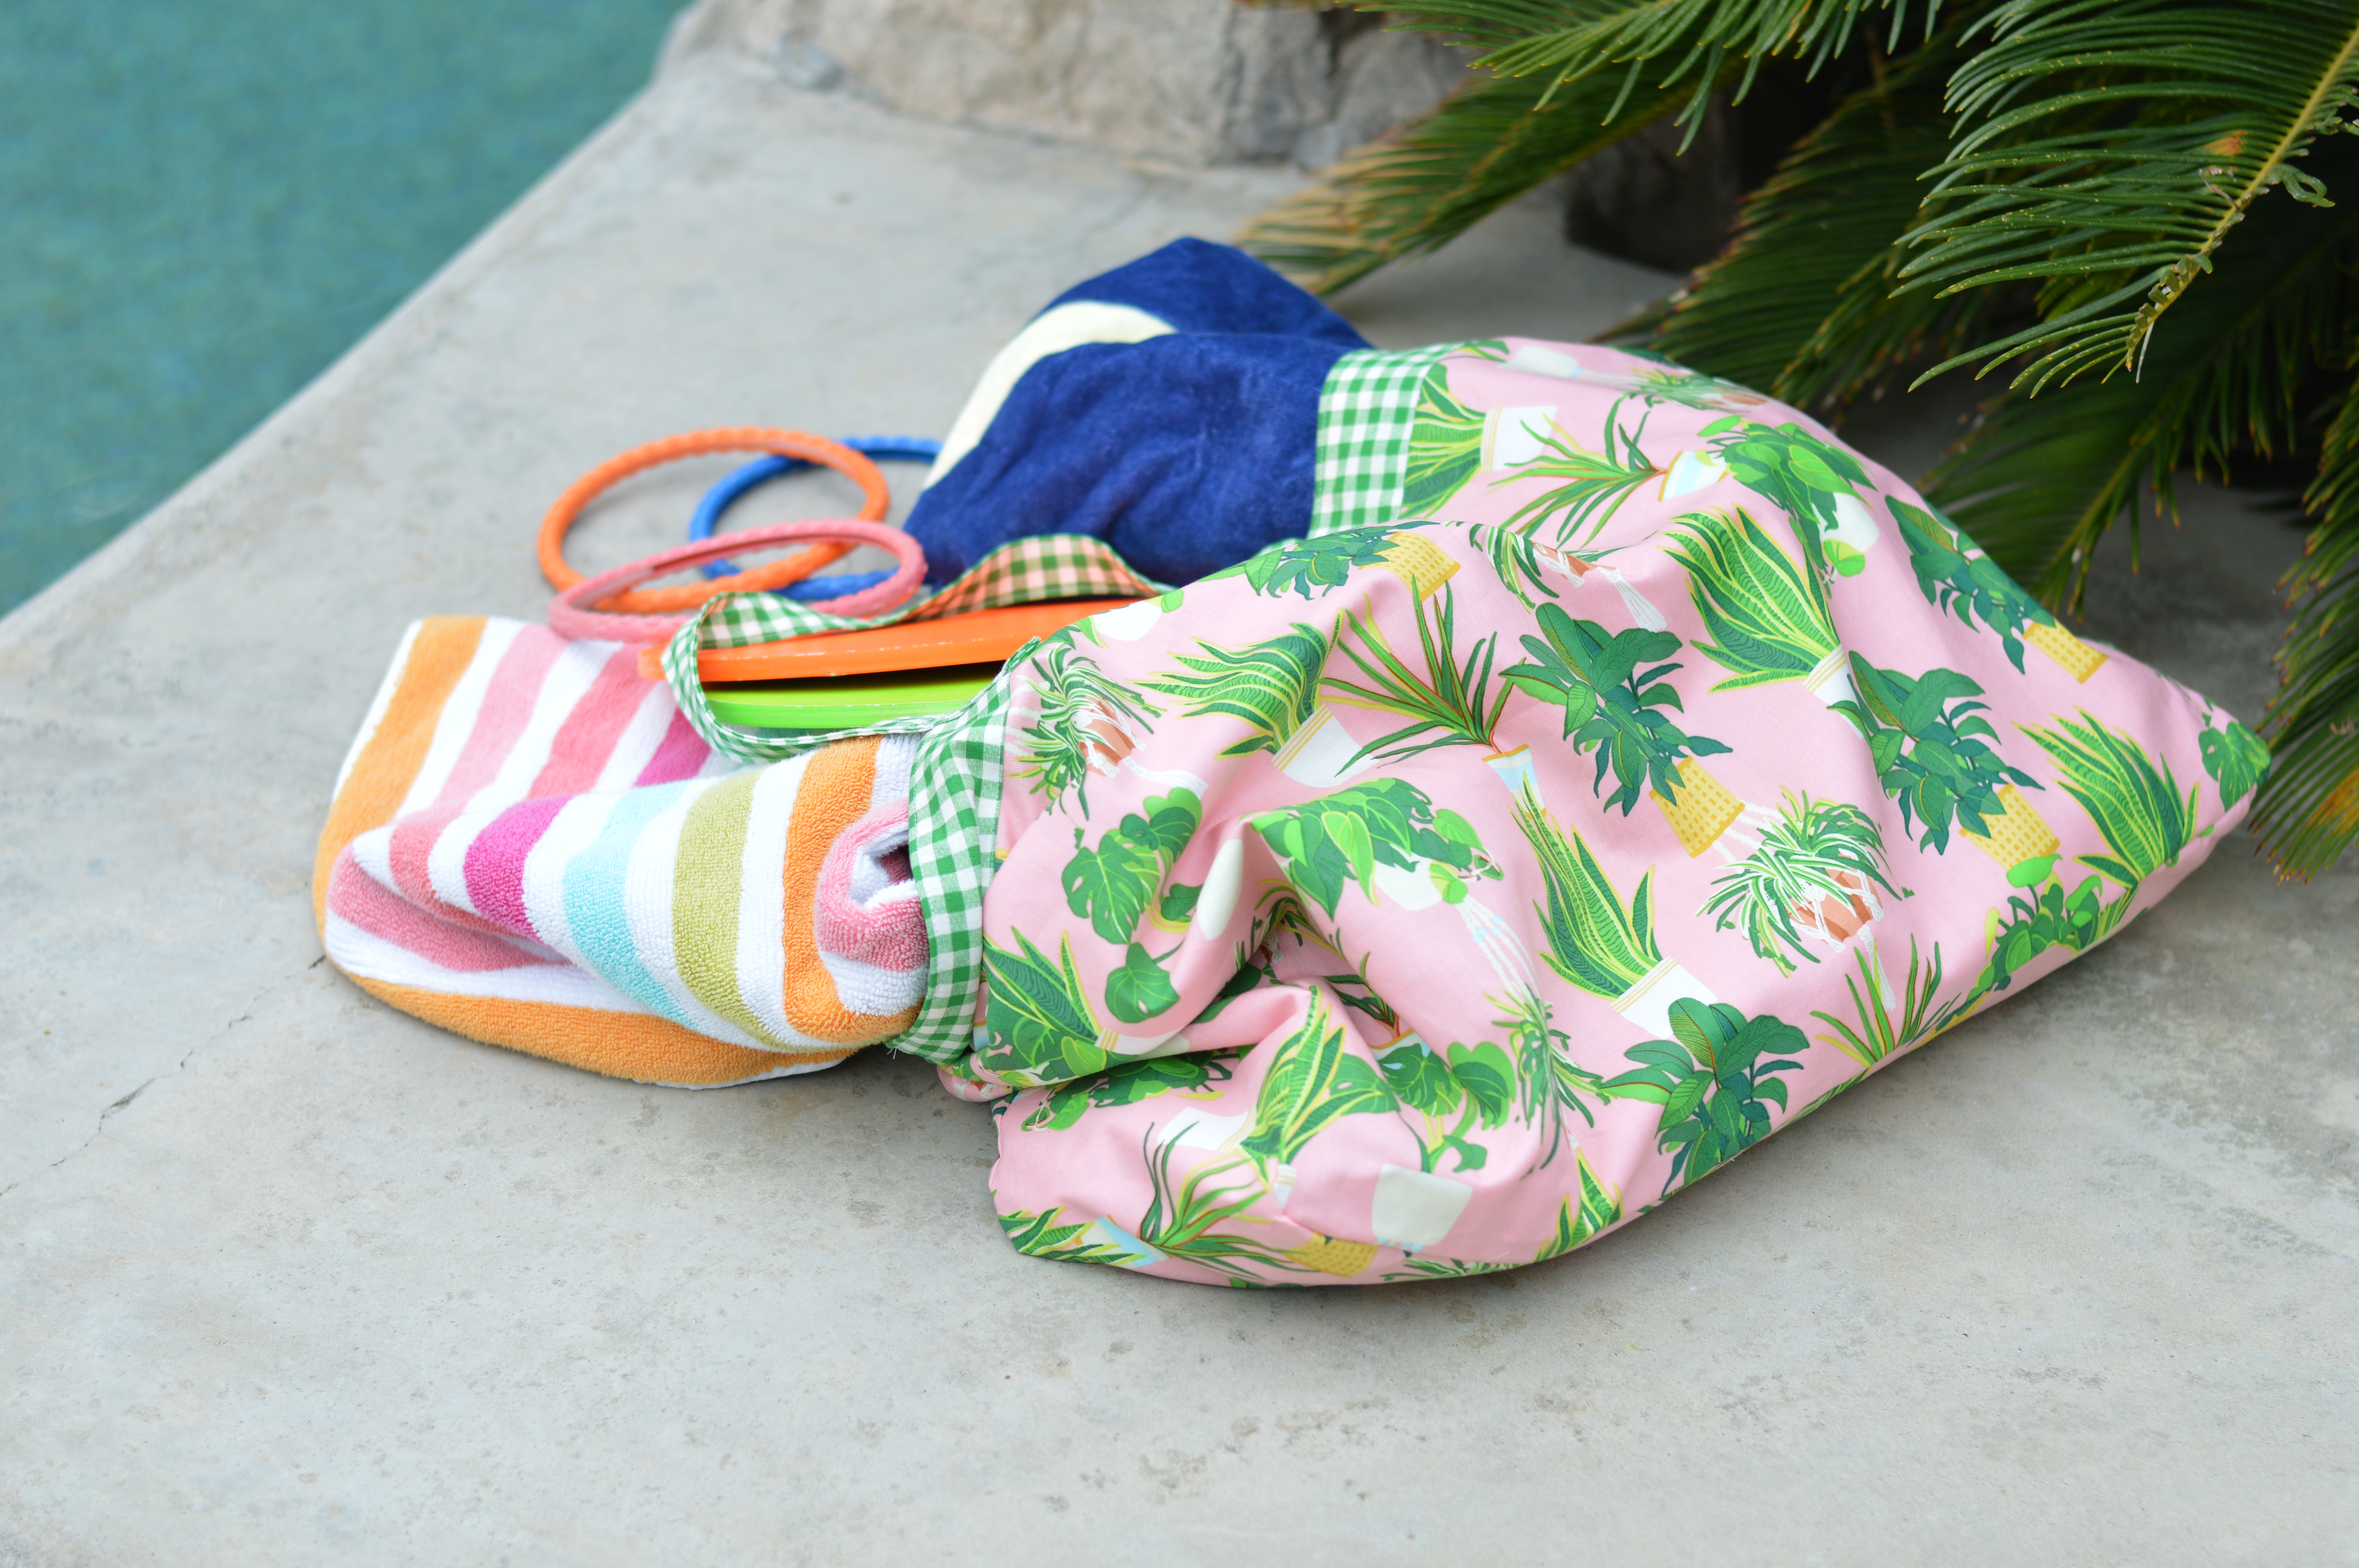
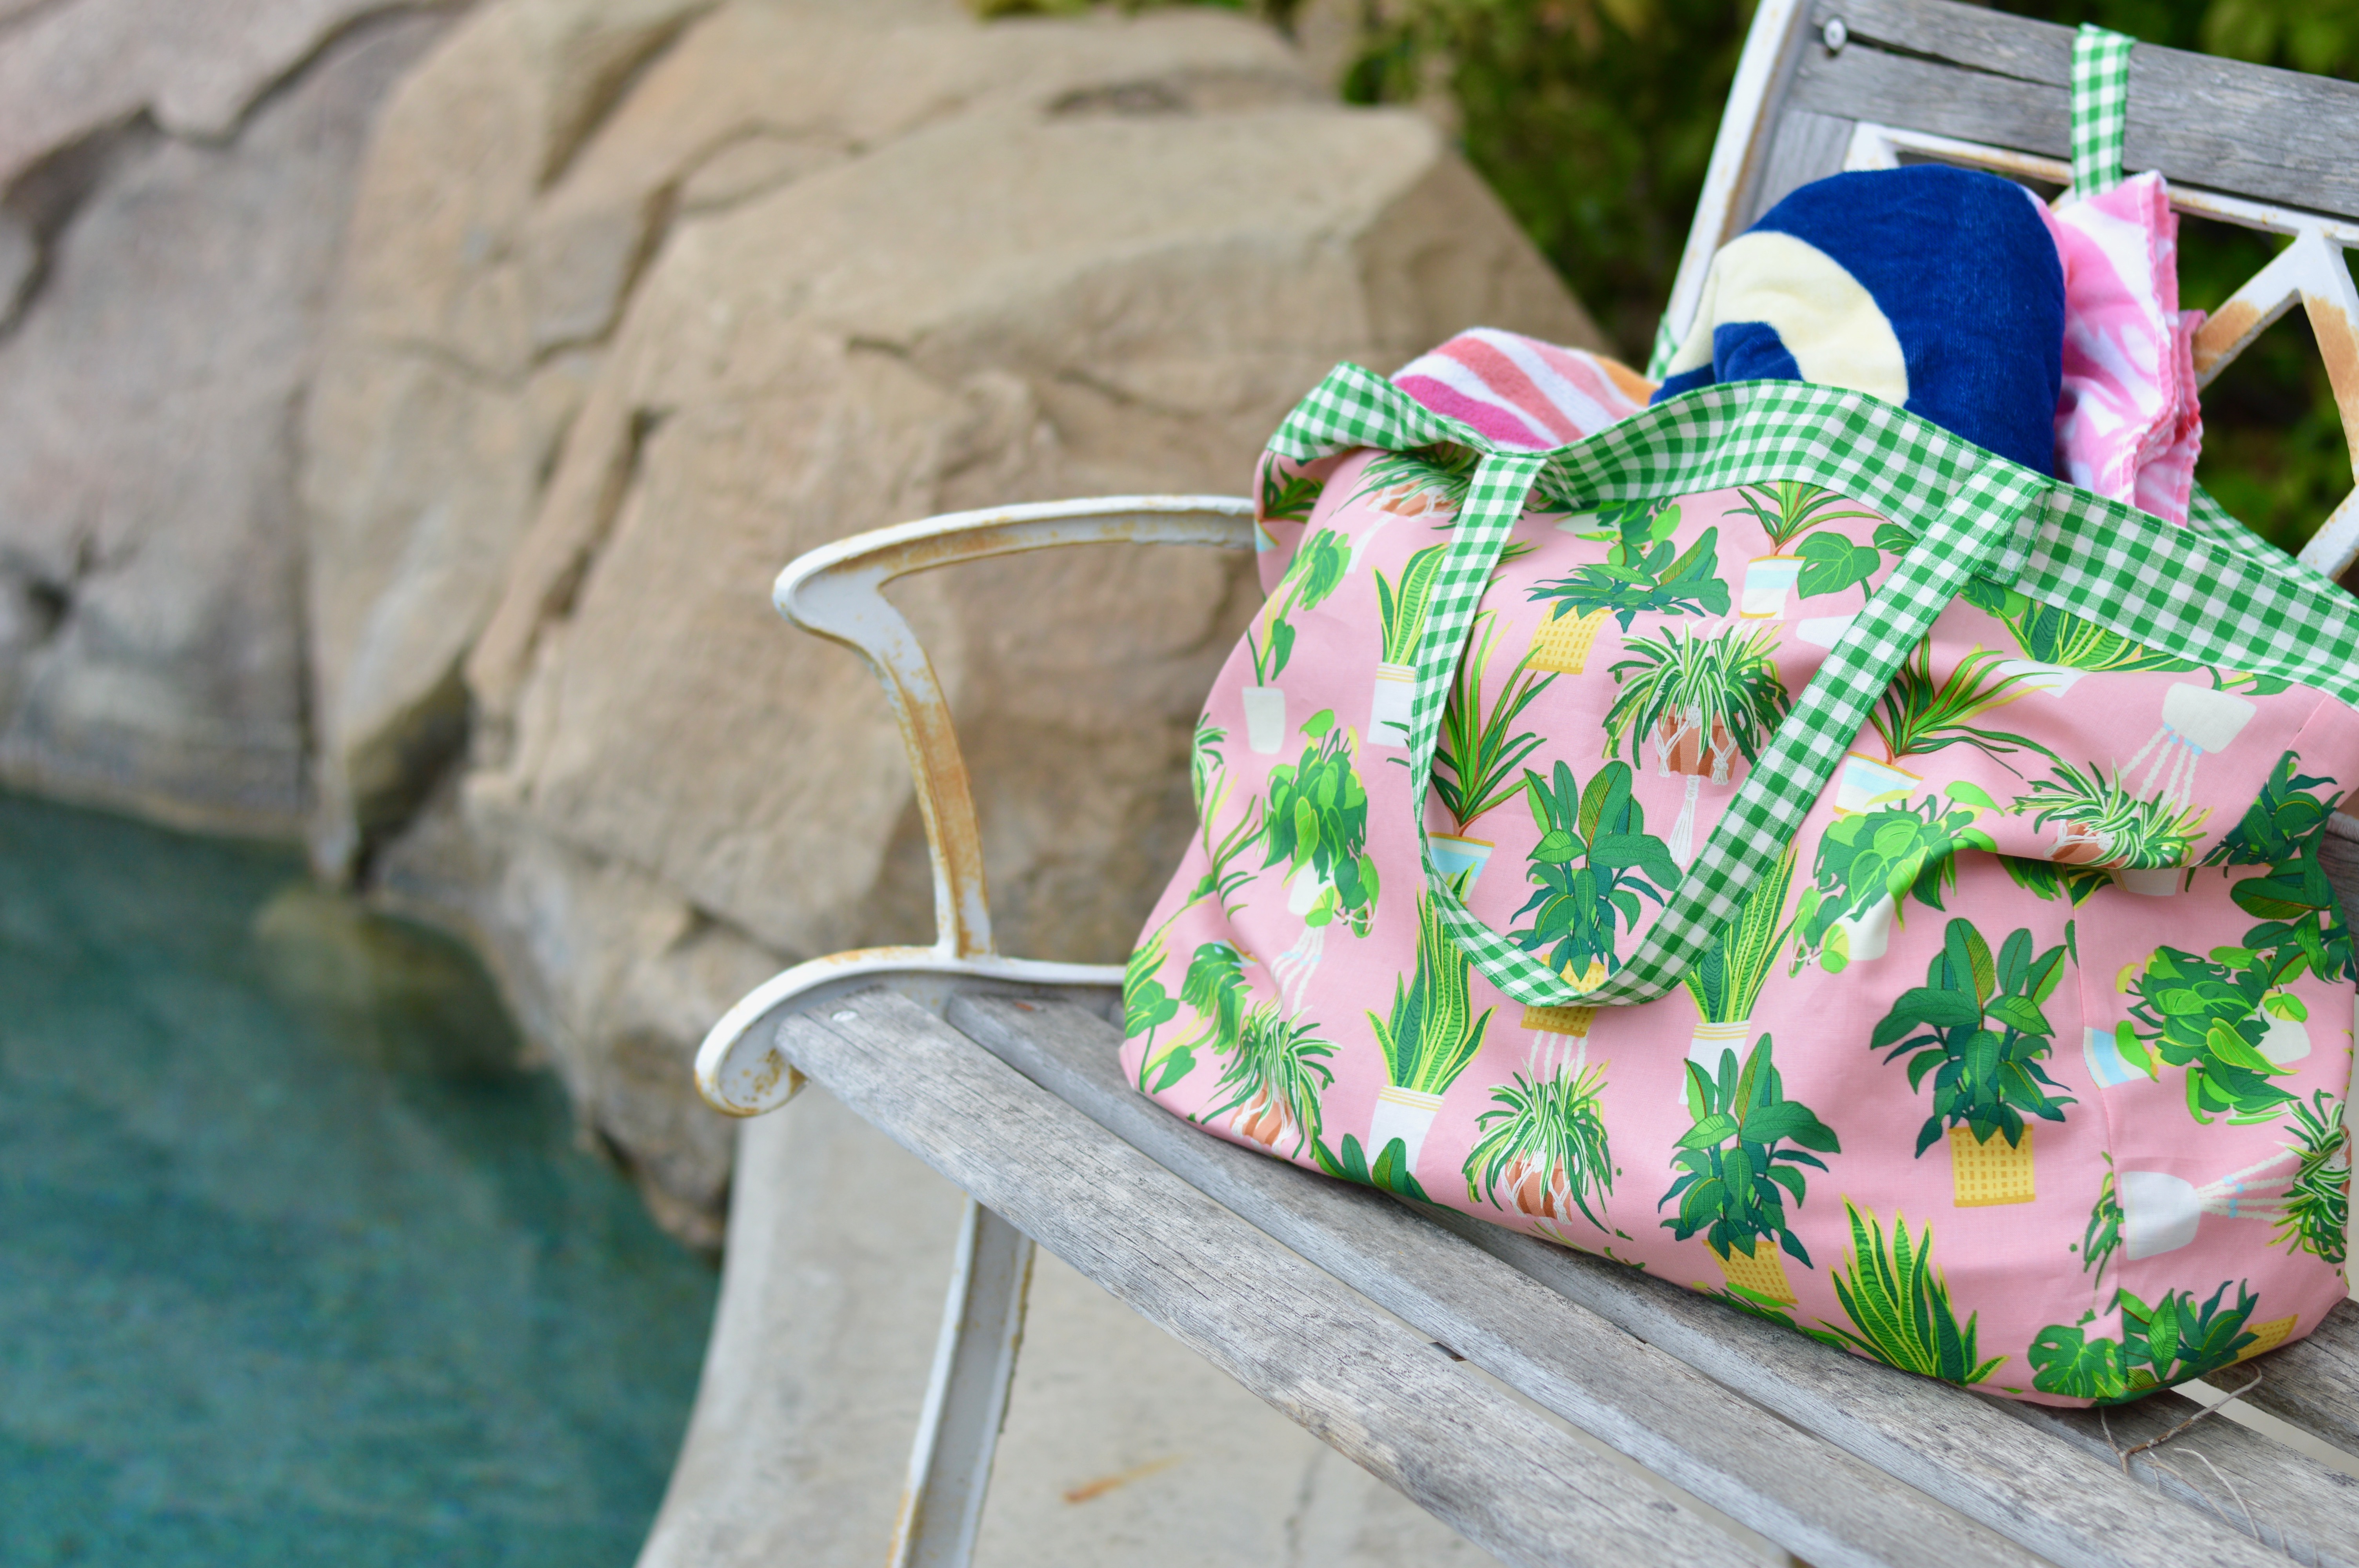
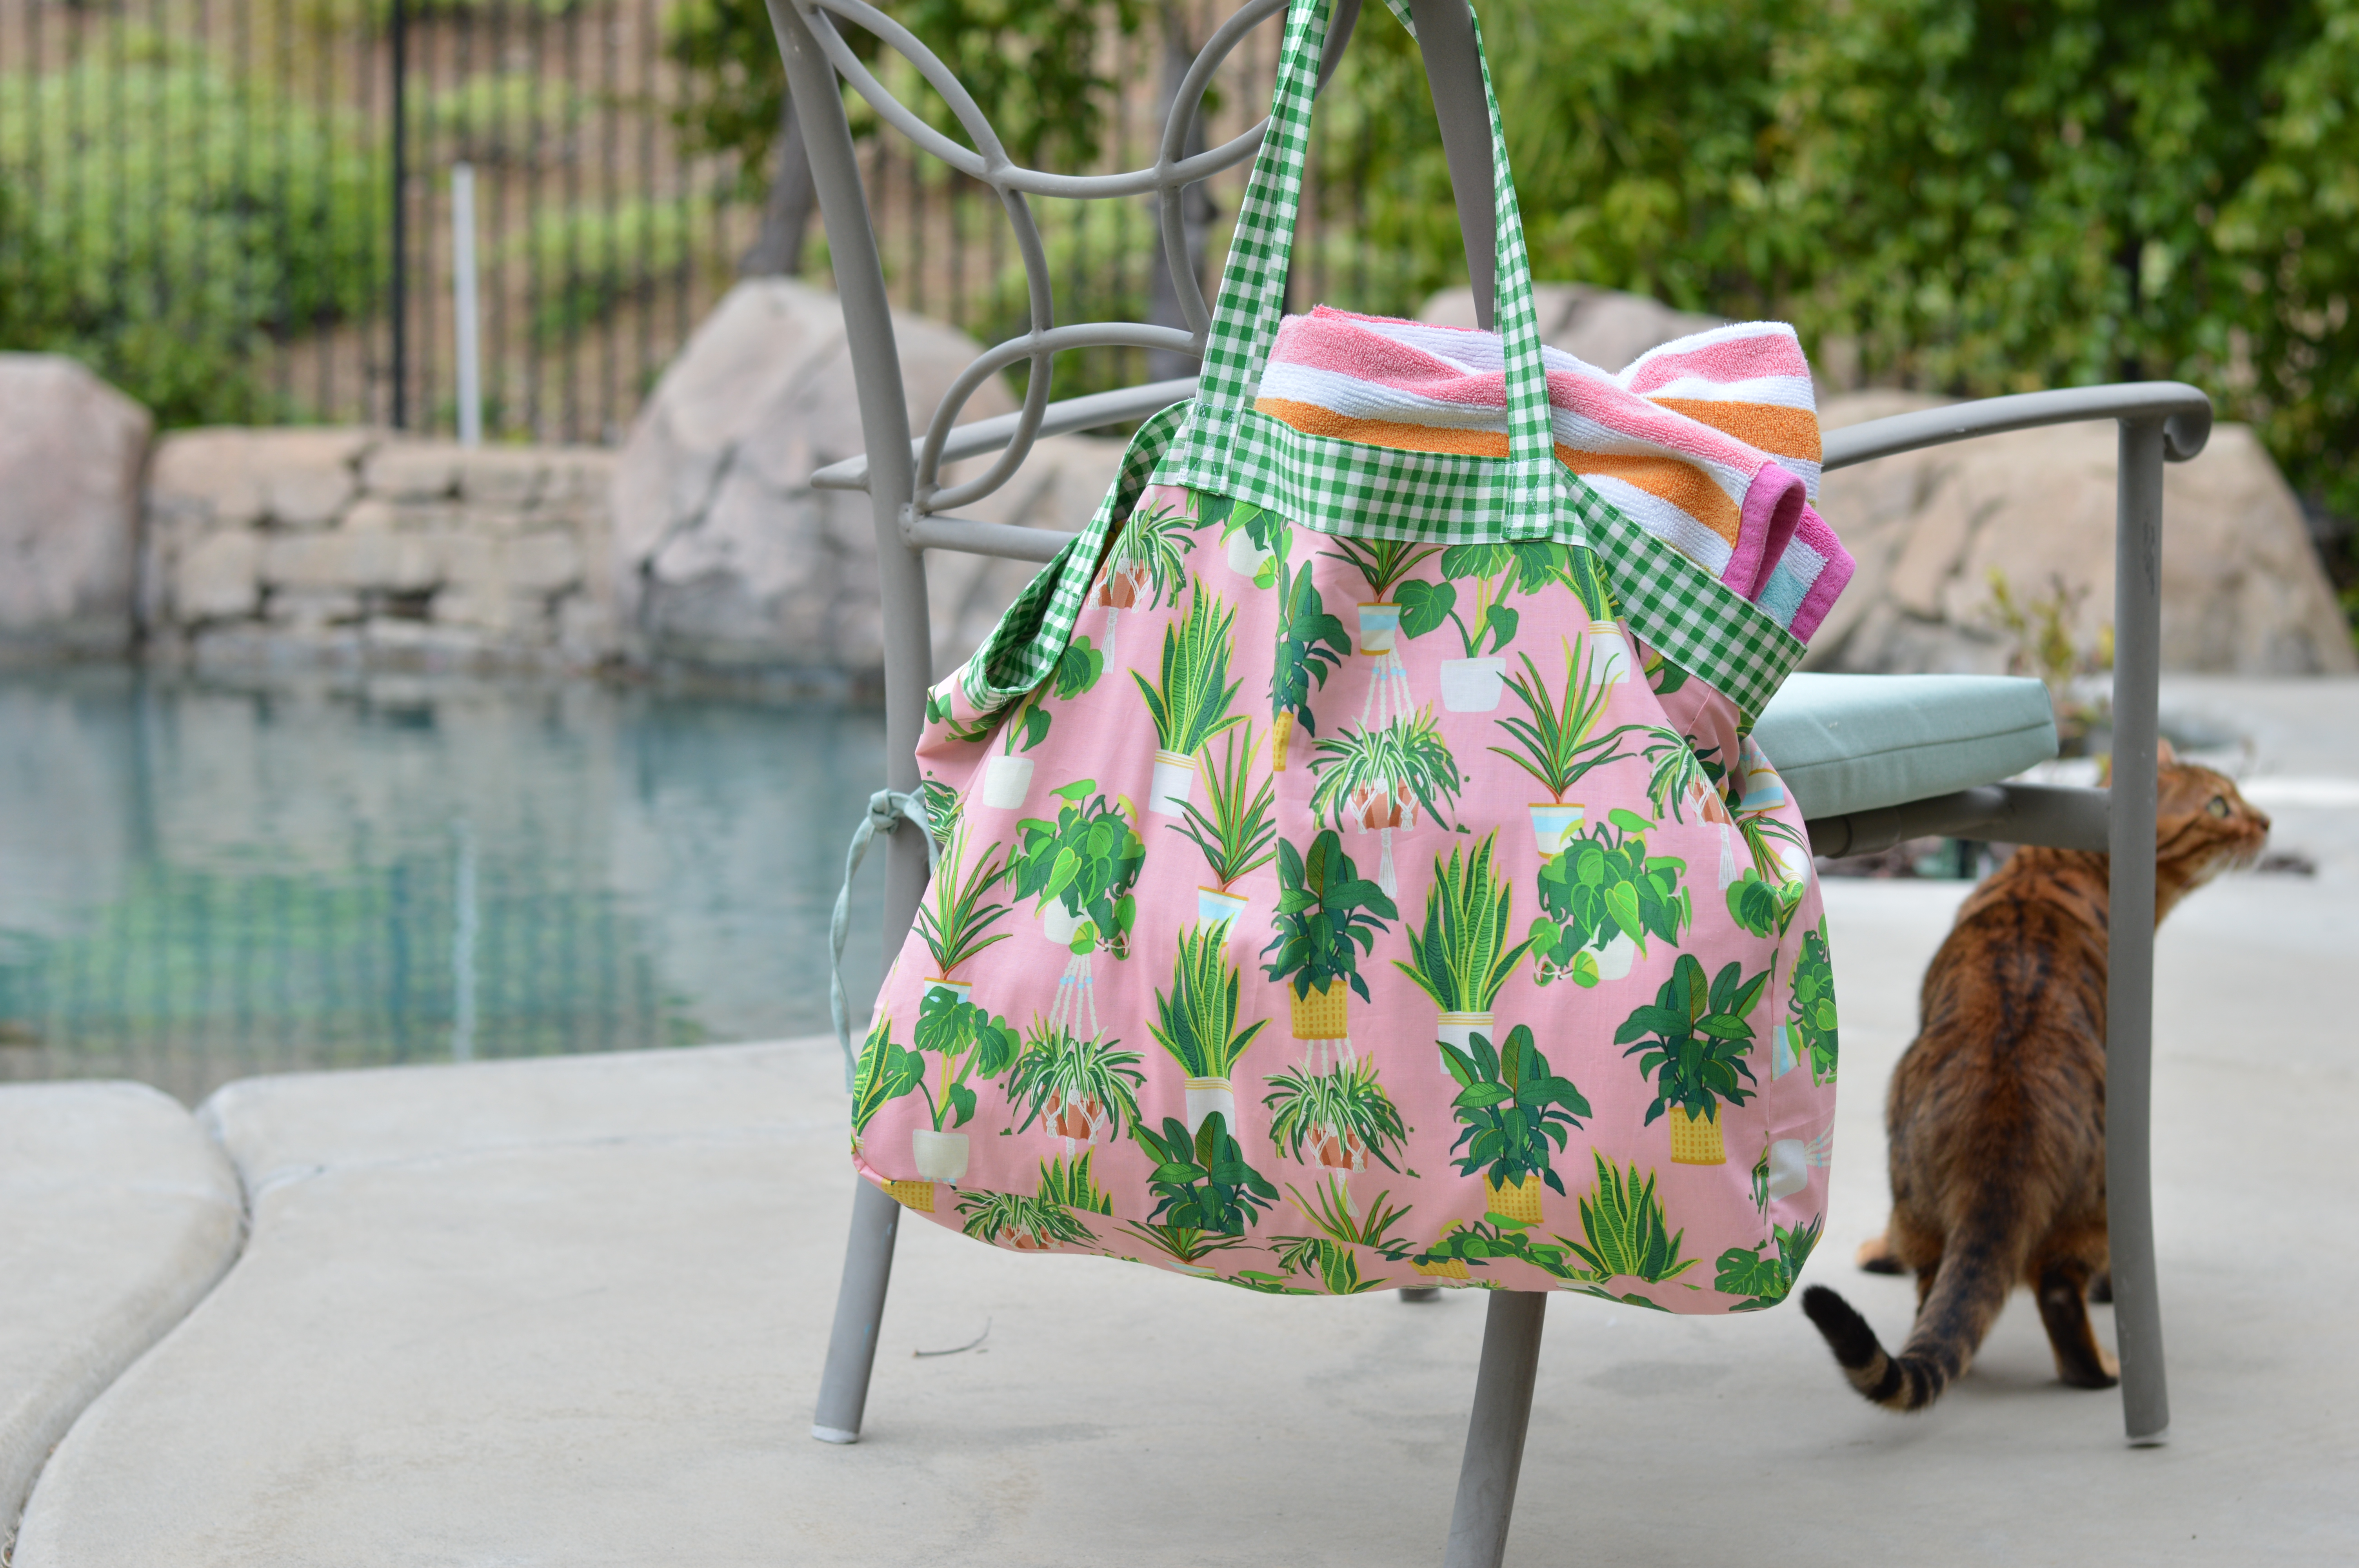
Its HUGE! You can fit at least 6 beach towels in this plus extras.
It folds up super small, I mean super small, so you can take it in your luggage to have a large tote bag on a trip (I've filled mine with 12 bags of potato chips from Pennsylvania and carried it on the airplane)

It's easy to keep clean! Unlike heavier bags which you can't machine wash, you can toss it in the washer and dryer and it will be fine!
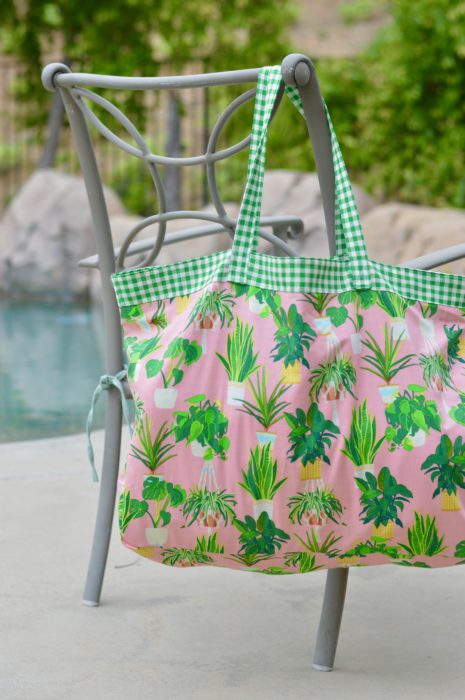
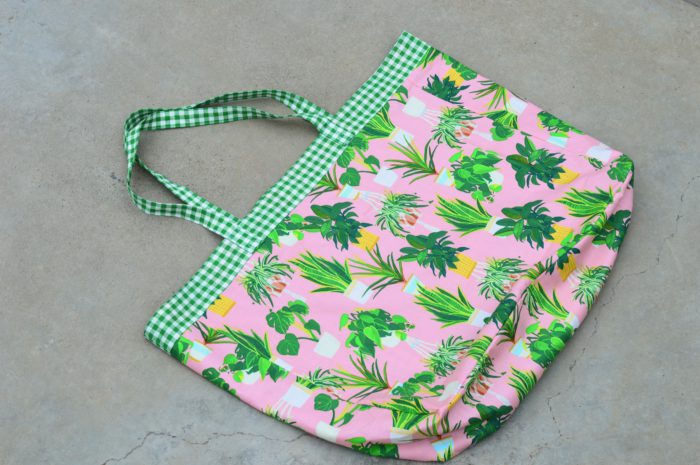
It's reversible.
It's floppy which means it's easy to carry and light weight.
It has a fabric panel for the bottom and sides which means extra strength - the weight isn't just on one bottom seam.
You get to use your favorite quilting fabrics so its darling!
It's fairly simple - no stabilizers or tricky bag making methods - if you can sew a straight line you can make this bag!
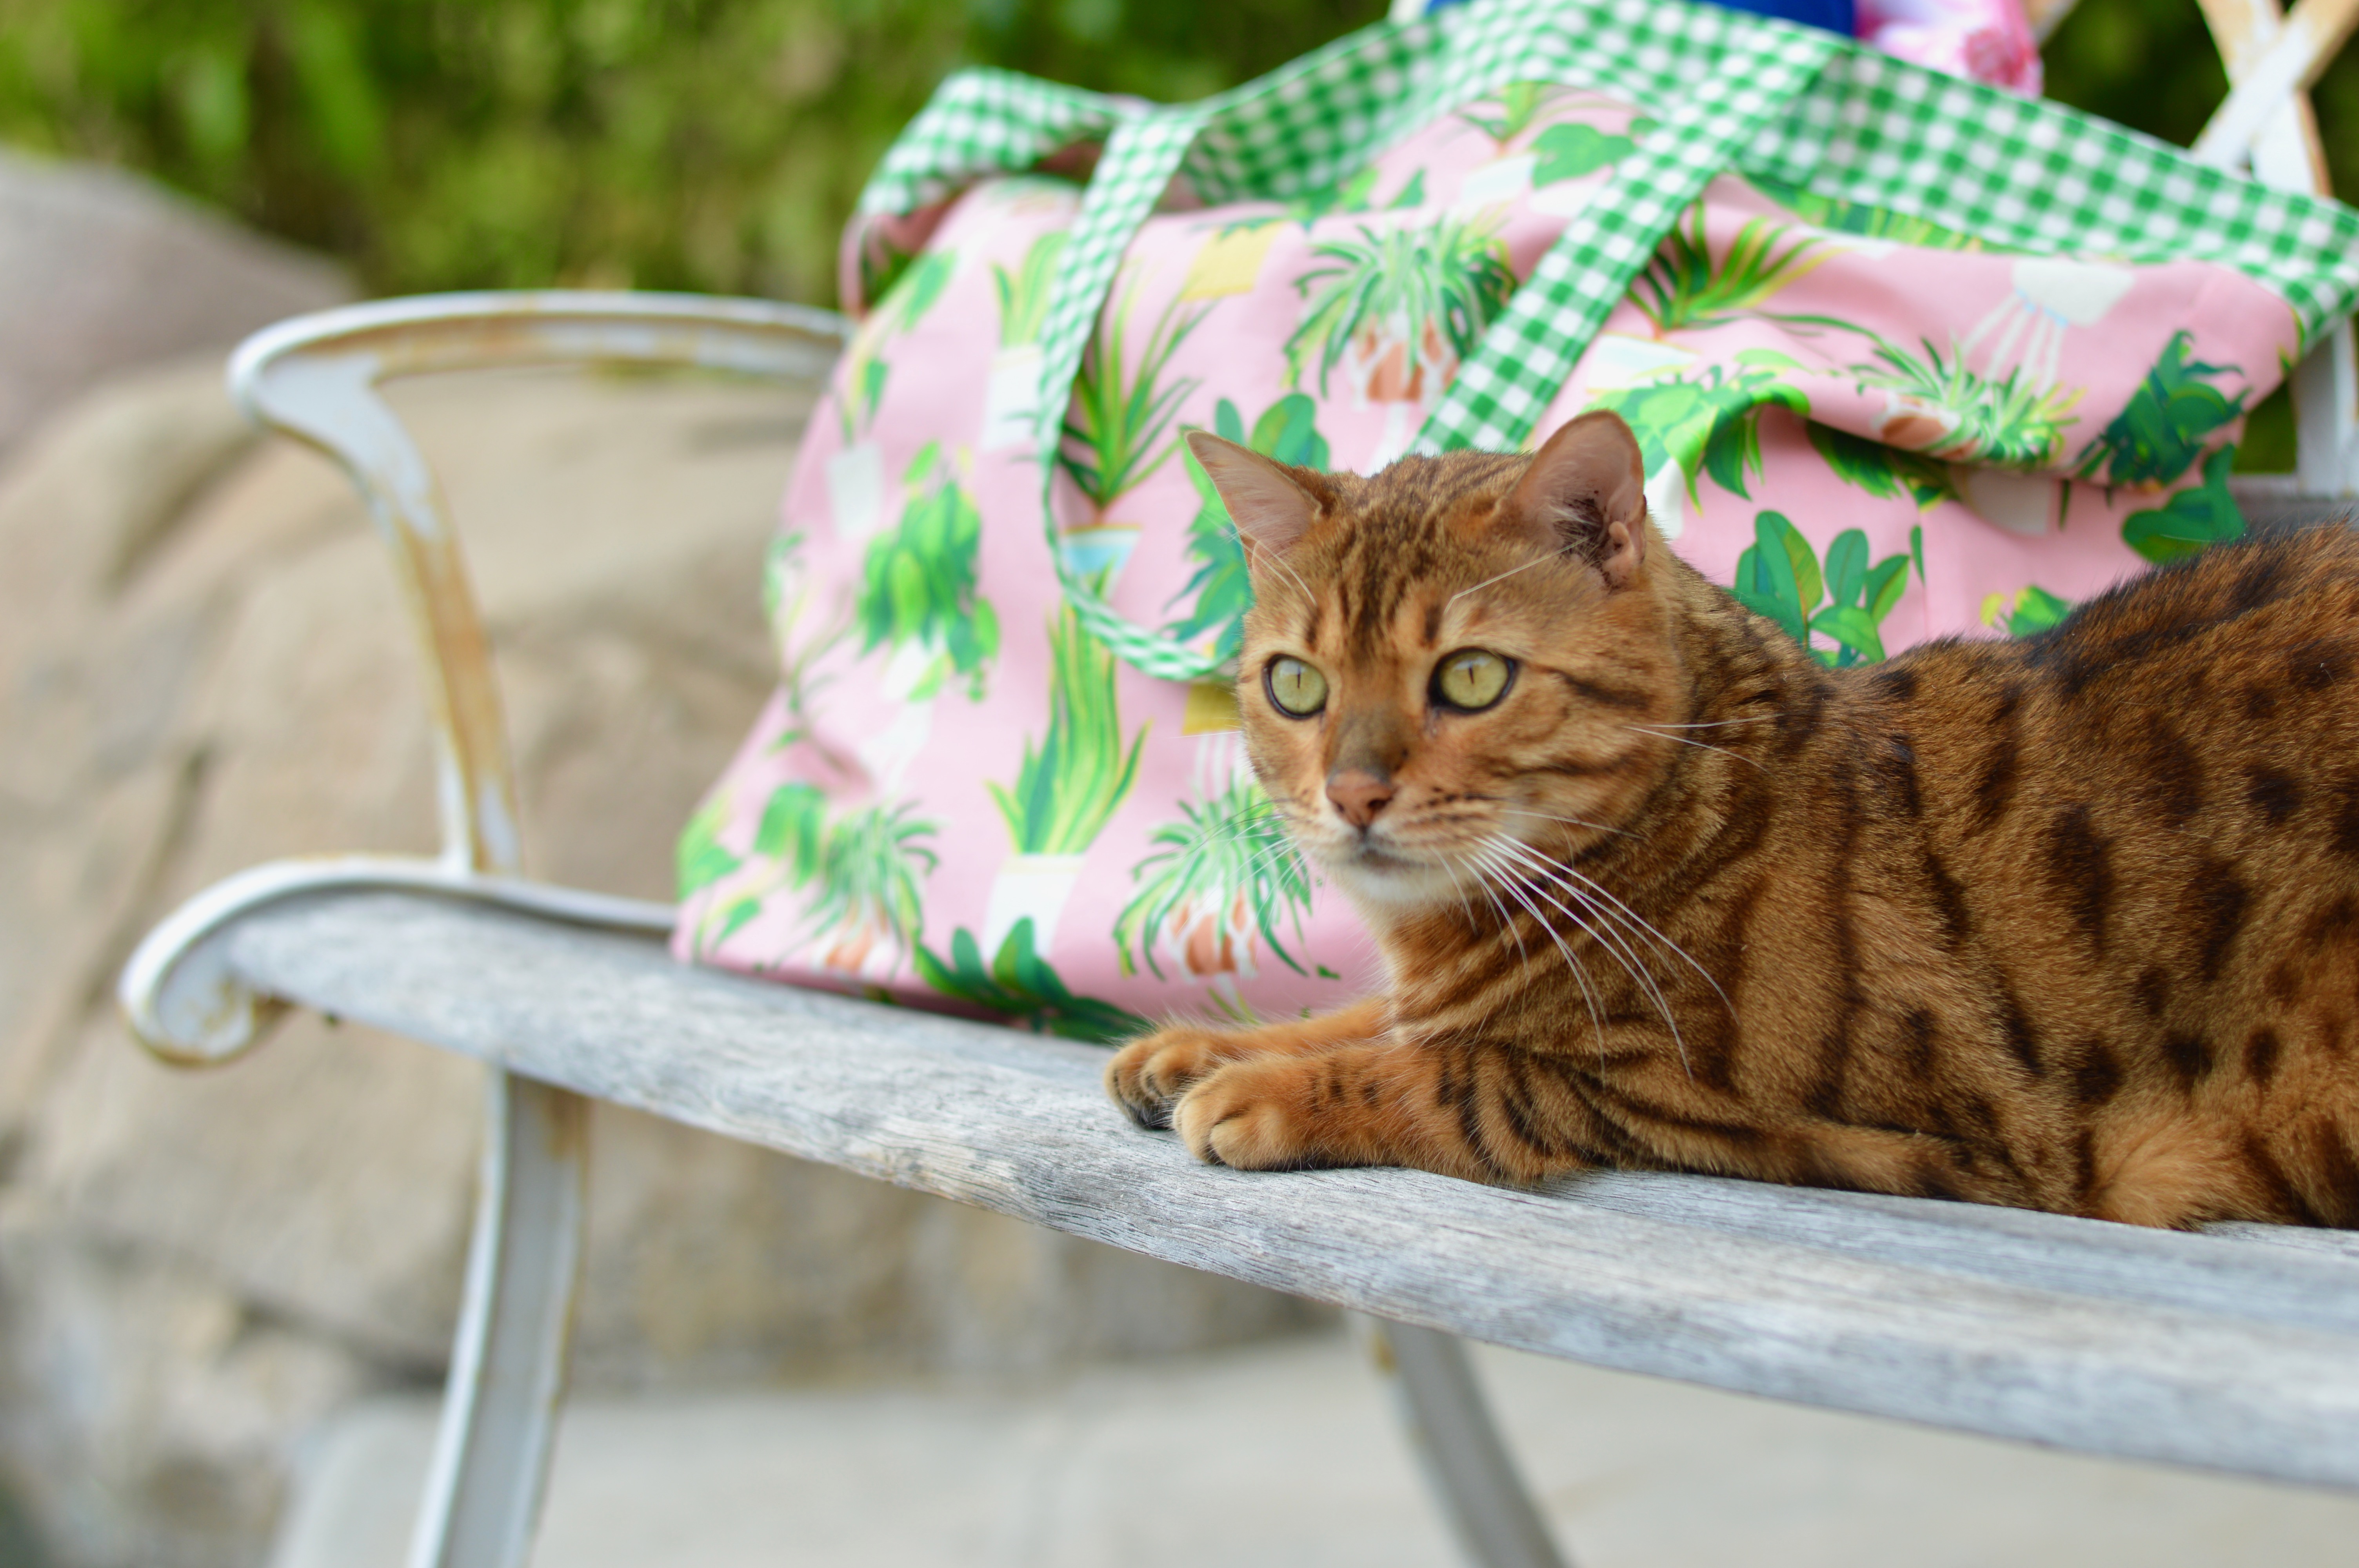
Oh - and one more! It's Mufasa approved 😉
OK - did I convince you to make one? - or 10?!!!!
Here's a few basics you need to know before sewing:
Don't use 100% cotton thread - that's great for quilting but not for bag making. I like to use an all purpose thread with polyester - it won't break!
All seams are ¼" unless top stitching.
It's important to backstitch to start and stop seams - which differs from quilting.
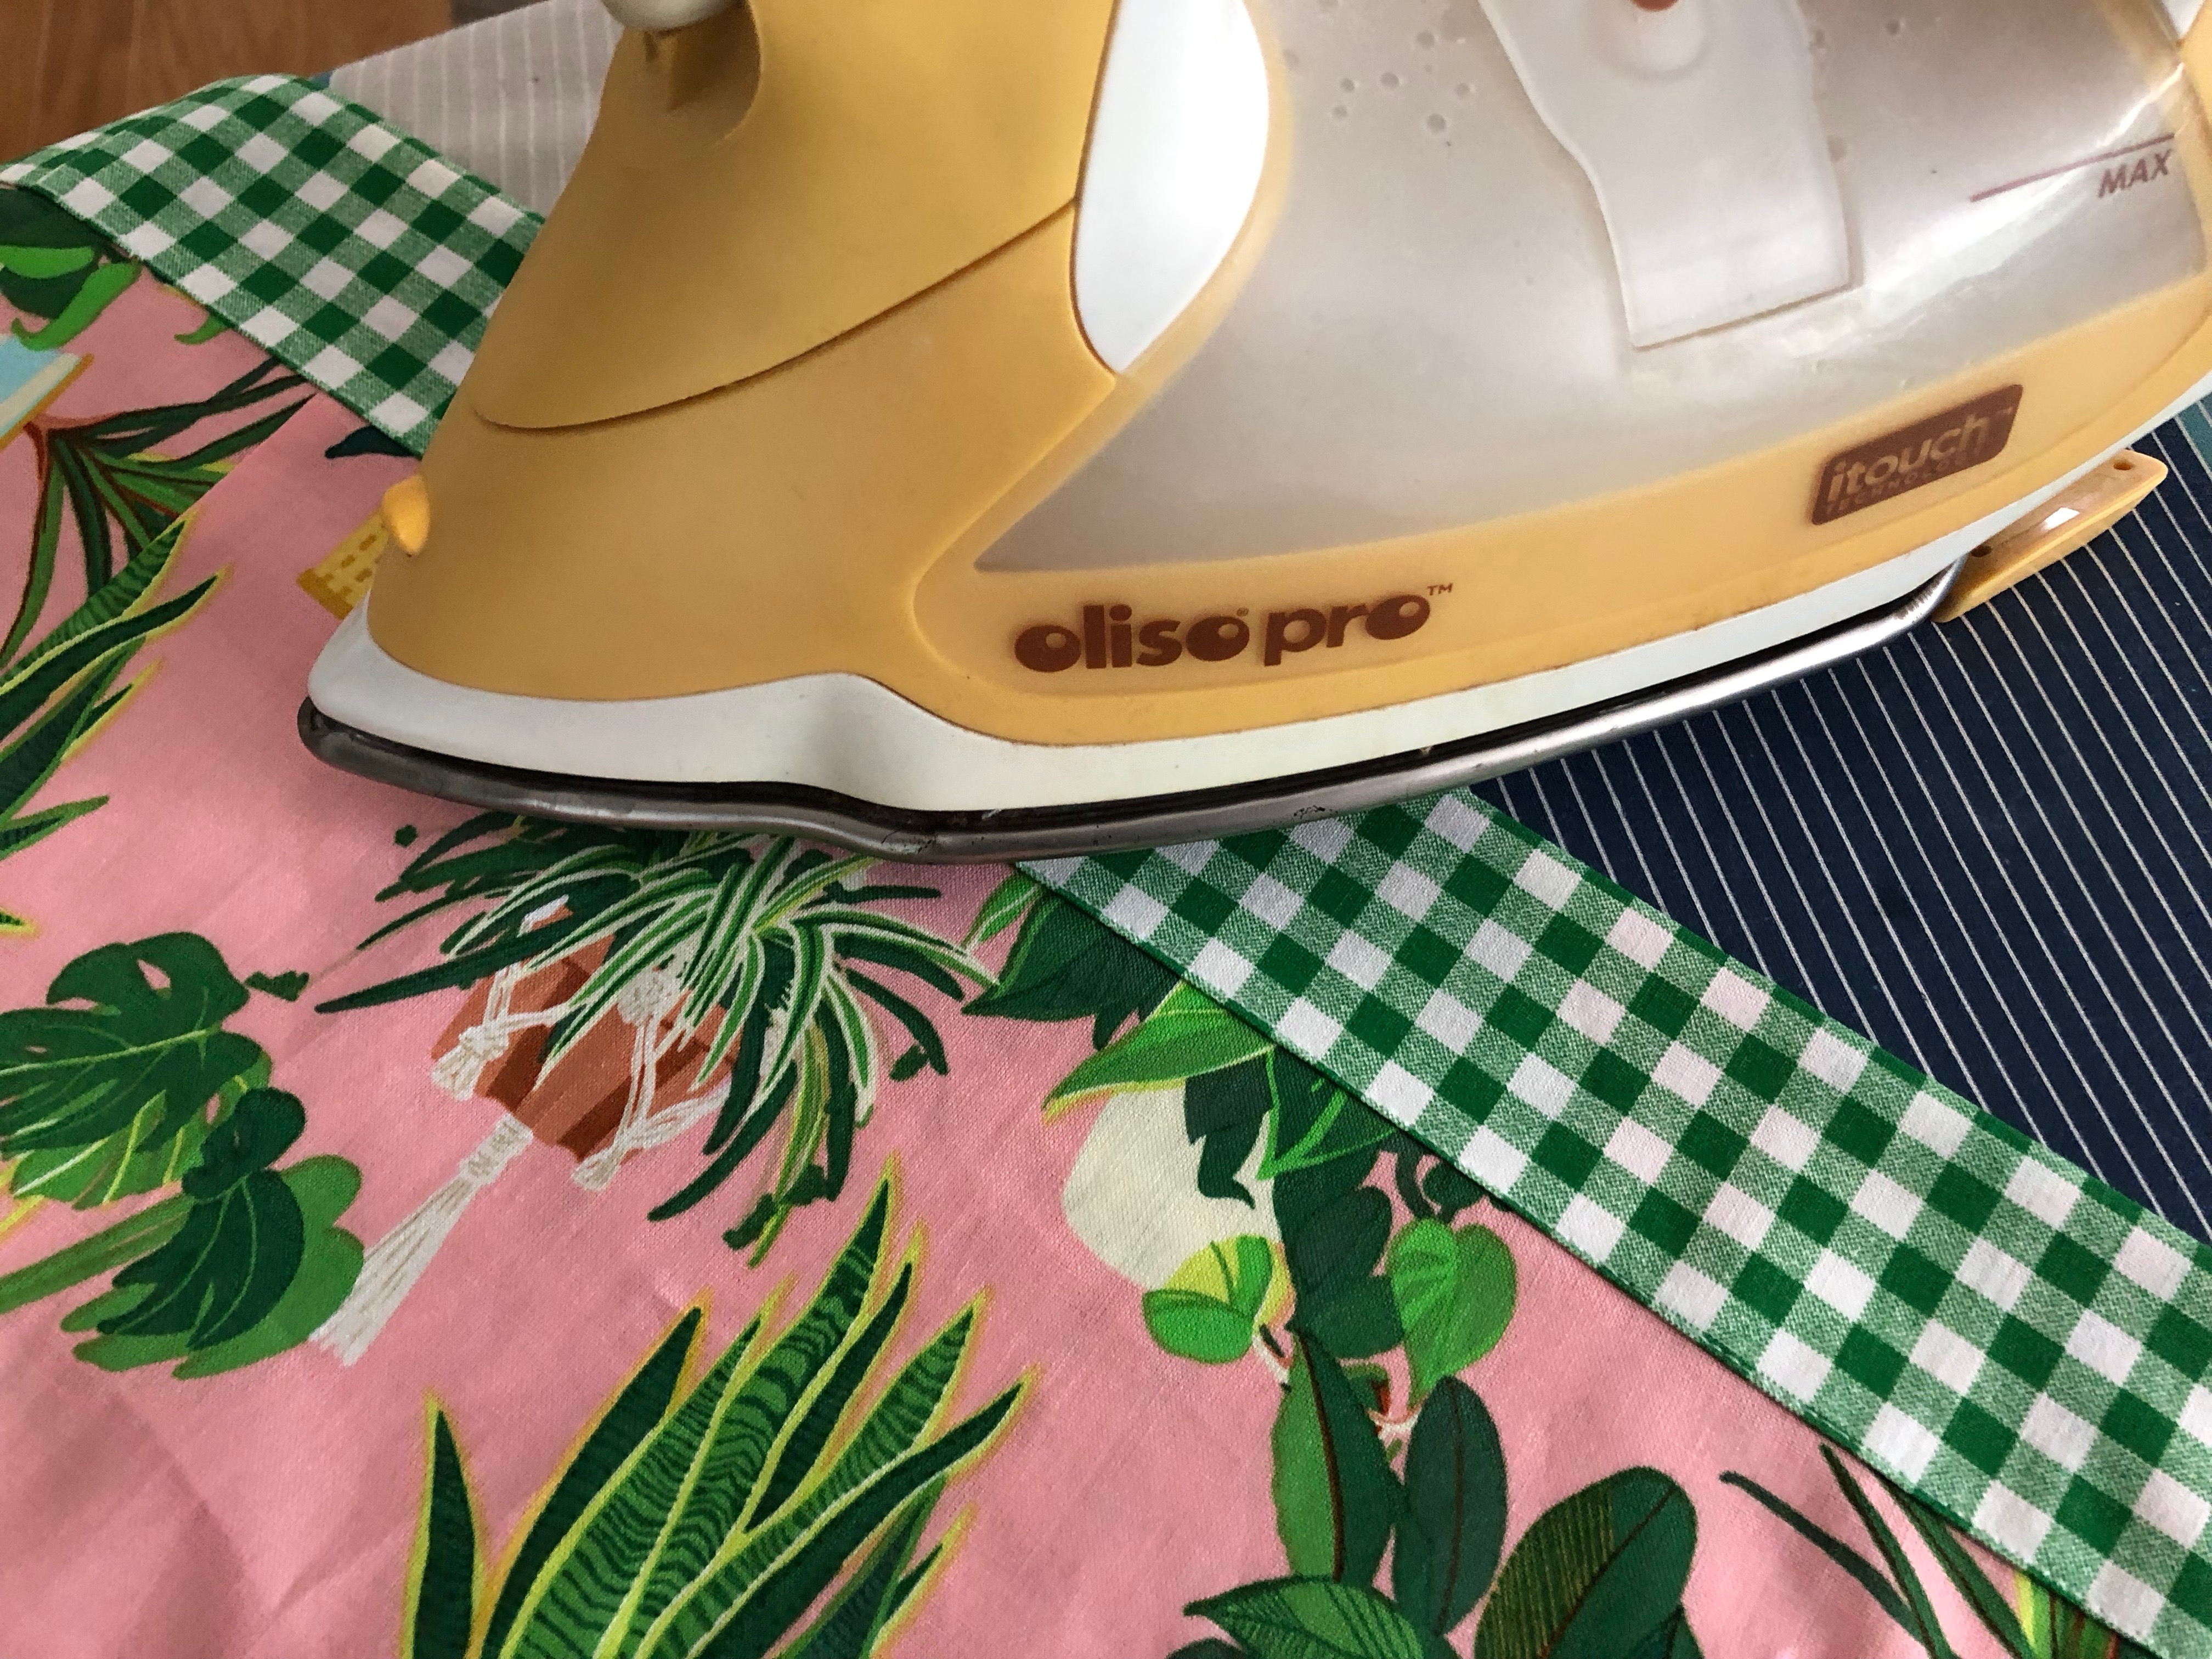
Press in the direction the pattern says.
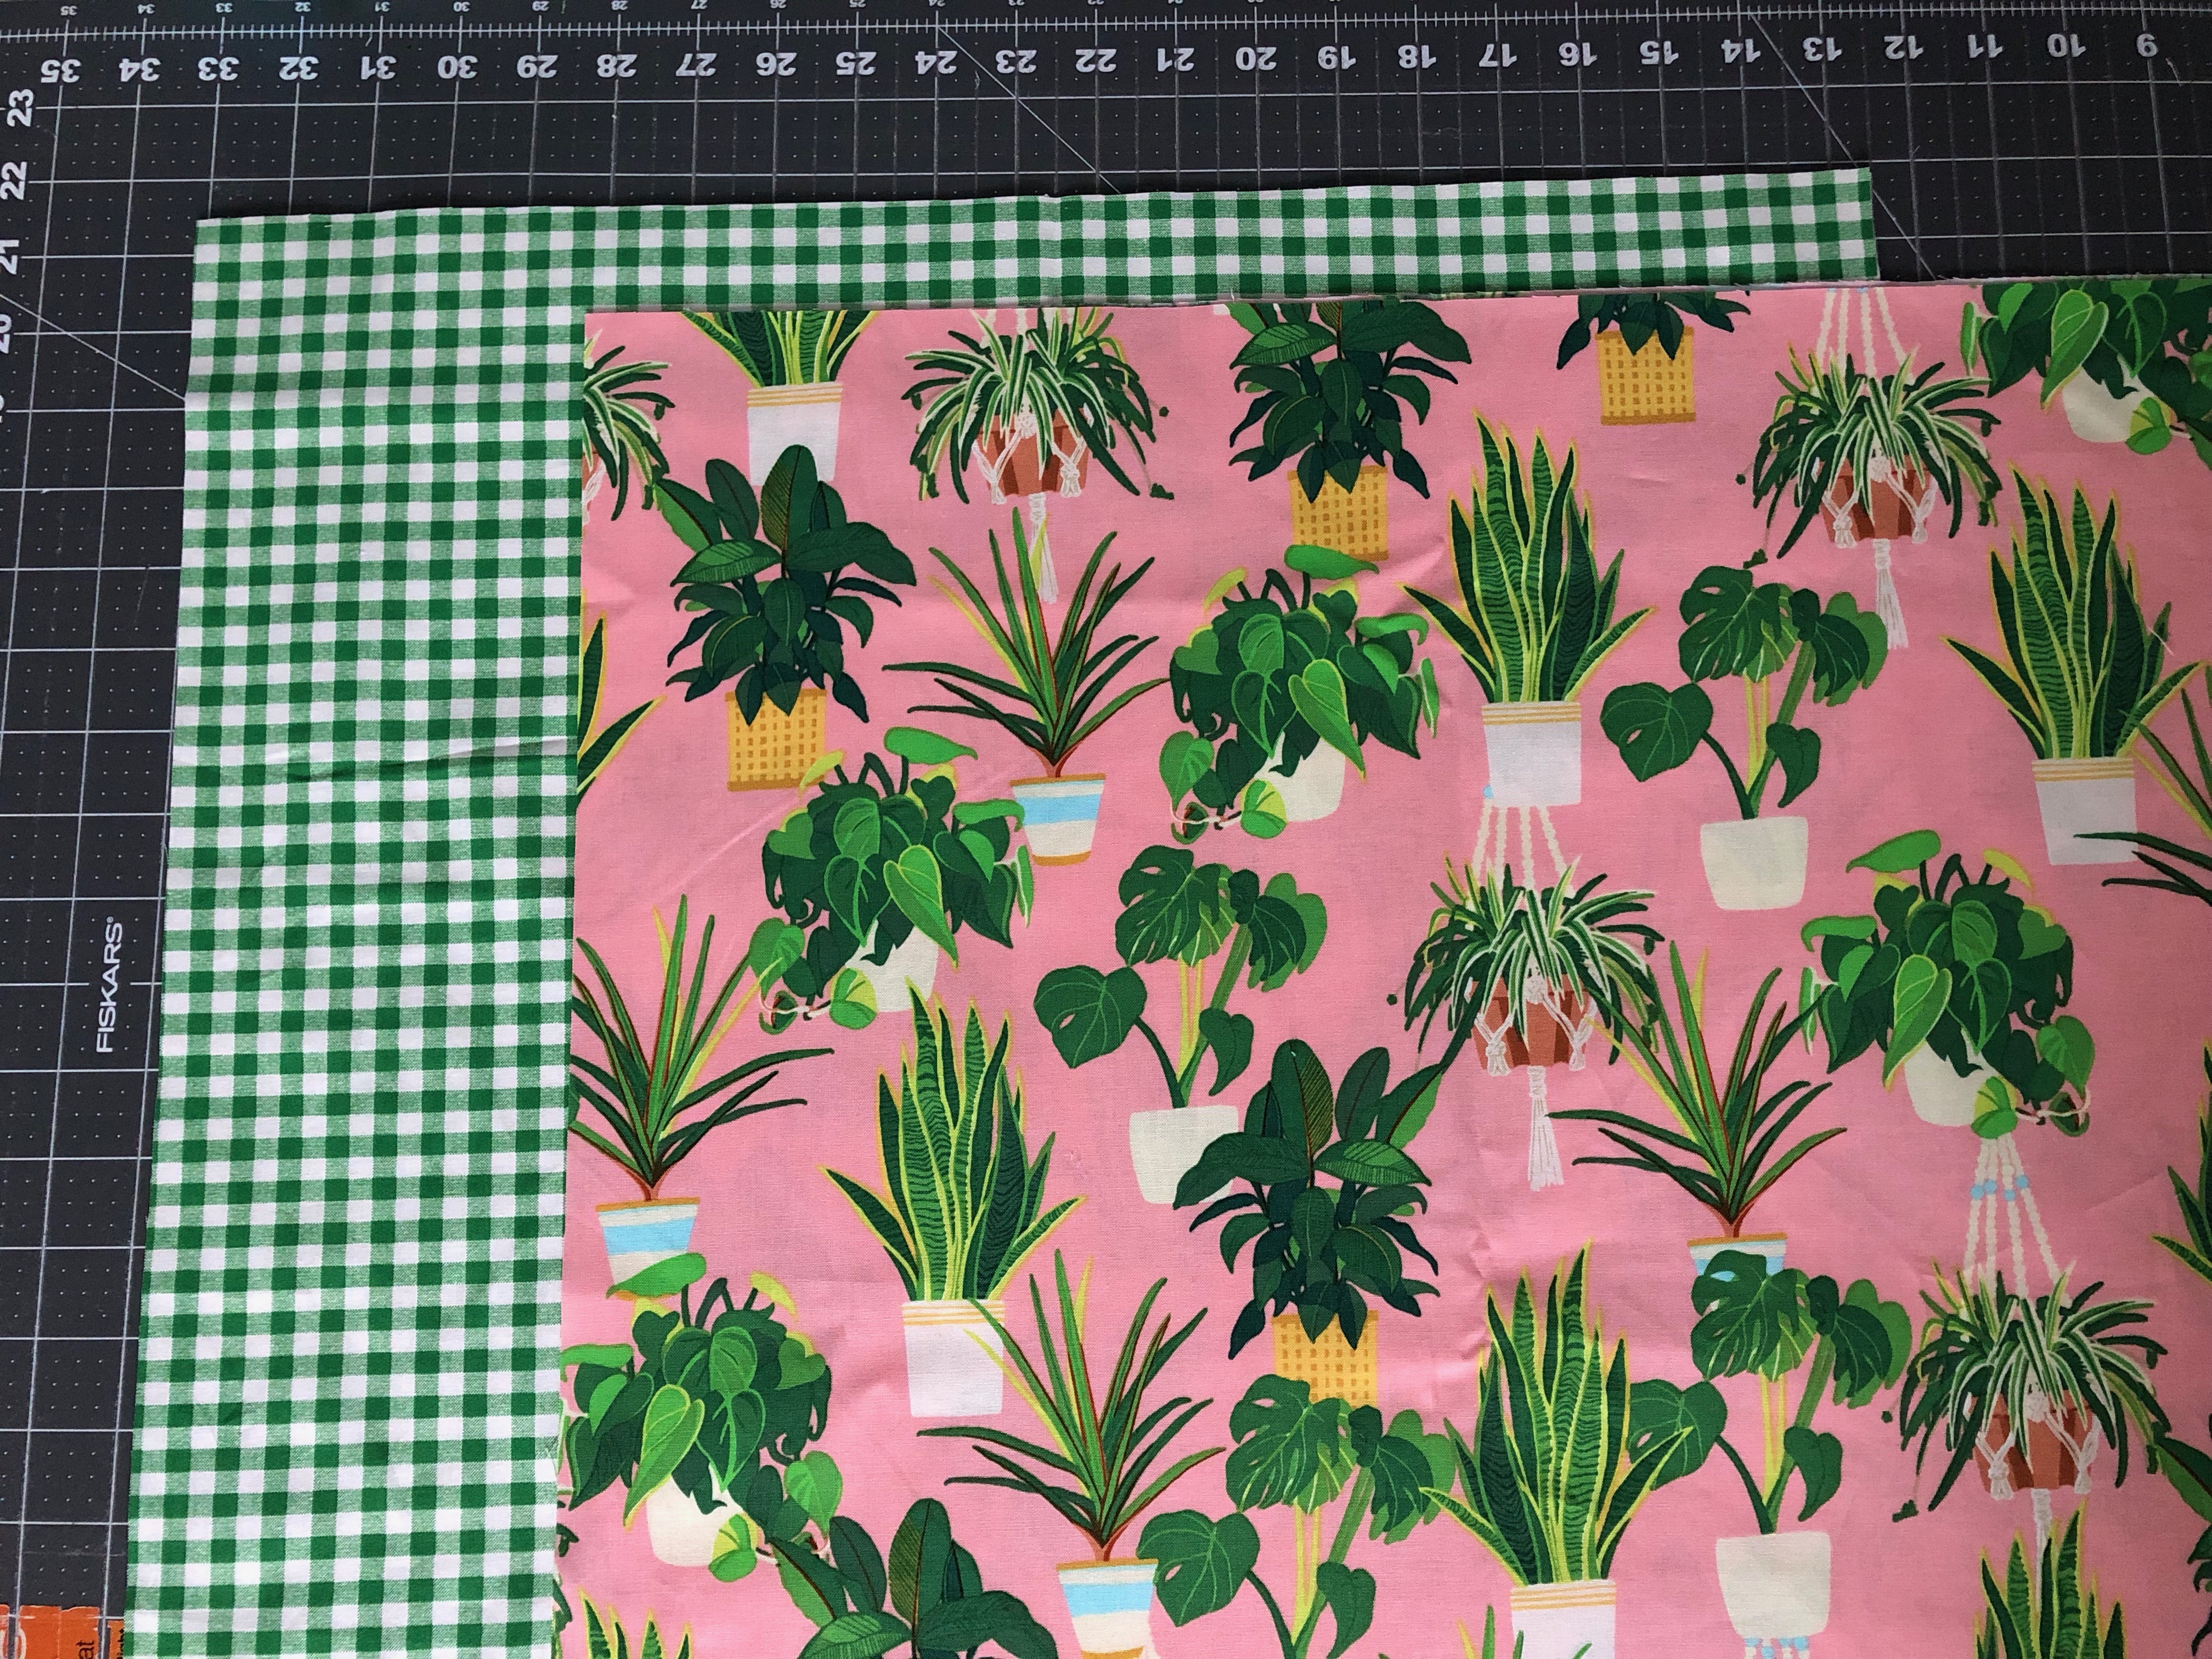
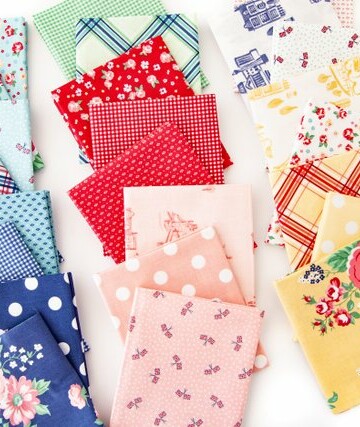
Fabric Requirements:
Outer Bag: 1 yard of fabric (pink)
Lining, contrasting band and handles: 1 ¼ yards fabric (green gingham)
Let's get started!
Sewing:
Cut (2) 17 ½" (width) x 20 ½" (length) rectangles from the outer bag fabric (pink) and from the lining fabric (green gingham).
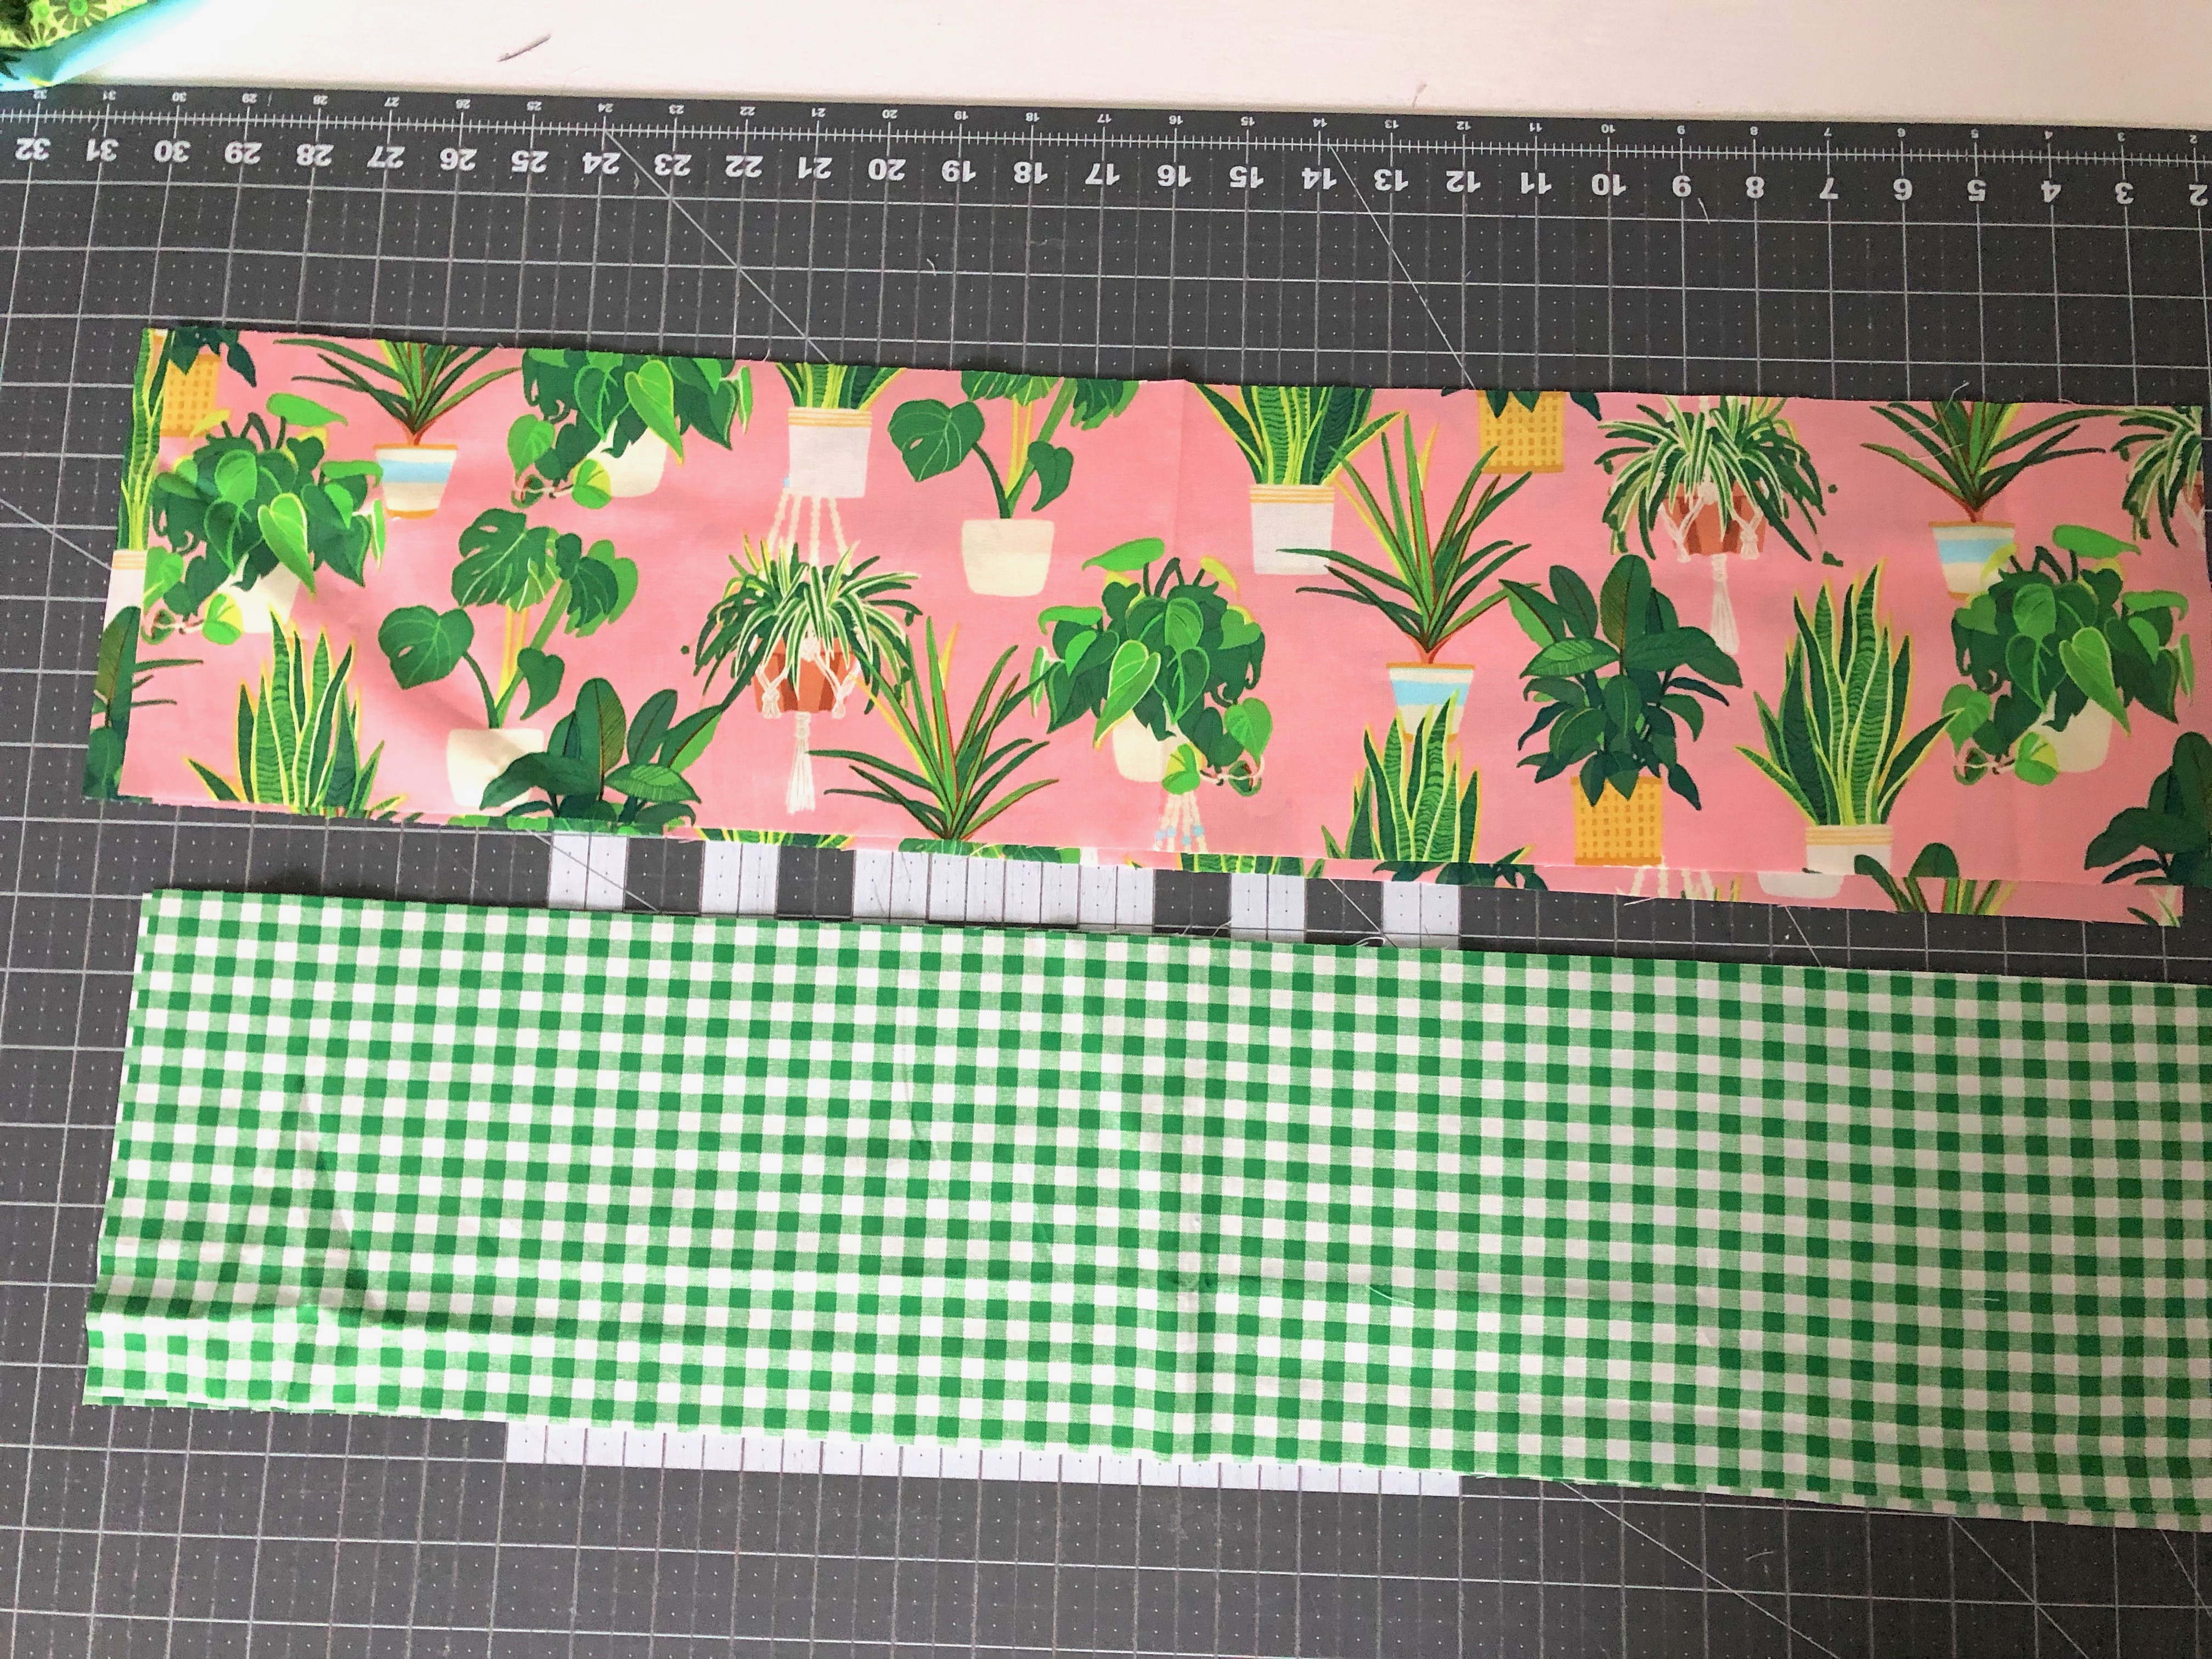
For the bag sides, Cut (2) 6 ½" x 27 ½" strips from the outer bag (pink) and from the lining fabric (green gingham).
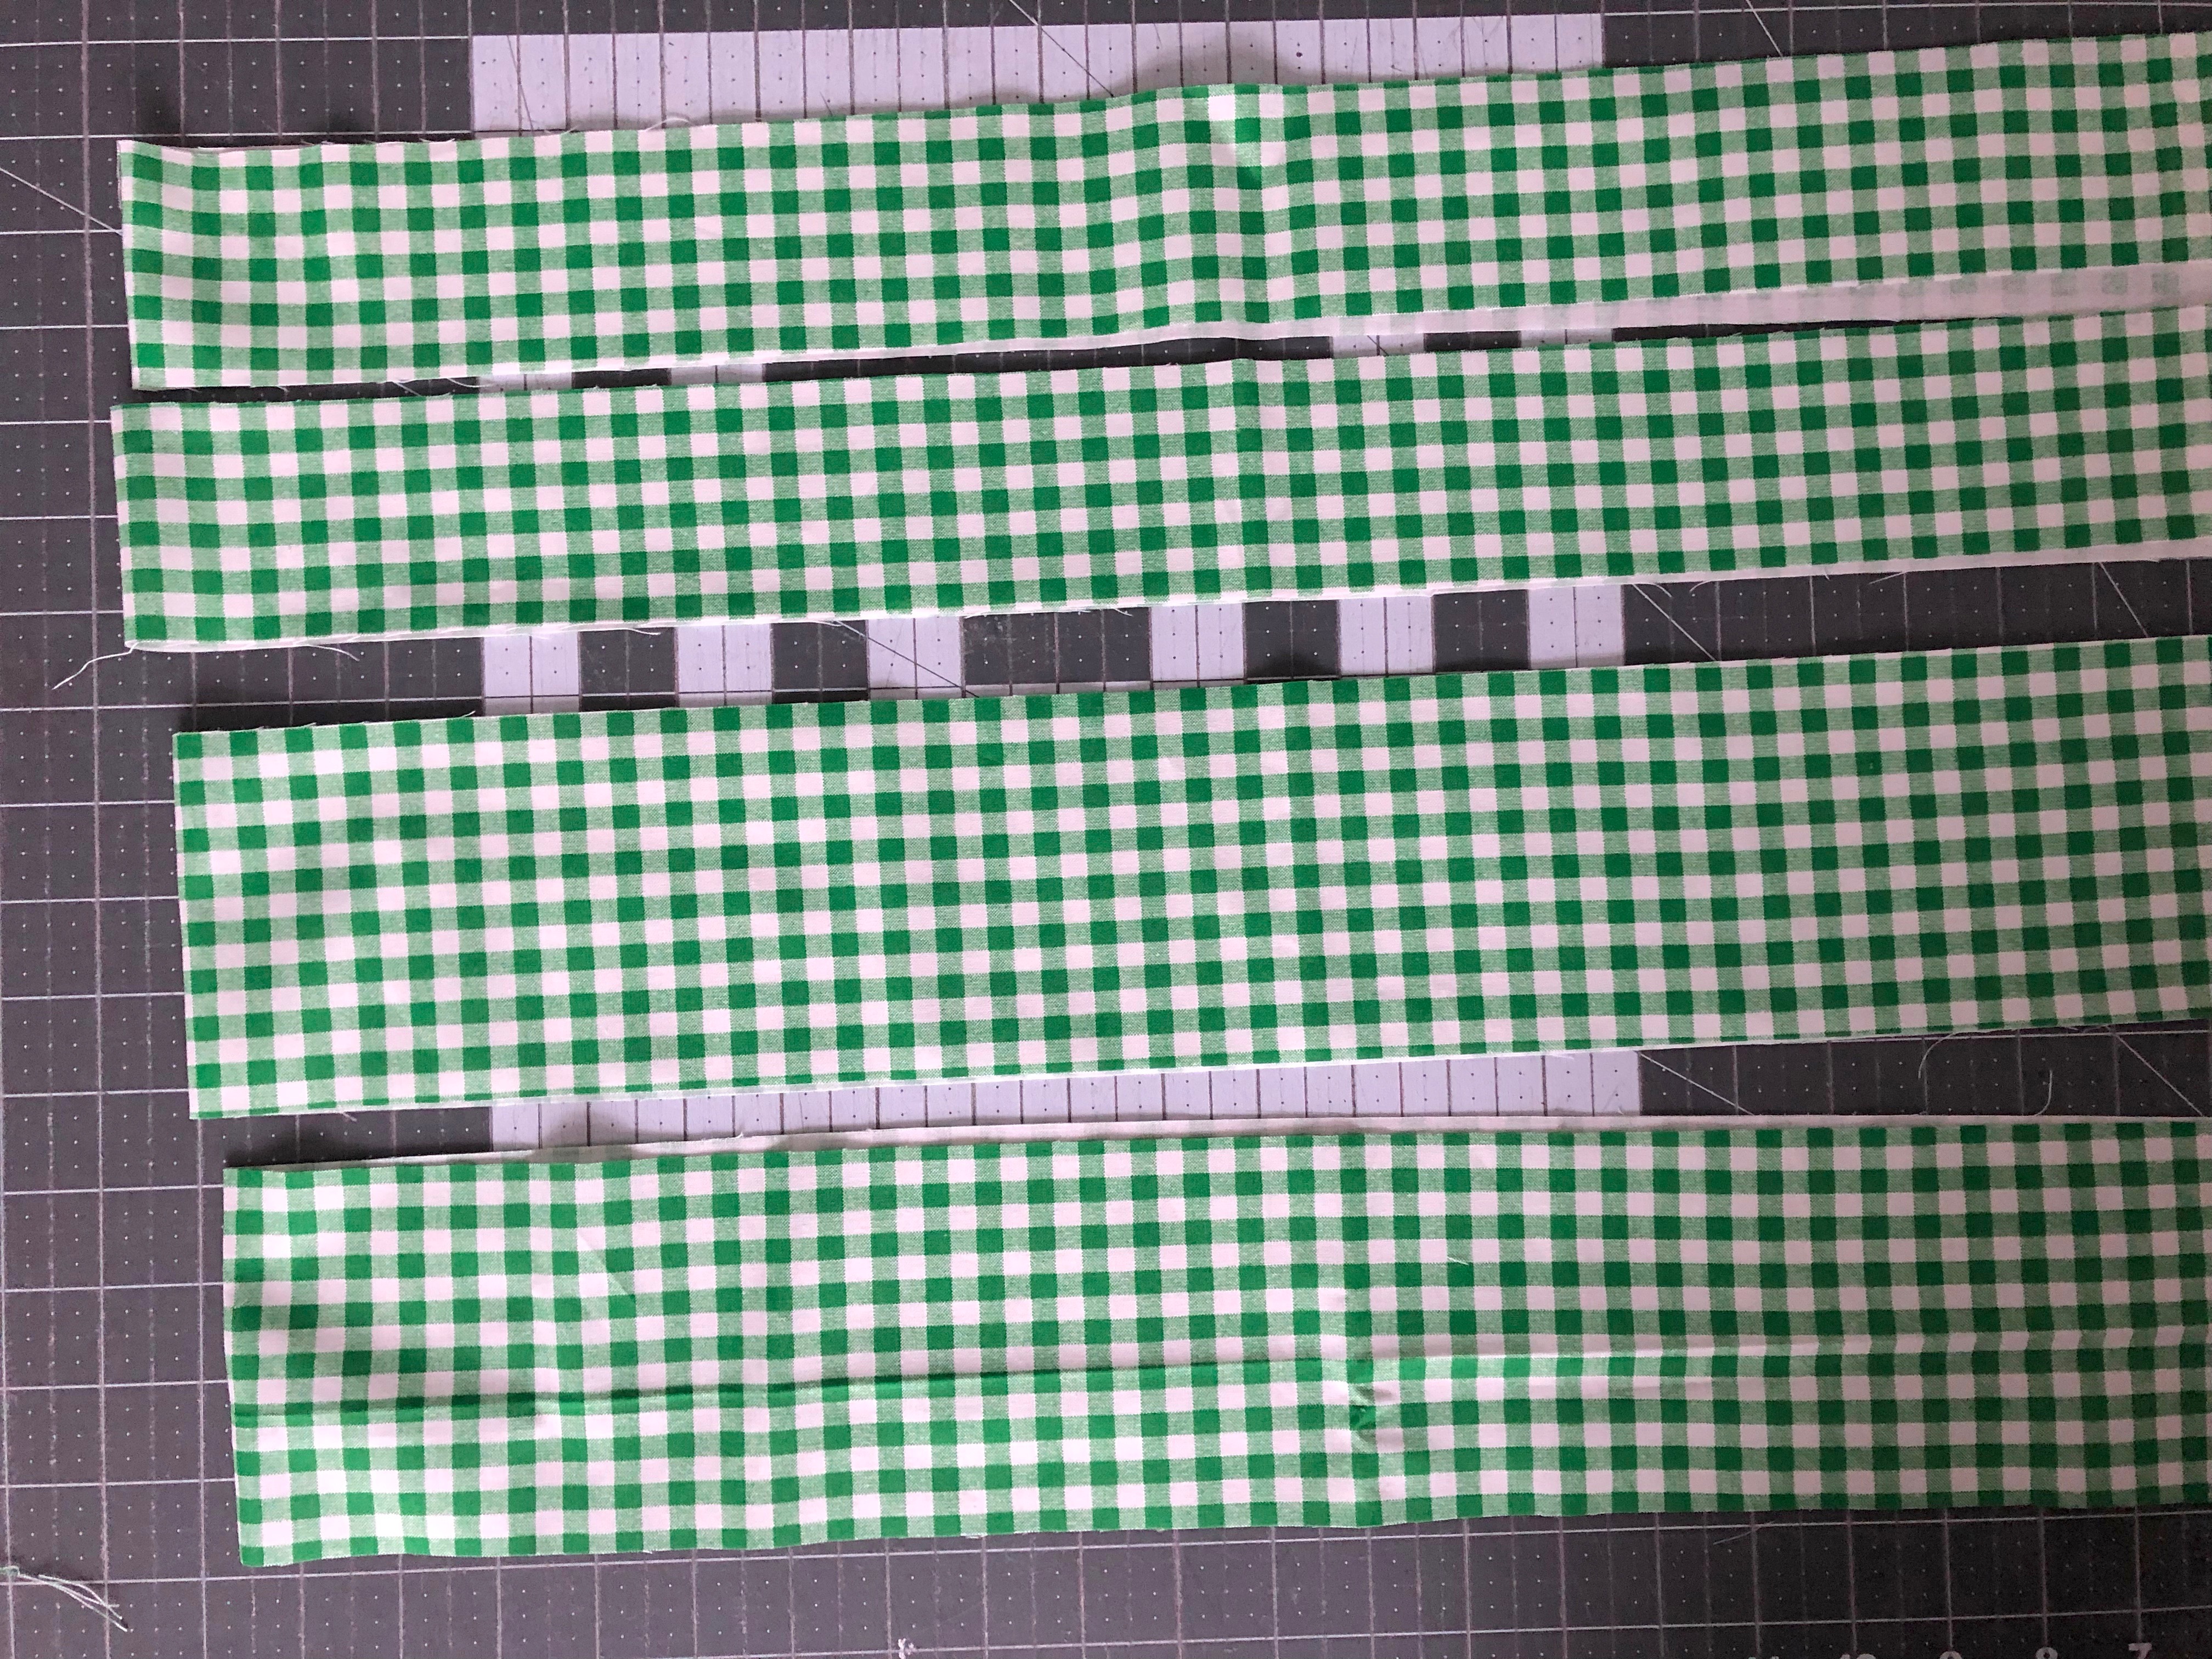
For the accent band cut (2) 26 ½" x 2 ½" strips from the lining fabric (green gingham).
For the bag handles cut (2) 4" x 26 ½" strips from the lining fabric (green gingham).
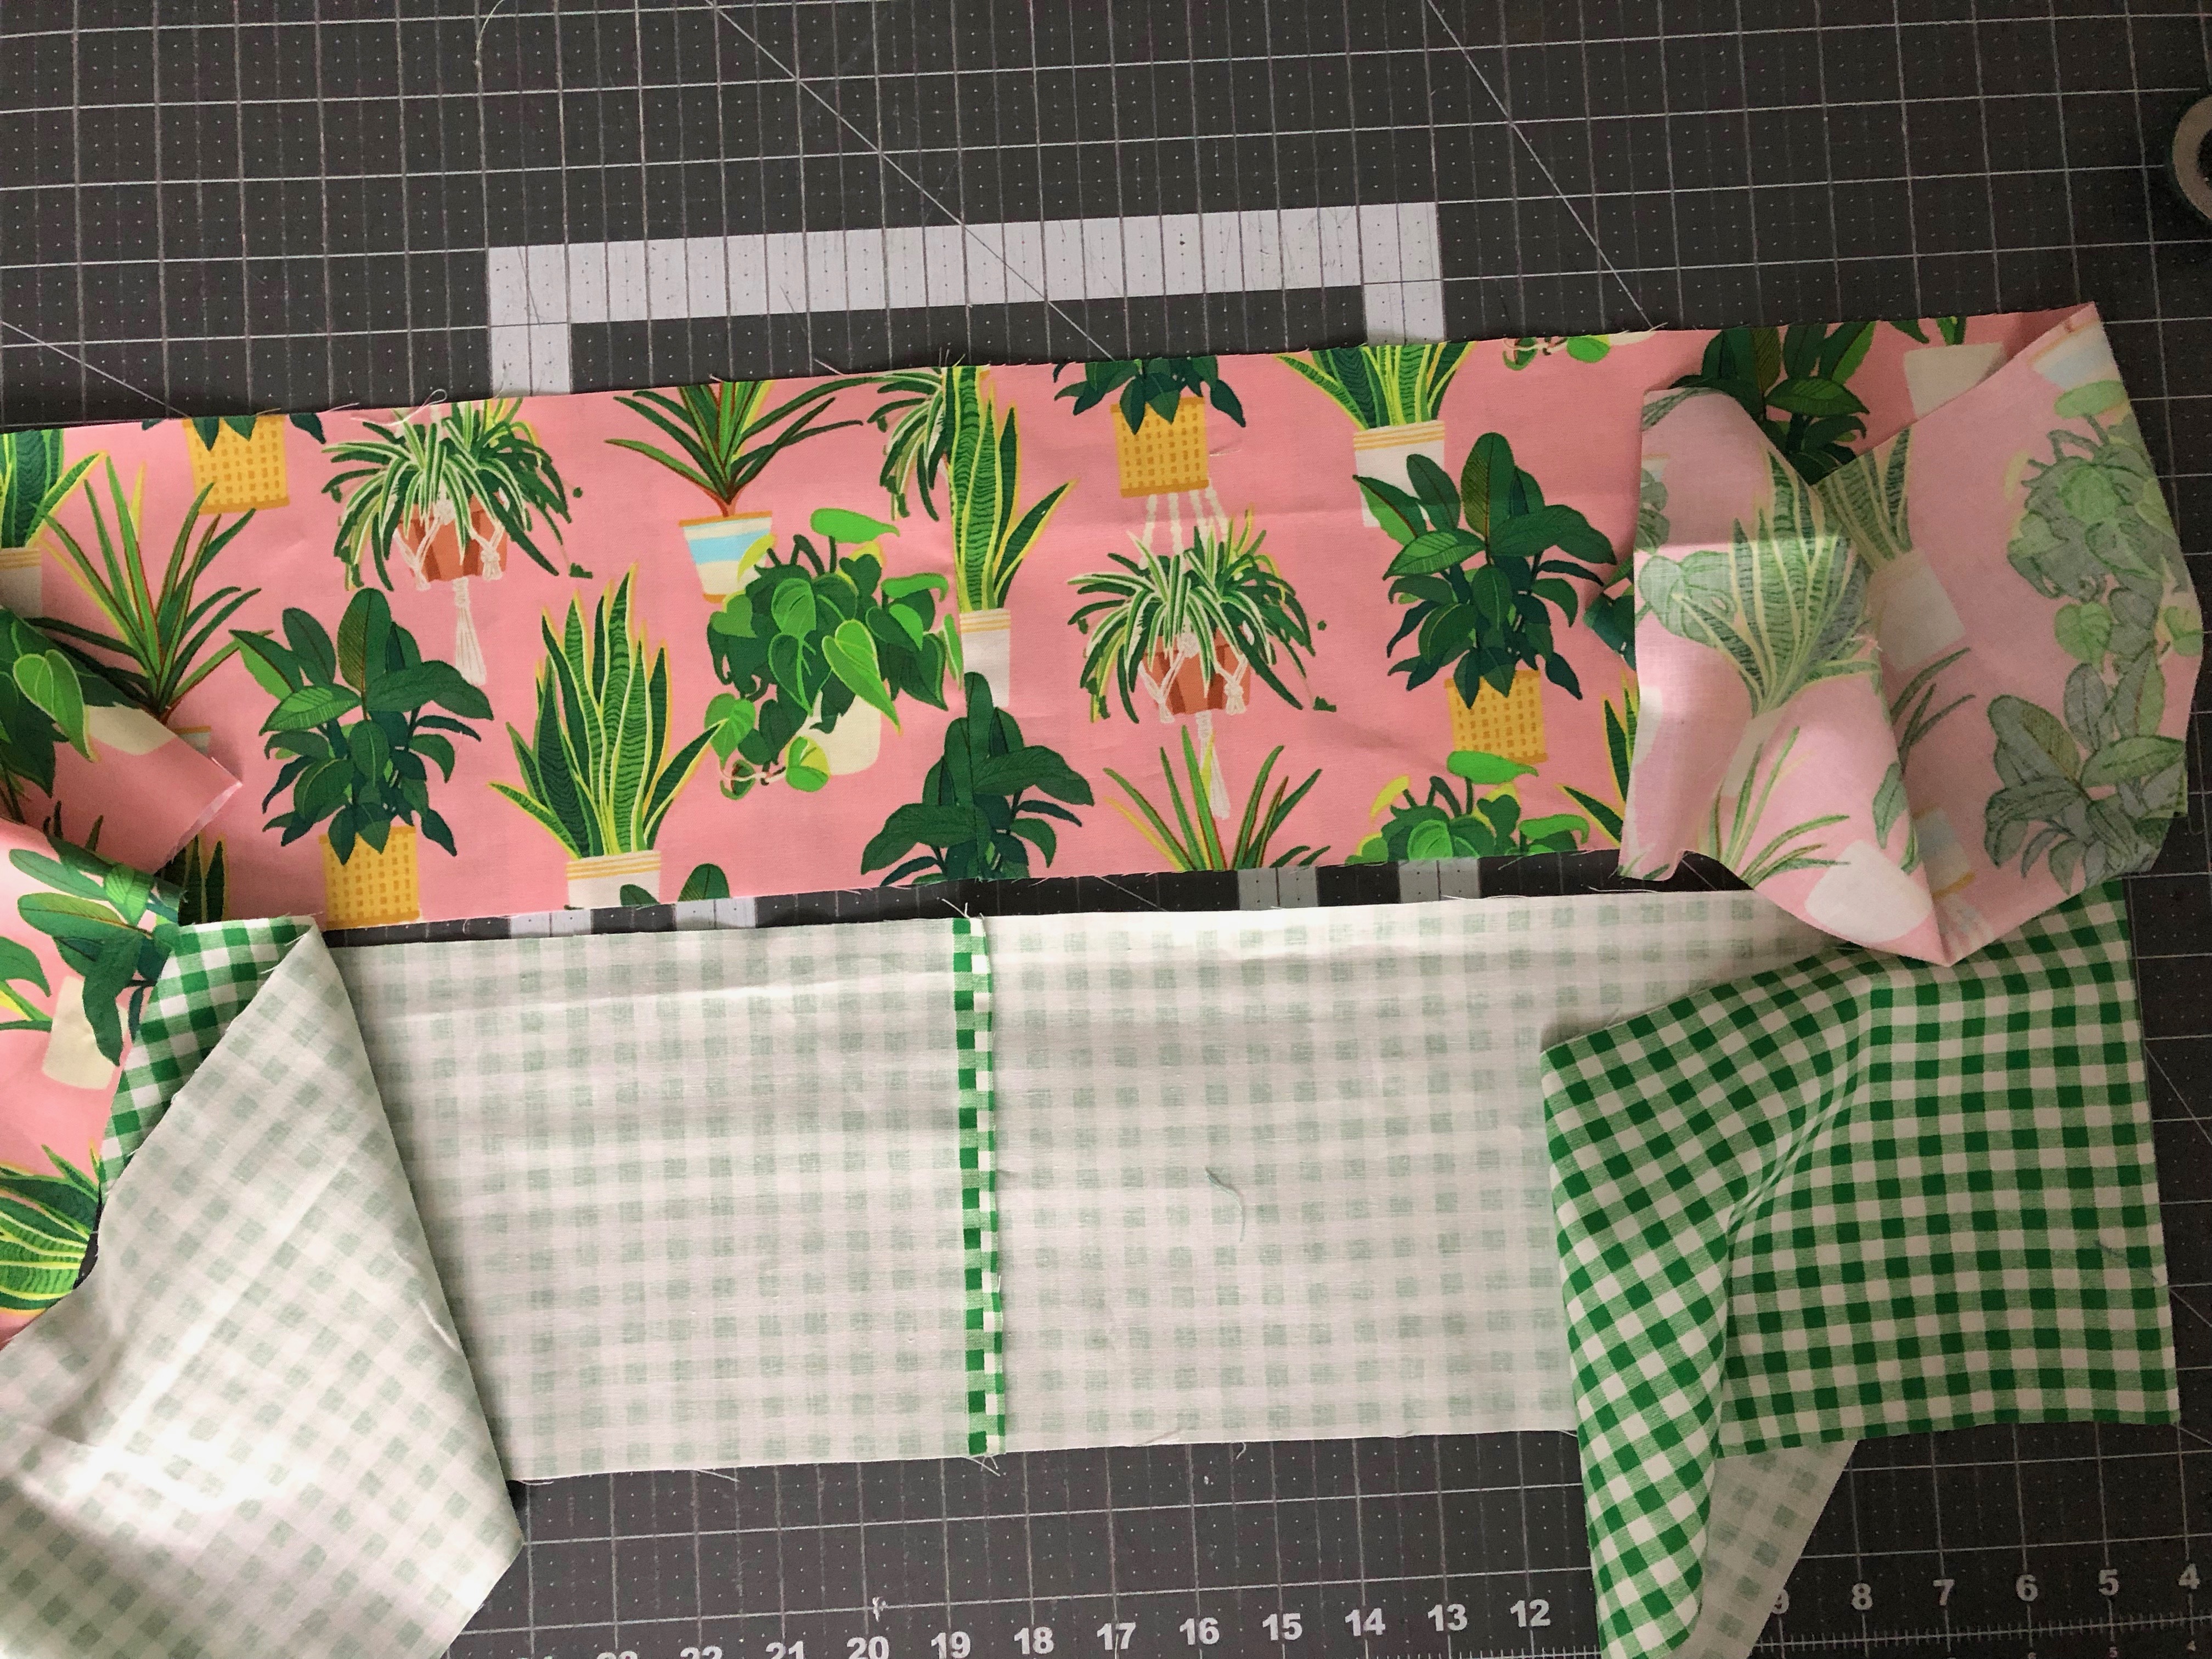
Sew the outer bag side pieces together end to end. Press seams open. Repeat for the bag lining side pieces.
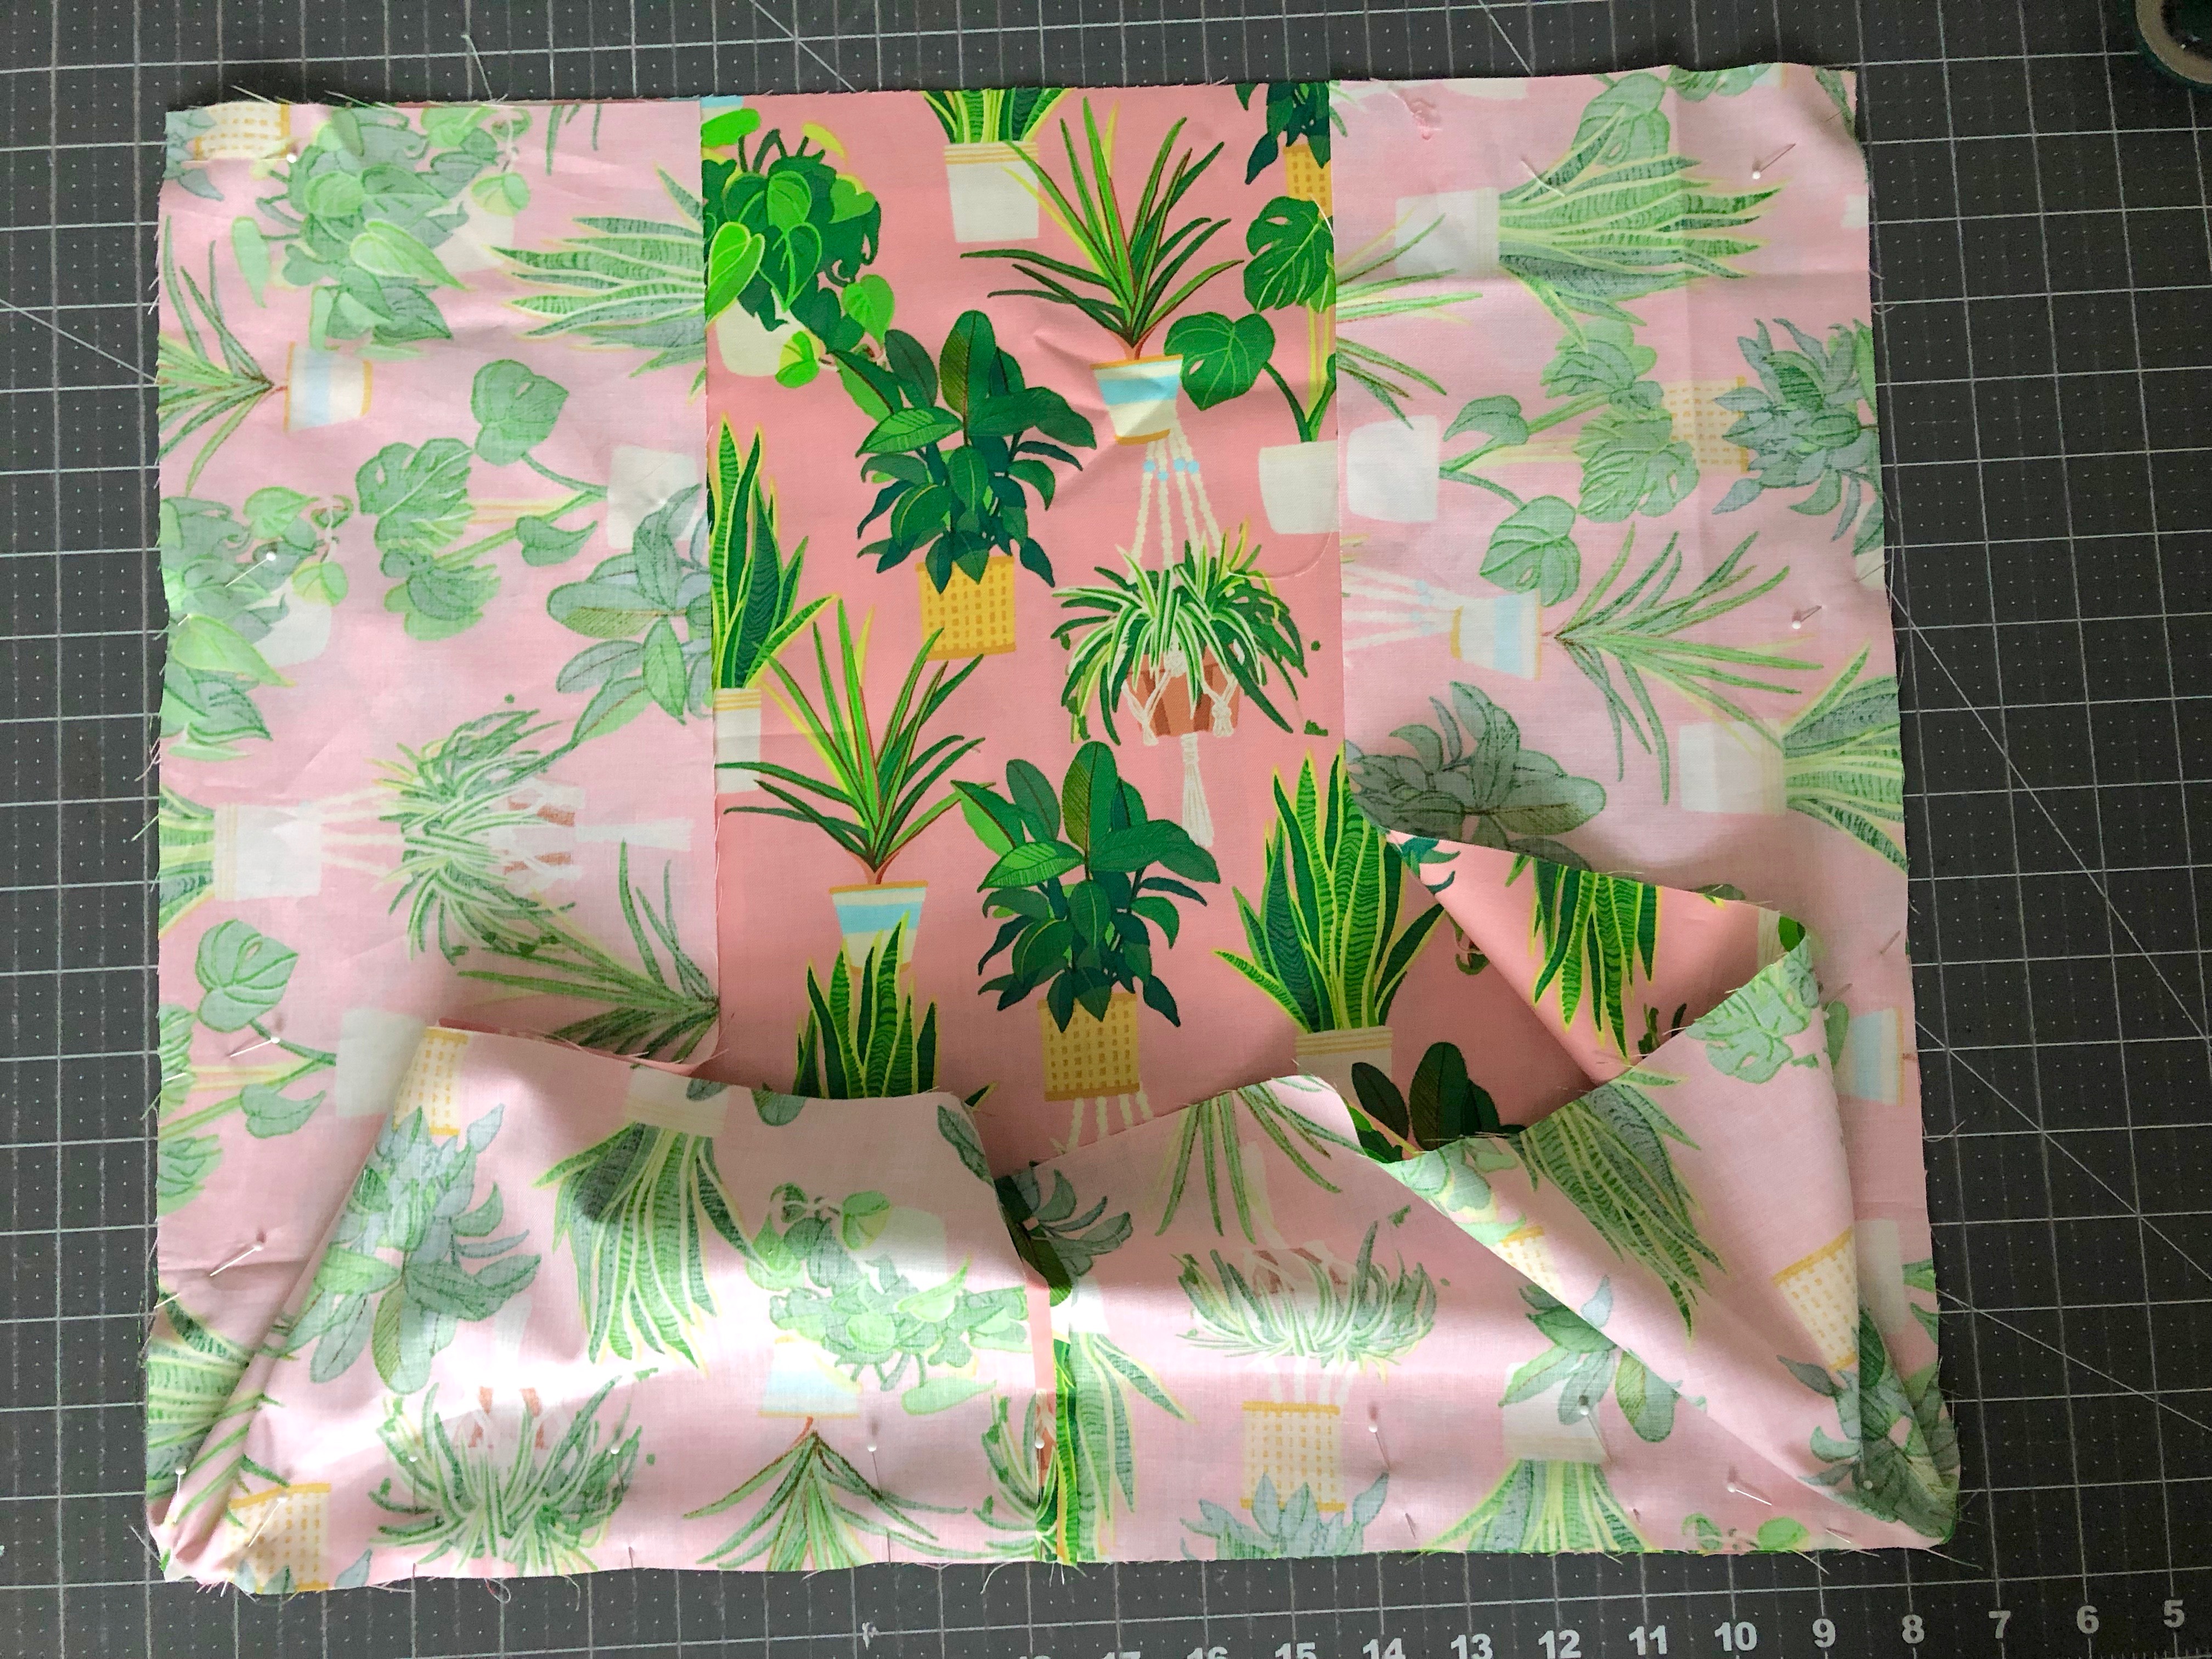
Using one of the outer bag main pieces, pin the side unit the side, bottom, and other side of the main bag piece.
It's best to center the side unit seam to the center of the bag bottom and pin, and then continue pinning out from both sides - that way everything stays nice and even!
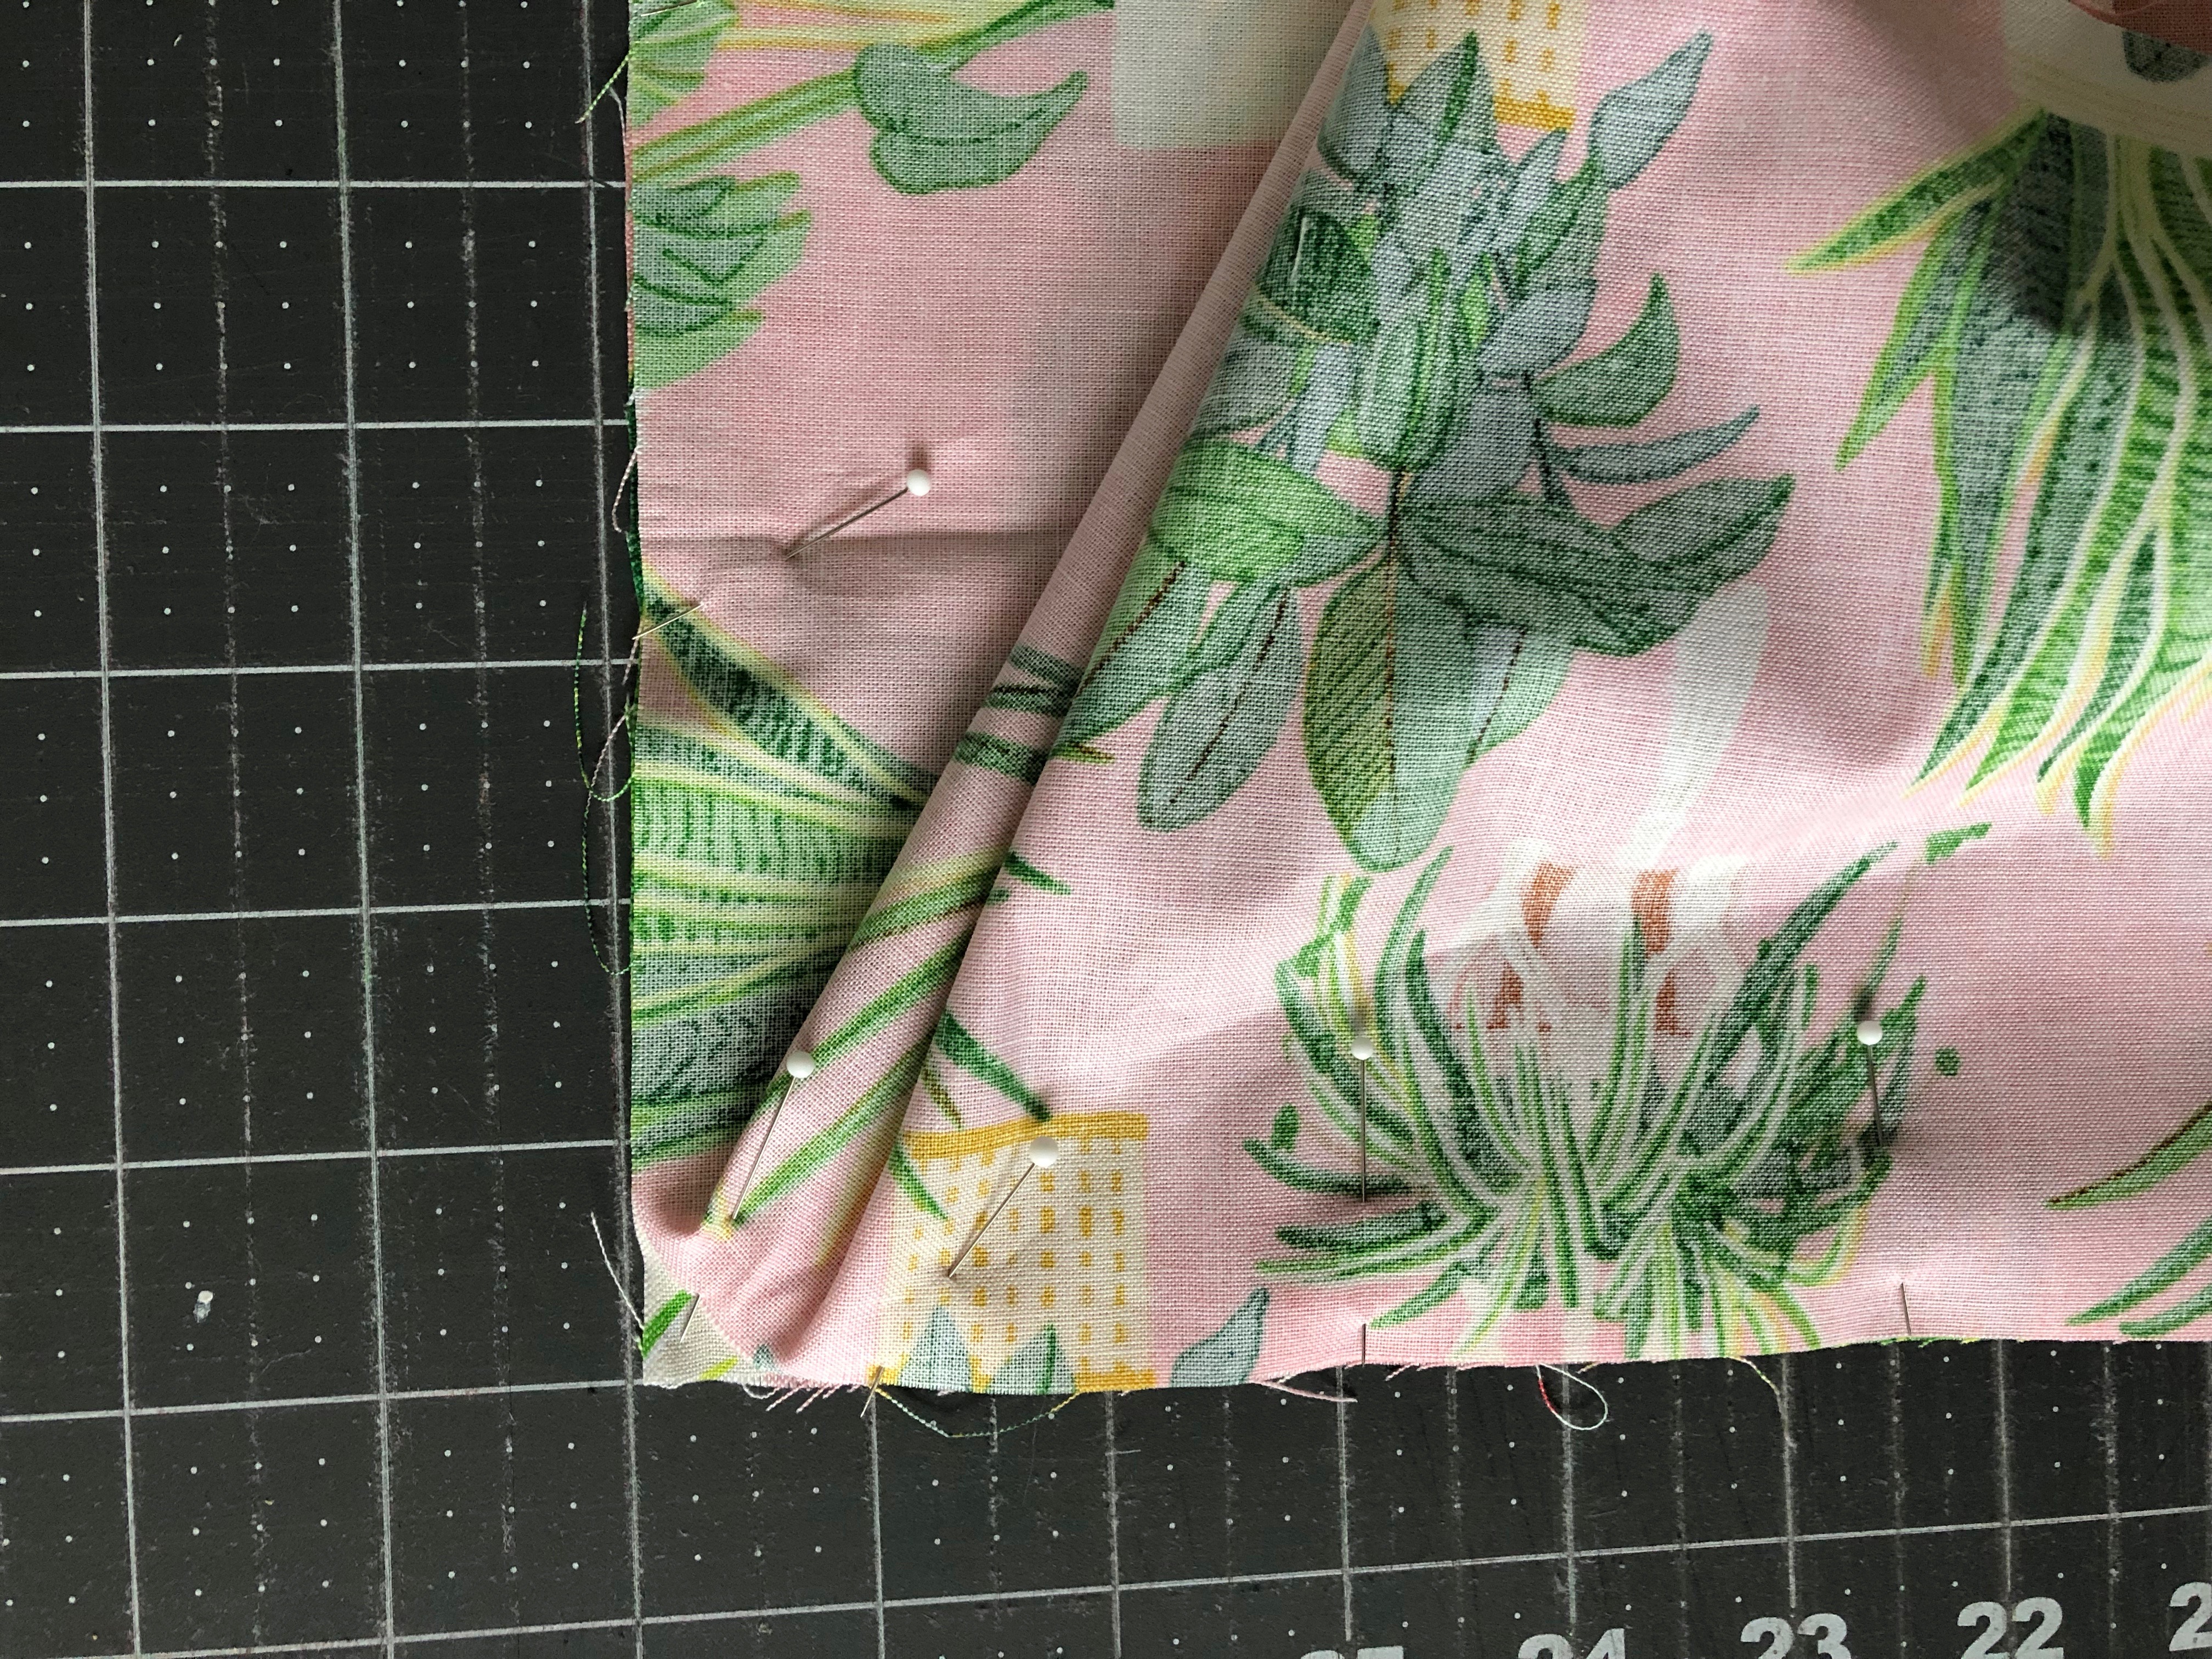
Slightly curve at the corners.
Do the same with the main lining piece and the lining side unit.
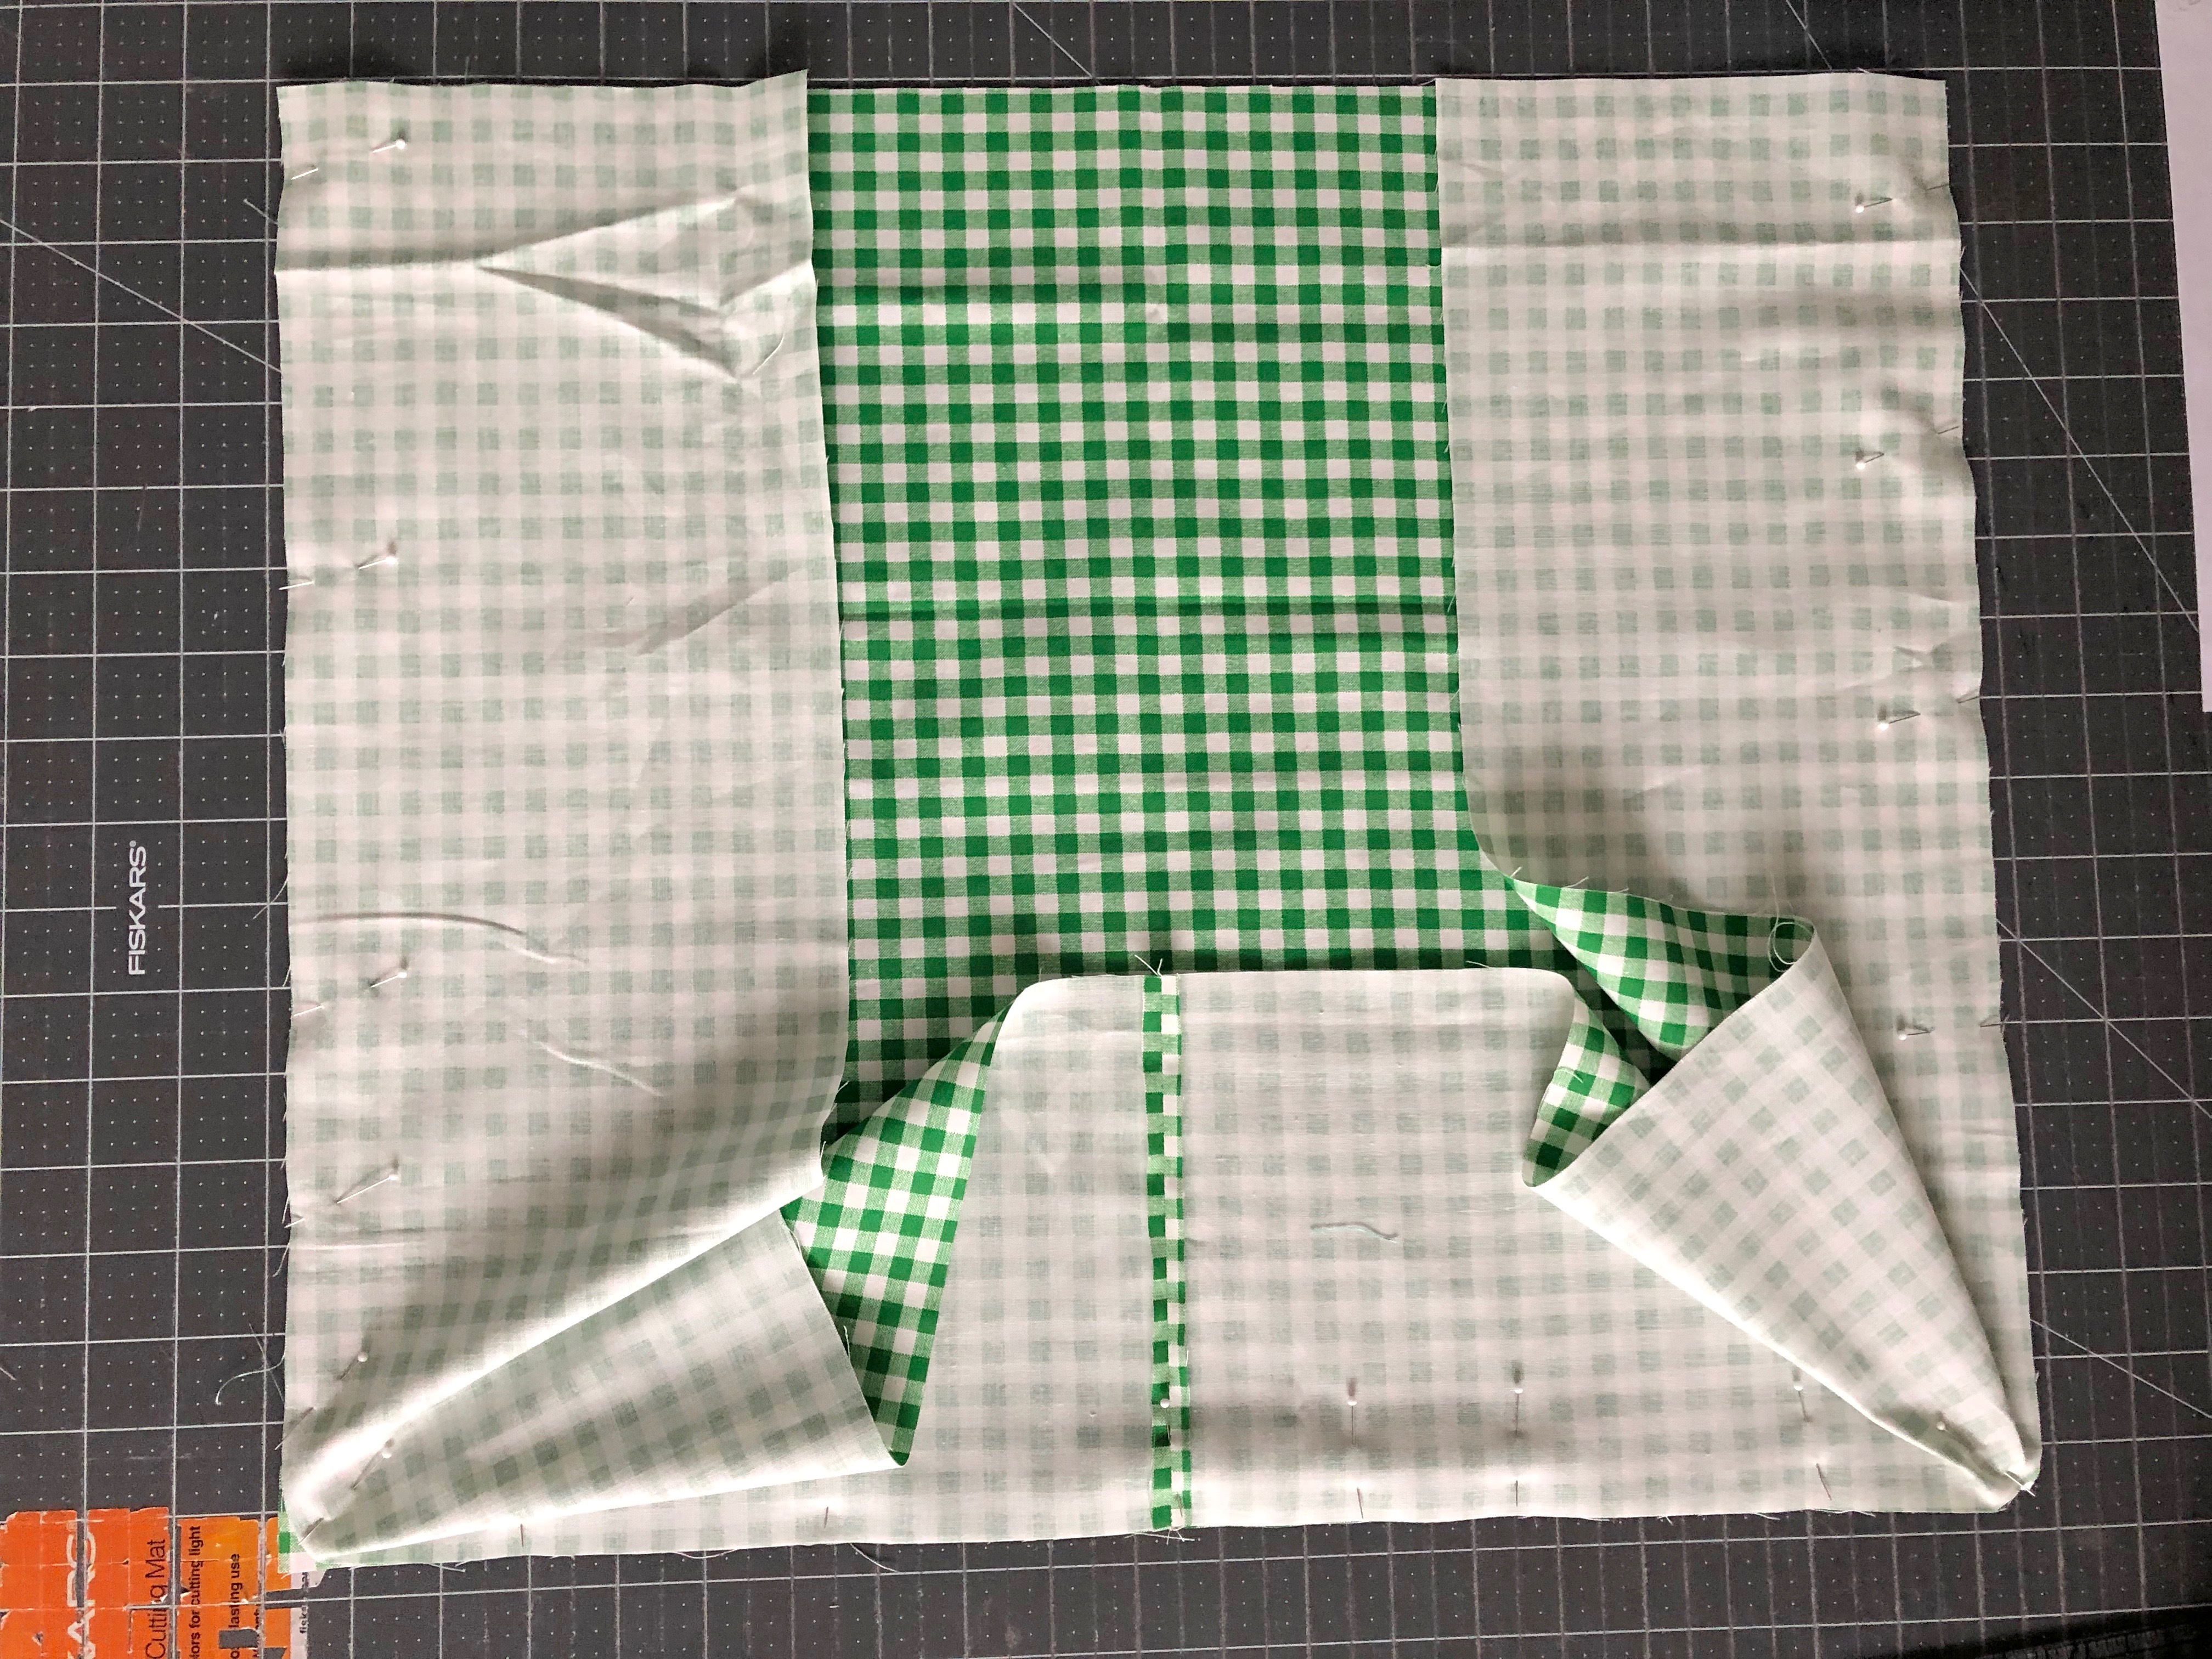
Sew all the way around.
Next, repeat by pinning the second main bag piece to the bag side unit.
And do the same with the bag lining. The outer bag and lining are identical at this point.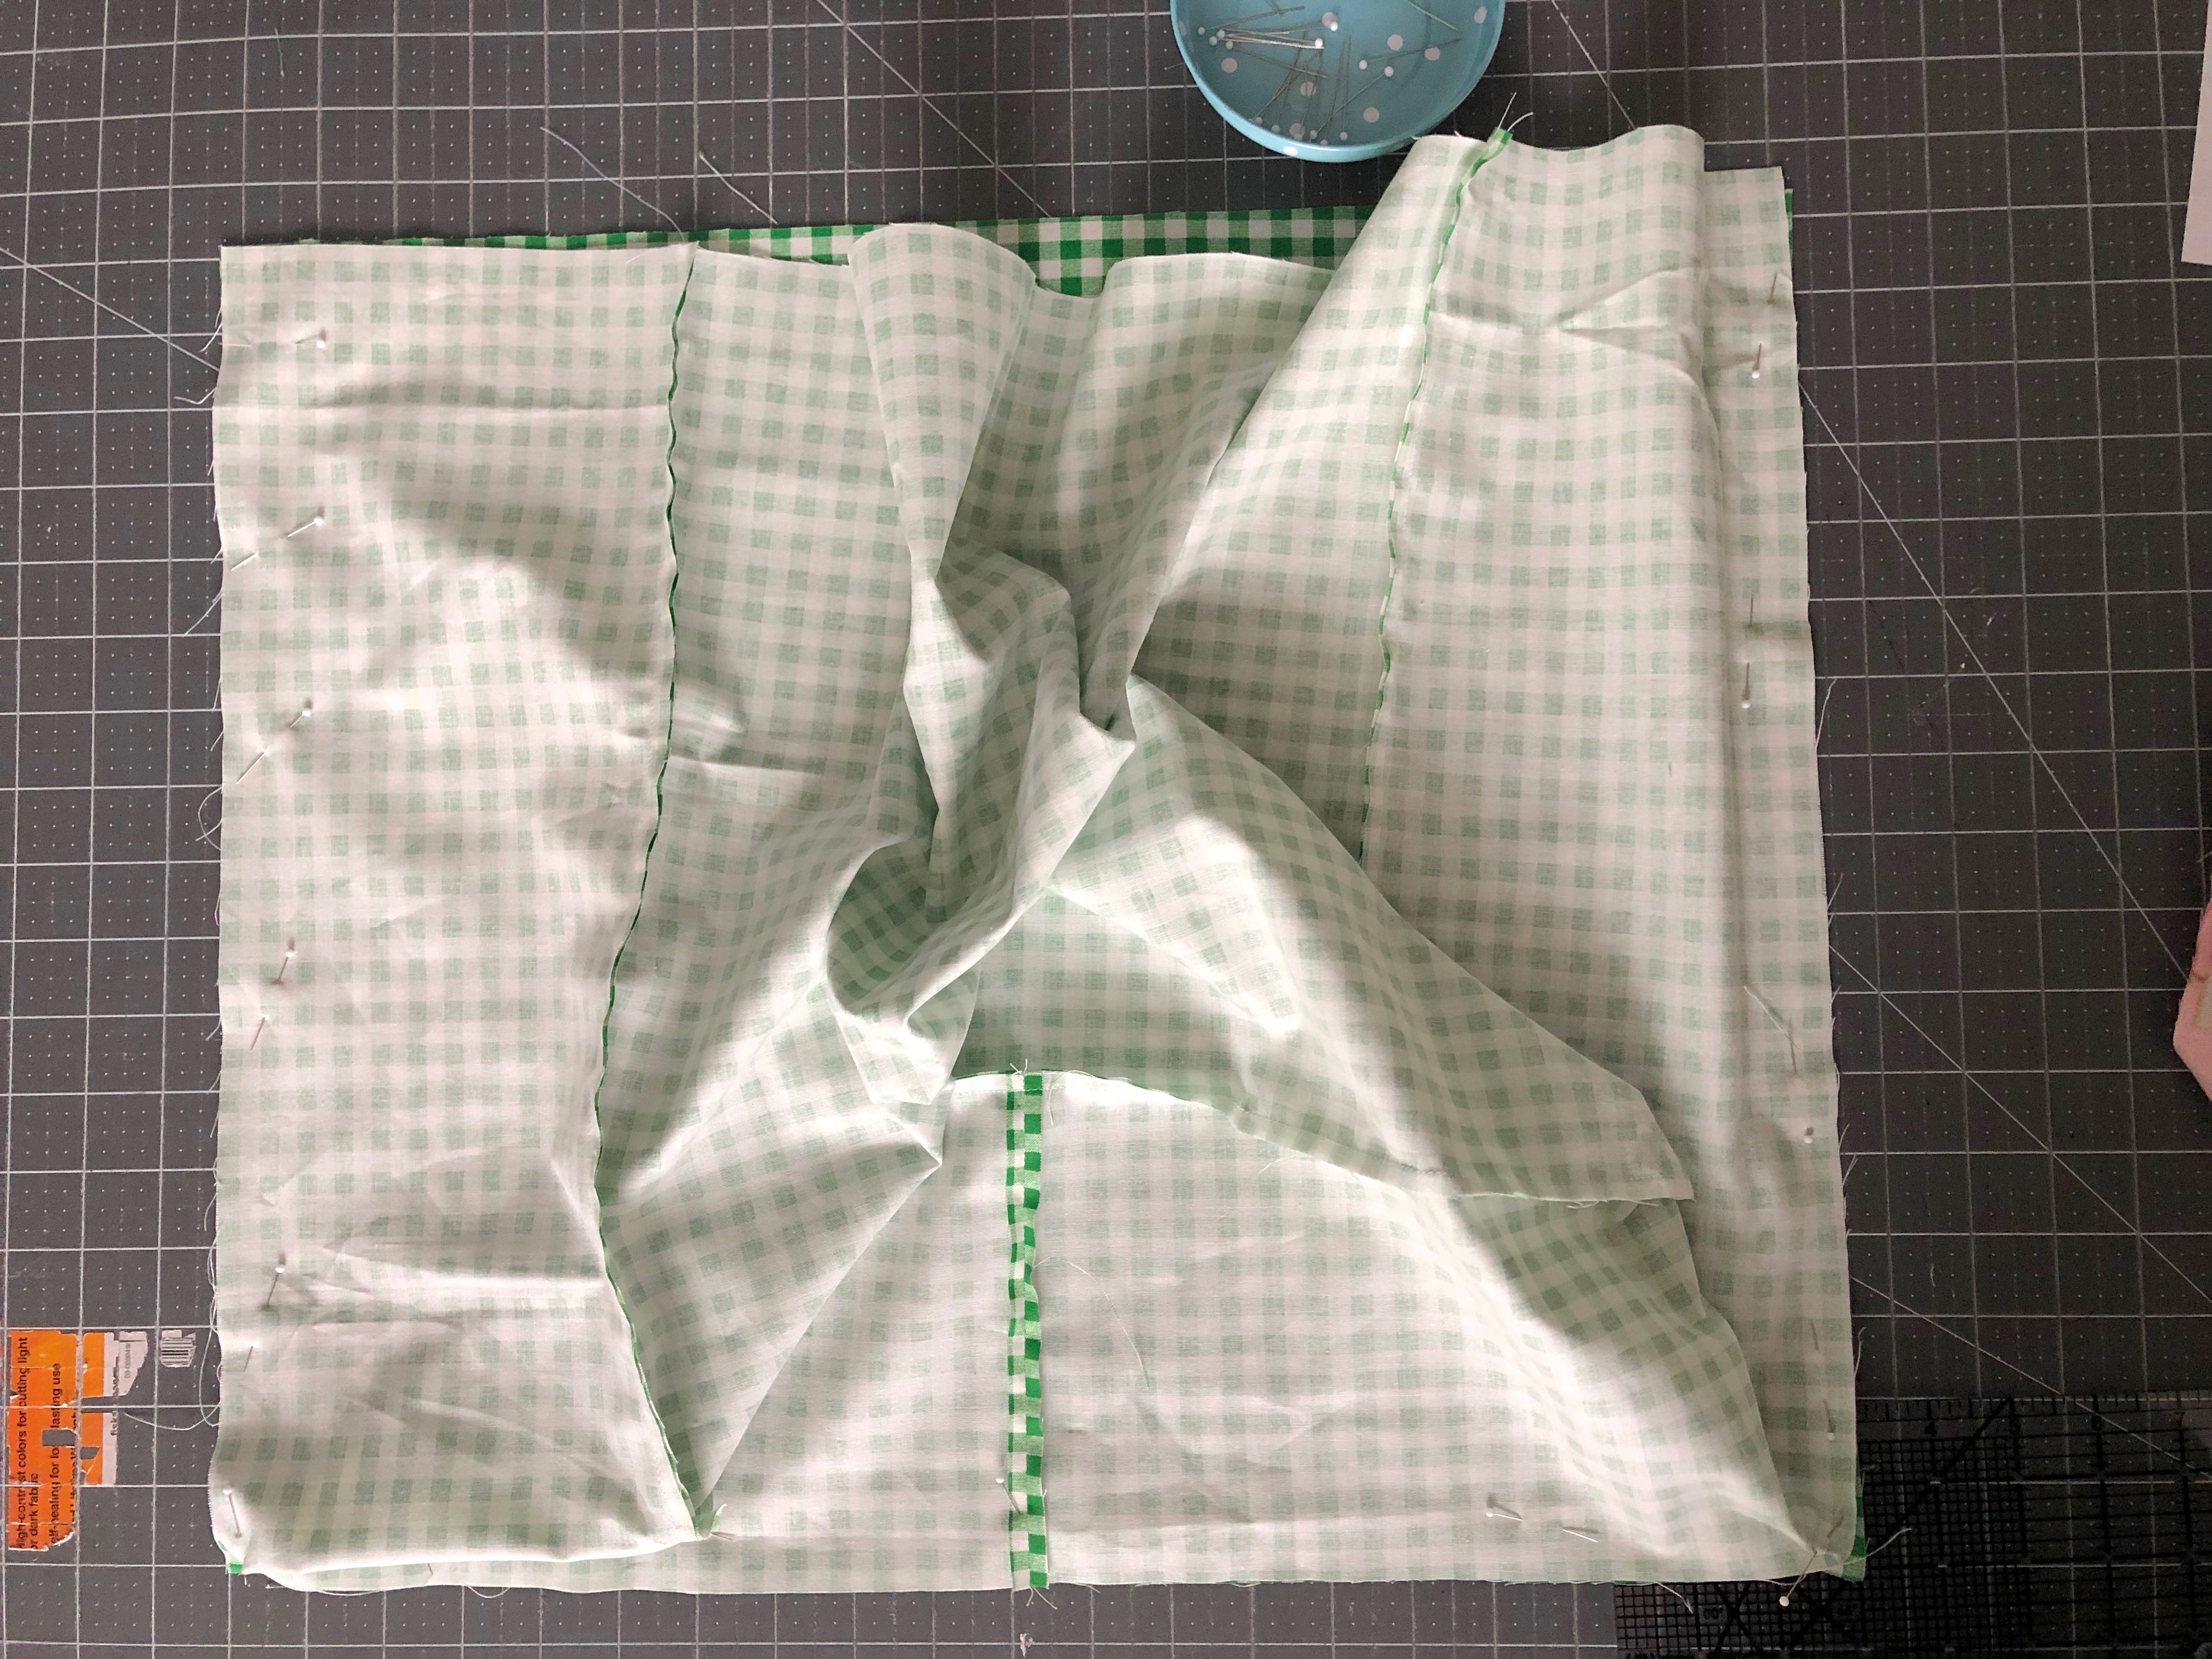
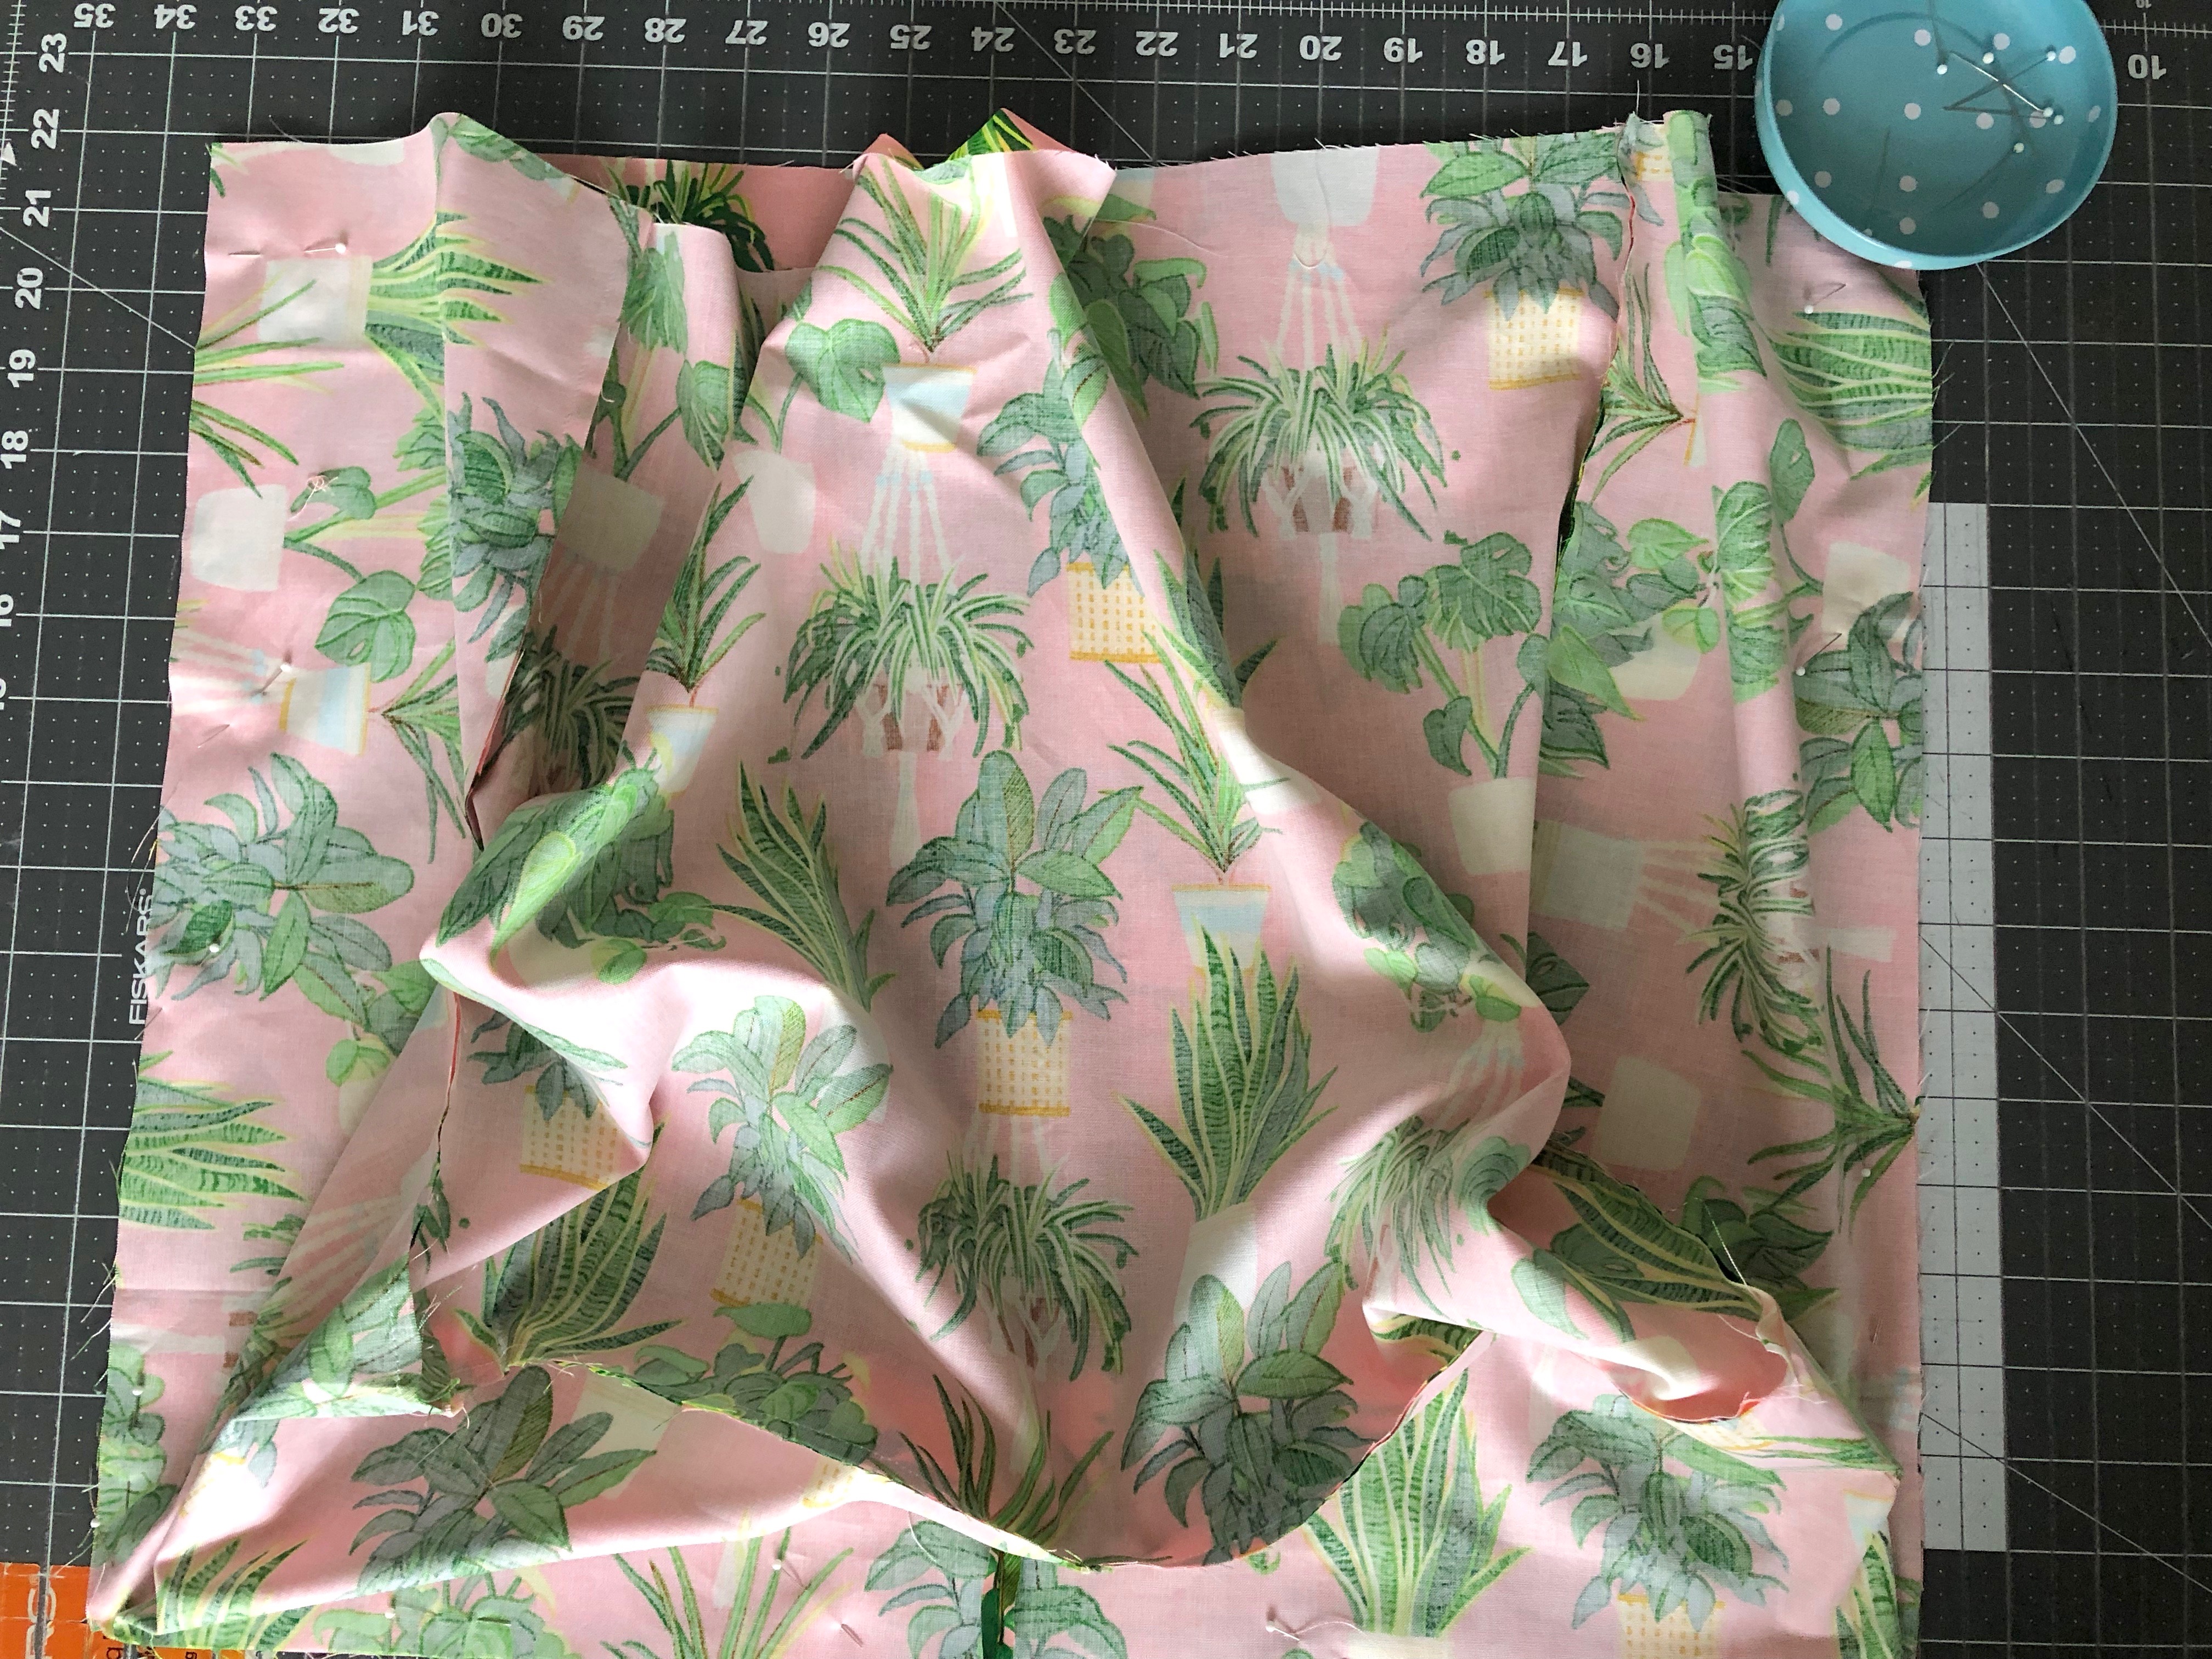
Sew all the way around the outer bag and the bag lining. Press seams to one side.
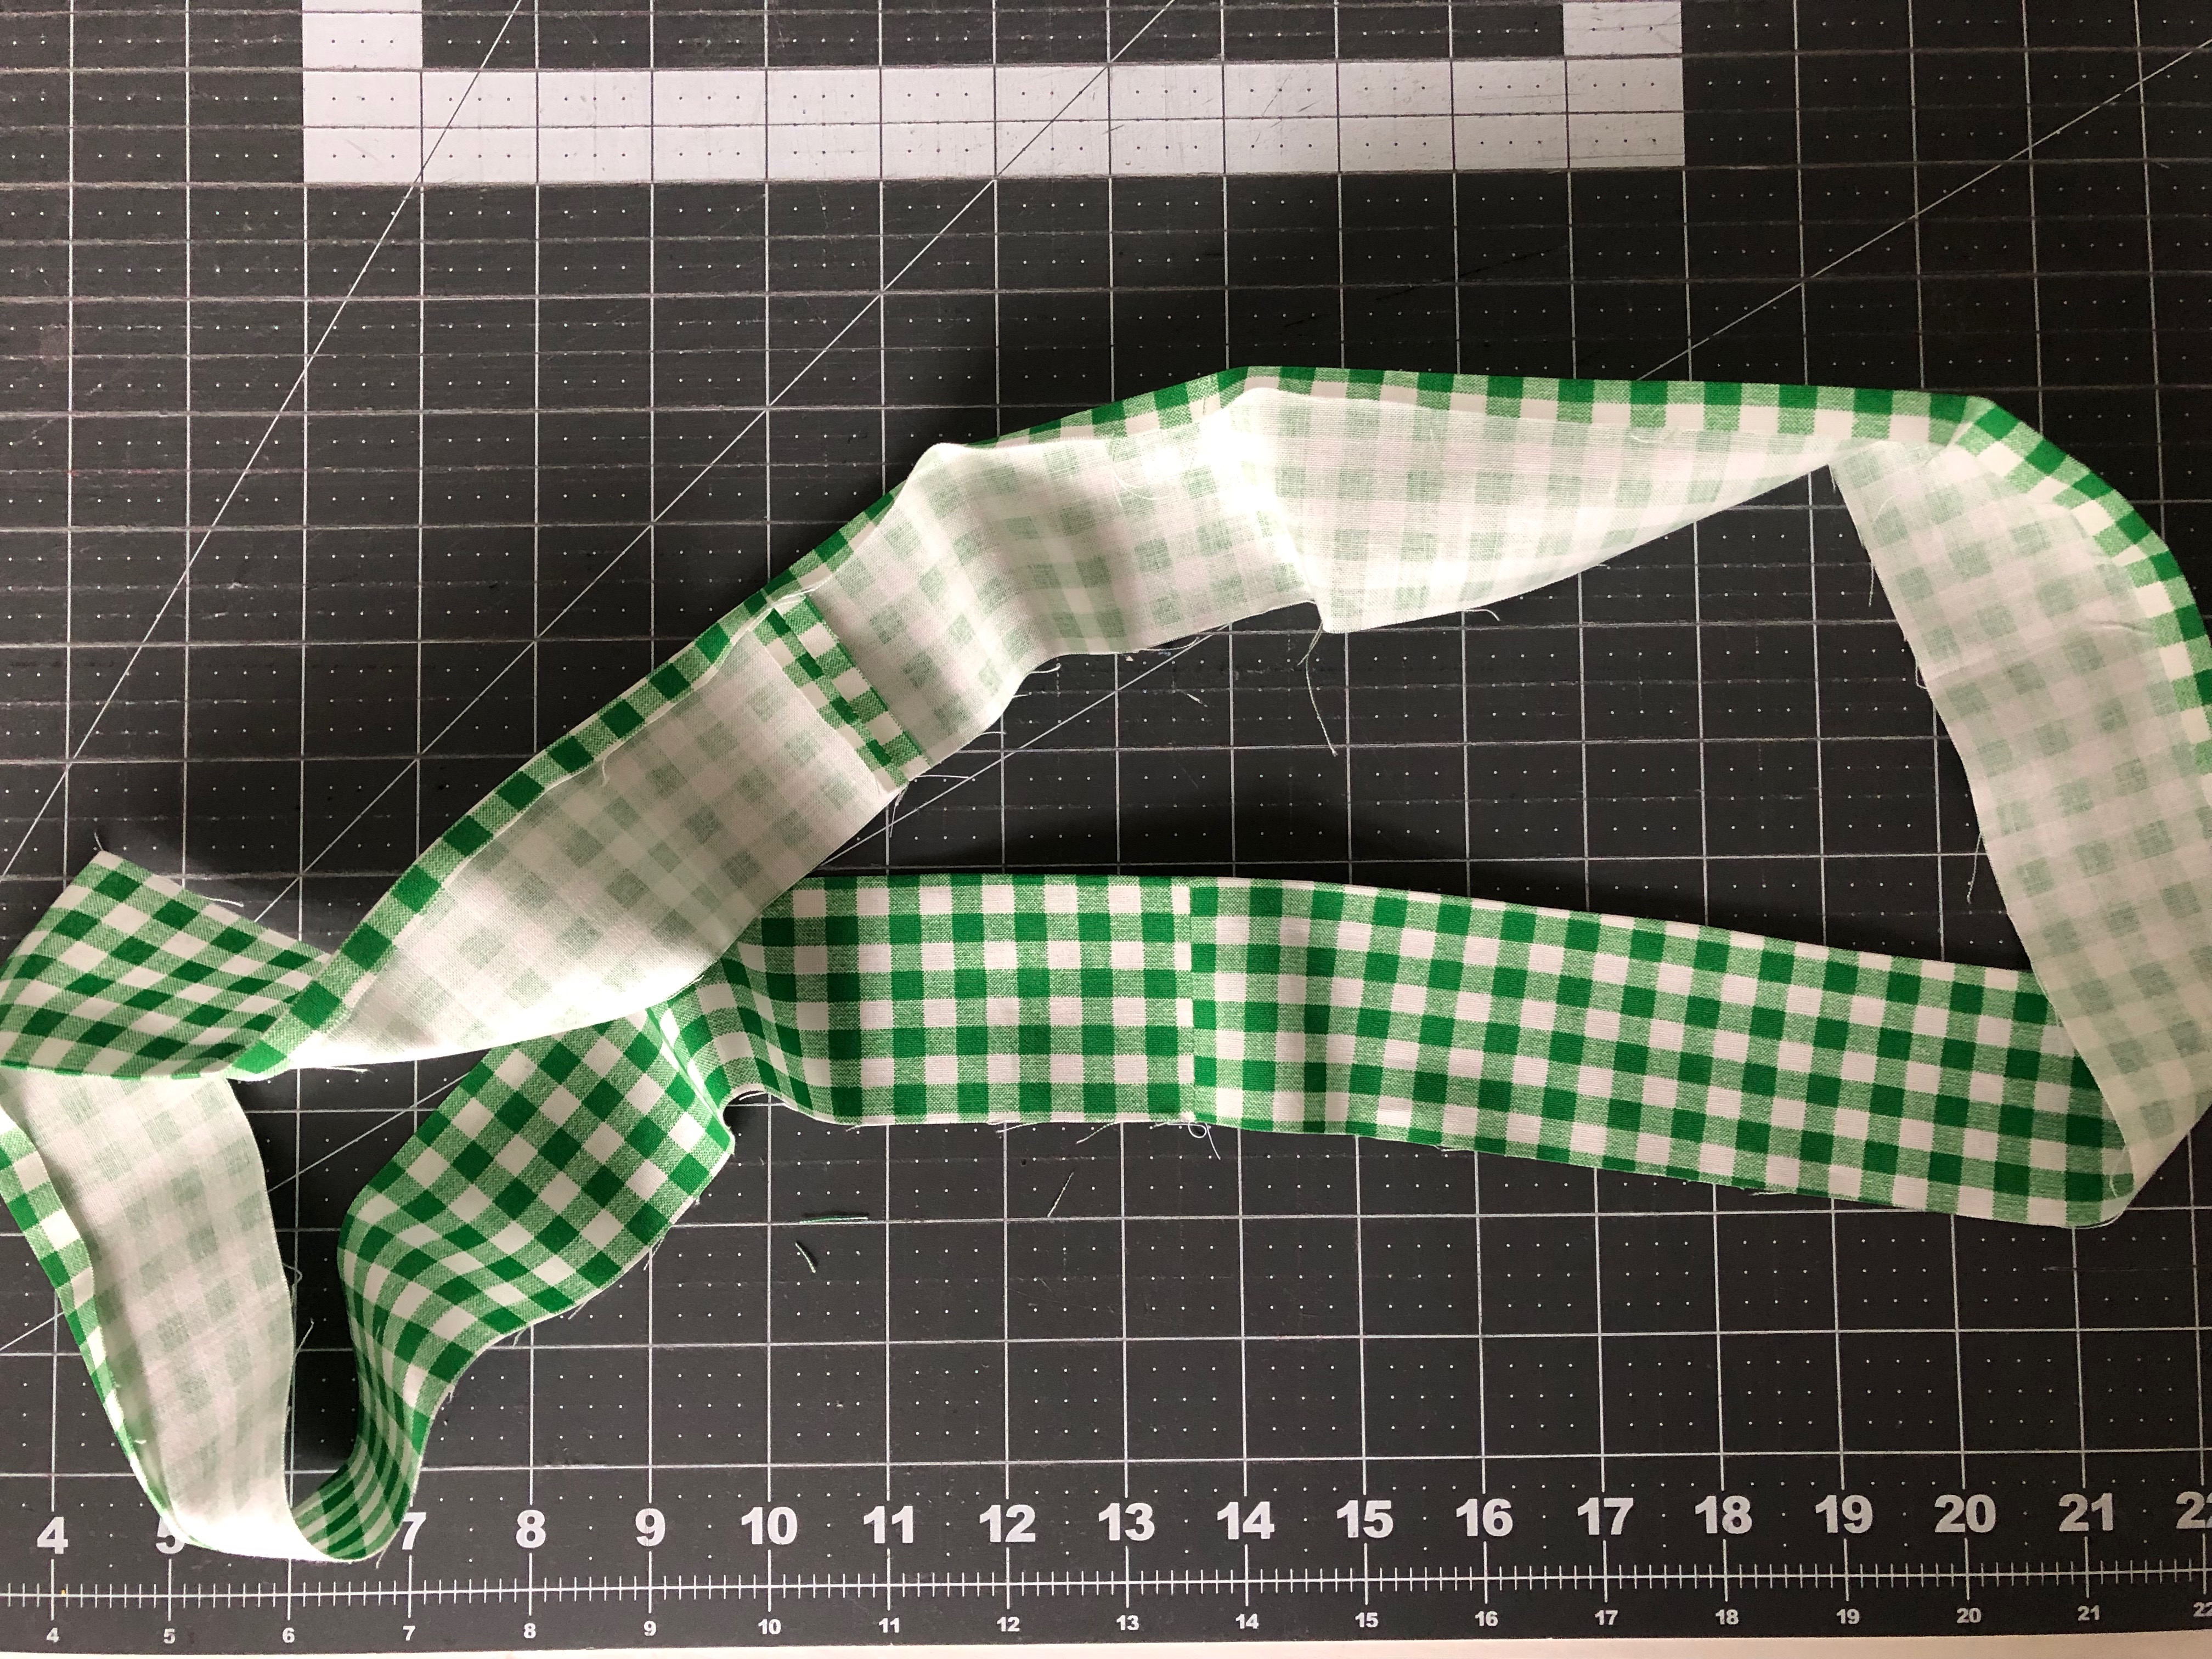
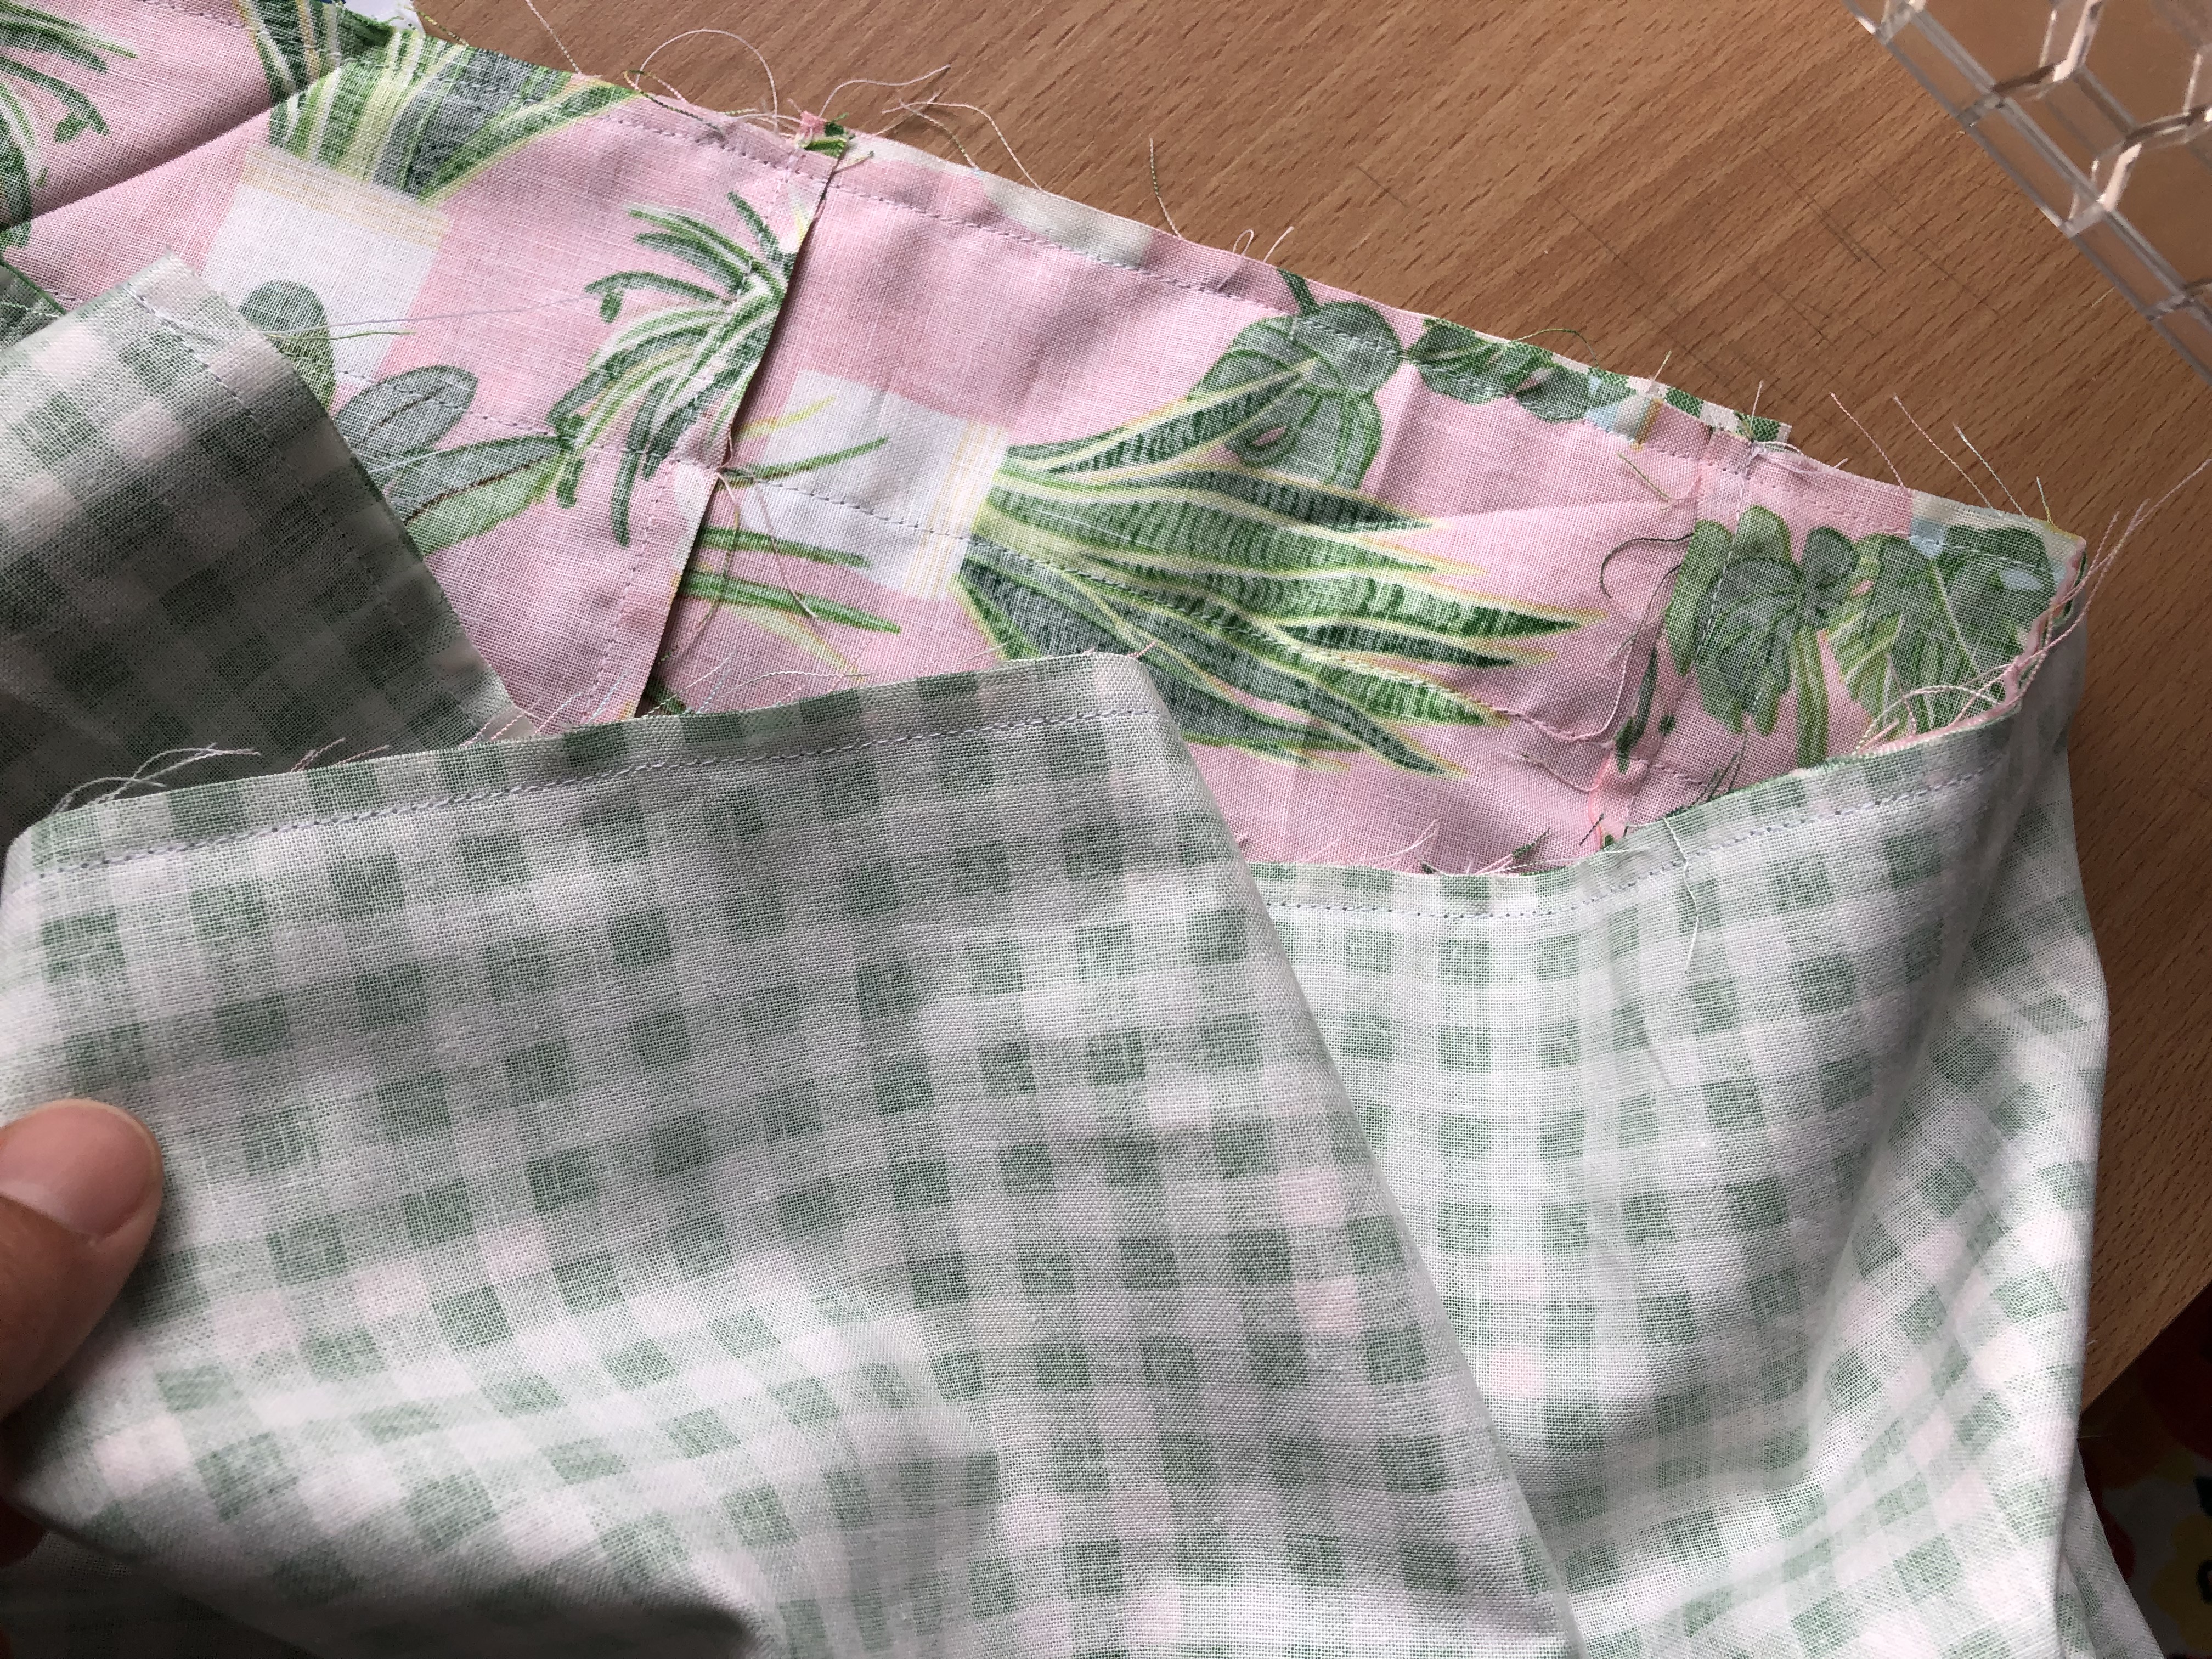
Sew the accent band in a loop by sewing end to end. Press seams open.
Press one edge under ¼".
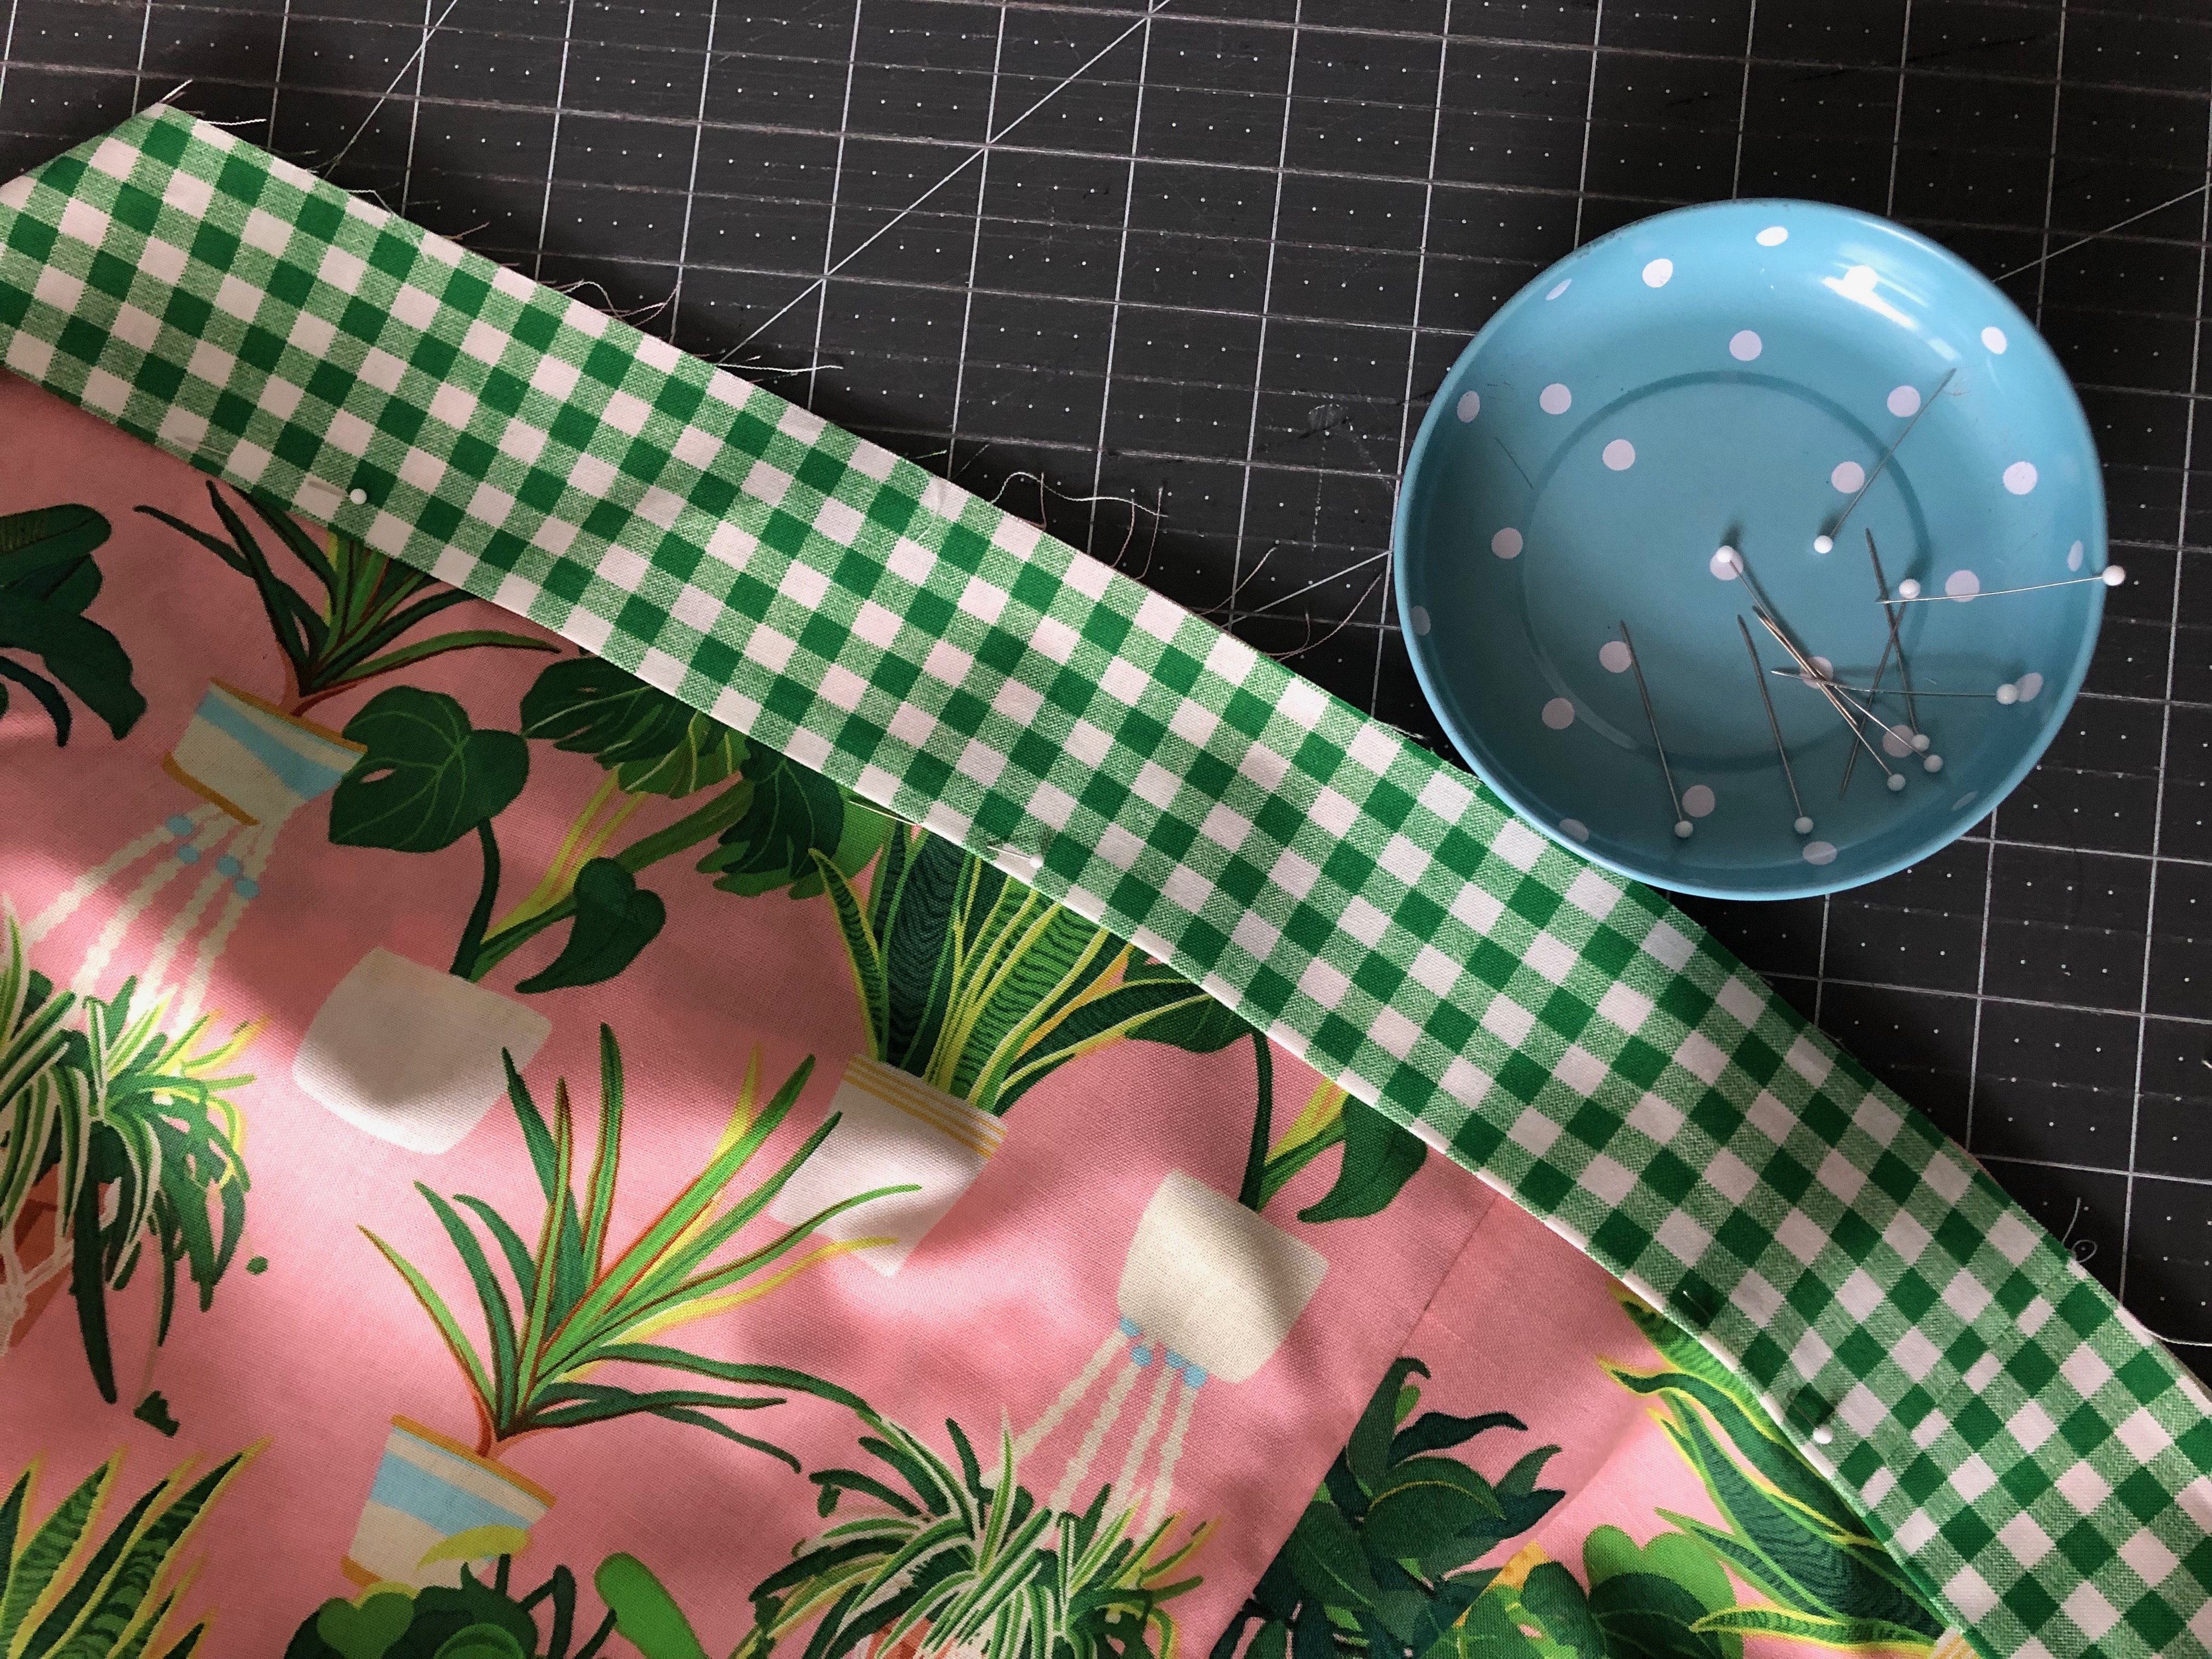
Line up the raw edges of the outer bag and the accent band and pin into place. Position the accent band seams on the sides of the bag.
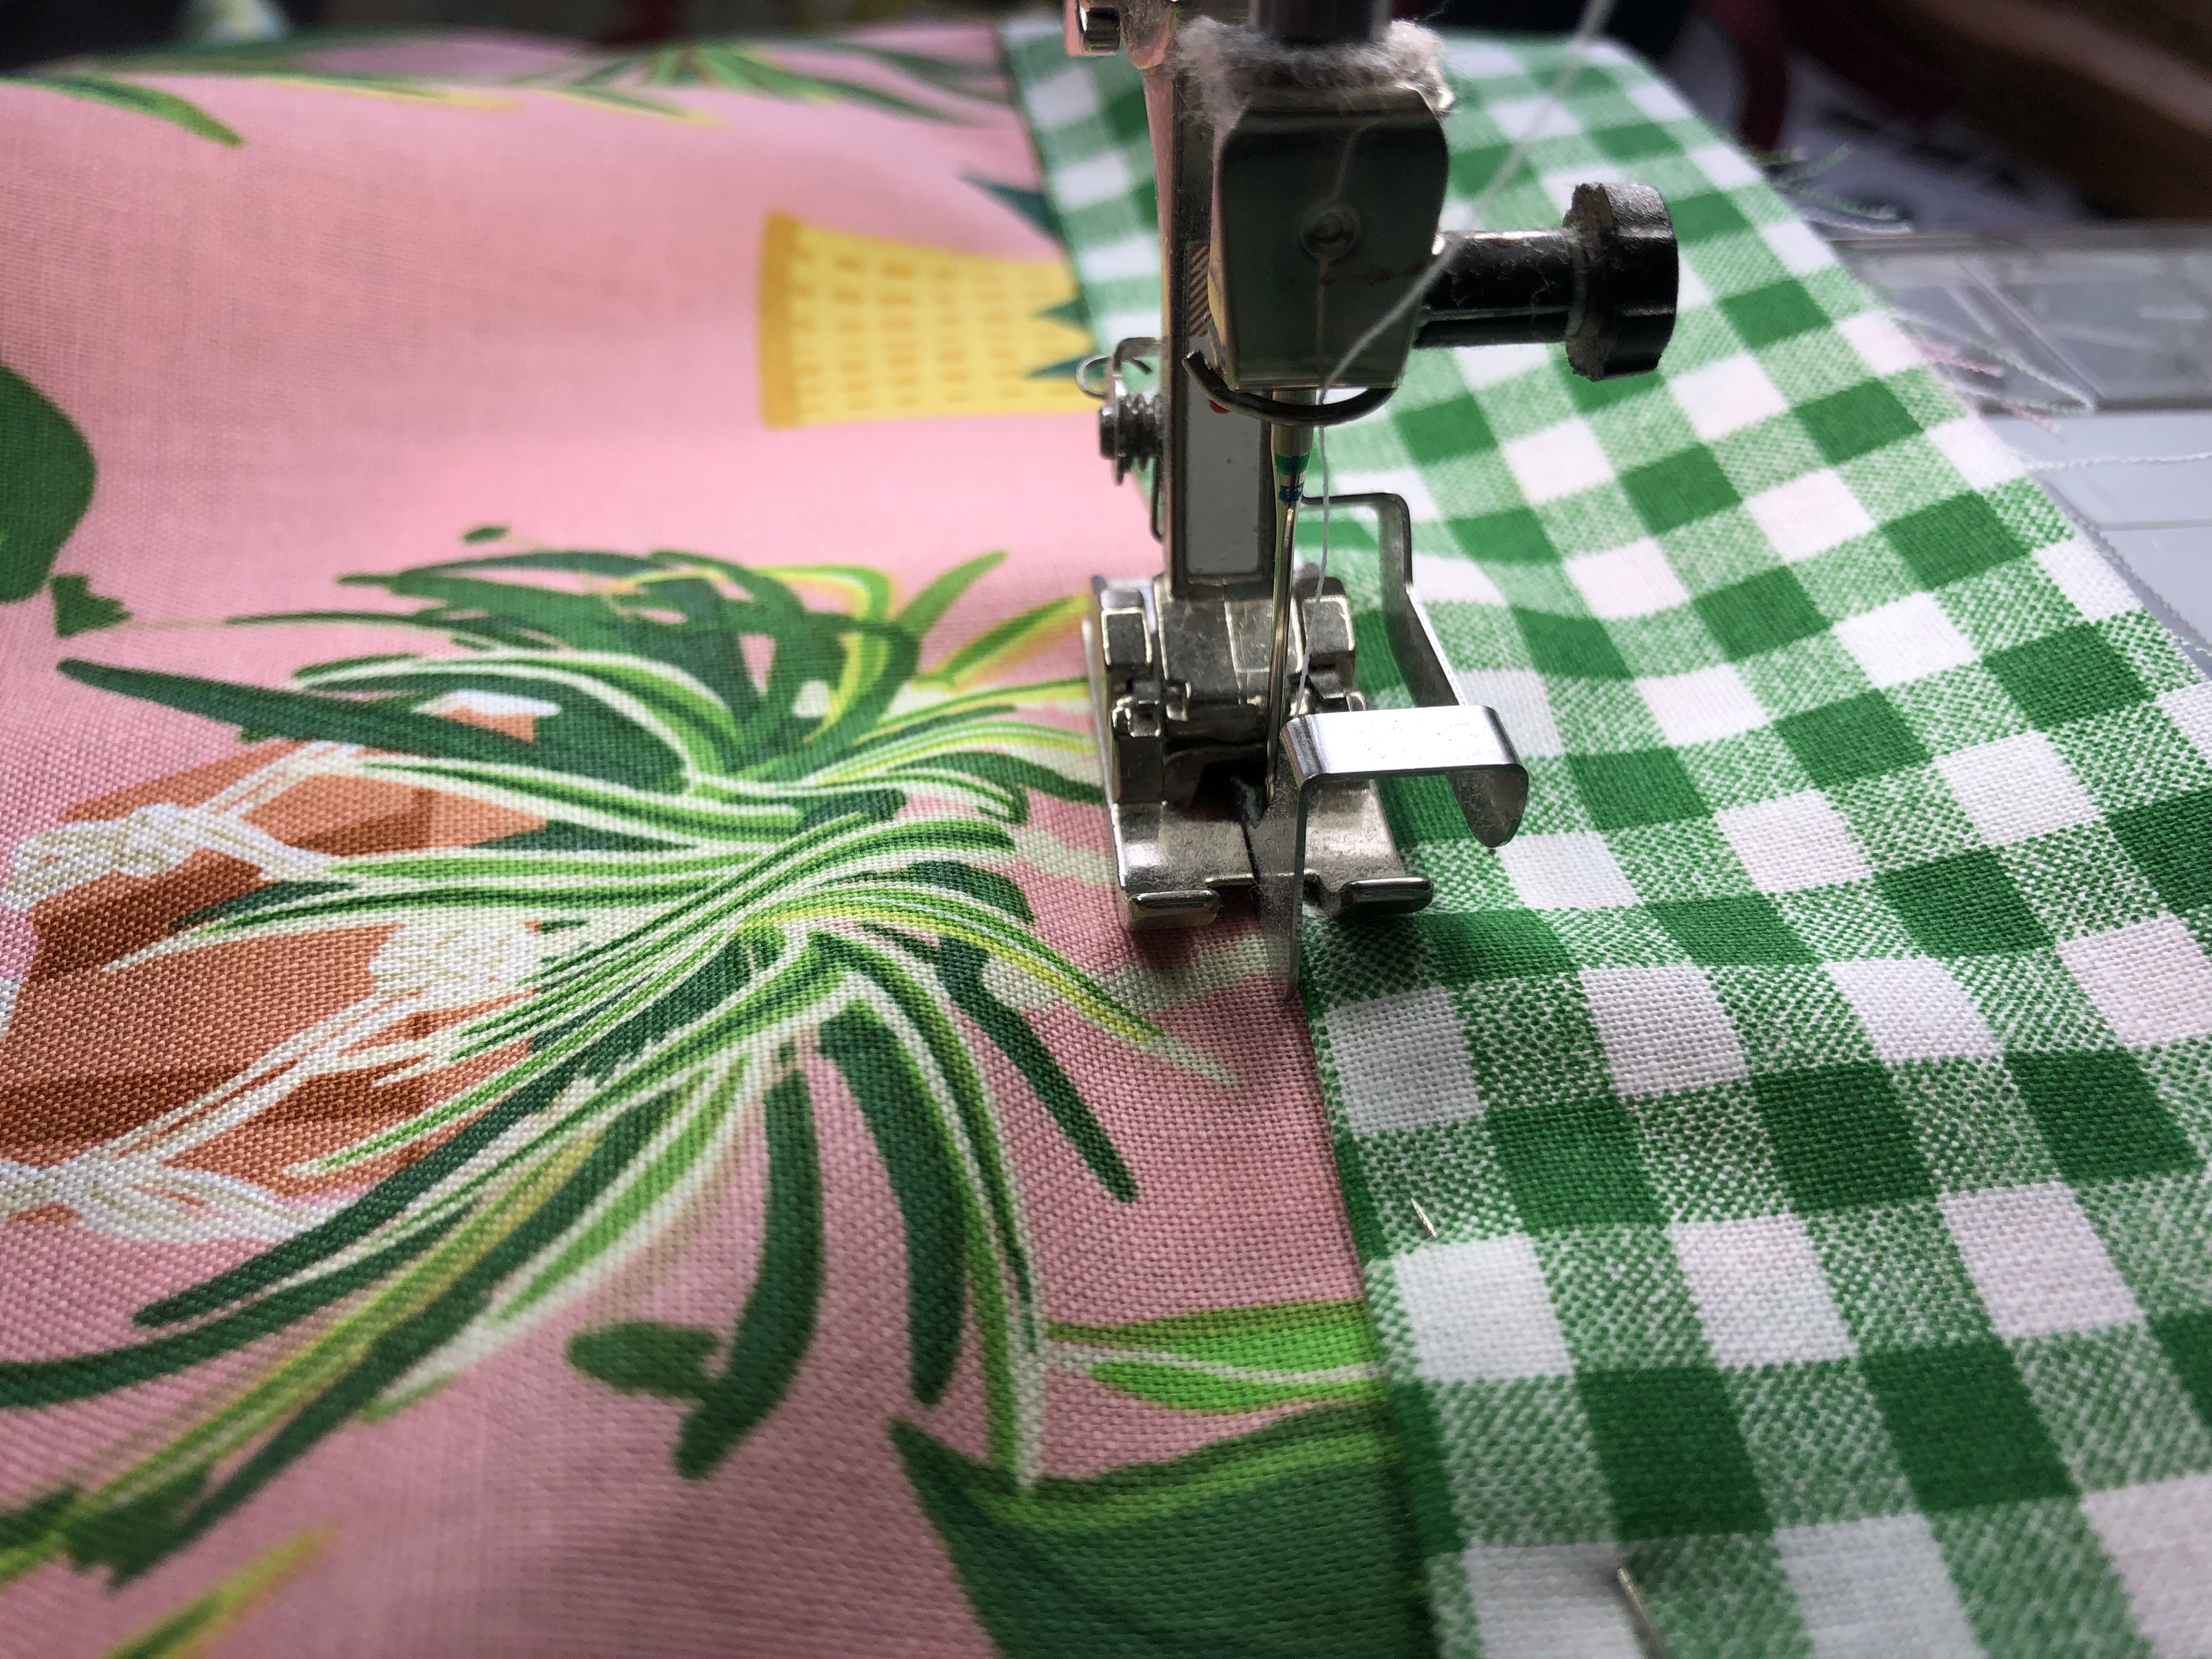
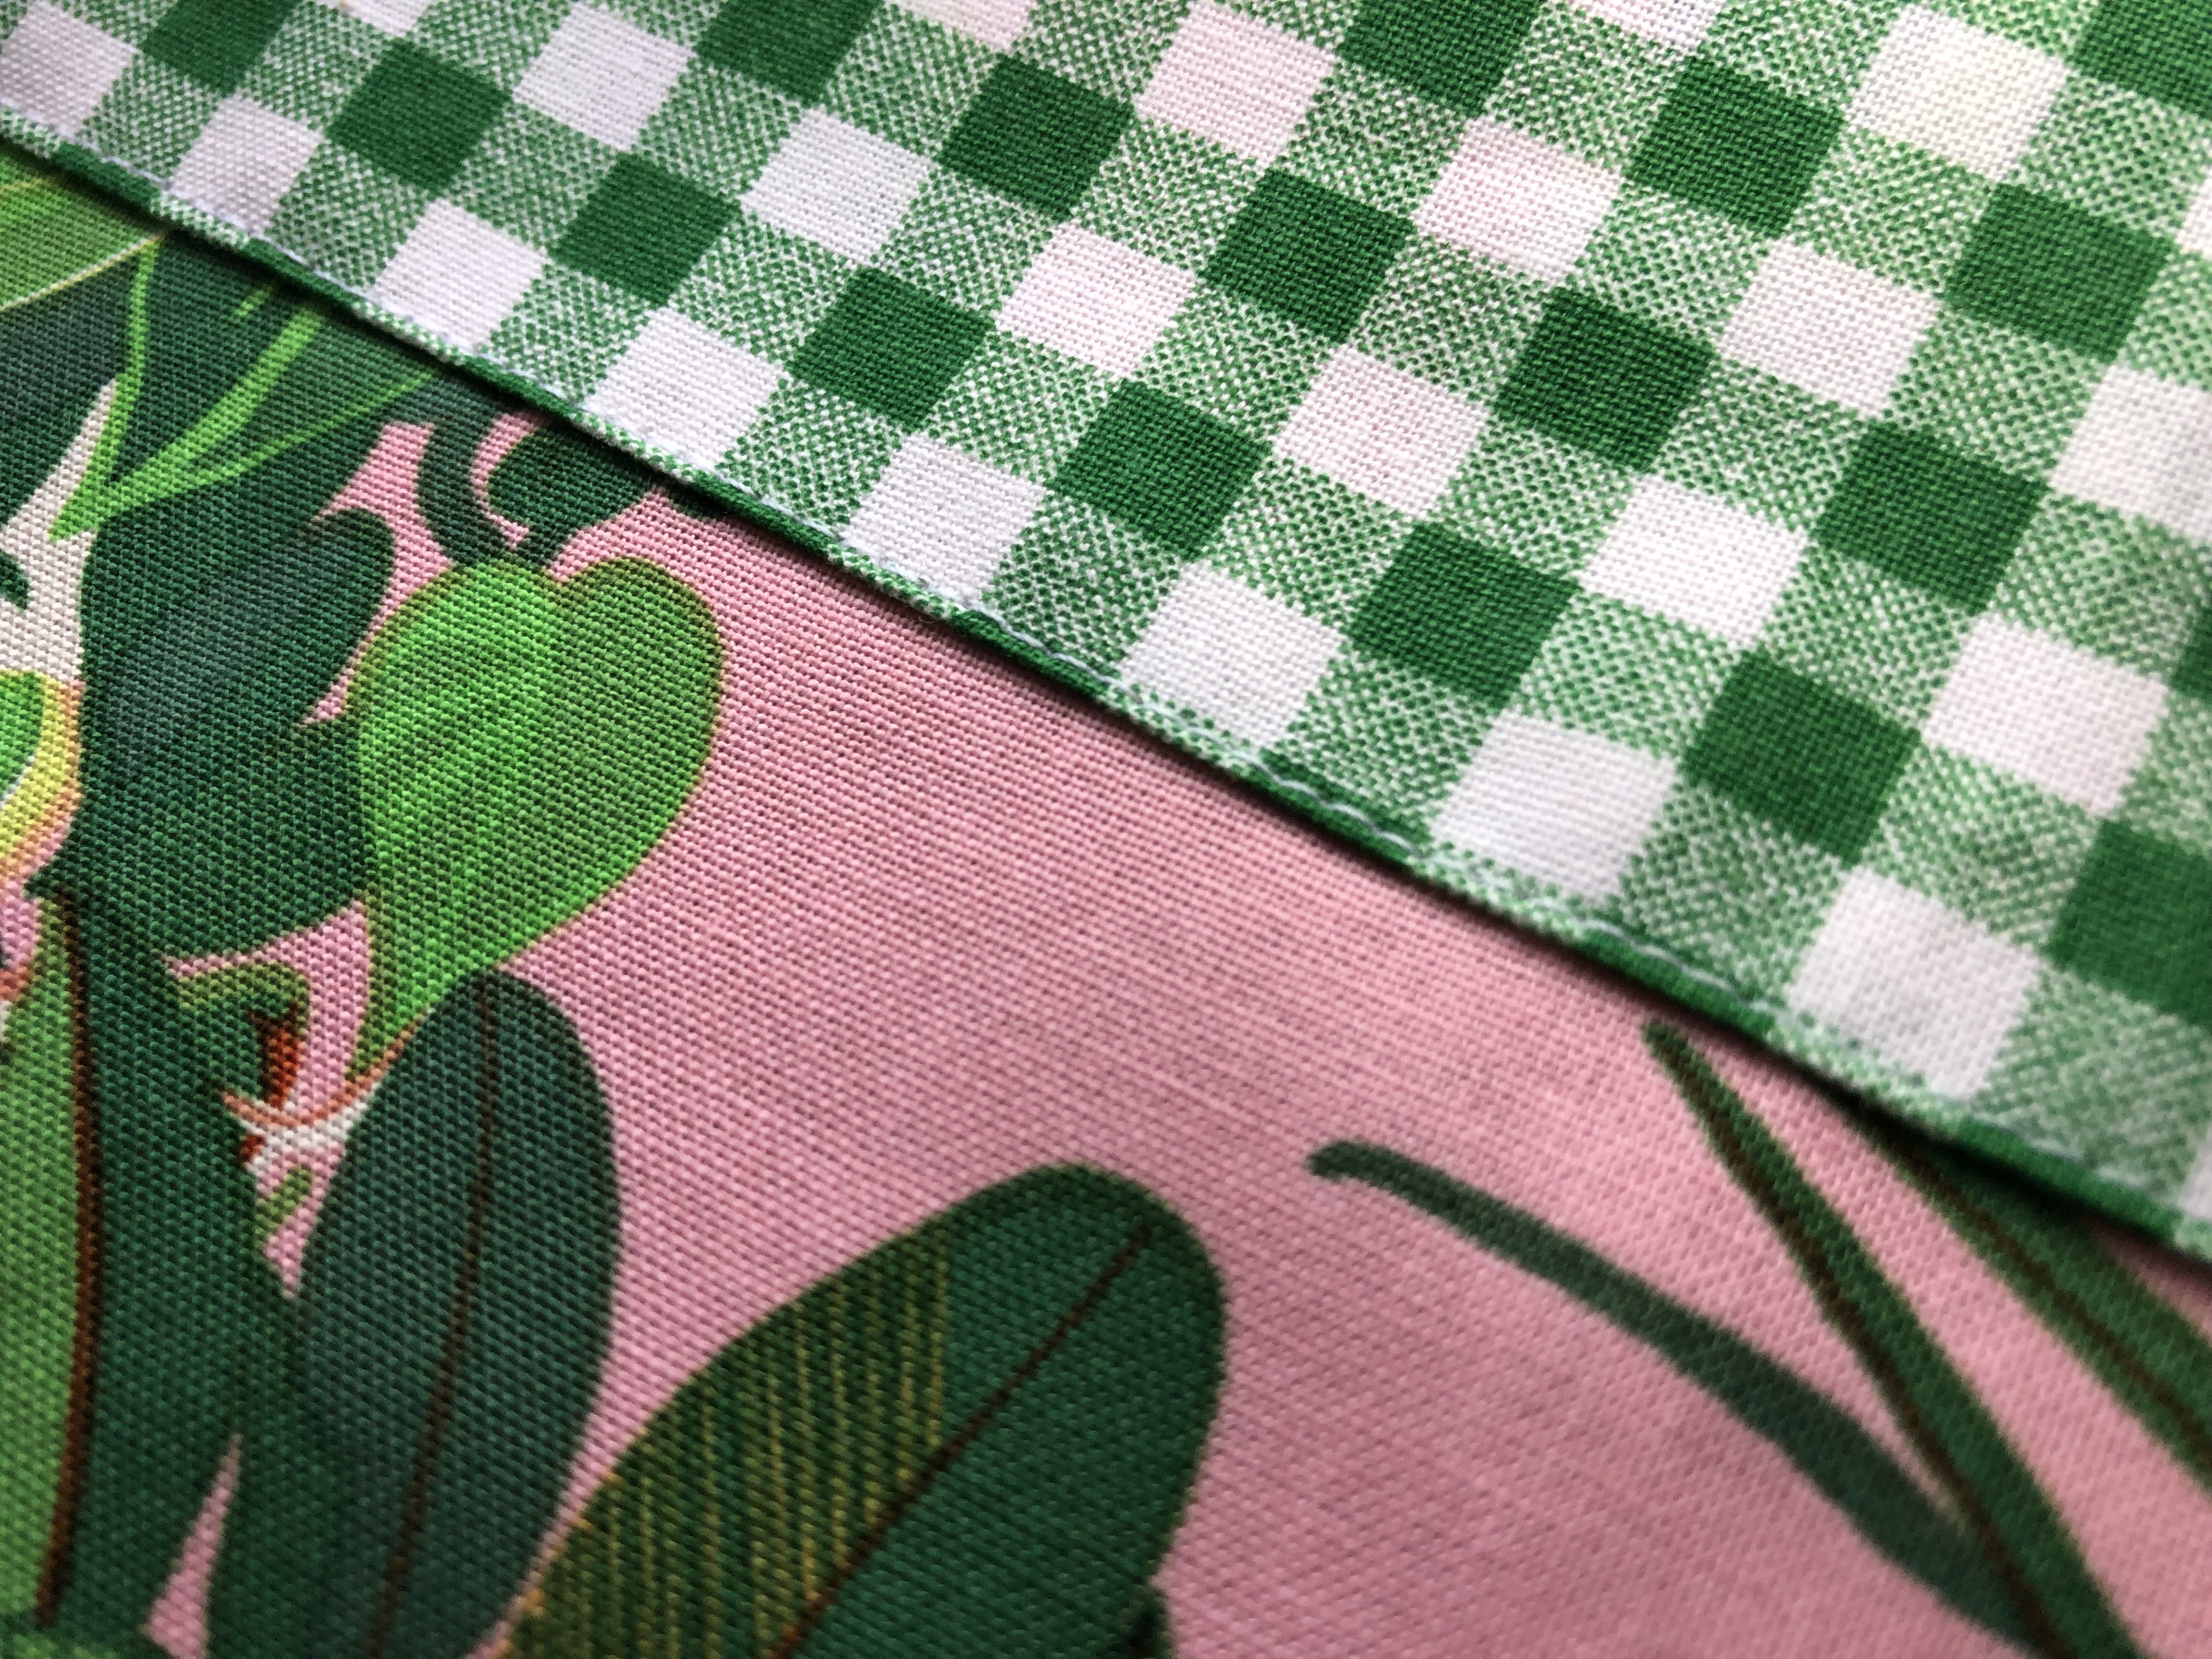
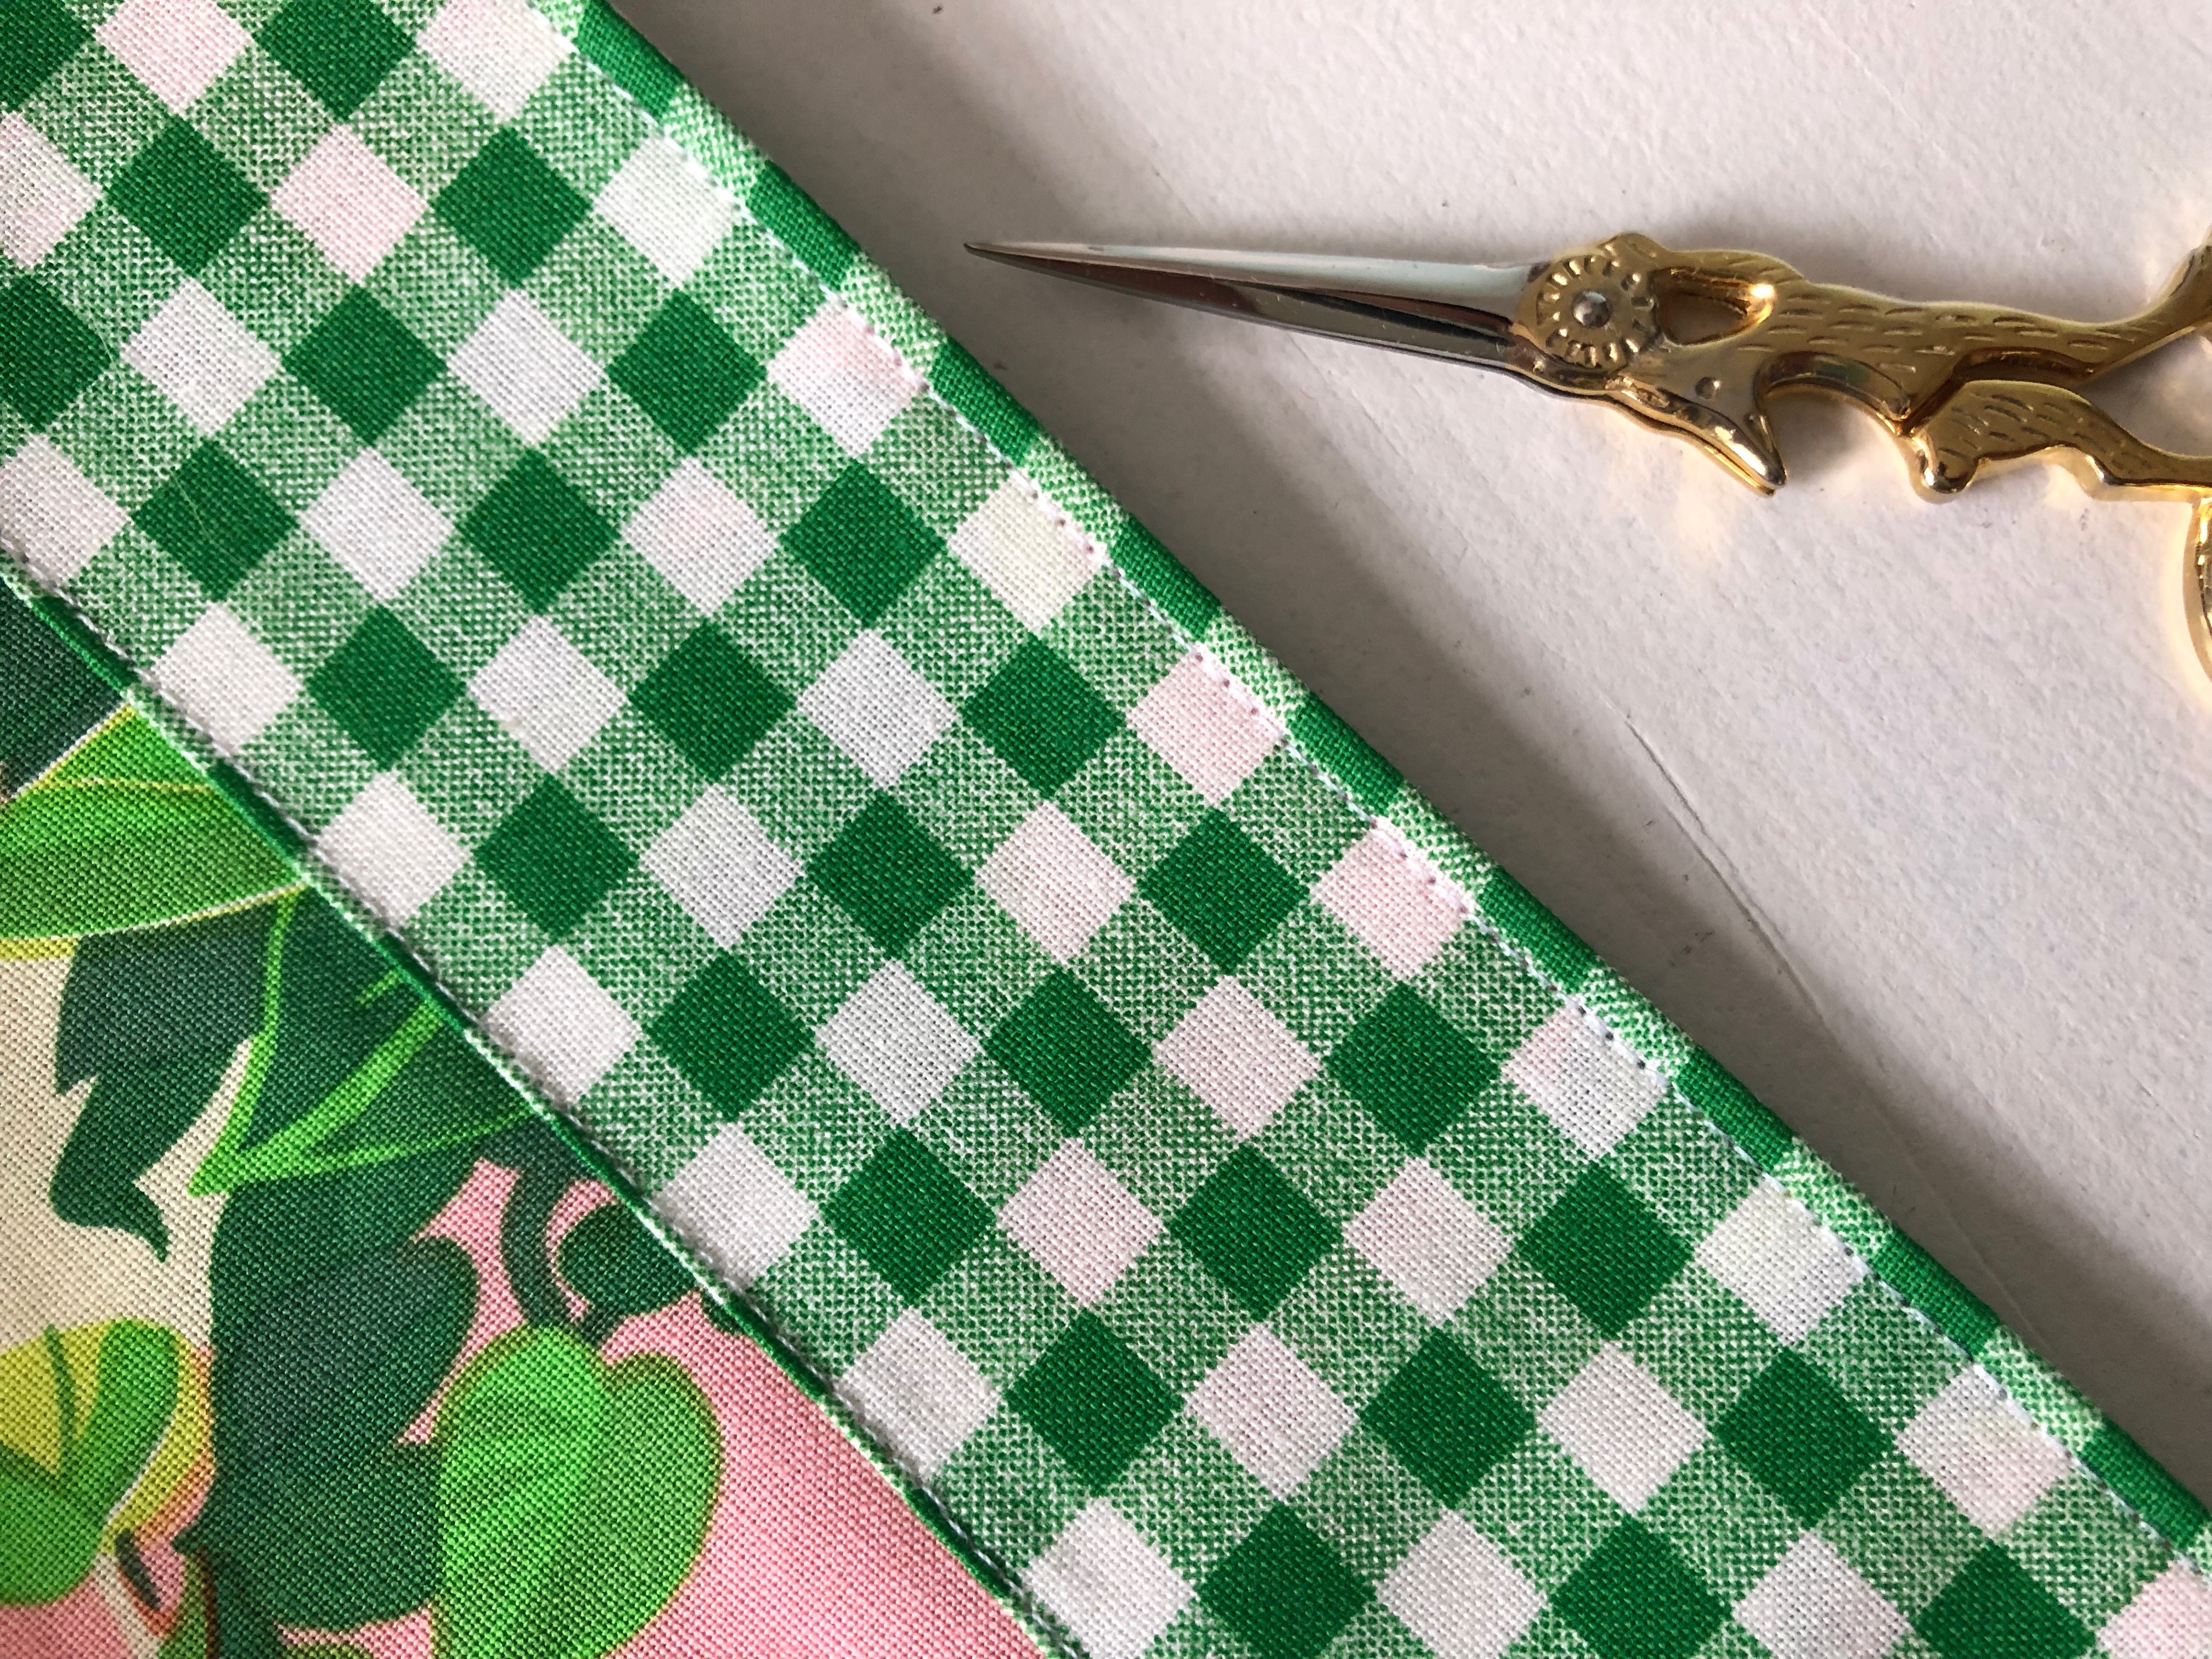
Top stitch along the fold of the accent band. I like to use a top stitching foot. Stitch all the way around beginning and ending at one of the bag sides. The band is not crucial to the bag's design - it adds a decorative element and gives some stability to where the handles will be sewn.
Top stitching is the best!
Place the outer bag inside the lining right sides together. Match side seams and pin all the way round the bag. Sew around the entire bag.
Unstitch a 3" section of the bag lining on one side to make an opening to turn the bag right side out. I prefer this method so the top seam doesn't get stretched out and pucker funny. It's easier to hide a topstitched seam on the inside of the bag than where it will be seen.
Turn the bag right side out and press the lining down inside the bag.
Top stitch along the top of the bag. I like to use a walking foot at this point because there are quite a few layers of fabric and I want them to move evenly through the machine.
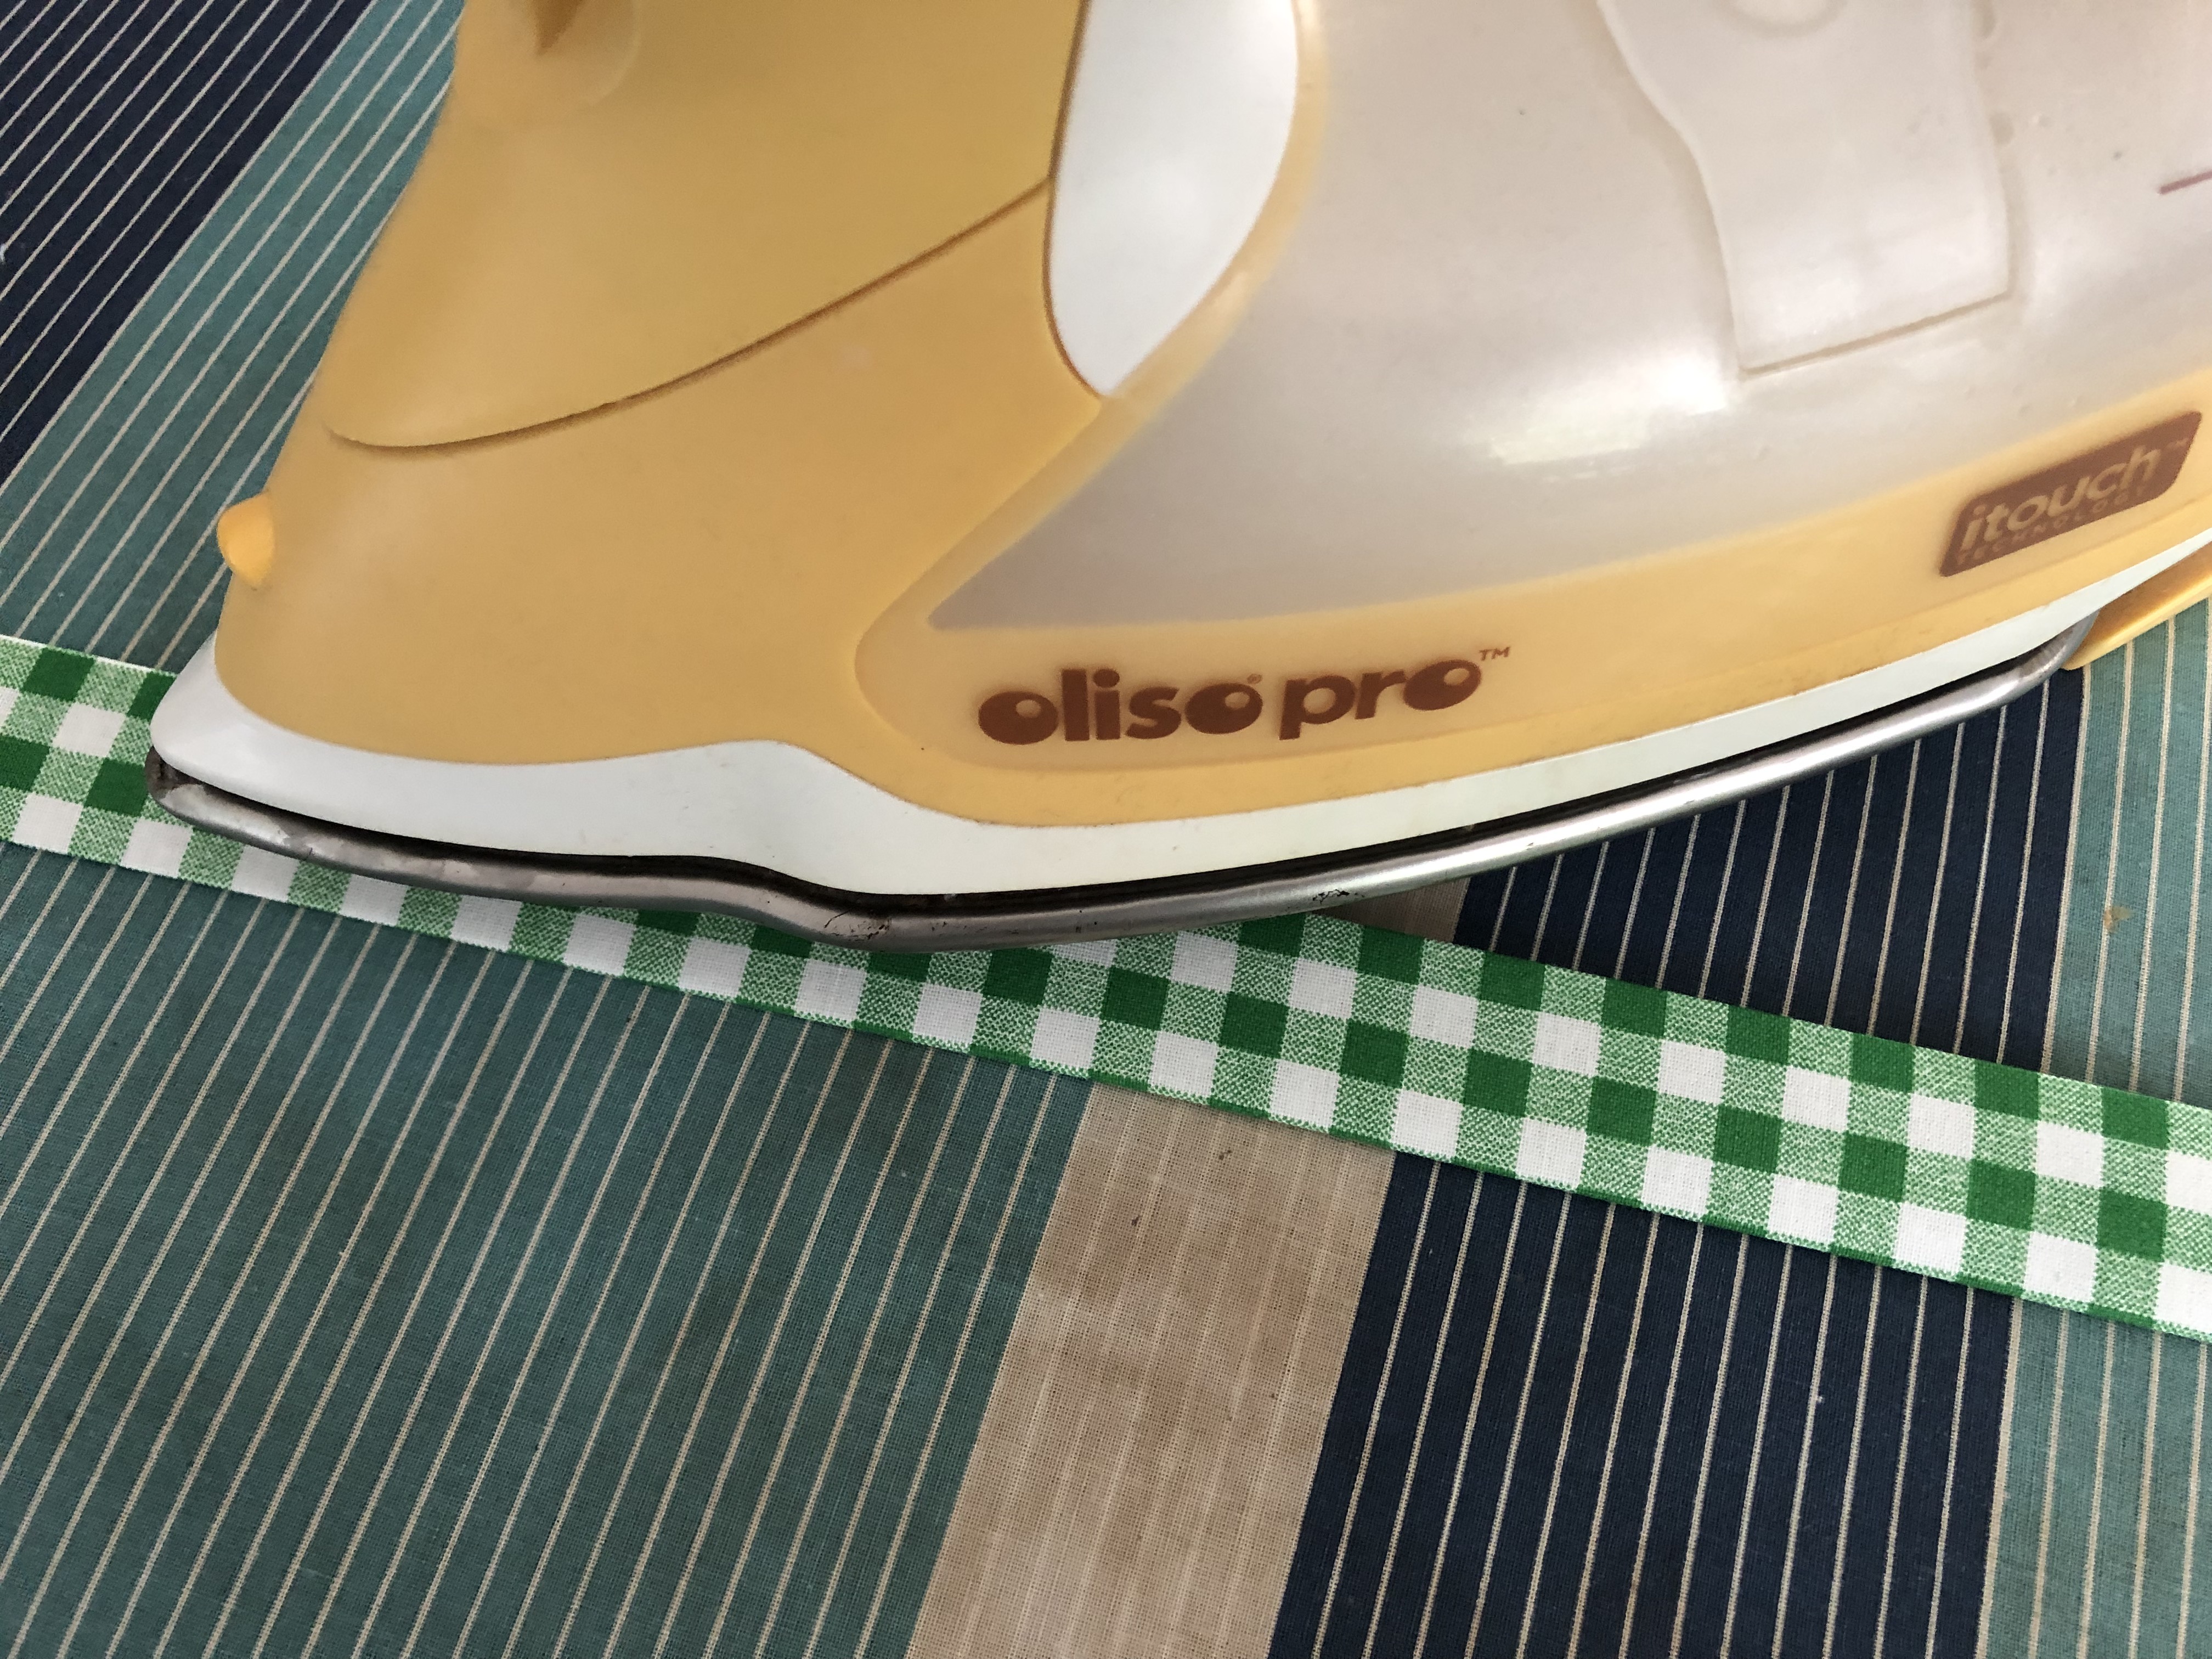
For the handles, press them in half lengthwise, then fold the sides into meet the center fold and fold again.
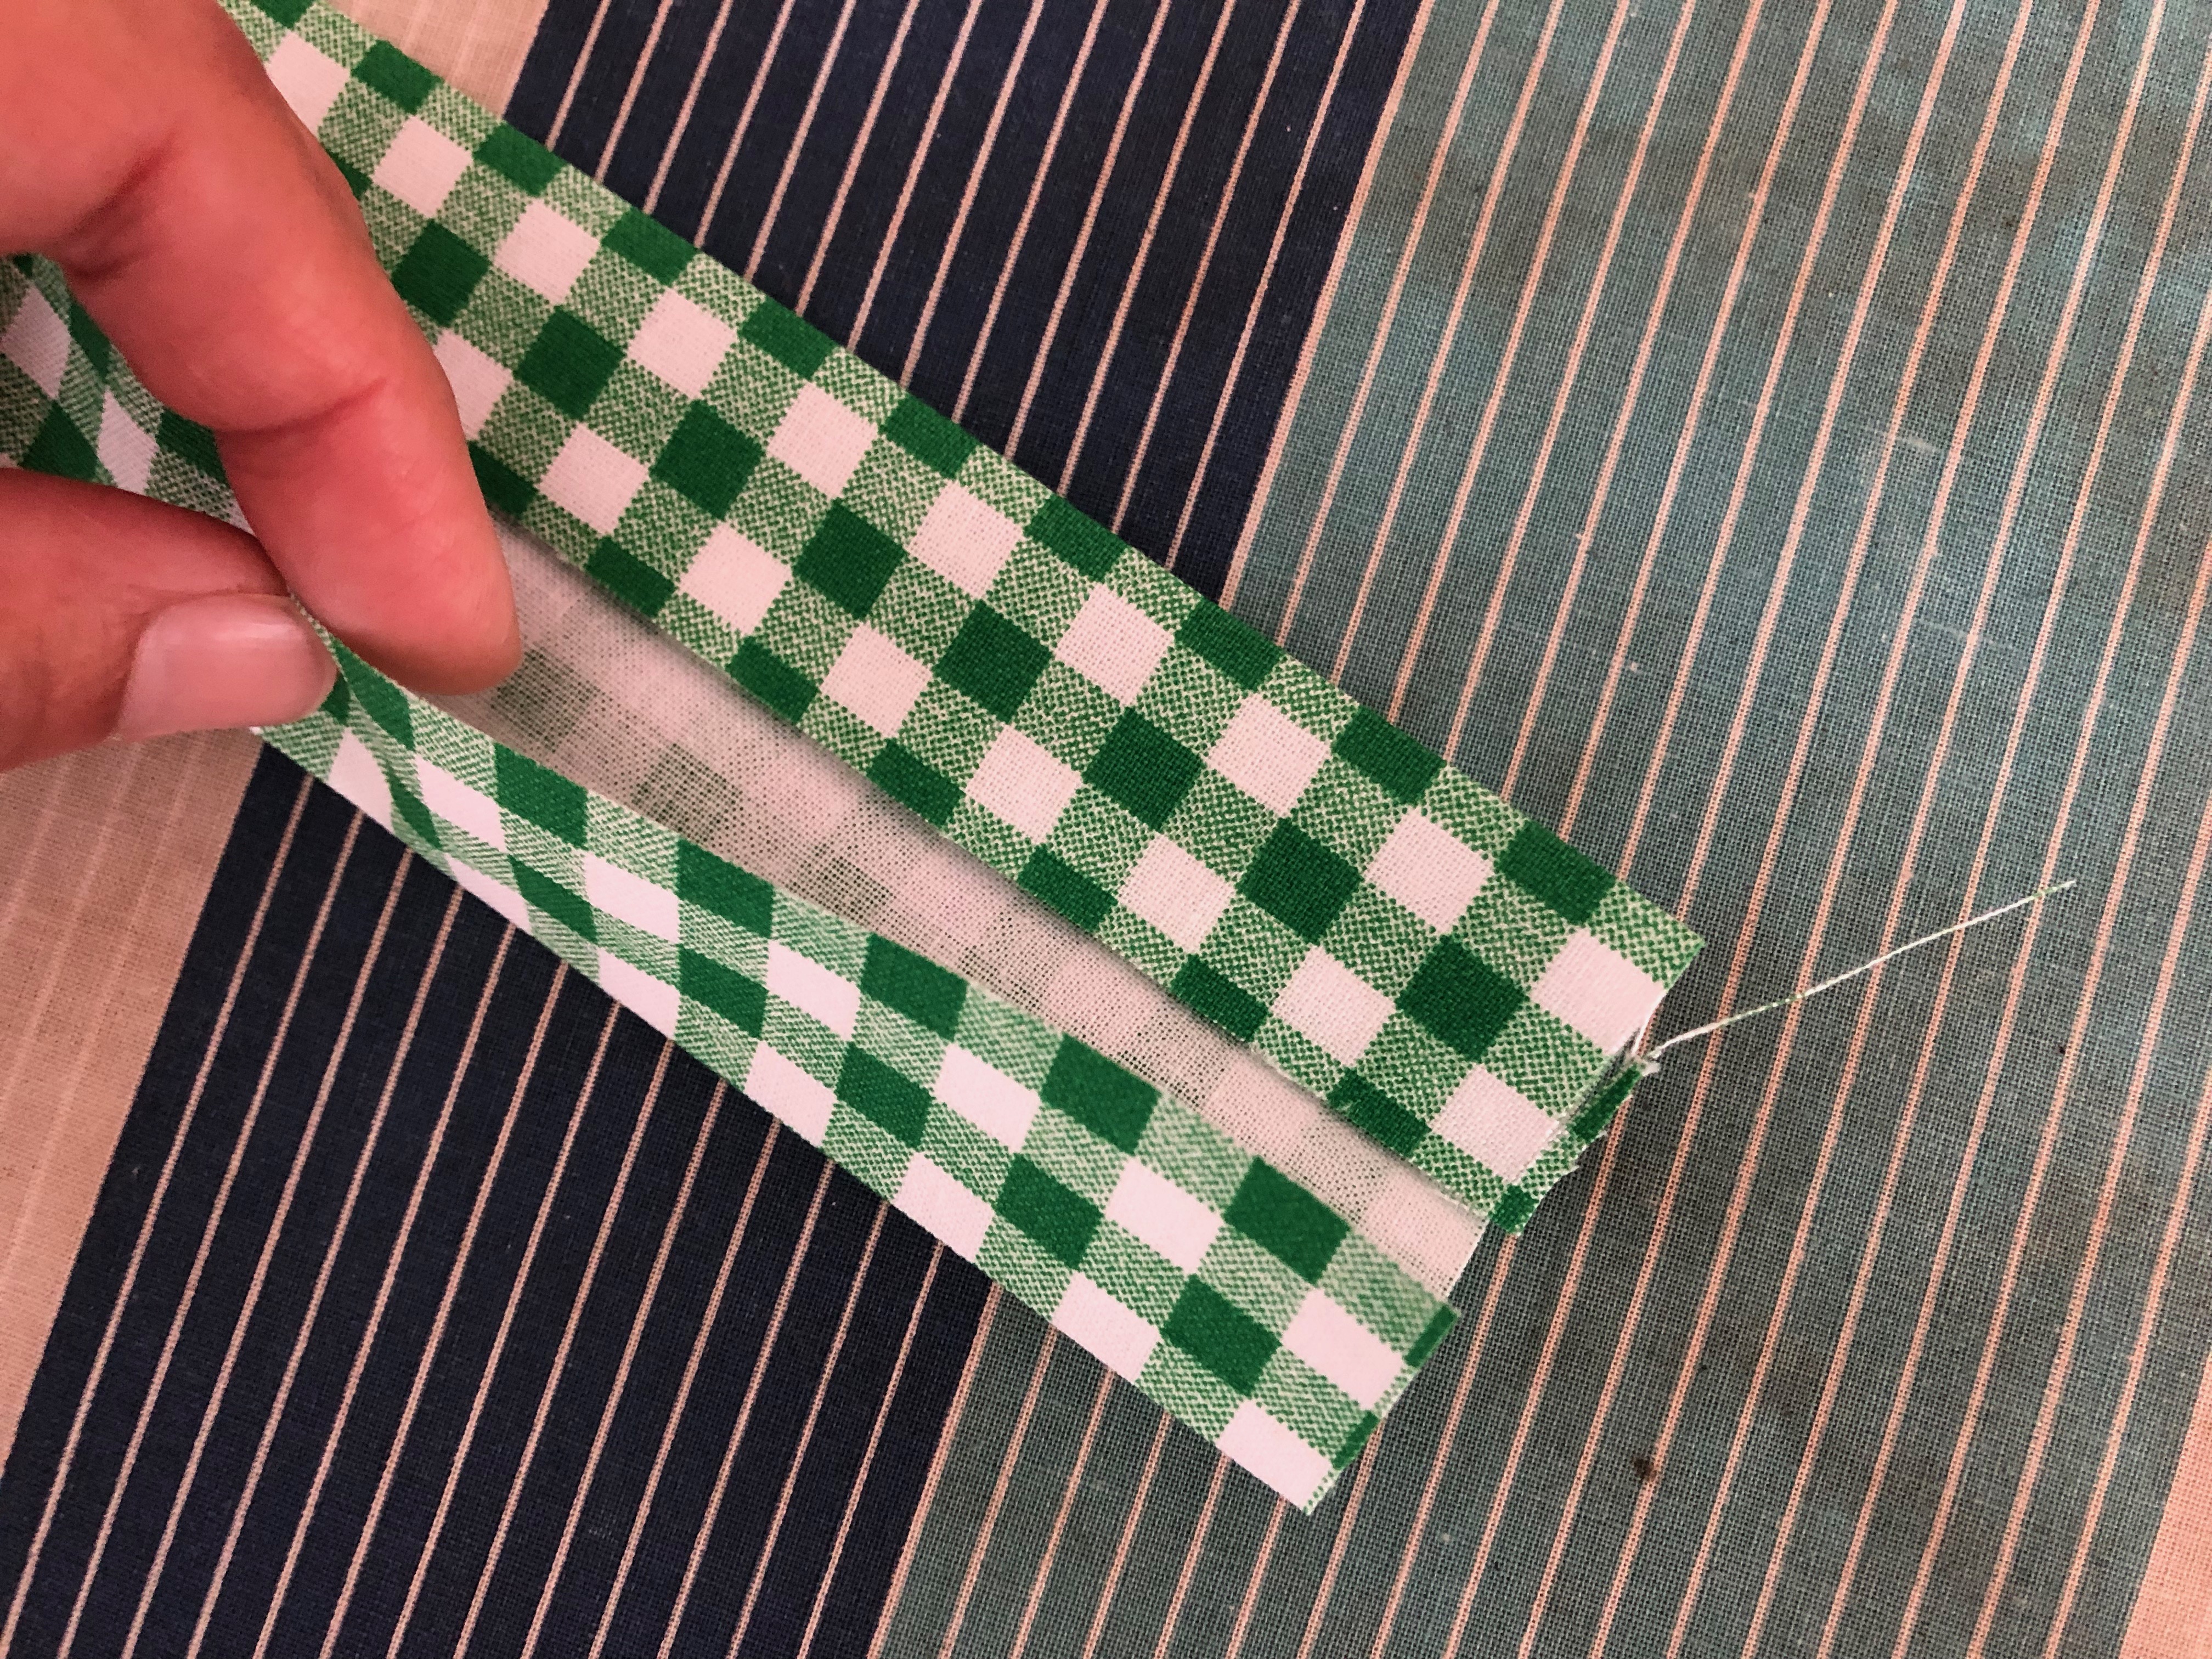
This gives 4 layers of fabric and so you don't really need stabilizer.
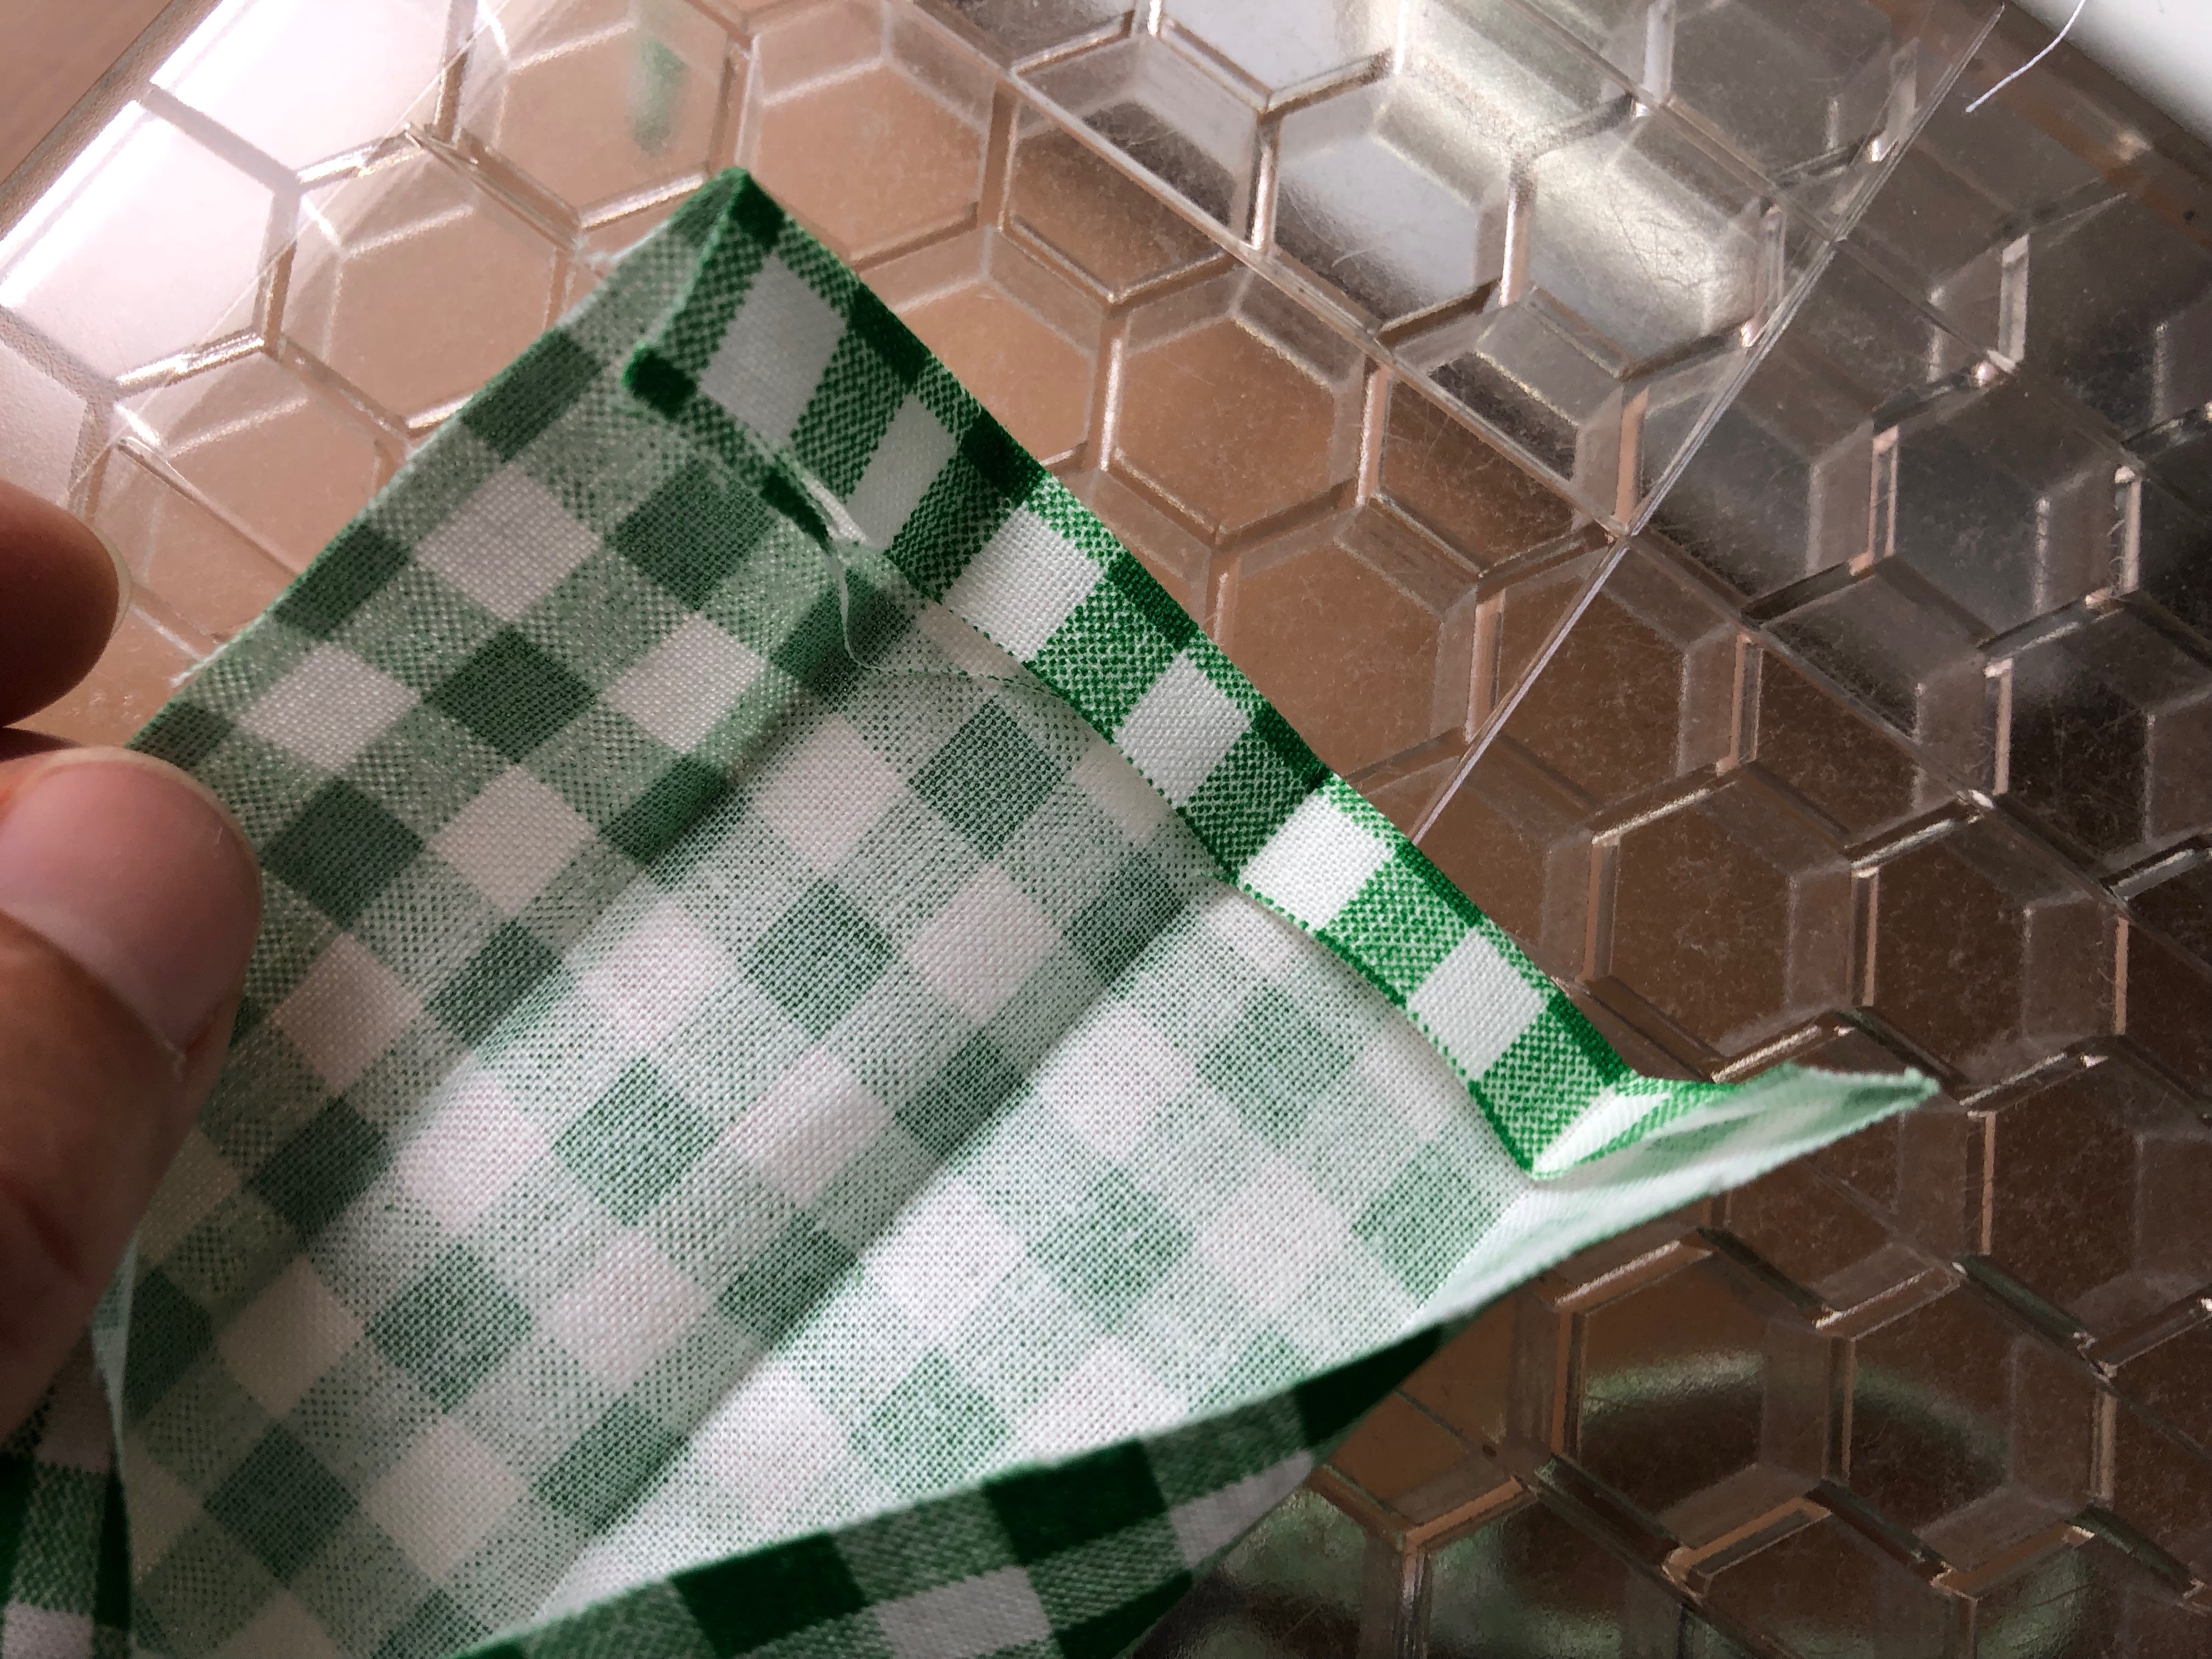
Fold under both ends of each handle ¼" and press.
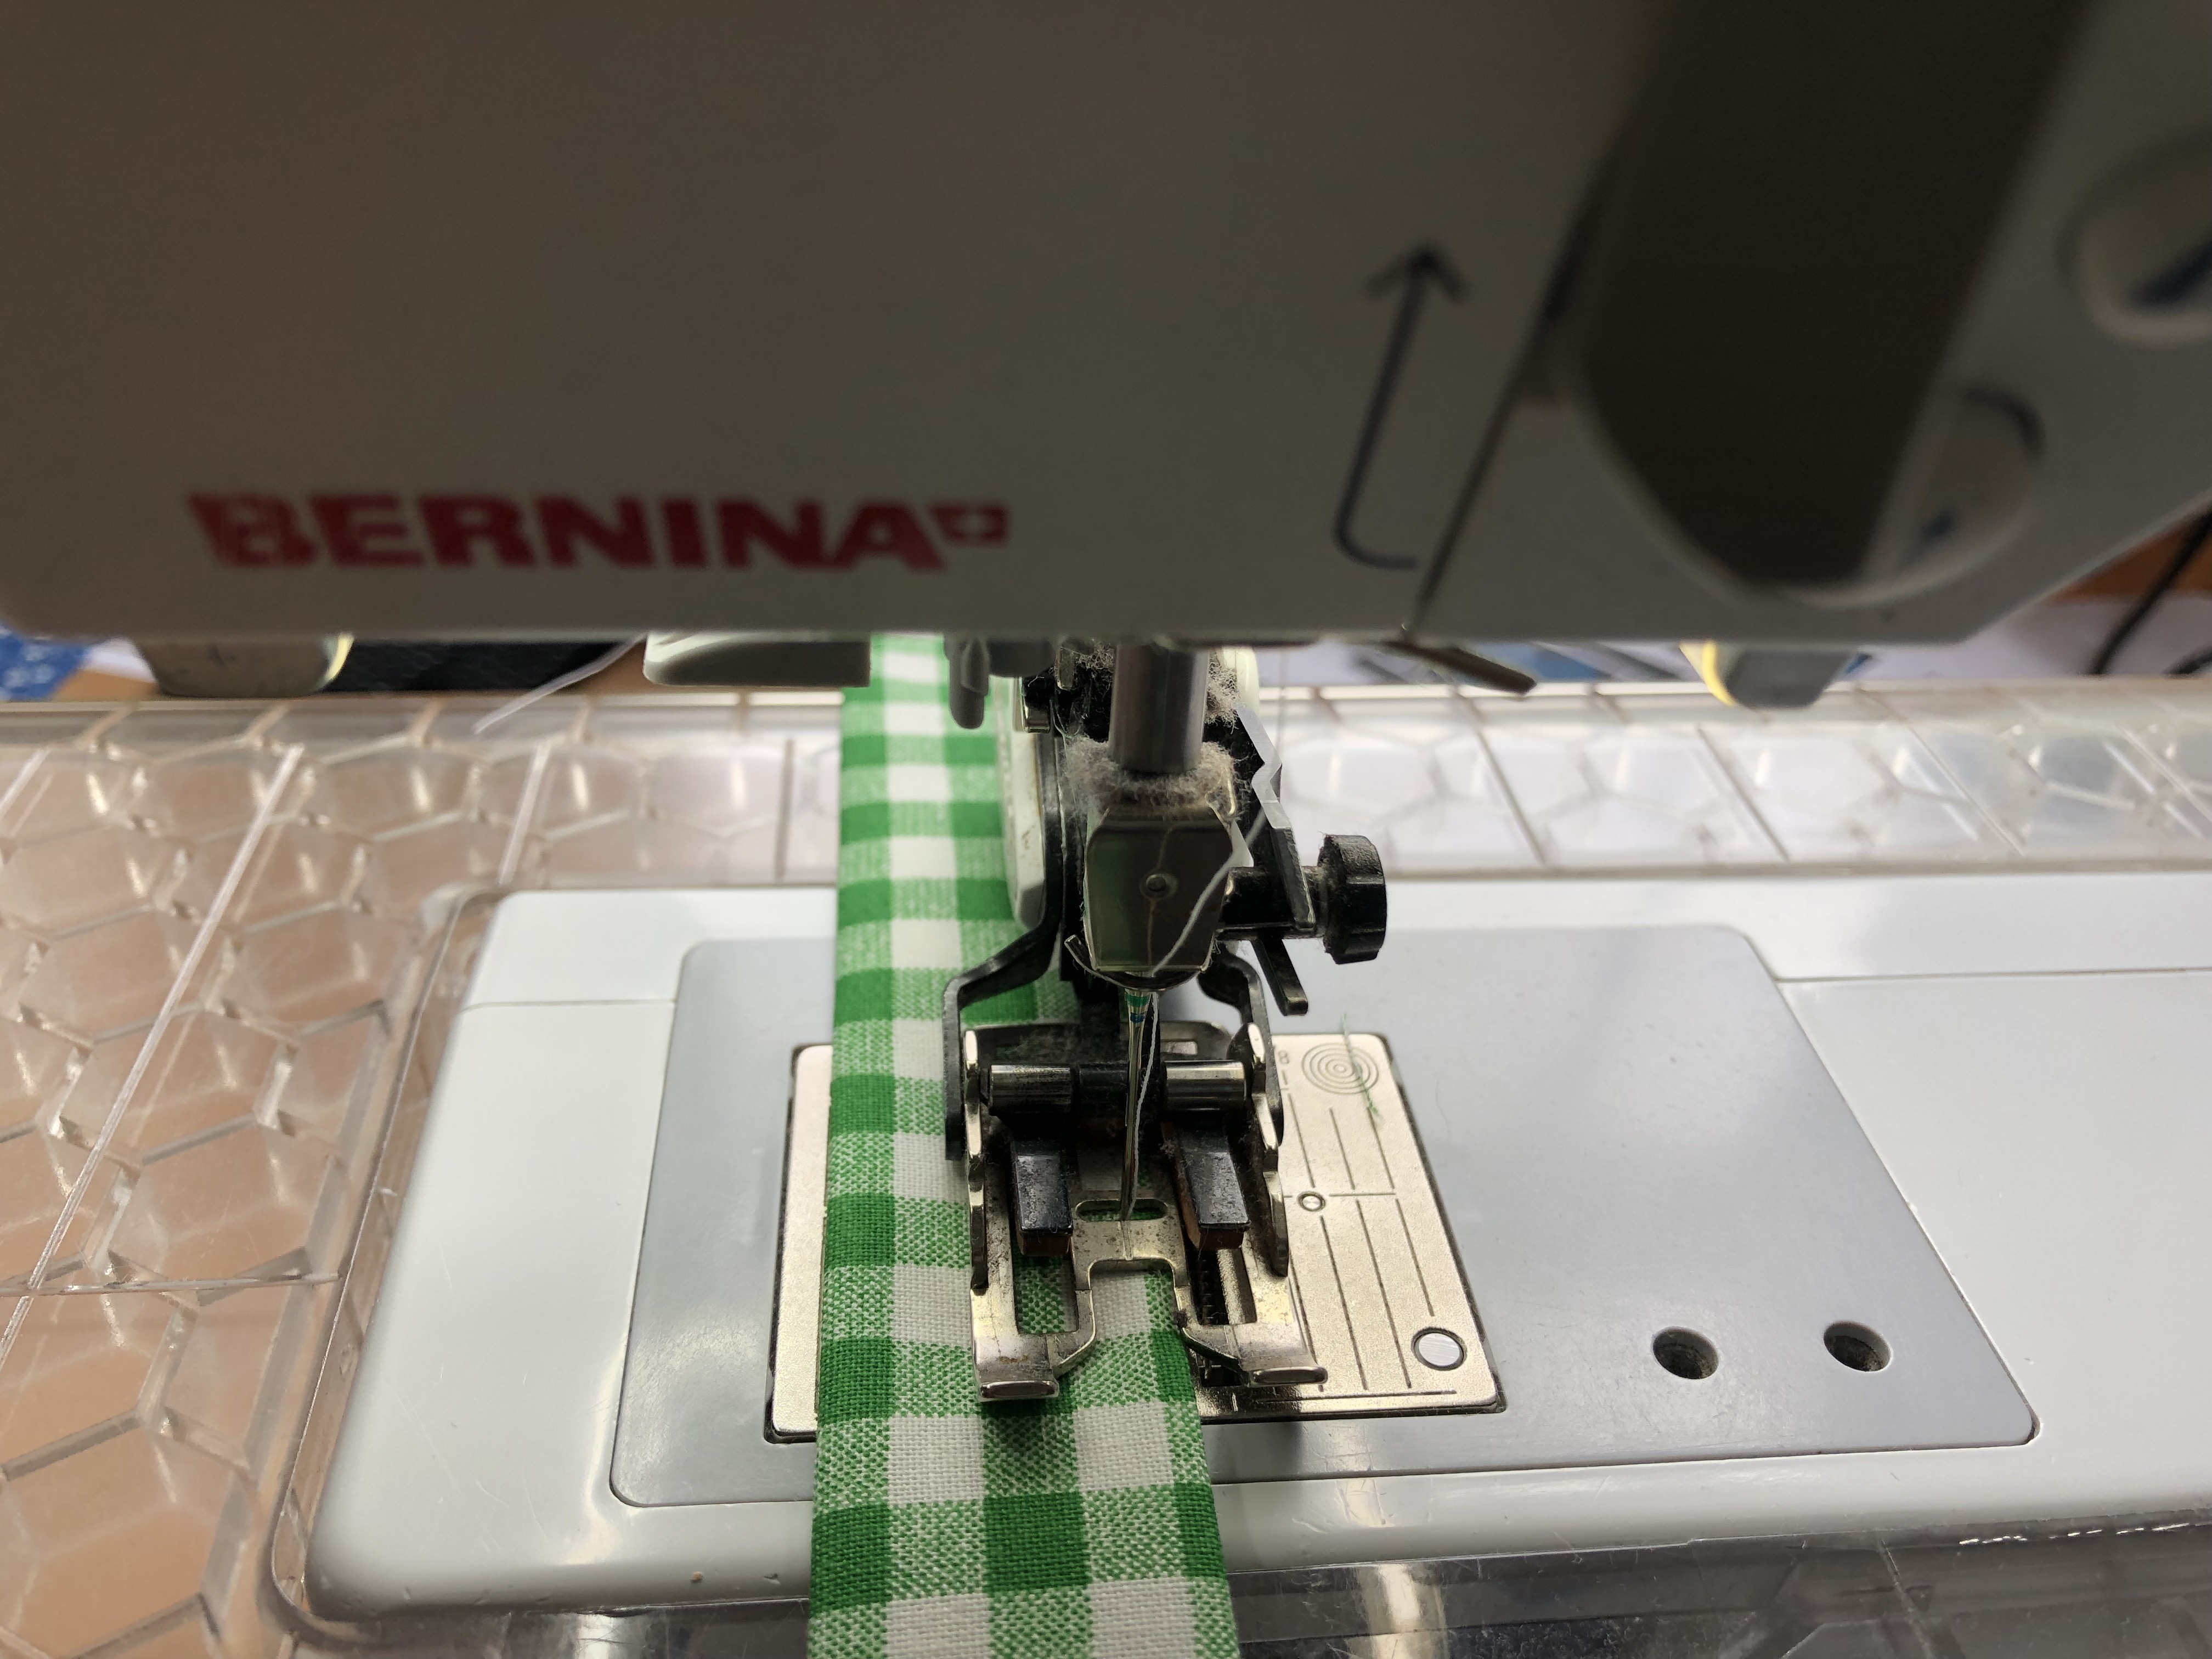
Using the walking foot again, top stitch along all edges of the handle, including the ends.
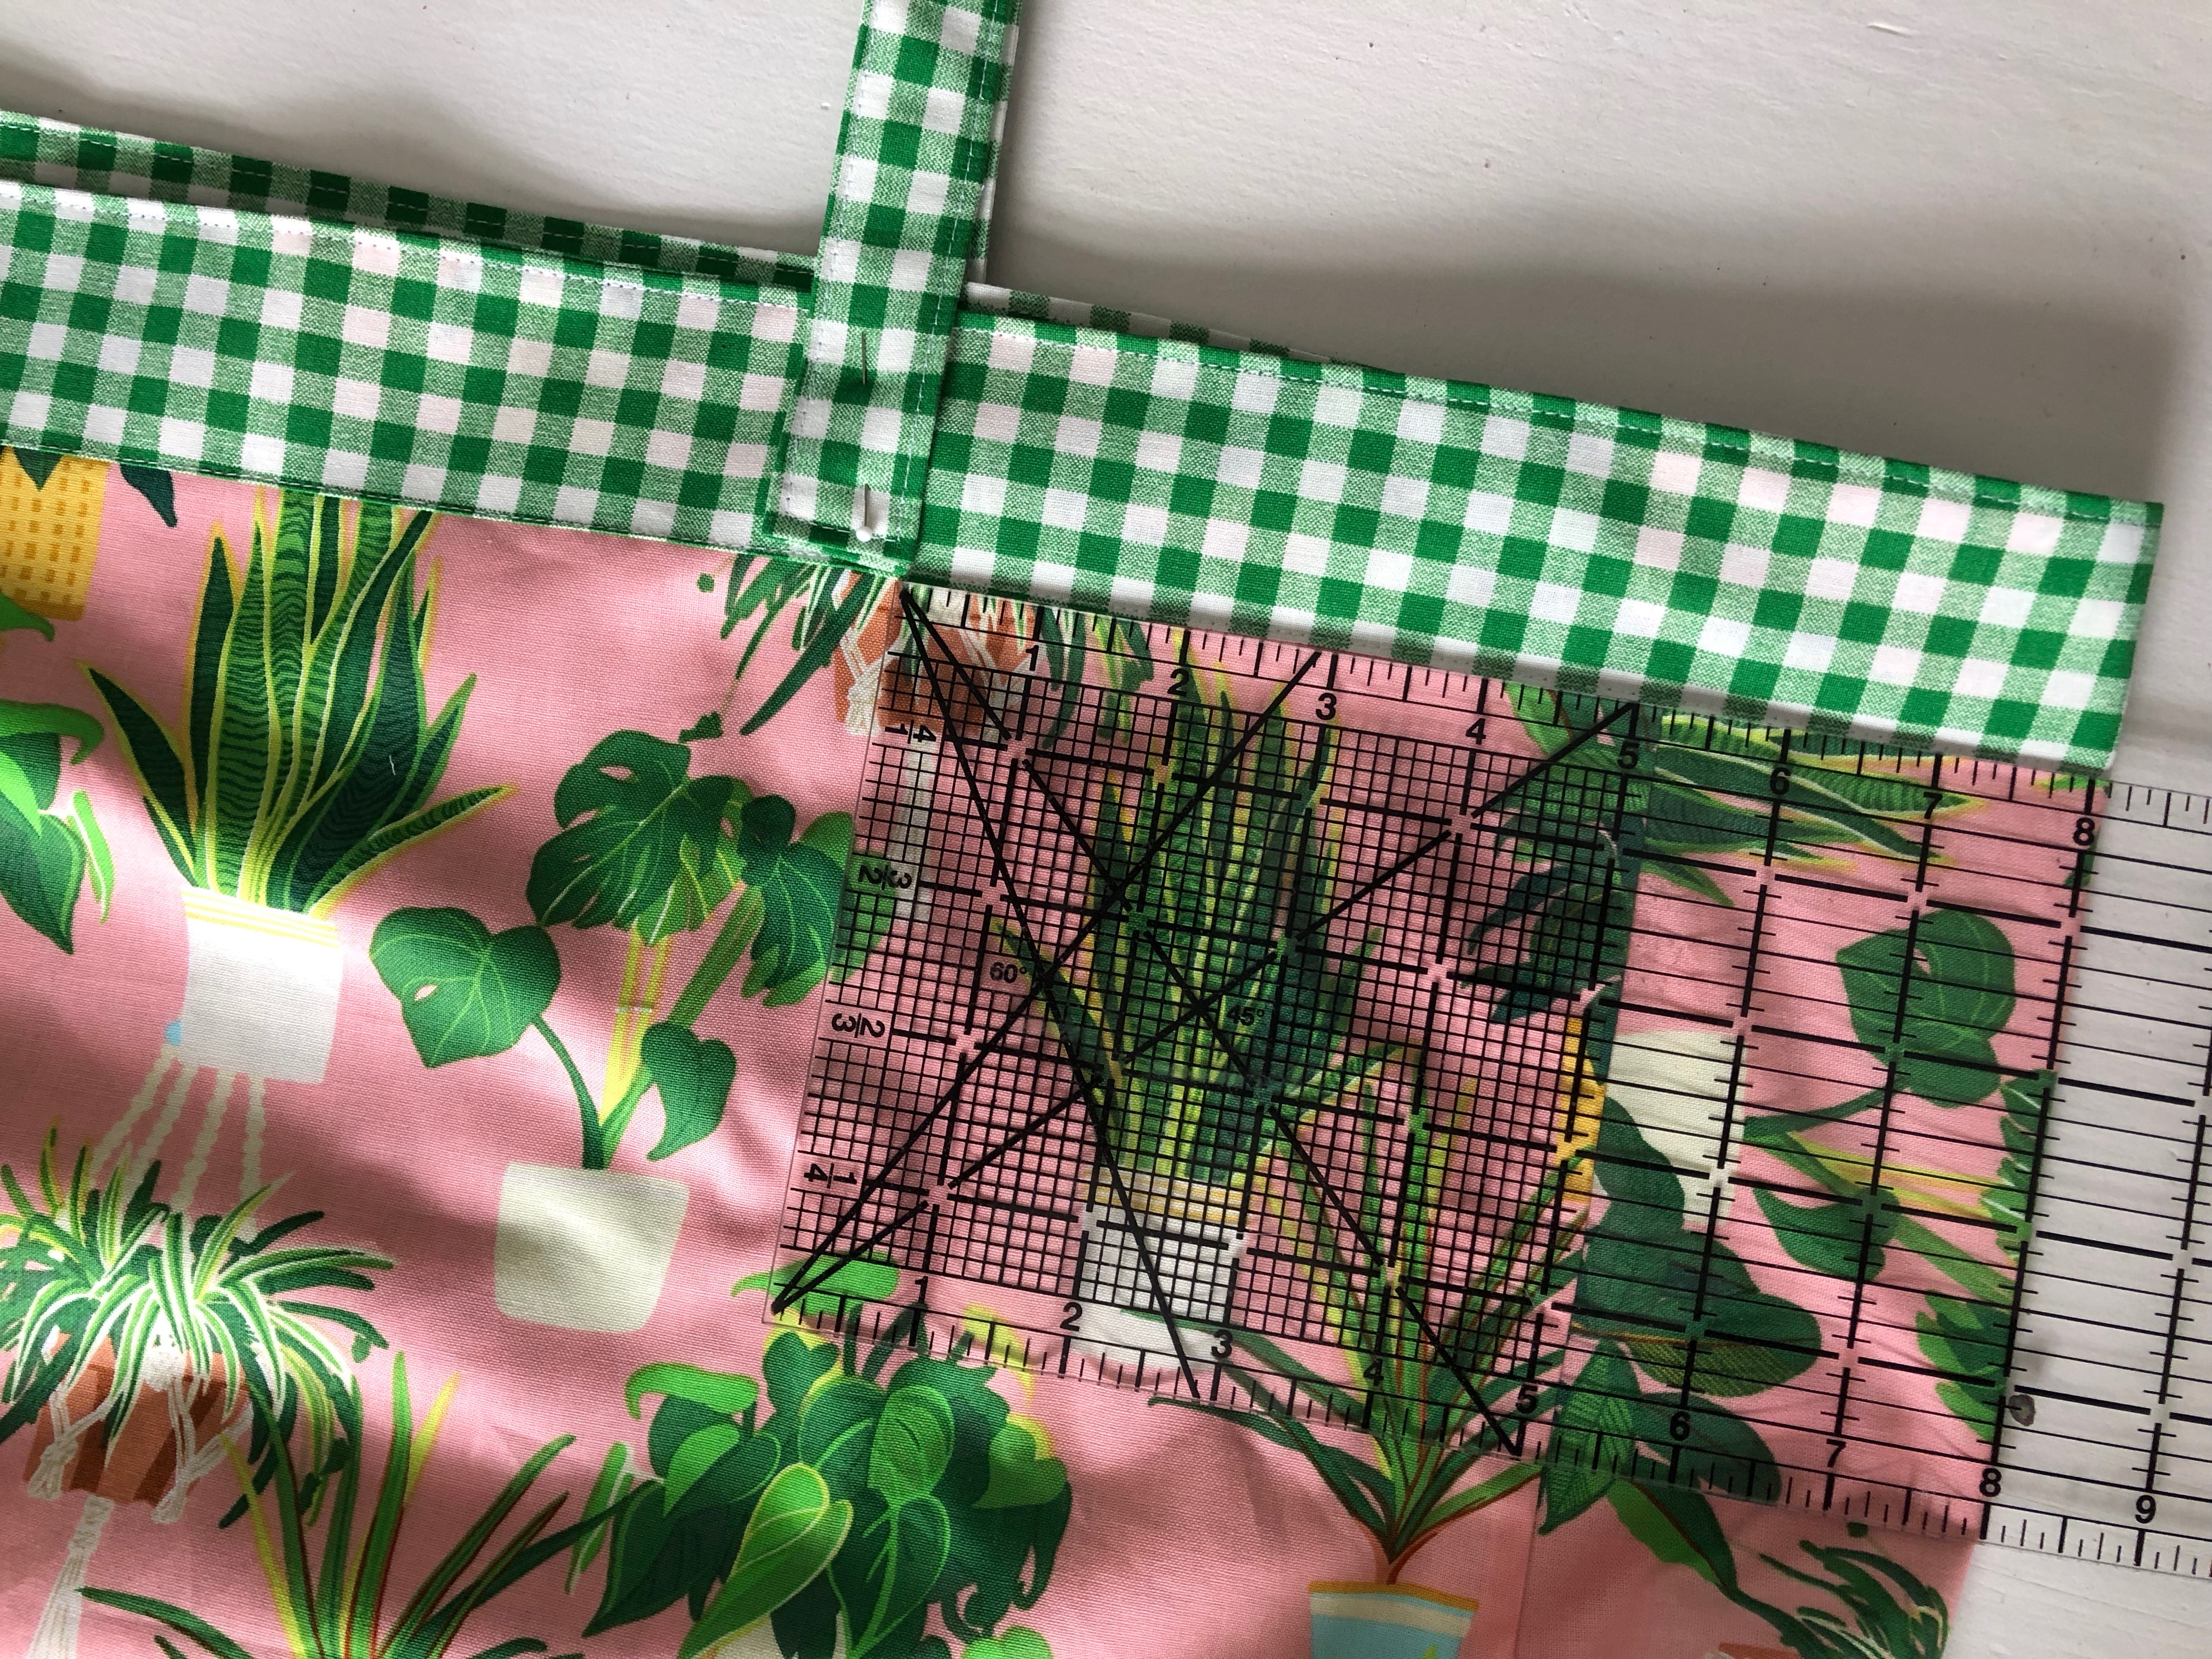
Measure 5" in from each side seam and pin the handle into place.

Sew a rectangle with a criss cross on each handle and then sew it again so each seam is doubled. This bag is large and can hold a ton so the handles need reinforcing.
Yay! Your bag is finished and ready to load up and take to the beach or the park or the pool!
I hope you love making this bag!! Make sure to post on Instagram and use the tag #myfavoritebeachtote.
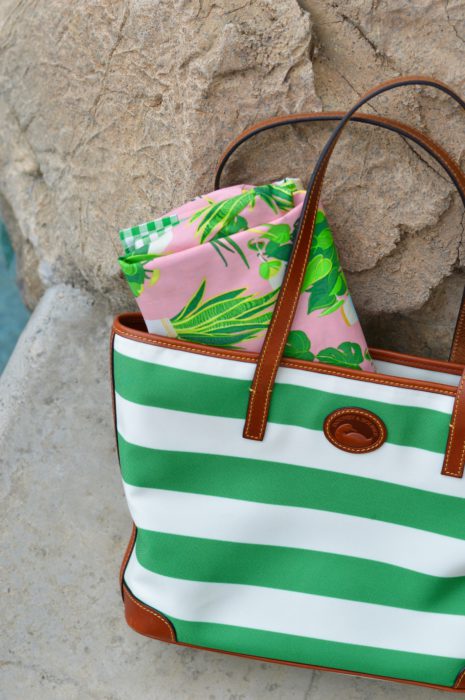
You can even fold it up and keep it in your purse for a trip to the market!
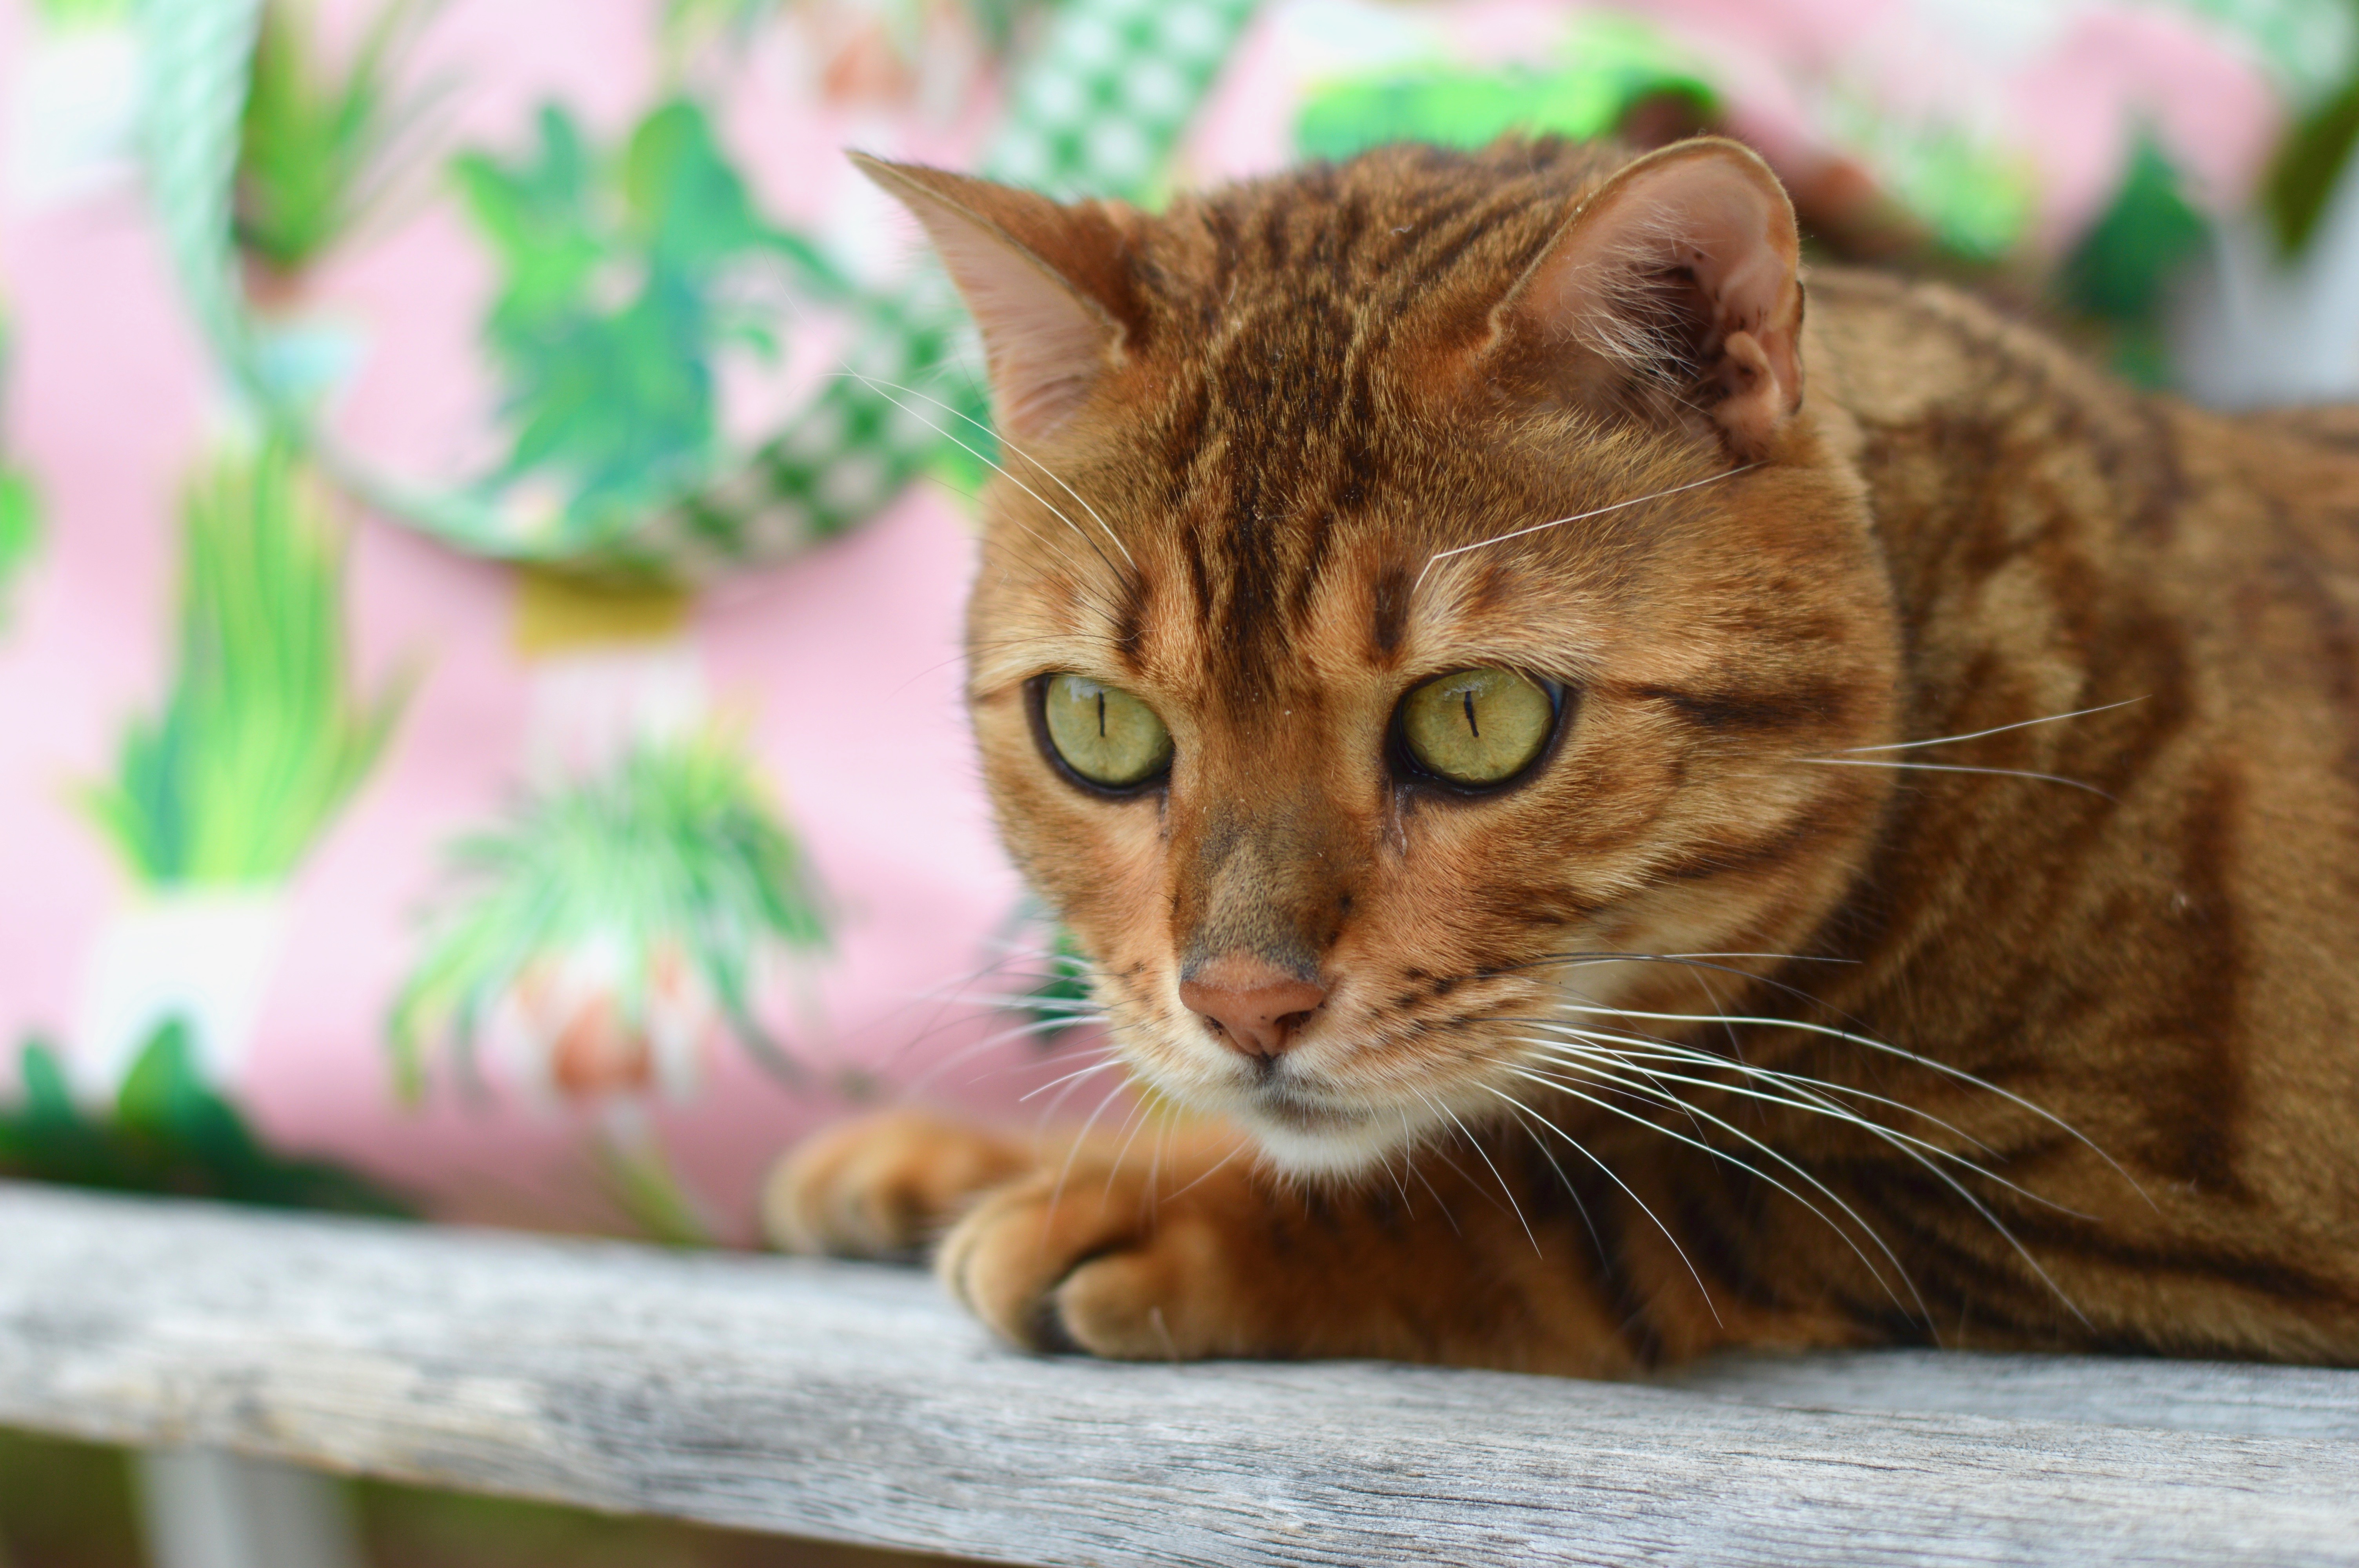 Hugs and kisses from Mufasa and me 🙂
*******************
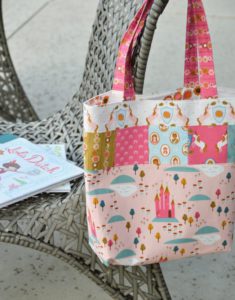
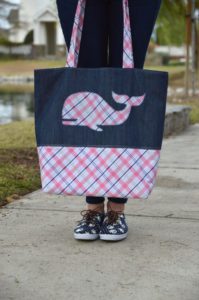
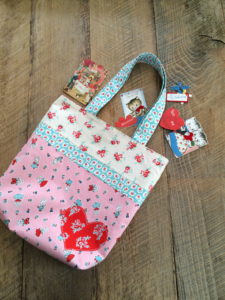
If you enjoyed this reversible tote bag tutorial be sure to check out these other tutorials from Jedi Craft Girl including:

Bonita Bader
Could it have been the famously fabulous Middleswarth chips? Those of us who grew up on them and moved away feel the need to stock up every trip home. 😉 Nice bag...thanks for the tutorial.
Kathleen McCormick
Great bag... I love how small it folds up and how many bags of chips you can carry. I am wondering - Goods potato chips or another brand. I am driving down and will return with Unique pretzels, something not to prevelent in New England.
Patti A
I am going to make this bag just for to potato chip use! I love Middleswarth chips and always stock up when we go back home to Pa. Thank you for the great tutorial!