
Today Amy Chappell of Ameroonie Designs is here to share a sweet hand-stitched Christmas Ornament Tutorial. She's got a free pattern for you, but the fun part is that she has multiple additional designs to choose from in her shop that fit this size ornament/hoop. And here she'll walk you through all of the steps of assembling and finishing the decorative hoop.
Update - you can find this quilt pattern here
Are you a Christmas in July kind of person? I admit, that I'm usually a "start a Christmas project in December and finish it in December a year or two later" kind of person. But this year, I'm going to surprise you! I've actually got a new Christmas project up my sleeve. 🙂 Here's a quick sneak peek of a hand stitched Christmas ornament I'll be sharing soon!
I'm excited that Amy is here to help jumpstart the Christmas creativity so that my projects are finished by the actual Christmas season!
How to Make a Hand Stitched Christmas Ornament
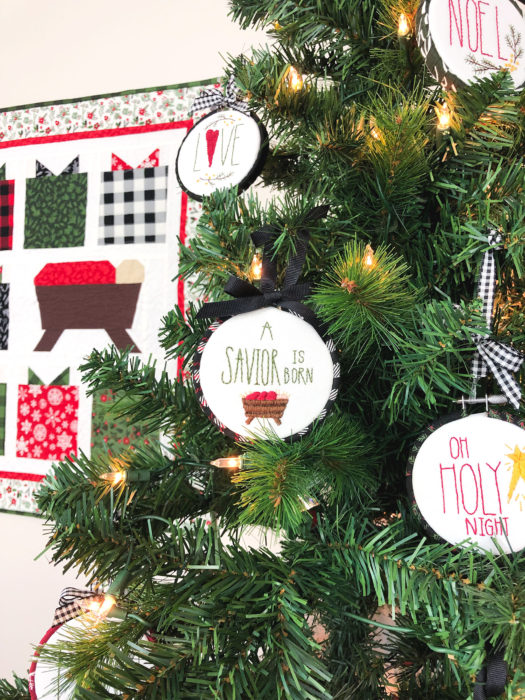
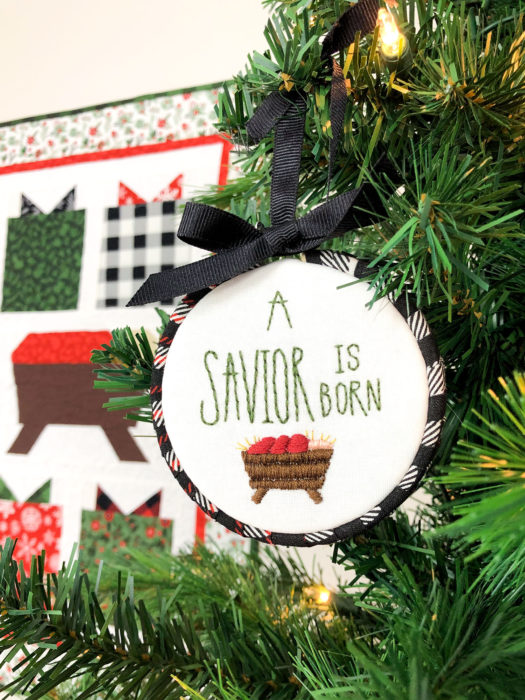
Hi! I'm Amy of Ameroonie Designs. I always love having some handmade elements on my Christmas tree. This year I am getting a jump on my holiday decorating by stitching up some ornaments in advance. For me, Christmas is a time for remembering the birth of Jesus Christ, and this “A Savior is Born” ornament brings that special message front and center.
Stitched up in a 3” hoop, this free pattern comes together really quickly. And since hand sewing is portable, it’s the perfect project for a sunny afternoon at the lake or wherever your travels take you.
Ready to stitch up your own?
A Savior is Born Hand Stitched Christmas Ornament Embroidery Pattern
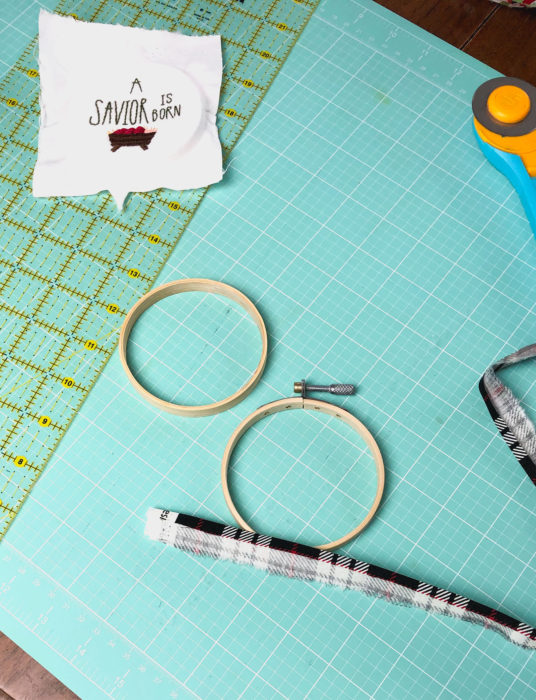
Supplies:
- 3” embroidery hoop (you can find embroidery hoops here on Amazon* for a great price )
- Background fabric- I am using an off white linen from Riley Blake Designs Embroidery floss- I used DMC floss in green (936), red (816), yellow (3820), black (310), brown (898) and peach (967), you can absolutely change out the colors as desired, but I will be referencing these colors in the pattern
- Embroidery needles and scissors
- Preferred pattern transfer method
- A Savior is Born Ornament embroidery Pattern (CLICK HERE)
Optional Supplies:
Felt for backing your stitching- I discussed why I use felt behind my embroidery stitching in this post.
Supplies for finishing the ornament in your hoop: I will show a wrapped hoop- to do this you will need a 3⁄4” X width of fabric strip of fabric, hot glue gun and glue and scrapbooking paper
Prepare Hoop:
Cut a 4” square of your background fabric and felt (if using that).
Transfer your pattern onto the background fabric.
Place the background fabric on top of the felt and place both pieces into the hoop.
Pull the fabric taut, but do not distort the pattern as you do so.
Stitching Directions:
Use 3 strands of green floss and back stitch “Savior”
Use 2 strands of green floss and back stitch “A, is born”
Use 3 strands of red floss and satin stitch the blanket
Use 3 strands of peach floss and satin stitch the face
Use 3 strands of brown floss and satin stitch the manger
Use 1 strand of yellow floss and stitch the hay
You can find my Introduction to Embroidery Stitching series on the Riley Blake YouTube series here!
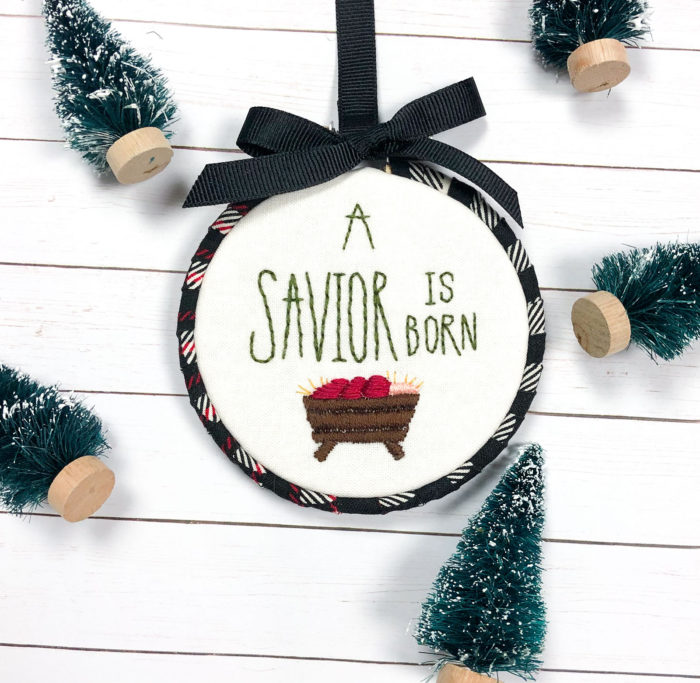
Finishing the Ornament:
If you want to finish your ornament as I have, remove the stitching from the hoop.
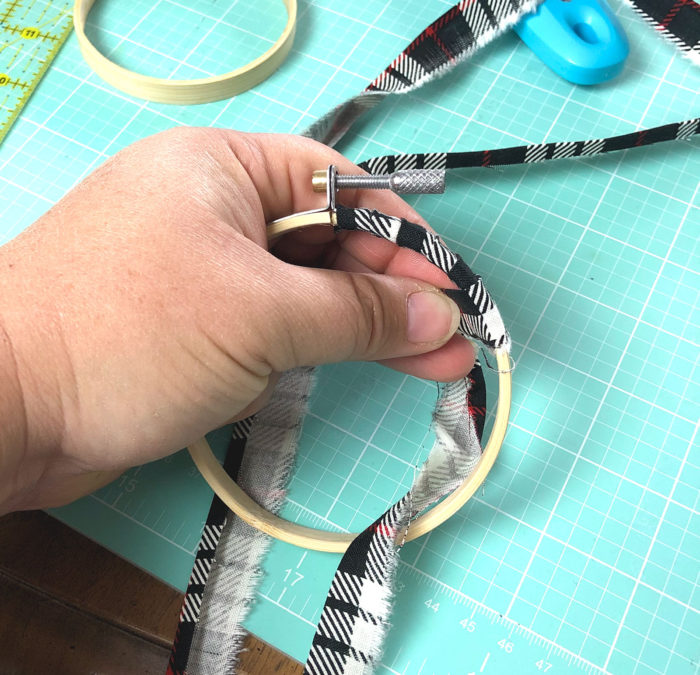
Take your 3⁄4” strip of fabric and press over a scant 1⁄4” along one long side. Beginning at one side of the set screw, wrap the fabric around the outer hoop.
*TIP: it may be easier to glue the end of the strip to the hoop before wrapping.
Make sure to cover the raw end of the strip with the first loop around the hoop, then begin angling the fabric to travel around the hoop.The pressed edge of the fabric should be exposed and the raw edge of the fabric strip will be covered by overlapping the strip as you wrap. When you get to the end of the hoop, fold over the raw edge of the fabric strip on your last wrap before going around the hoop.

Center stitching over the inside hoop and then place the wrapped outer hoop over the top. Be sure to hold the loose end of the fabric strip to keep the tension as you do so.
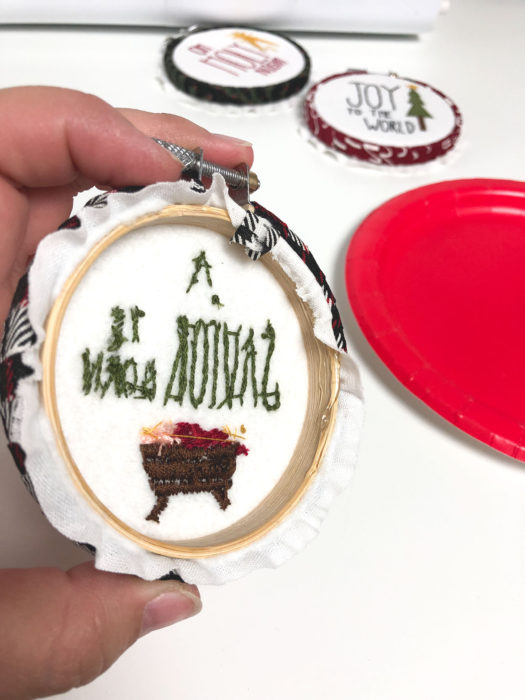
Trim felt down to the hoop and then trim background fabric to 1⁄2” away from hoop. Use hot glue gun to glue the fabric to the inside edge of the hoop. Be sure to glue the end of the wrapping strip to the inside of the hoop as well.
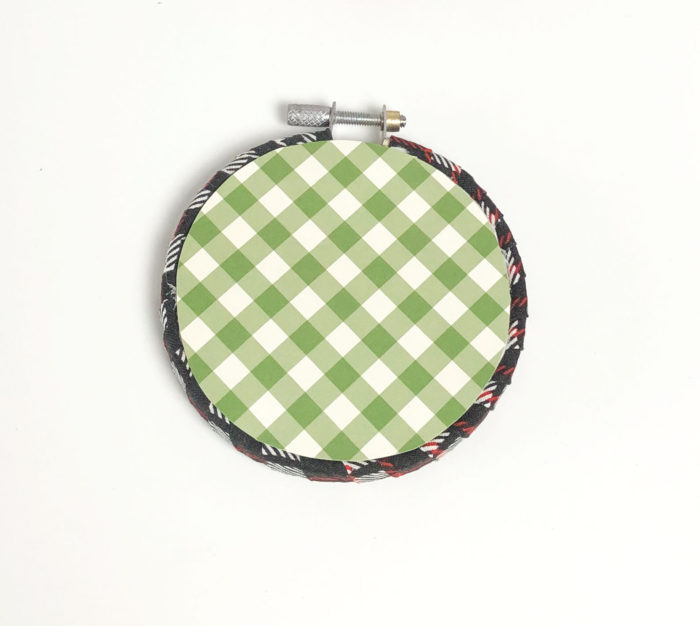
Almost Done!
Back your ornament with scrapbooking paper or fabric if desired. Create ornament hangers with ribbon or fabric, or other method of choice.
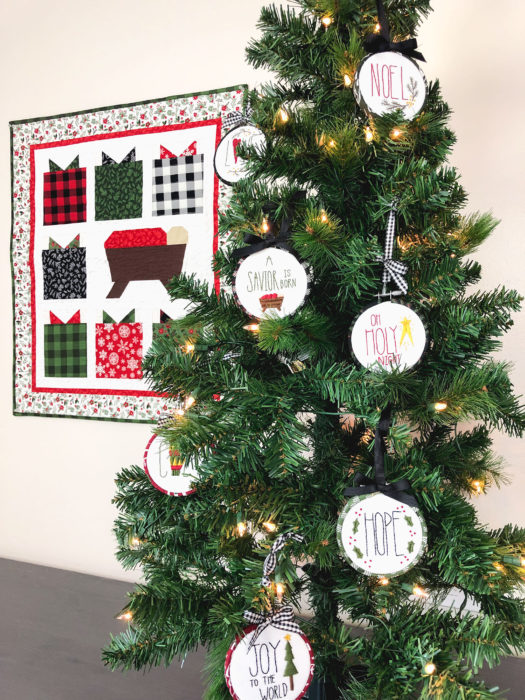
This ornament looks lovely on its own, or you can stitch up a whole matching set using the pattern you can find in my Etsy shop*.
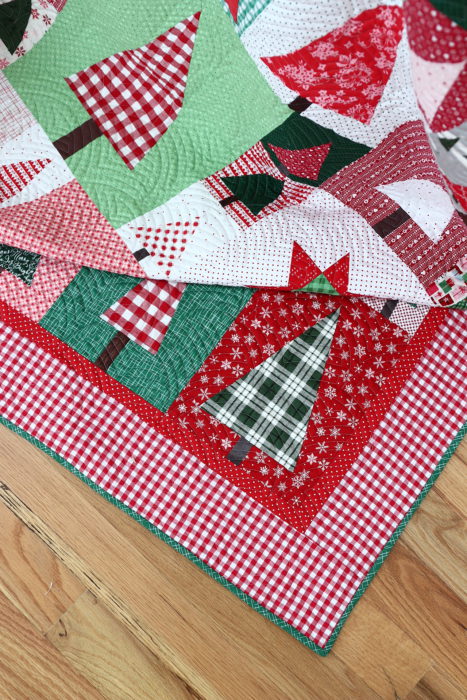
The quilt pattern you see in the background is called “The Best Gift” and can also be found in my Etsy shop.

Thanks so much, Amy!
Be sure to check out Amy's blog, Ameroonie Designs for lots of other project ideas - including her clever system for organizing your embroidery floss.
Good luck with all of your Christmas-making endeavors this season!
Have you made a hand stitched Christmas Ornament before? Share in a comment below!
*This post contains affiliate links

Jocelyn
So pretty!
Ellen
Love this! Any secrets for finding cheap embroidery hoops for this type of project?
Amy
Great question! I just found a bunch for a great price on Amazon: https://amzn.to/2YeeBOl (affiliate link) I'm going to add it to the post!
Cindy
Such a sweet design to celebrate the true meaning of Christmas!