We have a handy guest post today from the the talented Amy Chappell sharing her tips for making your hand embroidery look sharp.
Hi there friends! It's Amy from Ameroonie Designs here today I'm so excited to be back here sharing some tips to help you prevent shadowing on your projects that use embroidery. Over on my blog I share tutorials, videos and all kinds of crafty and sewing goodness. I love teaching felt flowers, embroidery and all kinds of sewing. Just don't ask me to hem your pants or sew curtains- those are two things I don't love!
Let's chat embroider shall we?
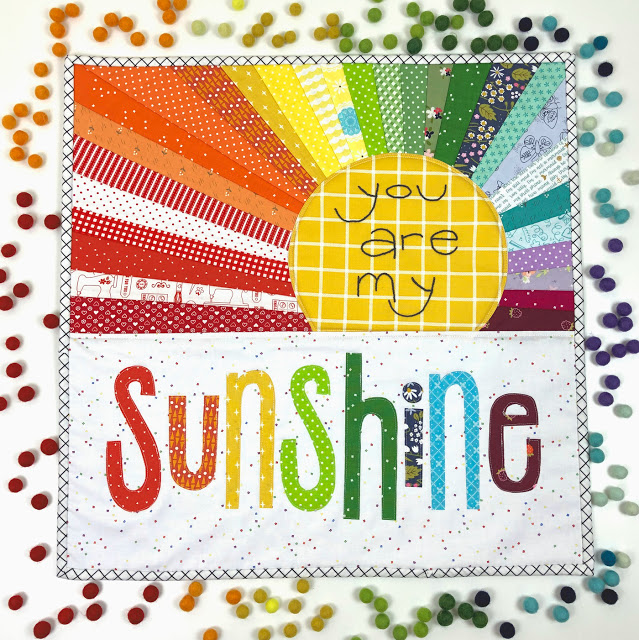
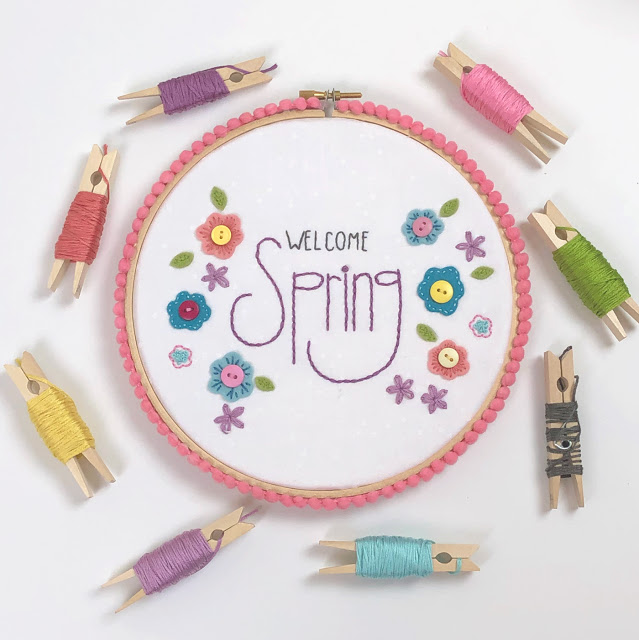
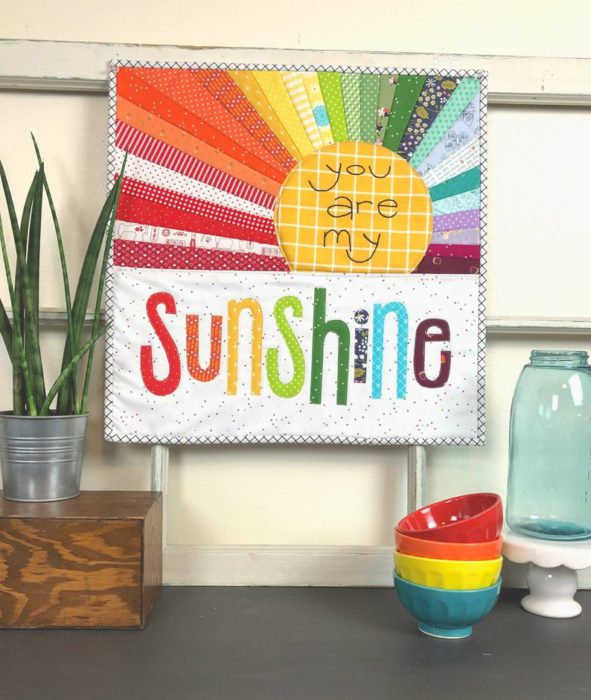
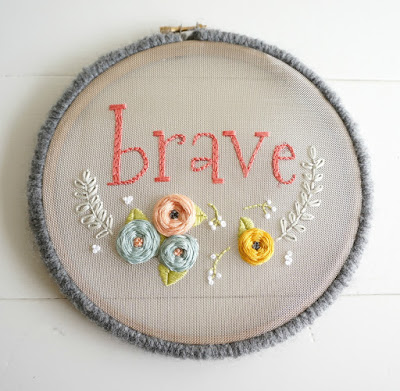
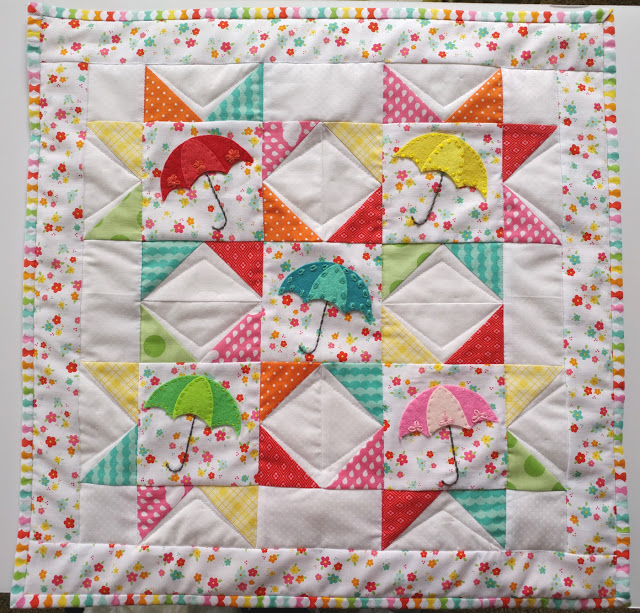
Embroidery can add so much to your projects, whether as an accent to a great piece, like this Rainbow Sunshine Mini quilt/ pillow or as a piece all on its own, such as this Spring stitching which is available as a free pattern.
I've also got a video series introducing you to embroidery, including a variety of basic stitches on the Riley Blake YouTube Channel:
But what happens when you spend lots of effort to stitch up the perfect embroidered piece and then stand back and instead of seeing your stitching, you see the threads from your knots behind your fabric, or the fabric behind the embroidery showing through your background fabric?
Or you applique your embroidery onto your project and your bulky knots push your stitching forward causing unsightly bulges on your beautiful design?
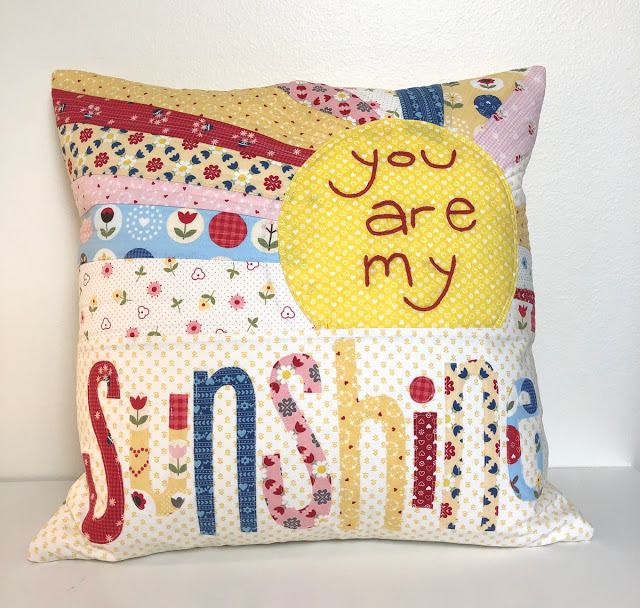
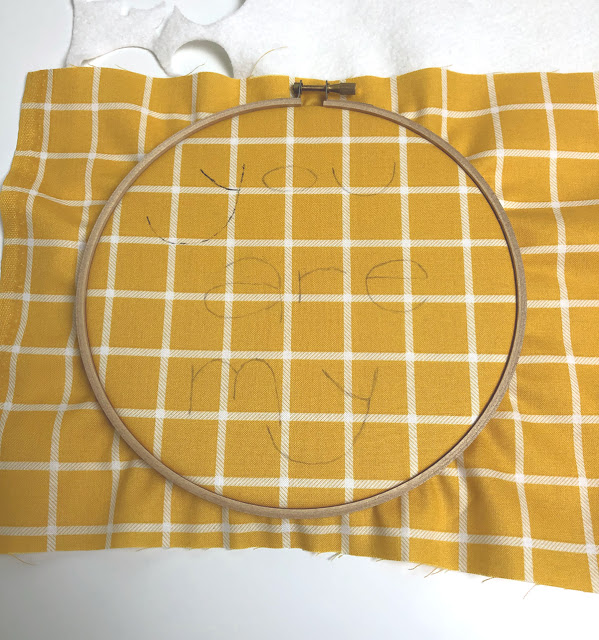
Now, I don't want to ruin this pillow for you, because the fabric and pillow is gorgeous- but if you look closely at the sun, you can see some of the fabric from the rays peeking through the yellow and if you look at the stitching, you can see the tails from the knots around some of the letters.
Hopefully no one else looks as close as you do at your project to pick out flaws, but I'm here to share some tips to help you prevent any of this shadowing in the first place.
The best way I have found is to add a backing to your project behind your embroidery. You can either do this before you stitch or after (I typically do it before and stitch through both fabric and backing).
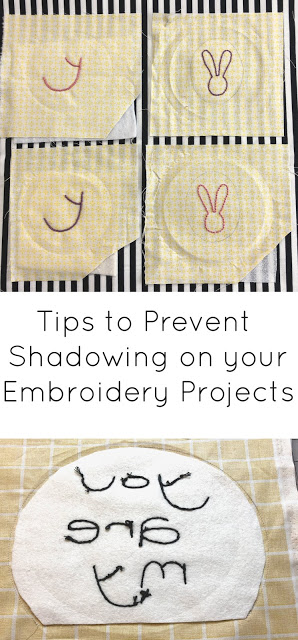
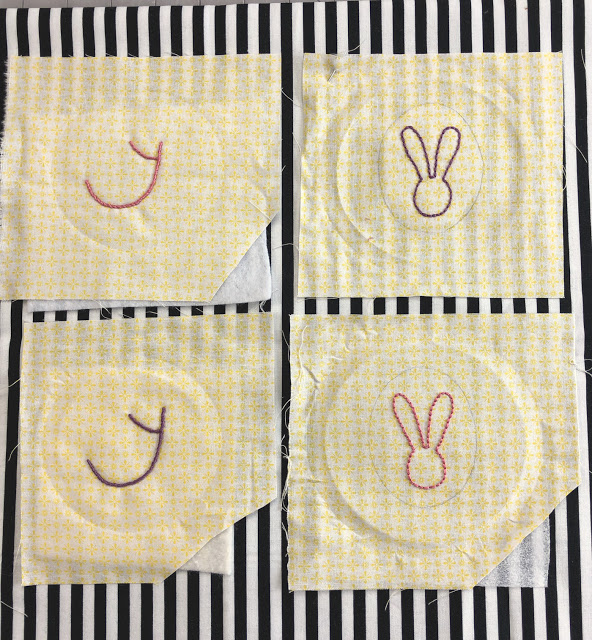
I stitched up some samples to show you how different backings behind your embroidery can help you prevent shadowing and why you might choose one over the other. I would encourage you to try out one or two and see which one works best for you. The backings I have shown are (from top left and clockwise) acrylic felt, fusible fleece, medium weight fusible interfacing and batting. I have stitched through the backing on all samples.
The fusible interfacing does the poorest job of preventing the shadowing, but it adds the least bulk to the depth of the embroidery, so if you are looking to make sure the embroidery isn't bulky, this might be the best choice for you.
The other three are great and stitch about the same, although I will say that I prefer felt because there is less "fuzz" that gets pulled through to the front of your stitching as you work your project.
But, if you have batting scraps on hand- by all means use those. The fuzz doesn't really show up in the finished project. If you find it bothers you, acrylic felt is an inexpensive means to the same end.
Another aspect to using felt, fleece or batting is that they have a natural amount of loft. This will allow the knots you make to sink into them and keep them from pushing out on your project, but it does add some bulk to your stitching, so keep that in mind when thinking about the project you are creating.
If you want to add a fusible backing to your project after it has already been stitched, OR if you need to press your stitching for any reason, the tip I have is to place a fluffy towel, or a folded up piece of batting onto your pressing surface, then place your embroidery face down onto the soft surface. Cover with a pressing cloth and lightly press your stitching. This will help prevent your stitching from being flattened by your iron.
Adding a backing to your embroidery can help you get the very best results when adding embroidery to your projects. Depending on what results you need, you have lots of options to help your projects stand out and your stitching to shine! If you have any questions or want to see more tips, I hope you will follow along on Instagram at @amerooniedesigns or head over to my blog Ameroonie Designs for tutorials and project ideas!
Happy Stitching!
xoxo,
Amy C.
Thanks Amy! If you're looking for more more embroidery tips and inspiration, you can check out these additional posts by Amy Chappell:
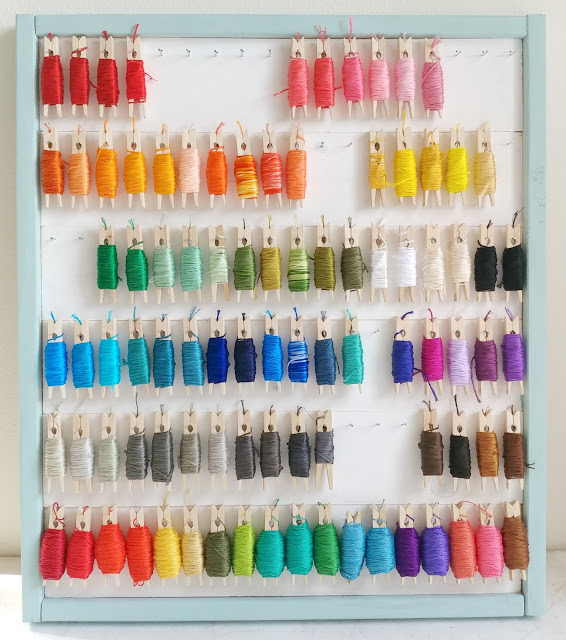
check out this pretty and functional method for organizing embroidery thread
and this super cute Springtime Showers mini quilt tutorial.
*this post contains affiliate links

Erin M
Thanks for sharing. I'll keep these tips in mind in future projects.
Karen
Shape-flex, a Woven, cotton- iron on interfacing is a good alternative for backing embroidery. It's easy to sew through, hides threads and shadowing.
Kathleen McCormick
I know this is important but I so often forget it. I love the clothespins - such a great way to display your floss and keep it orderly. I kind of hate the little “spools” I use and this is a great idea.
Sissy pegram
I love the colors and the collection
I would like to get a book on how to make these things
Thank you
Little Quiltsong
Wonderful tips - thank you for sharing. Love this cute pillow - and the lovely quote from a favorite song. I once stitched it on a baby quilt - now I know how to 'hide' those stitches better :)! Also love how you store your embroidery floss. I too like to wrap it around clothespins, but never thought to display them like that - beautiful!
Kelly
If you use acrylic felt, can you still wash your project? Also, does wrapping the floss around clothespin leave any kinks or does that not matter?
I love hand embroidery and appreciate your tips.
Nikki DeRamus Moshier
Great tips, thanks for sharing.
Jocelyn
Love the bright pretty colors Thanks for sharing
Cara Cannon
Perfect timing for this post! Appreciating the time and effort you put into your website and in-depth information you offer. Such a great embroidery project. Worth sharing! Please do continue sharing updates! Thanks a lot!