
I've been so excited for this guest post from Christa Watson of Christa Quilts! A Quilt Design Wall is one of my favorite features in my sewing room. It is such a great tool for laying out a quilt without having to use your floor (especially if you have pets or small children who think it's a really fun game to walk right through your project), and you can leave your work on the design wall as long as you want, auditioning colors, block placement, etc.
I'm excited that Christa put together this DIY resource on how to build a permanent Design Wall yourself! This method would be easily customizable to the size and shape your space would need or accommodate.
How to Build Your Own Quilt Design Wall
Hi friends! I'm so glad to be back with another fun tutorial that will help you enjoy the quilting process as much as I do! This comes in handy not only for laying out my quilt, but I also use it for basting my quilts (click here for my previous wall-basting tutorial here on Amy's blog.)
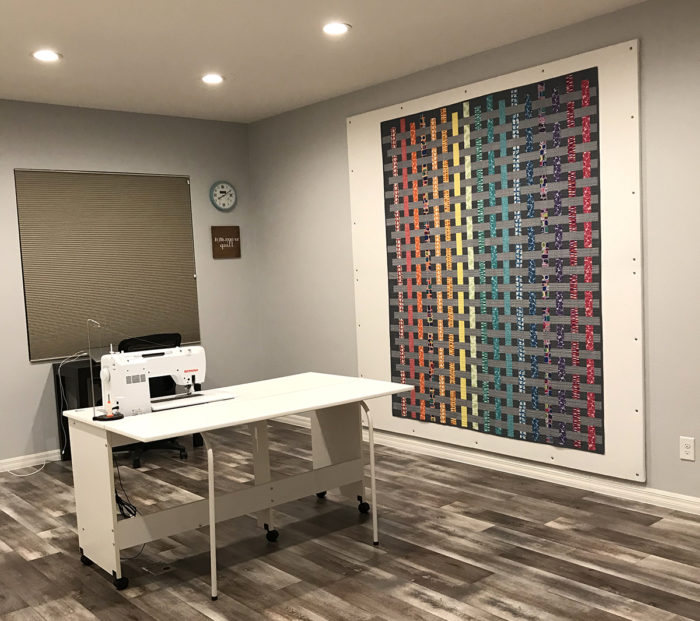
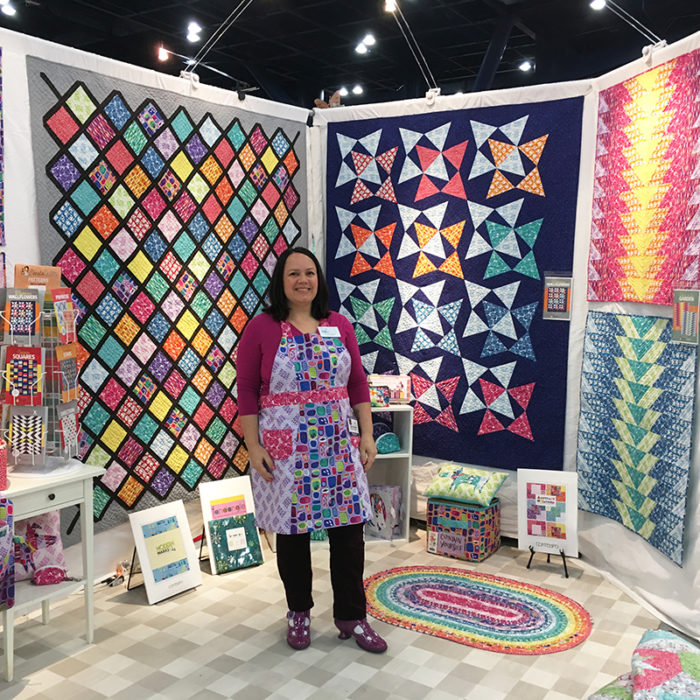
The quilt currently on my design wall is my Color Weave quilt pattern made from one strip roll of my Abstract Garden fabric line. Click here to get both!
It works best if you have a dedicated sewing space, since the design wall is permanently attached to the wall. (Another must have for your sewing room is a drop-in table available from most sewing dealers. If you are a machine quilting enthusiast, check out my previous guest posts on machine quilting tips and making a quilting plan.)
Materials to Build a 96" x 96" Quilt Design Wall
A large design wall can also be used for flat quilt photography.
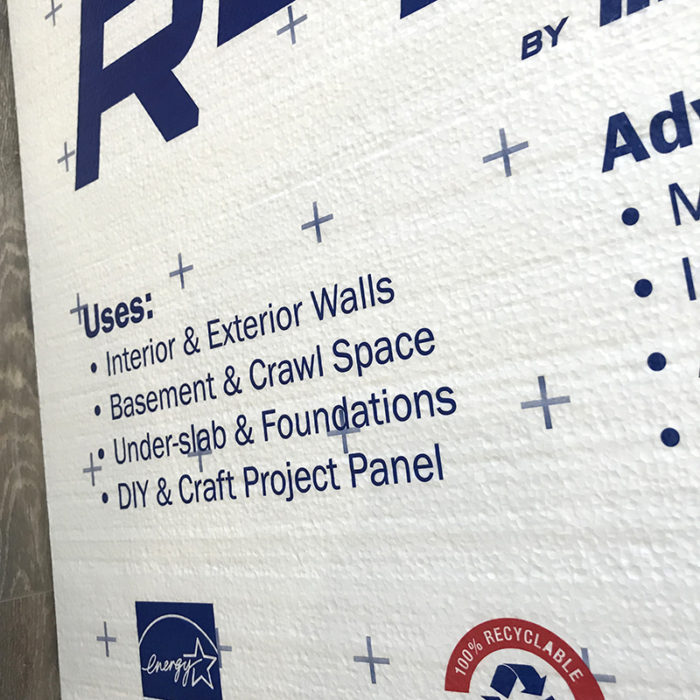
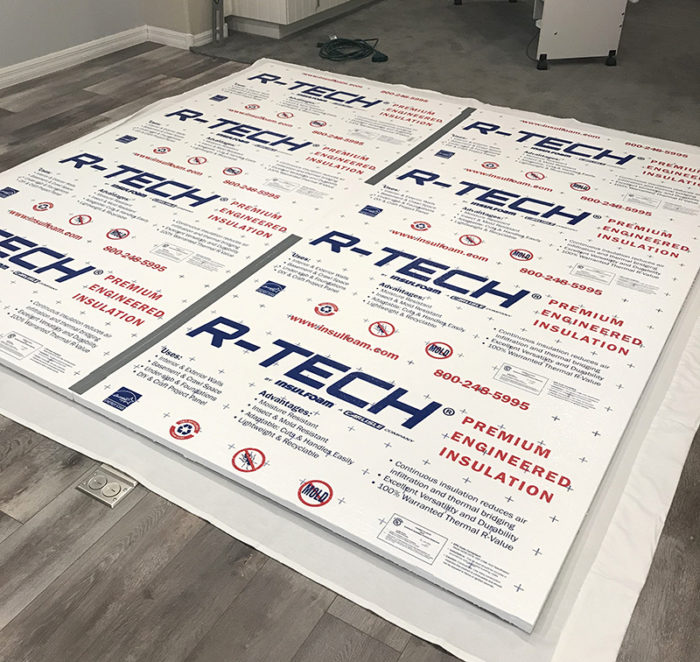
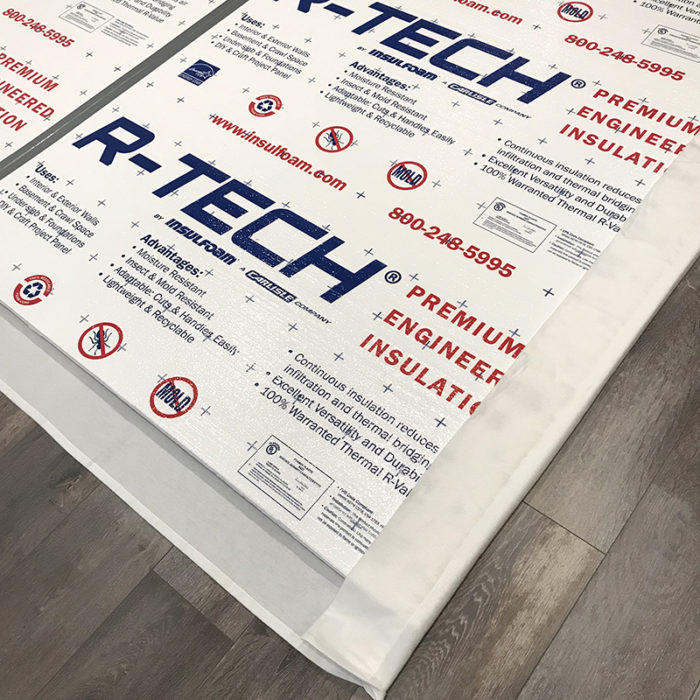
Two Foam Core Insulation boards, 4' x 8' each. You can always cut them down if it's too big. These are available from Home Depot or other home improvement stores. Be careful handling them as they are very fragile and can dent and break easily. Try to get the nicest, newest looking boards if possible.
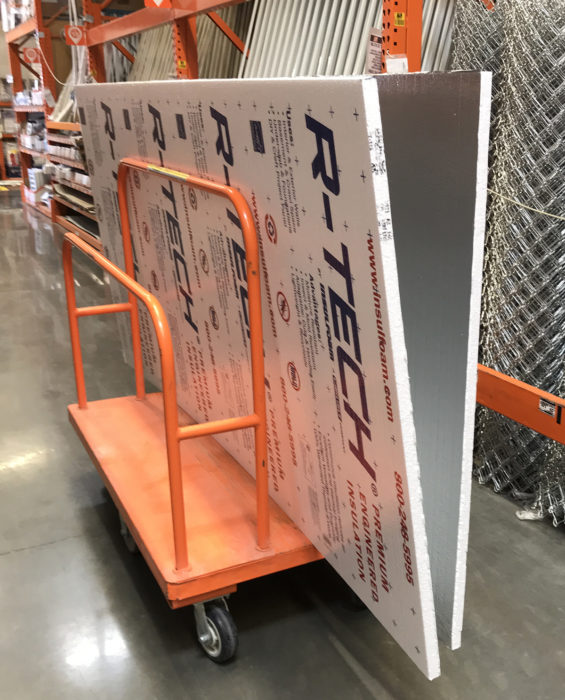
You'll need a large SUV or trunk to move these, but they are super light, just bulky!
California King Size White flannel flat sheet. Because the design wall is square, you want as much extra room as possible to wrap around the edges. I found a 108" x 108" sheet set from Bed, Bath and Beyond. It was easier to purchase the whole sheet set rather than just the top sheet, so I just donated the fitted sheet and pillowcases. You'll want to iron it ahead of time to get out all of the wrinkles. I did not prewash because I didn't want it to shrink up.
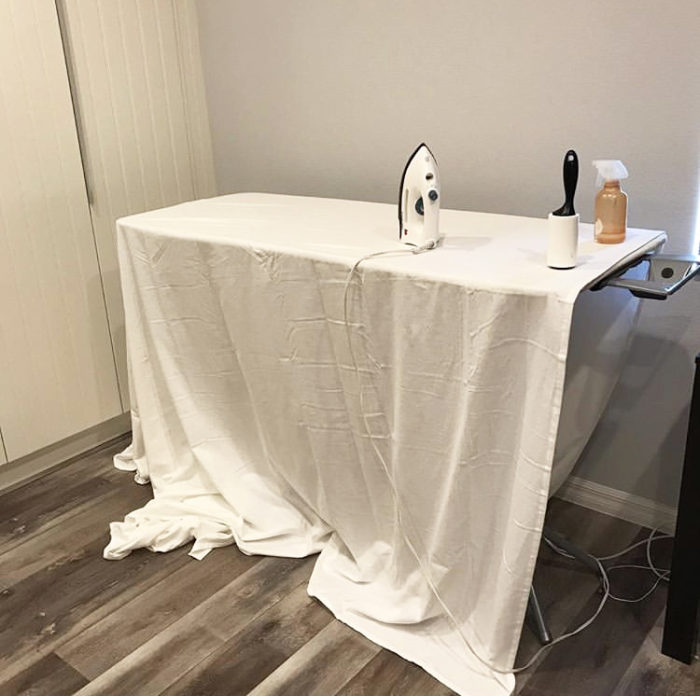
Be sure to iron out the wrinkles as much as you can.
Supplies: washers, screws, duct tape, screwdriver, level and a staple gun. This design wall is very light weight and attached directly to the wall so no crazy equipment is needed. We used regular 2" long screws with washers to hold them in place. A level comes in handy, too.
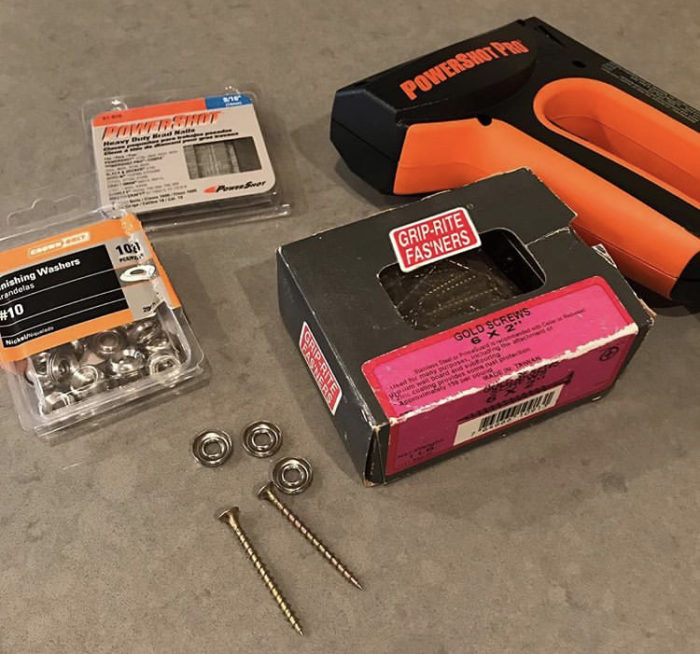
Not pictured: duct tape, level, and a hand-held screwdriver.
Step 1 - Tape the Insulation Boards together
The boards we bought have writing on one side, and a silver reflective surface on the other side. We chose the silver side to be the front so that none of the writing would show through on the front. The Foam Core is also easy to pin into.
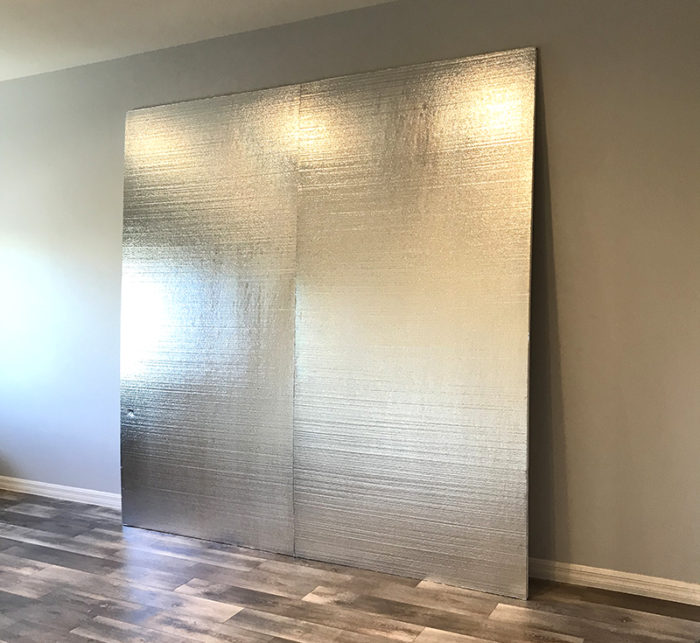
One of the boards had a small dent on the front which we didn't see. Fortunately, it didn't show up at all, once we covered them in flannel and attached to the wall.
I thought it was funny that the boards say they are specifically for craft projects. I wonder how many crafters keep home improvement stores in business??!
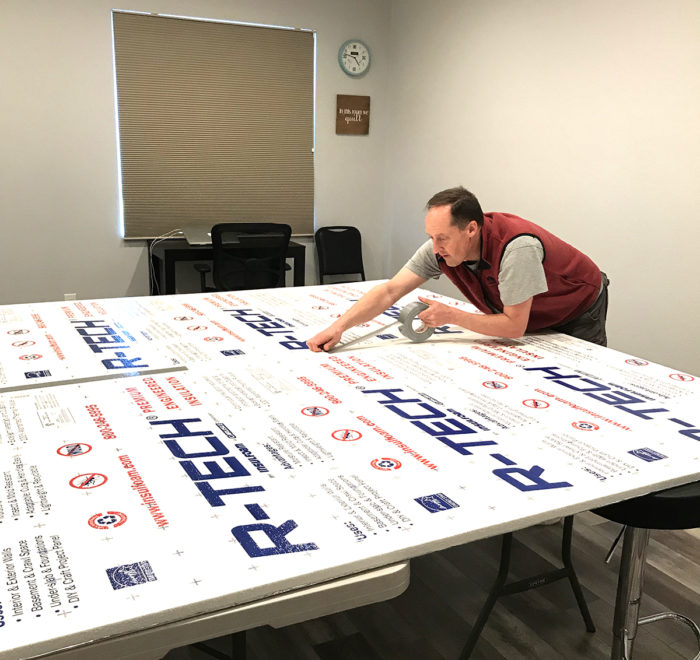
Grab a helper if you can, and taping the boards together. You can either do this on a couple of banquet tables pushed together, or on the floor if you have a smooth flat surface.
My husband helped me tape the back middle seam with duct tape as far as he could reach. We had to be careful handling it because it wanted to fold along the seam. At this point, it's not very stable, but big and awkward.
Step 2 - Cover the Boards with A Flannel Sheet
The reason I chose a flannel sheet is that it's lightweight, gives an even surface, and fabric and quilts will stick to it. I also think it looks much nicer and cleaner than batting and I can still pin into it if needed. We laid the flannel sheet on the floor first, and then gently laid the taped boards wrong side up on top of it.
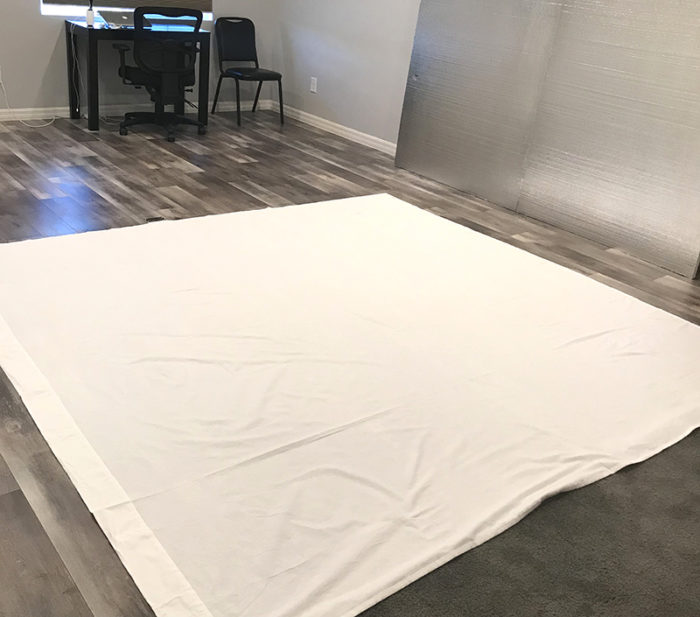
It's important to have a flat work surface when doing this part so it doesn't dent the foam. I didn't worry about the top seam in the sheet since it would be wrapped around to the back side.
When this is hung, the seam will be horizontally in the middle so that one board basically sits on top of the other. That will make the seam on the front side less noticeable and will give the whole structure more stability once it's attached to the wall.
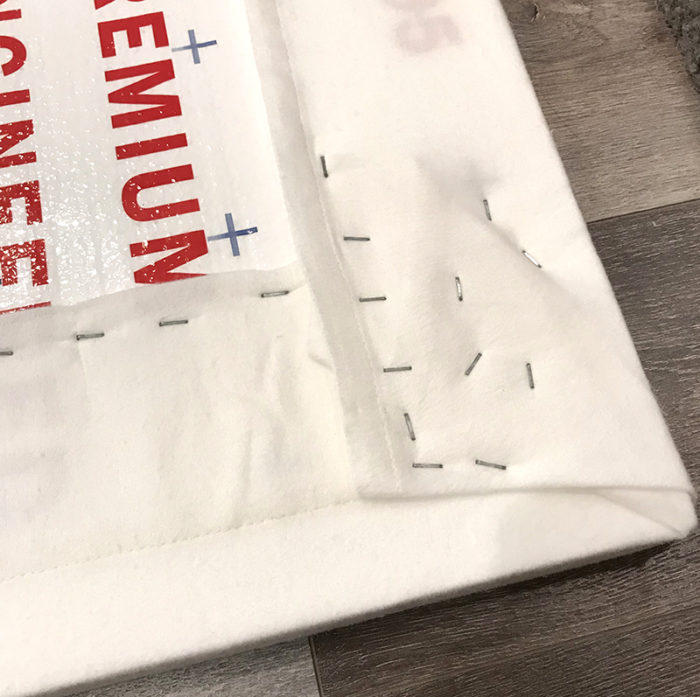
Very smoothly and carefully, we wrapped the excess flannel around the boards, 2 sides at a time.
First we stapled the "top" and "bottom" sides and then the edges, very close together. We discovered that we had to put a little bit of pressure while using the gun and staple straight down, otherwise the staples would come out easily.
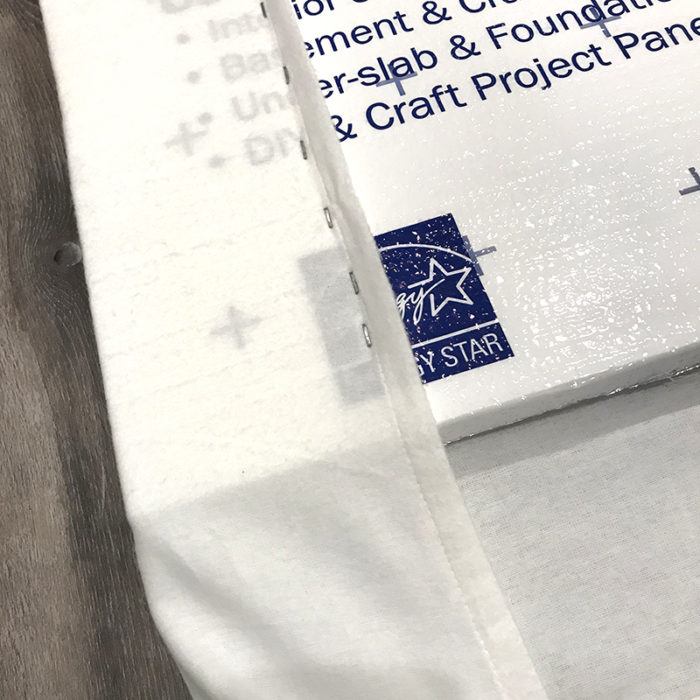
After a few staples, draw a straight line so you can pull the edges taught and even and line up the staples about 5" or so from the edge. Keeping a little tension on the sheet is important so that it is smooth and tight across the surface and doesn't sag.
The corners were a bit bulky so I tried to fold them over as best as I could so that it was smooth and tight around the corners. We used lots more staples here. I probably could have cut some of the bulk from the corners, but didn't want to risk it in case we had to redo something. Fortunately we didn't and the bulk of the flannel was smooshed flat against the wall, once everything was attached.
On the sides with corners, we stapled a few in the middle, then the corners, then worked our way in sections to even out any of the stretch in the flannel.
We added lots and lots of staples to secure the flannel.
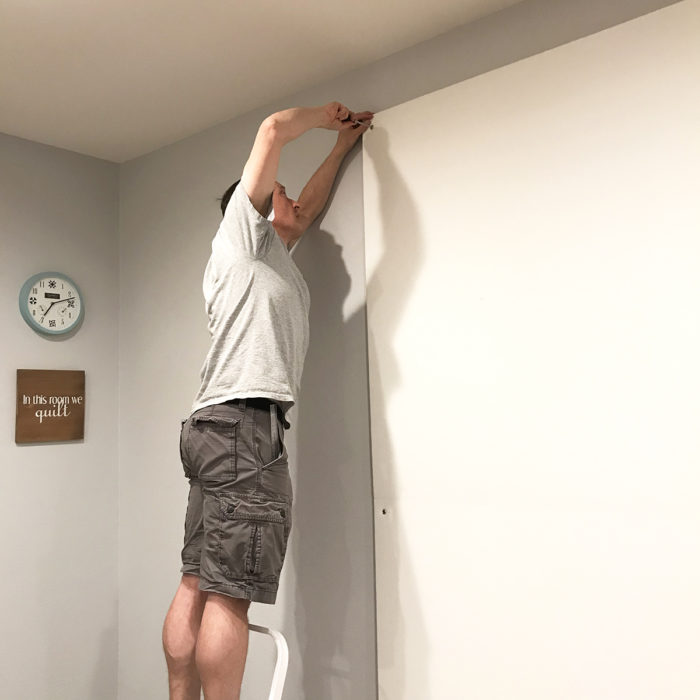
Step 3 - Attach the Design Boards to the Wall
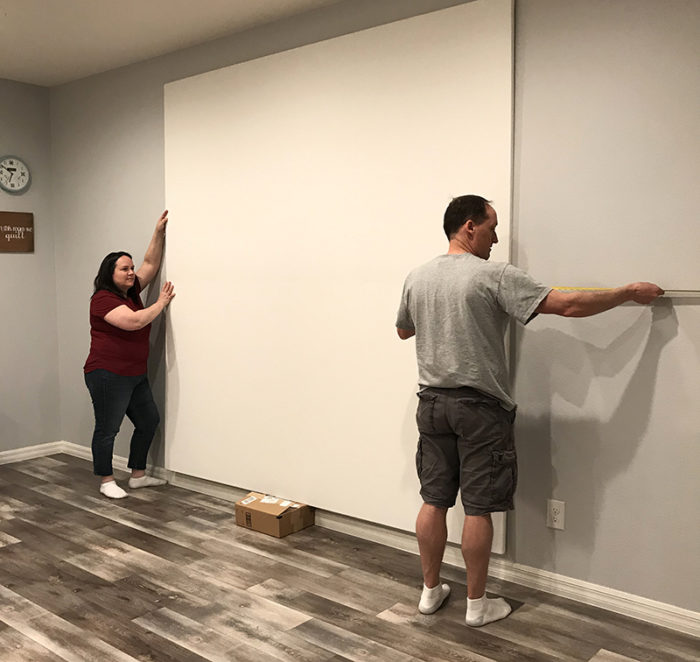
We measured where we wanted to hang the design wall - centered halfway across the room and in between two plugs on the wall. We wanted it 5" from the floor so we found a box that height that we used to rest the design wall on while we gently nudged it into place.
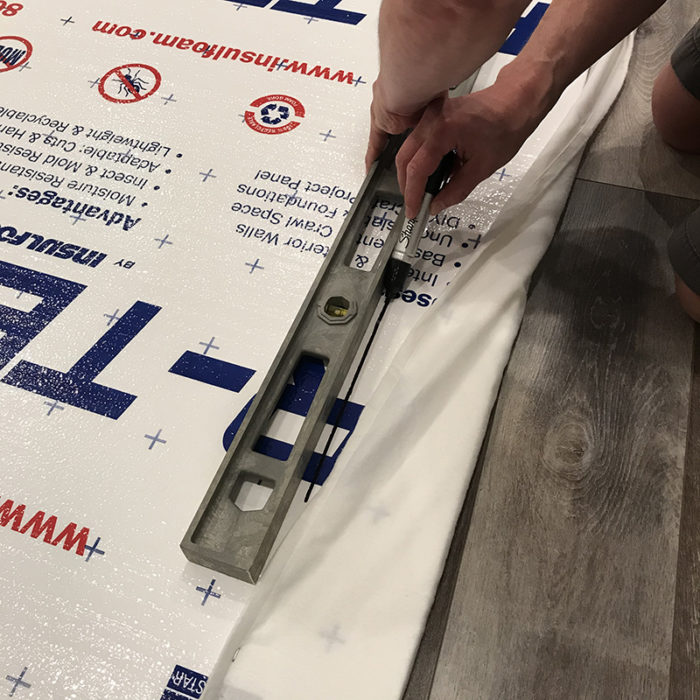
My job was to carefully hold the design wall against the wall while my hubby attached it into place with screws. The 5" box helped prop it up while he used a measuring tape and level to ensure that it stayed straight and square while attaching.
My husband measured 1 ½" away from the edges of the foam core using a washable marking pen. Then he screwed the screws directly into the wall with a regular screwdriver. Making a hole in the flannel that was covered by the washer. The washer gives a decorative element and also prevents the screw from digging into the foam.
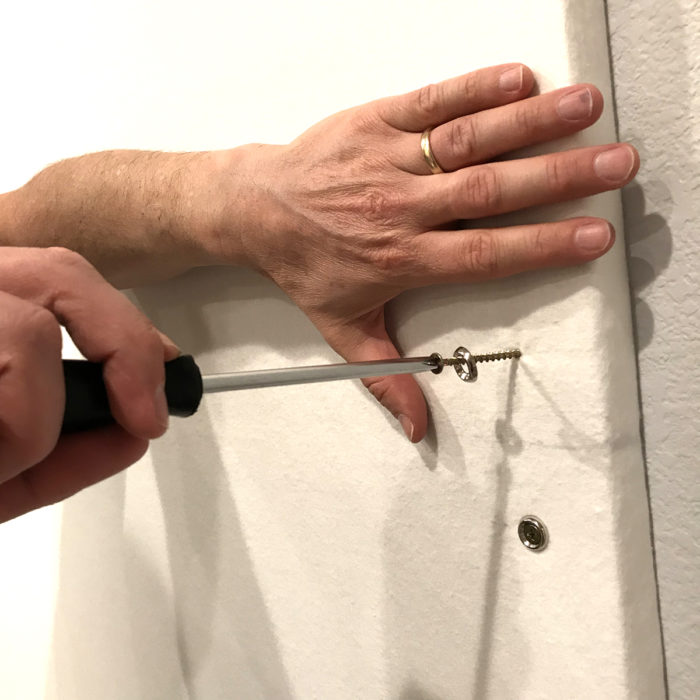
First we attached two screws on either side, where the boards meet up in the middle. This would be the two top corners of the bottom foam board. Then we attached screws in the upper corner of the design wall, and then in the lower corners.
Next, we attached 2 more screws in the lower corners of the first design board. Which is half way down the design wall). In total, we used 8 screws and washers to secure the boards to the wall; holding down all 4 corners of each foam board.
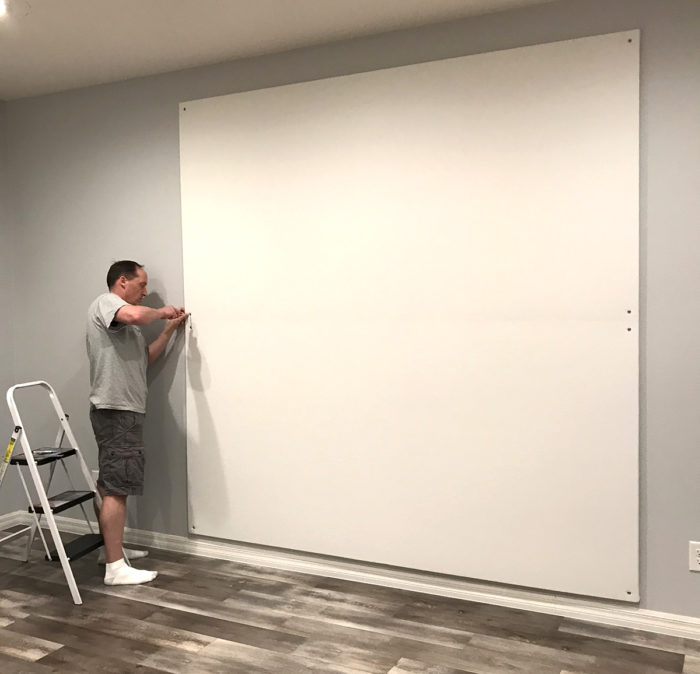
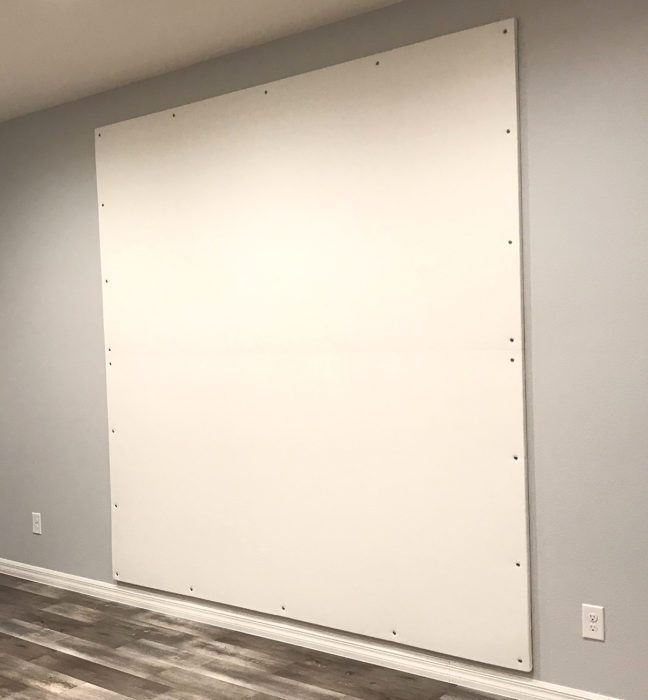
We attached a total of 14 screws and washers, evenly across the top and side edges. Here's what it looks like with all screws attached. You can see the faint line where the boards meet up in the middle. But that softens up over time and will be mostly covered by quilts anyway.

Step 4 - Make Beautiful Quilts!
I hope you've enjoyed this tutorial! If you want more fun quilting tips and tricks, be sure to follow me on instagram @christaquilts and check out my blog and website at christaquilts.com. I've always got exciting new things to share!!
Please visit shop.ChristaQuilts.com to find my patterns, books, and fabrics for sale.

Be sure to check out Christa's tutorials on machine quilting using your own sewing machine at home and how to plan your machine quilting design before you start sewing. Shes's got the best tips!
Thanks a million Christa! I love how simple they make this look - really a Design Wall doesn't need to be super elaborate or fancy.
This method could also be used to make any size Design Wall to fit your space. As I know not everyone has an 8' x 8' space on an empty wall. (But that definitely sounds dreamy!)
Honestly, any size Design Wall is so helpful in your sewing room.
Do you have a Quilt Design Wall? What's worked best for you?


Rebecca Rose
Since I have a very small sewing space, I have a design wall that consists of a large piece of batting that hangs down in from of a bookcase. I can fold it up to access the shelves, which is handy. One day I’d love enough wall space to make a solid design wall like this one!
Amy
That is a great solution!
The Joyful Quilter
Thanks for sharing Christa's post with us. I really NEED a design wall!! Using a flannel sheet is appealing to me, as batting sags over time.
Rosemaryflower
Beautiful design wall.
Flannel is the best, even BETTER is White heavy duty. I bought several yards of white extra wide felt several years ago and I just staple-gunned that to my walls. I have several walls hahaha and then I made a very large felt movable wall that I can fold up and put away, but when in use I have clipped it to the dining room curtain rods haha
Design walls are so great. I also used a level and drew a few horizontal and vertical lines in light blue on each wall
Allysgrandma
I'm so lucky my husband built almost an entire wall in my sewing room with those exact items. I love it and so do my granddaughters!
marcella
I made one of these years ago and it is still going strong. The only differences in what I did are: I put a layer of batting under the flannel. My insulation was pink and it helped keep the color from showing through and distracting. Also I taped the batting/flannel layer to the back with duct tape rather than using staples and it worked just fine.
The sheet idea is brilliant. I bought 108 wide white flannel by the yard and did pre-shrink it for a nice fuzzy dense surface. Love it but a bit expensive compared to sheets.
Pam
Thank you for this tutorial. I used it to make my own design wall.
Mardell Grayhek
This looks like a pretty straight forward project! Thanks for sharing such a great idea.
Kristi
This is a great tutorial. I need a decent design wall. I'll have to get my husband on this! 🙂
Eileen
I used heavy duty removable Command Strips on the back so I can move it when needed. I made small marks with a marker to designate where I placed my strips so I can pull it away without damaging the board.
Phyllis Prom
Hi, I am very interested in your sewing table. What are the measurements, where did you purchase it, and the price please. Thank you.
Janine
how big were your staples? I'm afraid that my stapler will ruin the board. Thanks for the help.
Lisa Ruminski
Great tutorial! Thank you!
Julie schmidt
What thickness of board did you use?
Cheryl
I have a chair rail on my otherwise perfect spot for a large design wall. Any thoughts on suspending a flannel sheet from a wooden header near the ceiling?
Amy
This is Amy responding (the post was written by Christa Watson and her husband, so it may be worth reaching out to them? Unfortunately I am not a handy person at all, so I'm afraid I don't have any helpful guidance on that one, but your plan sounds like a good one to try! I bought a pre-made design wall with grommets at the to hang with. I think it would still work fine even with a bulge behind it where it covers the chair rail.
Tracy
Thank you so much for sharing this very helpful tutorial! What thickness of foam board insulation has worked best for you? 1" or 2"? I appreciate your advice.
Crystal Nichols
This is fabulous! I am so thankful to have found your post. I pinned it so I can comeback to it later. I want one of these walls!
Sarah Bush
I was going to ask this same question, looks like 2" to me. I'm a renter so I think I'll use command strips to fasten mine to the basement walls (painted block walls)
Sarah Bush
Has the flannel been sufficient over time? I've heard people say that fabric didn't stick so well to flannel.
Susie Leam
How wonderful it must be to have a willing & able husband to help. It looks great, kudos to you both.