
I'm excited today to have guest poster, Lee Monroe of May Chappell, here to share some great tips for making a sweet scrap Liberty patchwork pincushion. Are you familiar with Liberty Lawns? They are such luscious, beautiful fabrics; and I absolutely love them. Click HERE for a little background on Liberty of London.
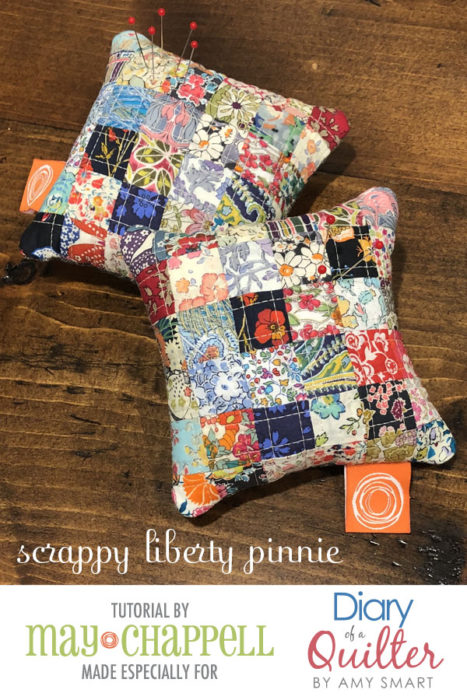
Patchwork Pincushion Tutorial
Hello everyone! I’m Lee and you’ll usually find me over on May Chappell talking about my patterns, classes and other stitching adventures. Amy asked me if I’d like to share a tutorial over here and I thought a little bit of Liberty action would be pretty!
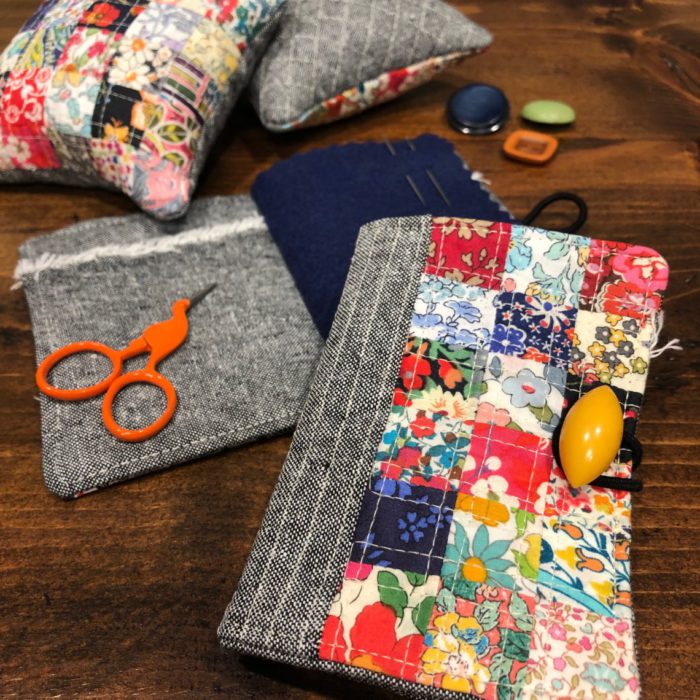
In case you’re not familiar, Liberty lawn fabric is a luscious weight fabric printed with stunning vintage designs, often florals. Here we are going to make a little pinnie, but if you head over to my blog, you’ll find a tutorial for a coordinating Scrappy Liberty Needlebook.
If this is your first time sewing with Liberty Lawn, check out these 5 handy tips for sewing with Lawn or Voile here.
Let’s get started! I recommend reading through all directions before diving in.
SIDENOTE: These directions make two pinnies to keep things scrappy. You’ll want to make one for a friend and one to keep!
Supplies:
Thirty-six 1 ¼ x 2 ½” pieces of Liberty
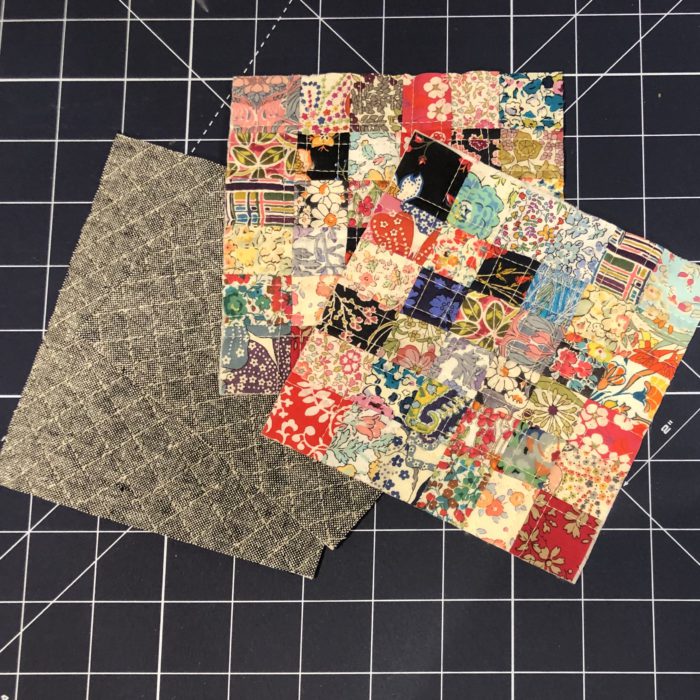
Two 5 ½” square of linen (Robert Kaufman Essex or similar)
Four 5 ½” squares of batting
Instructions:
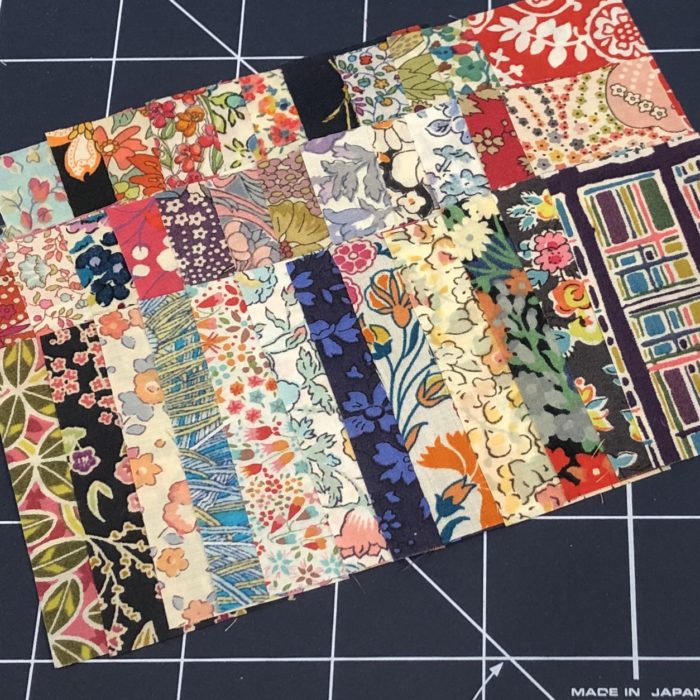
Step 1: Stitch each piece of Liberty to another piece of Liberty on the long edge so you have eighteen pairs that each measure 2 ½ x 2”.
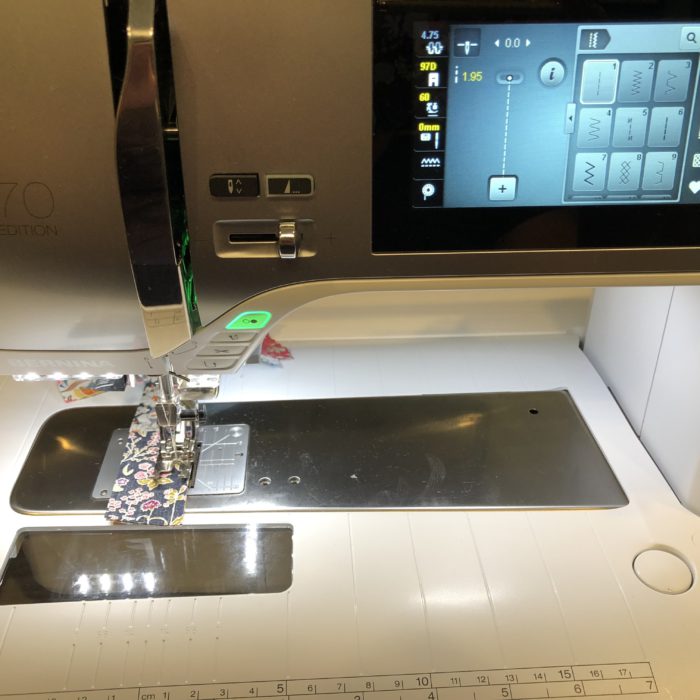
TIP: Shorten your stitch length when stitching lightweight fabrics such as lawn. This will prevent puckering. You can also lower your presser foot pressure if that’s an easy option on your machine.
Press to one side. Cut in half so they measure 1 ¼ x 2”.
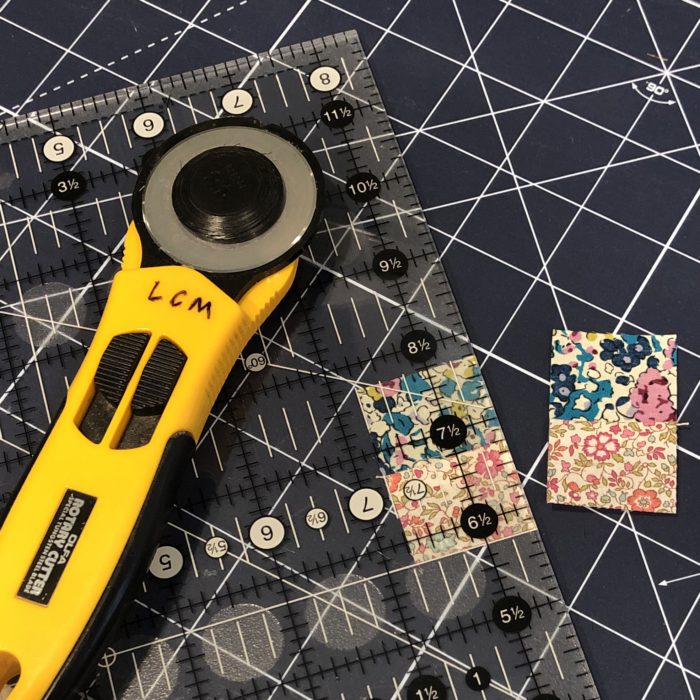
TIP: The reason that I prefer to cut the pieces larger, stitch and then trim is it makes it easier to sew. I find when I cut the squares smaller, my piecing is not as neat. You can always oversize and then trim!
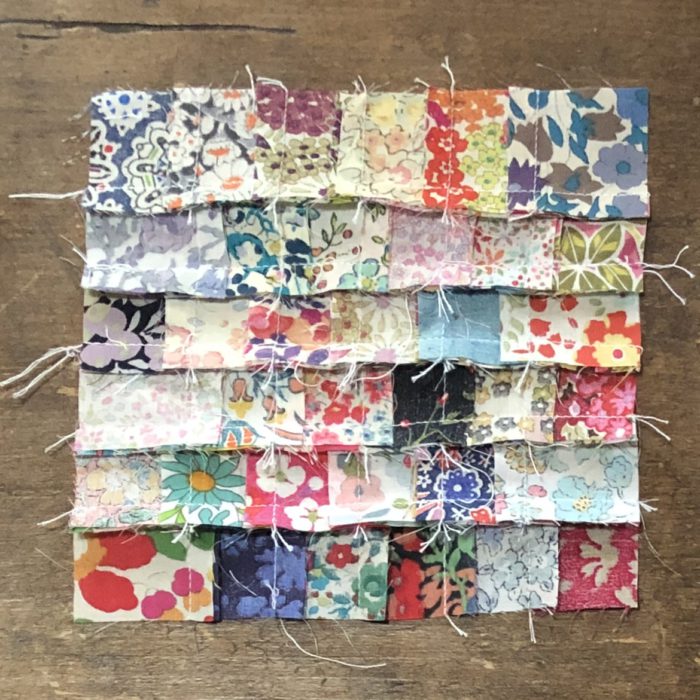
Step 2: Piece together the pinnie top so that it is six pieces by six pieces alternating the seam direction. Make two pinnie tops using one piece from each set for thirty-six unique fabrics.
Step 3: Place the pinnie top on a piece of batting. Quilt as desired. I stitched ⅛” from the seam on each side.
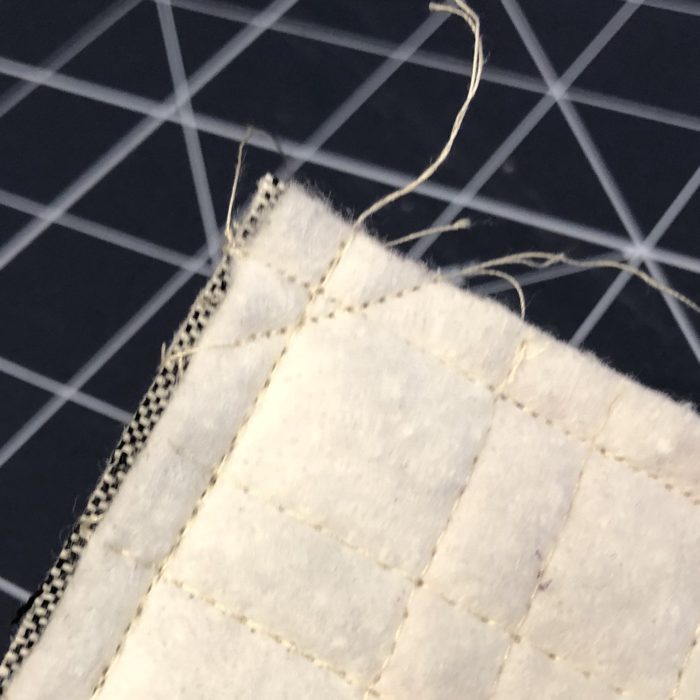
Pinnie back: place the linen on a piece of batting. Quilt as desired. I stitched 3/16” crosshatch. Make two of each.
Trim all pieces to 5” square.
Step 4: Place right sides together and stitch ¼” seam all the way around leaving a 1 ½” opening on one edge. Stitch across the corner about ⅛” from the intersection to round the corner. Turn right sides out.
TIP: Here’s another great tip for how to stitch the opening!
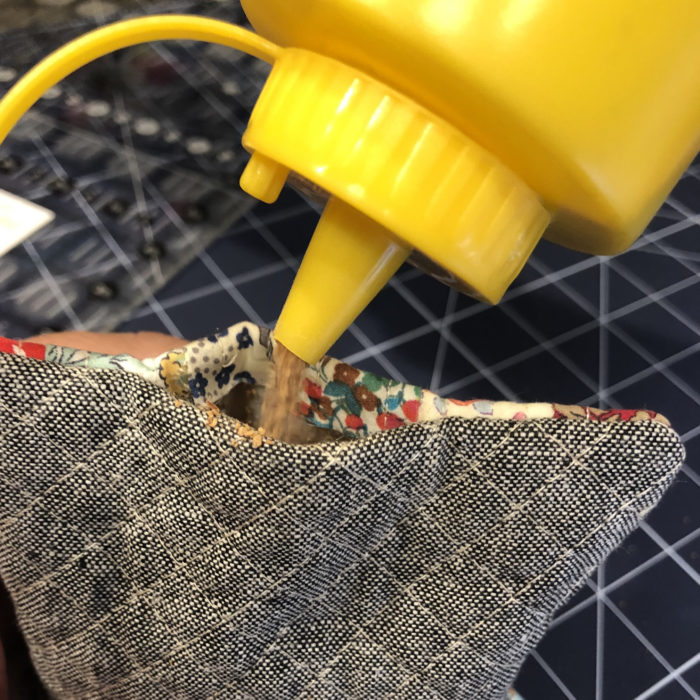
Step 5: Fill with crushed walnut shells or a filling of your choice.
TIP: I put my walnut shells in a mustard dispenser for ease of filling!
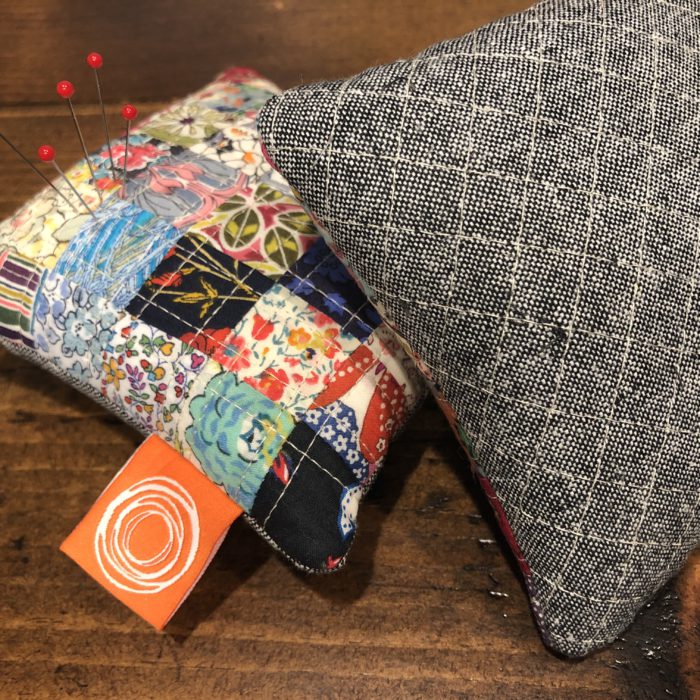
Enjoy your pinnies! Head over to May Chappell to make the coordinating needlebook project.
Thanks for letting me join in the fun over here! You can find me on Instagram ) and Facebook.
xx Lee
Thanks Lee! Lee is a fantastic teacher and quilt pattern designer, not to mention all around fun human being. Be sure to check out Lee's blog May Chappell Designs full of tutorials, great tips, and other fun as well as her Pattern Shop for great quilt and bag patterns.
Have you made a patchwork pincushion before? Share in a comment below!


Mary Hastings
You are so generous to share these tutorials. Thank you!!!
Kay
Thank you for a great tutorial. x
Rosemaryflowerr
Amy, this is adorable. I want to make a few!!
You are always inspiring, that makes me happy
Shasta Matova
That is such a great idea to use a mustard container!