• Skip to primary navigation
  • Skip to main content
  • Skip to primary sidebar
Diary of a Quilter - a quilt blog
  • Home
  • Tutorials
  • Shop
  • FAQ
  • Subscribe
menu icon
go to homepage
  • Home
  • Tutorials
  • Shop
  • FAQ
  • Subscribe
    • Facebook
    • Instagram
    • Pinterest
  • subscribe
    search icon
    Homepage link
    • Home
    • Tutorials
    • Shop
    • FAQ
    • Subscribe
    • Facebook
    • Instagram
    • Pinterest
  • ×

    DIY Heirloom Christmas Ornament guest post by Coral + Co.

    Last Modified: October 29, 2019 by Amy · This post may contain affiliate links · This blog generates income via ads · 3 Comments

    Today on the blog, I’ve got another fun Christmas Ornament project for you from guest Shelly of the darling craft blog, Coral + Co. This is a quick, DIY, no-sew heirloom Christmas ornament project that would be perfect to mass produce for a cute, handmade gift for neighbors or family this Christmas.

    DIY Heirloom Christmas Ornament 

    Hi! I’m Shelly from Coral + Co. I’m always the worst kind of handmade Christmas procrastinator so in an attempt to make all the handmade things actually happen before Christmas this year I am breaking out all the Christmas things in August!

    DIY Heirloom Christmas Ornament guest post by Coral + Co by popular Utah quilting blog, Diary of a Quilter: Pinterest image of a Coral + Co. DIY heirloom Christmas ornament hanging on a Christmas tree.

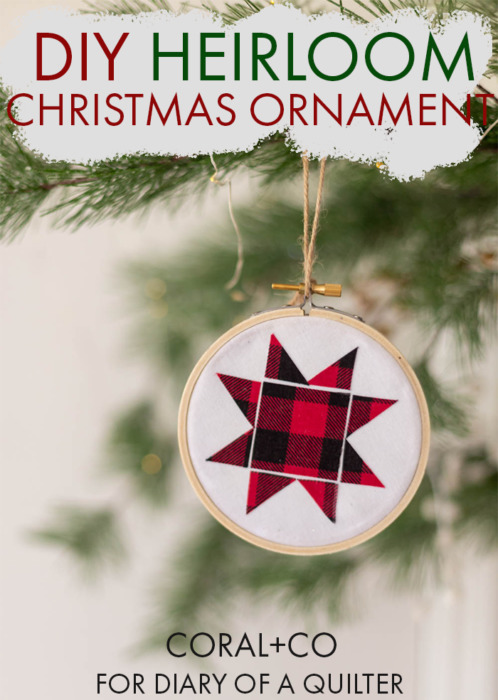
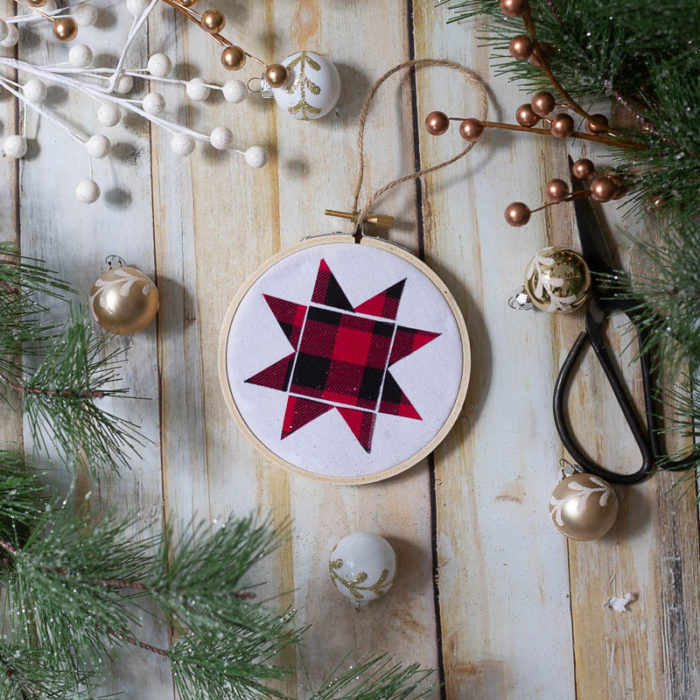
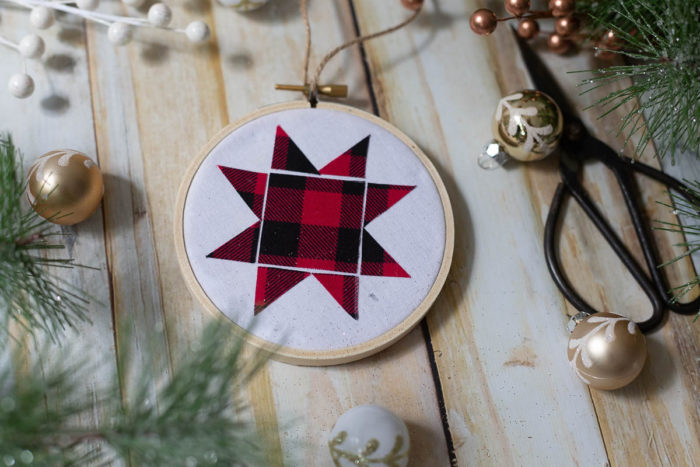
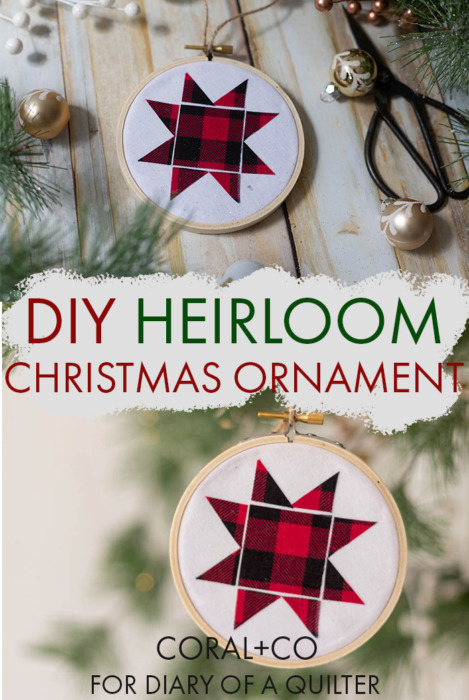
    Today I have a really cute and simple heirloom Christmas ornament tutorial. Since we are all quilters here I decided to use one of my favorite quilt blocks, the Ohio Star. You can see my modern version of the Ohio Star Quilt here.

    DIY Heirloom Christmas Ornament guest post by Coral + Co by popular Utah quilting blog, Diary of a Quilter: image of embroidery hoops, fabric scissors, plaid flannel fabric, twine, and plaid tape.

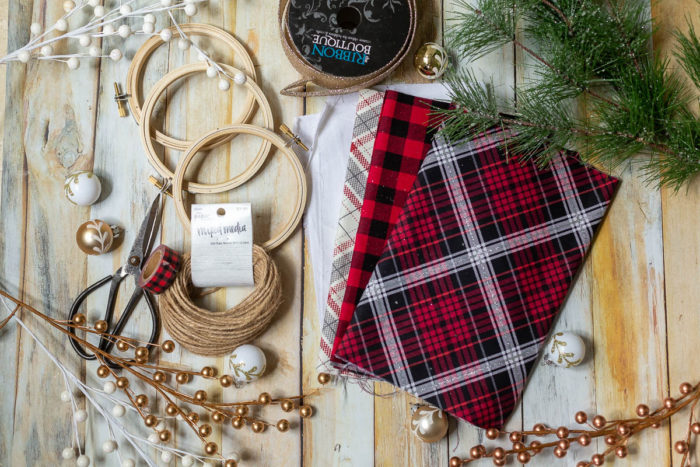
    Supplies you will need:

    • 4″ embroidery hoop

    • 6″ scrap of background fabric

    • 6″ scrap of Christmas fabric

    • 4″ scrap of Steam a Seam 2

    • 10″ jute or twine

    • Ohio Star quilt block applique template

    DIY Heirloom Christmas Ornament guest post by Coral + Co by popular Utah quilting blog, Diary of a Quilter: image of a woman tracing around an embroidery hoop with a red pen.

    Instructions:

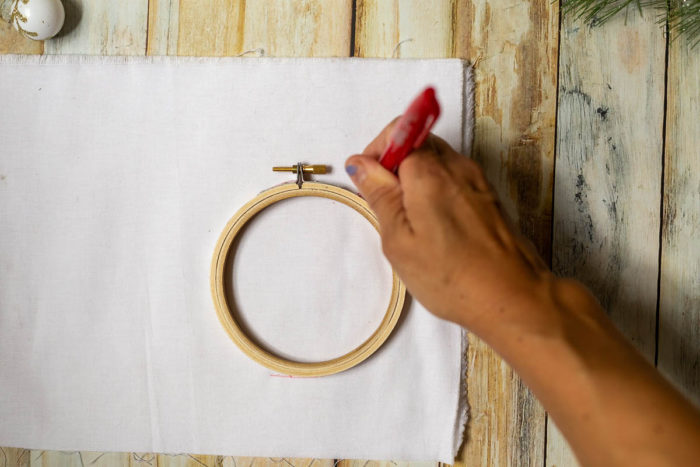
    Place your embroidery hoop on your fabric and using a fabric marking pen draw a circle around your embroidery hoop. I like the Frixon pens because you can use an iron to erase the markings.

    DIY Heirloom Christmas Ornament guest post by Coral + Co by popular Utah quilting blog, Diary of a Quilter: image of a round piece of white felt and some fabric scissors.

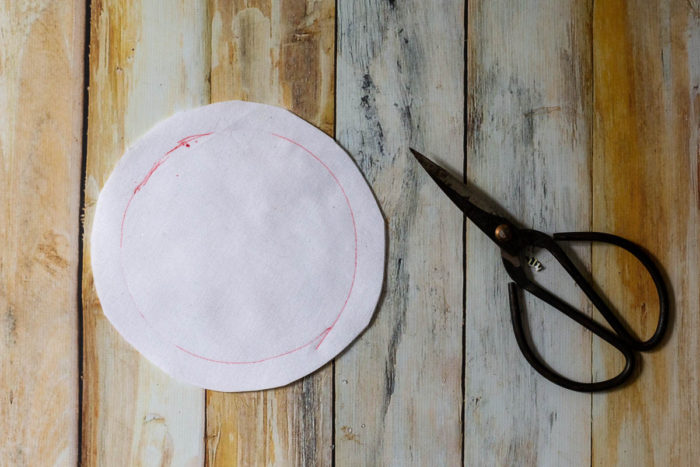
    Cut around the circle adding an inch to its circumference.
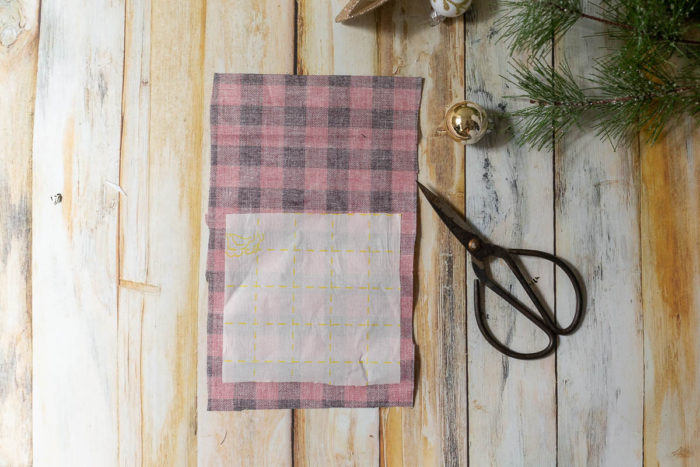
    DIY Heirloom Christmas Ornament guest post by Coral + Co by popular Utah quilting blog, Diary of a Quilter: image of some sewing scissors and the backside of some black and red plaid fabric with a 4" square of Steam a Seam 2 on the lower half of the fabric.

    Peel off the back layer of the 4″ square of Steam a Seam 2 and stick to the back side of your fabric.
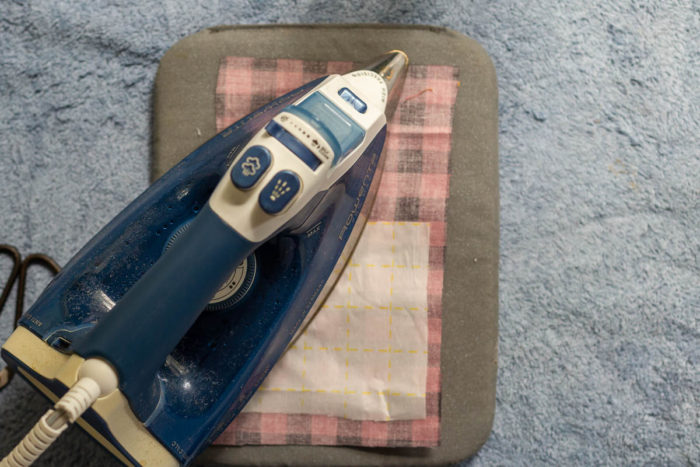
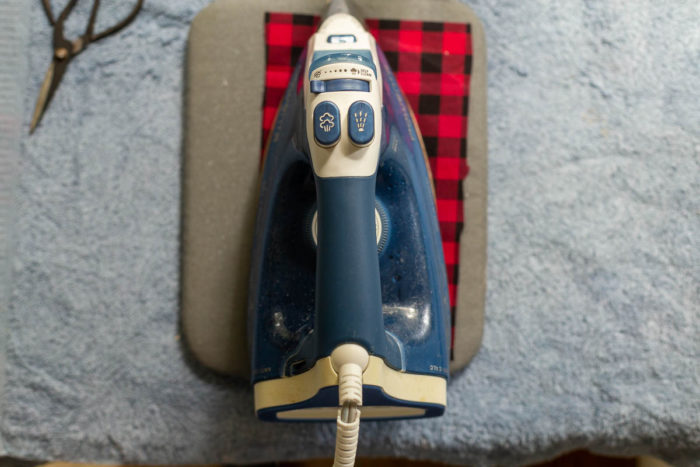
    DIY Heirloom Christmas Ornament guest post by Coral + Co by popular Utah quilting blog, Diary of a Quilter: image of an iron being pressed down on top of the Steam a Seam 2.

    Iron according to manufacturer’s instructions on the backside and then the front side.

    DIY Heirloom Christmas Ornament guest post by Coral + Co by popular Utah quilting blog, Diary of a Quilter: image of an iron resting on top of a piece of black and red plaid fabric.

    DIY Heirloom Christmas Ornament guest post by Coral + Co by popular Utah quilting blog, Diary of a Quilter: image of the backside of a piece of black and plaid fabric with Steam a Seam 2 on the bottom half of it, a blue permanent marker, sewing scissors, and circular pattern template.

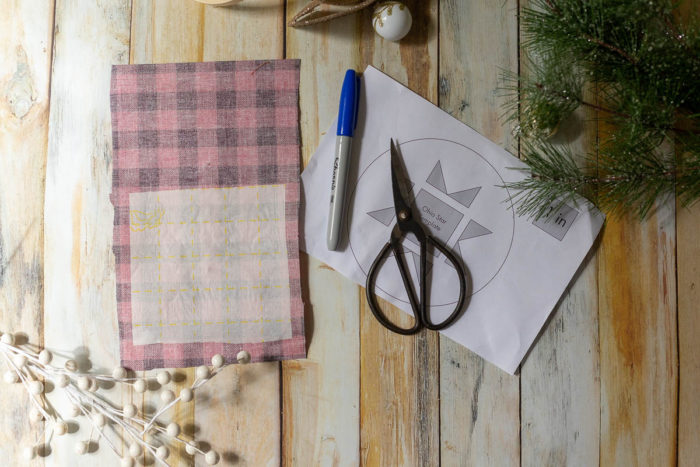
    Cut out the circle of the pdf template.

    DIY Heirloom Christmas Ornament guest post by Coral + Co by popular Utah quilting blog, Diary of a Quilter: image of a piece of black and red plaid fabric with some Steam a Seam 2 on it, some sewing scissors, and a woman placing glue dots on the back of a circular template.

    Using craft or elmer’s glue, lightly glue the template to the Steam a Seam 2. I placed dots where the triangles were.

    DIY Heirloom Christmas Ornament guest post by Coral + Co by popular Utah quilting blog, Diary of a Quilter: image of the backside of a piece of black and red plaid fabric with a square of Steam a Seam 2 on the bottom portion and an Ohio star template resting on top.

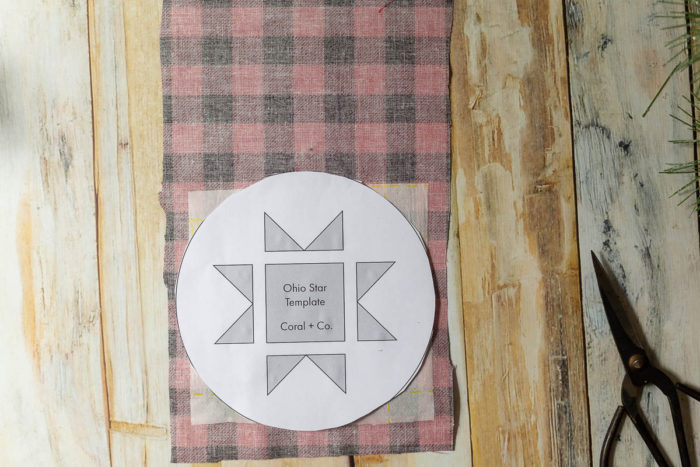
    Place the template on the front side of the Steam a Seam 2.

    DIY Heirloom Christmas Ornament guest post by Coral + Co by popular Utah quilting blog, Diary of a Quilter: image of a woman ironing an Ohio star template to a square piece of Steam a Seam 2 that is on the backside of a piece of black and red plaid fabric.

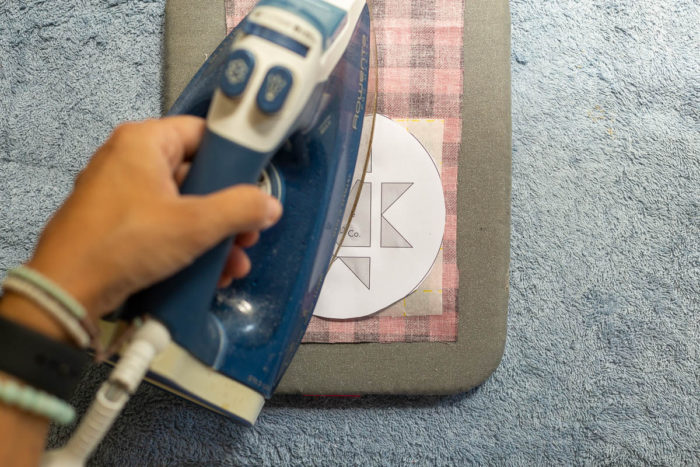
    Iron the template to the Steam a Seam holding 5 to 10 seconds.

    DIY Heirloom Christmas Ornament guest post by Coral + Co by popular Utah quilting blog, Diary of a Quilter: image of a woman using a rotary blade and square ruler to cut out an Ohio star template that has been glued to a square of Steam a Seam 2 that's on the back side of a piece of red and black plaid fabric.

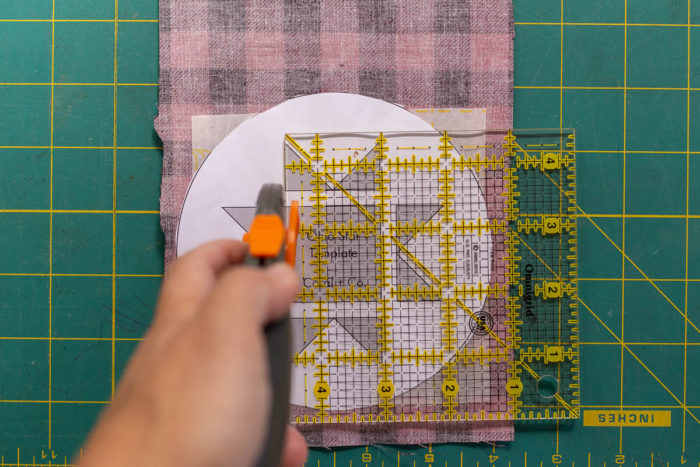
    Using a rotary blade (the one you use for paper, not your good fabric blade) or scissors, cut the Ohio Star shape out.

    DIY Heirloom Christmas Ornament guest post by Coral + Co by popular Utah quilting blog, Diary of a Quilter: image of cut out piece of an Ohio star template on black and red plaid fabric.

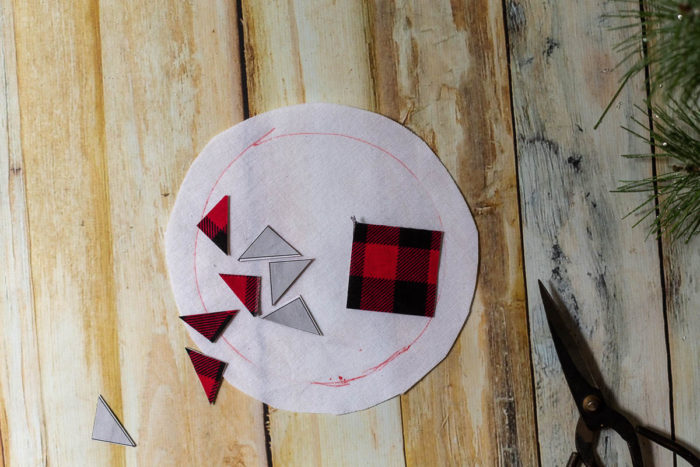
    You will now have little pieces that look like this.

    DIY Heirloom Christmas Ornament guest post by Coral + Co by popular Utah quilting blog, Diary of a Quilter: image of a woman peeling off Steam a Seam 2 paper from the back side of piece of an Ohio star pattern on black and red plaid fabric.

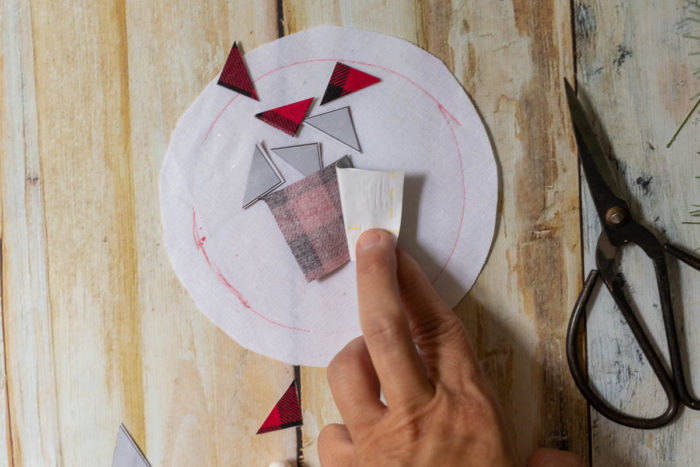
    Peel the back of the Steam a Seam 2 off and place the pieces according to the picture below.

    DIY Heirloom Christmas Ornament guest post by Coral + Co by popular Utah quilting blog, Diary of a Quilter: image of red and black plaid Ohio star laid on a round white piece of felt fabric.

    I like to have a little space between the pieces, but it is not necessary.

    DIY Heirloom Christmas Ornament guest post by Coral + Co by popular Utah quilting blog, Diary of a Quilter: image of a woman ironing a black and red plaid Ohio star onto a piece of round white felt fabric.

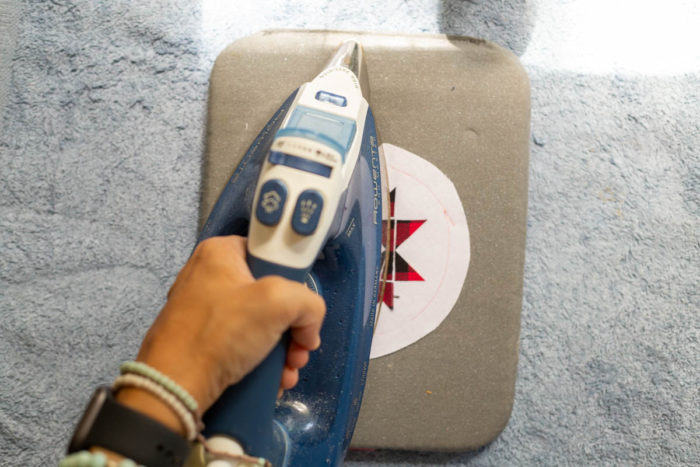
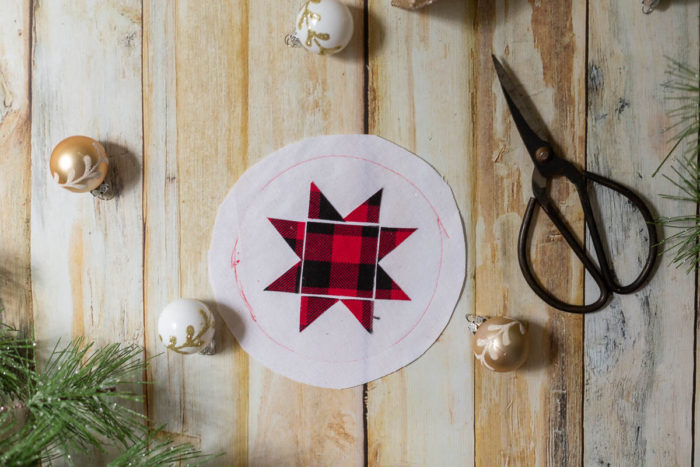
    Iron the applique to the background fabric according the Steam a Seam manufacturers instructions.

    DIY Heirloom Christmas Ornament guest post by Coral + Co by popular Utah quilting blog, Diary of a Quilter: image of a round piece of white felt fabric with a red and black plaid Ohio star on it, embroidery hoop, twine, sewing scissors, and pine tree branches.

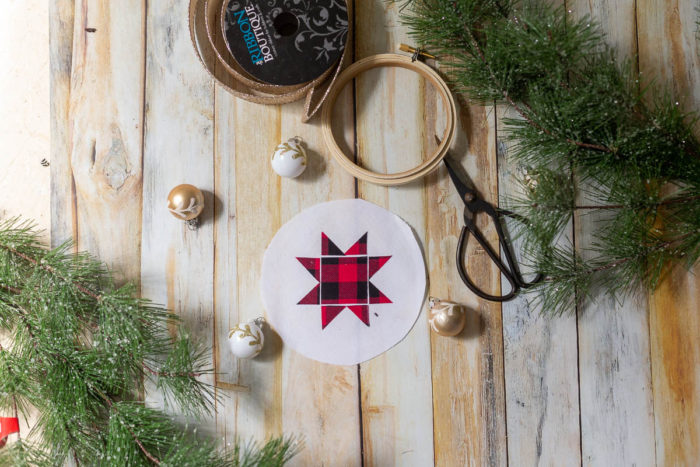
    You are now ready to insert the applique into the embroidery hoop.

    DIY Heirloom Christmas Ornament guest post by Coral + Co by popular Utah quilting blog, Diary of a Quilter: image of a finished embroidery hoop heirloom christmas ornament with a red and black plaid Ohio star, sewing scissors, white and gold ornaments, and pine tree branches.

    Place a thin line of glue around the inside of the embroidery hoop.

    DIY Heirloom Christmas Ornament guest post by Coral + Co by popular Utah quilting blog, Diary of a Quilter: image of the backside of a finished embroidery hoop heirloom christmas ornament, sewing scissors, white and gold ornaments, and pine tree branches.

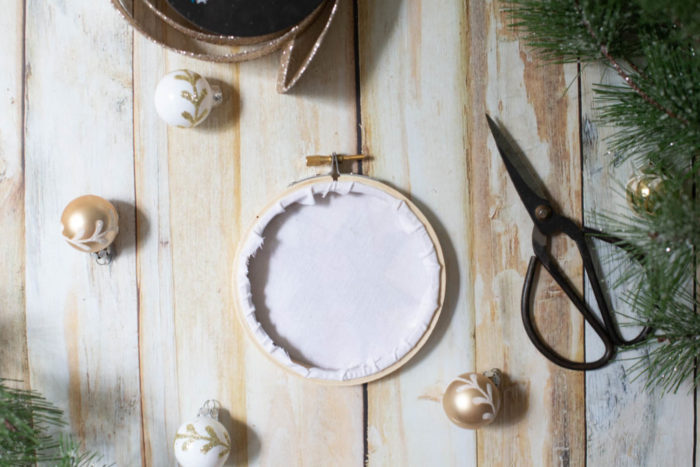
    Press the remaining fabric to the inside of the hoop and press flat.

    DIY Heirloom Christmas Ornament guest post by Coral + Co by popular Utah quilting blog, Diary of a Quilter: image of a finished embroidery hoop heirloom christmas ornament with a red and black plaid Ohio star, sewing scissors, white and gold ornaments, and pine tree branches.

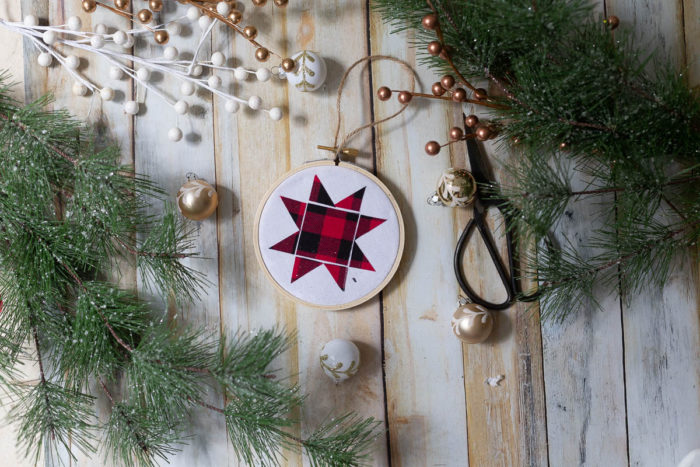
    Attach the jute or twine to the hoop pin and you are all finished!

    DIY Heirloom Christmas Ornament guest post by Coral + Co by popular Utah quilting blog, Diary of a Quilter: image of a finished embroidery hoop heirloom christmas ornament with a red and black plaid Ohio star, sewing scissors, white and gold ornaments, and pine tree branches.

    If you’re not quite ready to make the ornaments right away, Pin to Save the HEIRLOOM CHRISTMAS EMBROIDERY HOOP ORNAMENT for later!

    DIY Heirloom Christmas Ornament guest post by Coral + Co by popular Utah quilting blog, Diary of a Quilter: Pinterest image of a finished embroidery hoop heirloom christmas ornament with a red and black plaid Ohio star, sewing scissors, white and gold ornaments, and pine tree branches.

    Thank you so much, Shelly, for such a quick, cute ornament idea. Be sure to check out Coral + Co for lots of other inspiring sewing, quilting, and crafting ideas.

    You can also find Coral + Co on Facebook and Instagram.

    I’m thinking this would be a great method for making all kinds of simple, graphic quilt blocks. 

    Have you started your Christmas sewing yet? 

    Be sure to check out this post for another stitchy-Christmas-ornaments in-embroidery-hoop project.

    And if you’re ready for a deep-dive into Christmas prep here are some more great resources:

    14 Christmas Pillow Tutorials

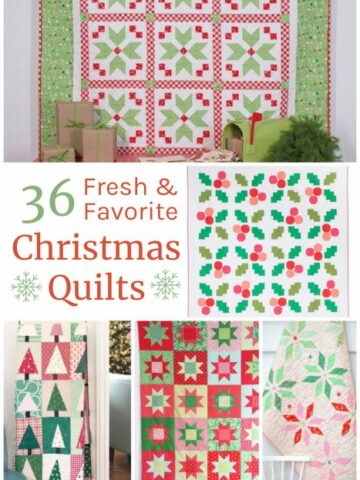
    23 of my Favorite Christmas Quilts

    Have you made an heirloom Christmas ornament before?  Share in a comment below!

    Share this:

    • Click to share on Facebook (Opens in new window)
    • Click to share on Pinterest (Opens in new window)
    • Click to share on Twitter (Opens in new window)
    • Click to print (Opens in new window)
    • Click to email a link to a friend (Opens in new window)

    Related

    « More Orange Peel Applique Blocks + Real Life
    Bricks Baby Quilt Tutorial »

    Filed Under: Christmas, guest post, Sewing for Your Home

    Reader Interactions

    Comments

    1. Cathy Mc.

      August 23, 2019 at 9:43 am

      Great idea, could be adapted to other quilt blocks as well.

      Reply
    2. Rosemaryflower

      August 24, 2019 at 6:48 am

      Oh this is very cute. I love it. Thanks so much for sharing Shelly’s project with me, Amy.
      This looks like a fun one

      Reply
    3. Joanne Obergfell

      August 24, 2019 at 11:29 am

      Love this ornament. Will there be others?

      Reply

    Leave a Reply Cancel reply

    This site uses Akismet to reduce spam. Learn how your comment data is processed.

    Primary Sidebar

    My name is Amy Smart and I'm a quilter, pattern and fabric designer, wife & mom. Excited to have you here!

    more about me →

    THE PERFECT PLACE TO START

    I SEW WITH

    Baby Lock Sewing Machines

    MY FABRIC COLLECTIONS

    Fabric Collections by Amy Smart for Riley Blake Designs.

    FAVORITE FABRIC SHOPS

    COME SEW WITH ME CRAFTSY CLASS

    Pre-cuts Shortcuts Video Craftsy Class with Amy Smartma

    SEARCH

    Top Posts & Pages

    • Shortcut Tutorial for Piecing Patchwork Blocks
    • Diary of a Quilter by Amy Smart - a Quilt blog
    • Free Valentine Mini Quilt Pattern
    • Confirmation
    • How to Make a Manx Quilt Block

    Footer

    ↑ back to top

    PRIVACY POLICY

    DISCLAIMER

    TERMS & CONDITIONS

    ACCESSIBILITY POLICY

    NEWSLETTER

    SIGN UP for weekly emails & updates!

    CONTACT

    FAQ

    This site uses affiliate links:

    I make a small commission on some purchases with no additional cost to the reader.

    As an Amazon Associate, I earn from qualifying purchases.

    Copyright © 2022 Diary of a Quilter - a quilt blog