
Binding a quilt is the final step in finishing. Before you bind, you need to somehow "quilt" your quilt. This means to attach the front and back, with batting in between. I usually machine quilt (or have someone else do it) my quilts these days. There are good tutorials for that here, here, and here. If you are going to machine-quilt you should use batting like Warm & Natural or Hobb's Heirloom. I usually use a poly-cotton blend.
If you are going to hand quilt you need to use a lighter batting or your wrists will hate you.
Once your quilting is finished you are ready to bind the quilt.
 First step is to trim your excess batting. I personally like to trim right to the quilt's edge. Using a long quilter's ruler and your rotary blade will give you the best results.
To finish this 42" x 42" baby quilt you will need 168" of continuous binding. (In this post I'm going to show you the easiest way to accomplish that first - using straight-cut binding. We'll discuss bias-cut binding in a little bit. )
If you need more binding fabric for a bigger quilt, find the perimeter measurement (outside measurement in linear inches) for your quilt and divide that number by 42. (42" being the width of the fabric you are cutting from.) That is the number of strips you will need. If the answer is 7.6833 - you will need 8 strips. So you need 8 strips at 2.5" wide, so you need a total of 20" (just over half a yard.) Does that make sense?
Fabric requirements for this baby quilt is 10" (just over a ¼ of a yard.) If your quilt store is nice, you could ask if they'll cut you 10". If not, ask for ⅜ yard.
 You need to cut FOUR 2 ½" strips along the width of the fabric. (To cut strips from the end of a piece of yardage, make sure that you line up the fold of the fabric along a straight line or edge of the mat. This way when you cut your 2 ½" strips, they will be straight- not v-shaped.)
 Trim the selvage ends off the strips, match right sides together.
 and sew them together end to end to make one long strip. Use a ¼" seam allowance.
 This time you want to press your seams open.
 Then fold the entire strip in half lengthwise and press.
 Then take your strip and starting in the middle of one side of the FRONT of the quilt, leaving about 4 inches unpinned, pin your strip to the edge - with raw edges of the binding strip next to the raw edge of the quilt. (Pinning the binding before hand will make your sewing much faster and keep your quilt edge from getting wavy.)
 When you get to a corner, put a pin in at the corner at a 45 degree angle.
 Fold strip up at that same 45 degree angle
 and fold back down again matching the folded edge with the edge of the quilt. Continue to pin.
 You should have a little triangle flap between two 45 degree-angled pins. This is called "mitering your corners." Pretty nifty, huh? This is going to be a snap to sew and will look so fancy when you're done!
 When the strip gets back around to the beginning fold the ends down so that the strips meet-up. Press with your iron to make a crease at both folds.
 Trim both ends to about ¼".
 Bring the quilt back to the machine, pin ends and sew together on the pressed crease.
 Press that final seam open, fold in half like the rest of the binding and pin raw edges to the raw edge of the quilt. Now you're ready to sew the binding to the quilt.
 Starting in the middle of one of the sides, sew the binding to the quilt using the edge of your presser foot (¼" seam allowance) as your guide.
I would highly recommend a walking foot at this point as it will make your edge a little nicer, but if this is your first quilt or you don't plan on making a lot of them, a walking foot can be a pricey investment. Your regular foot will work well-enough.
 When you get to the corner sew right up to the first corner pin. This should be about ¼" away from the edge of the quilt. Lift the foot and needle and turn the quilt. You don't need to break the thread. *Important* Now, flip the little triangle flap so it lies the other direction. (See photo)
 Begin sewing the next side at the very edge and continue with the ¼" seam allowance. (I know, some of you are panicking that I left my pins in. I just do that and seem to not break too many needles.)
 When you have finished sewing all four sides, fold the folded edge of the binding over to the back of the quilt and pin it down, using those same pins. (You could also use those metal clips that look like hair clips if you don't like the idea of hauling something around that could potentially impale you.)
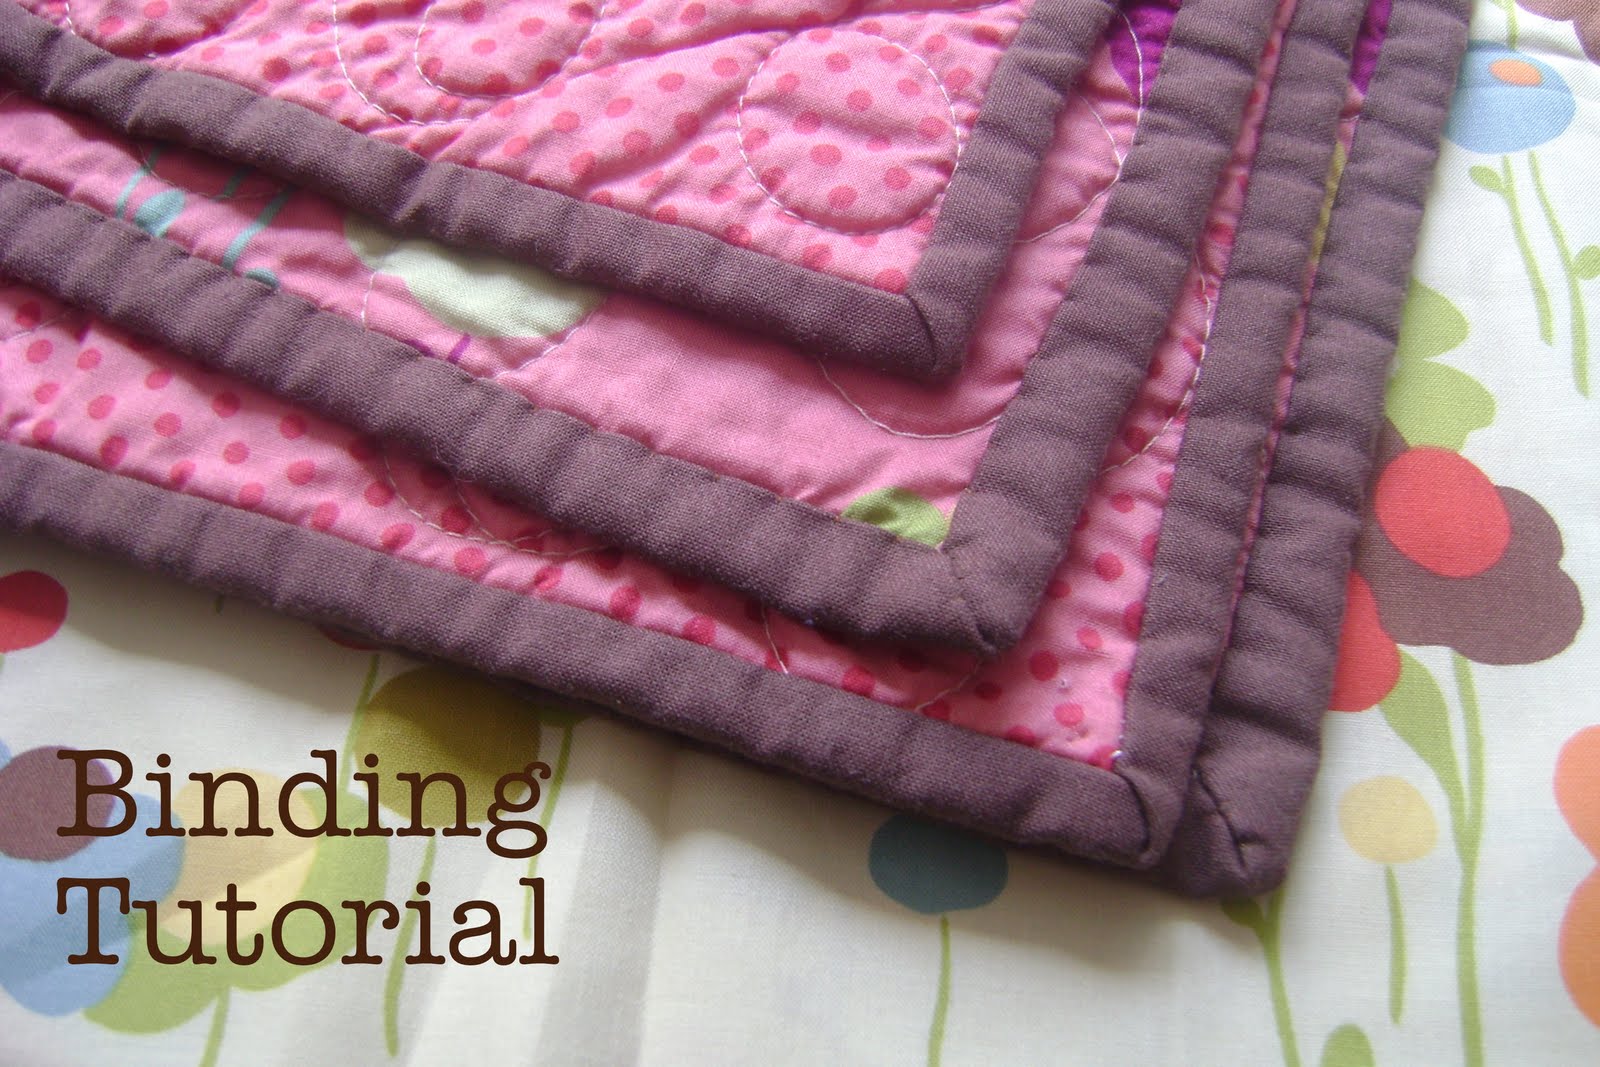
Now you can begin to see what a pretty, crisp edge a double binding makes.
 The corners on the back should automatically miter - looking like this.
 Now it is hand sewing time. Please don't get scared by this. It is so much easier and faster than you think - just put in a good movie, do some mindless sewing, and you're done in no time - especially on this little baby quilt. This is another reason I pin (or clip) all at once before I start sewing. Makes the work so much faster.
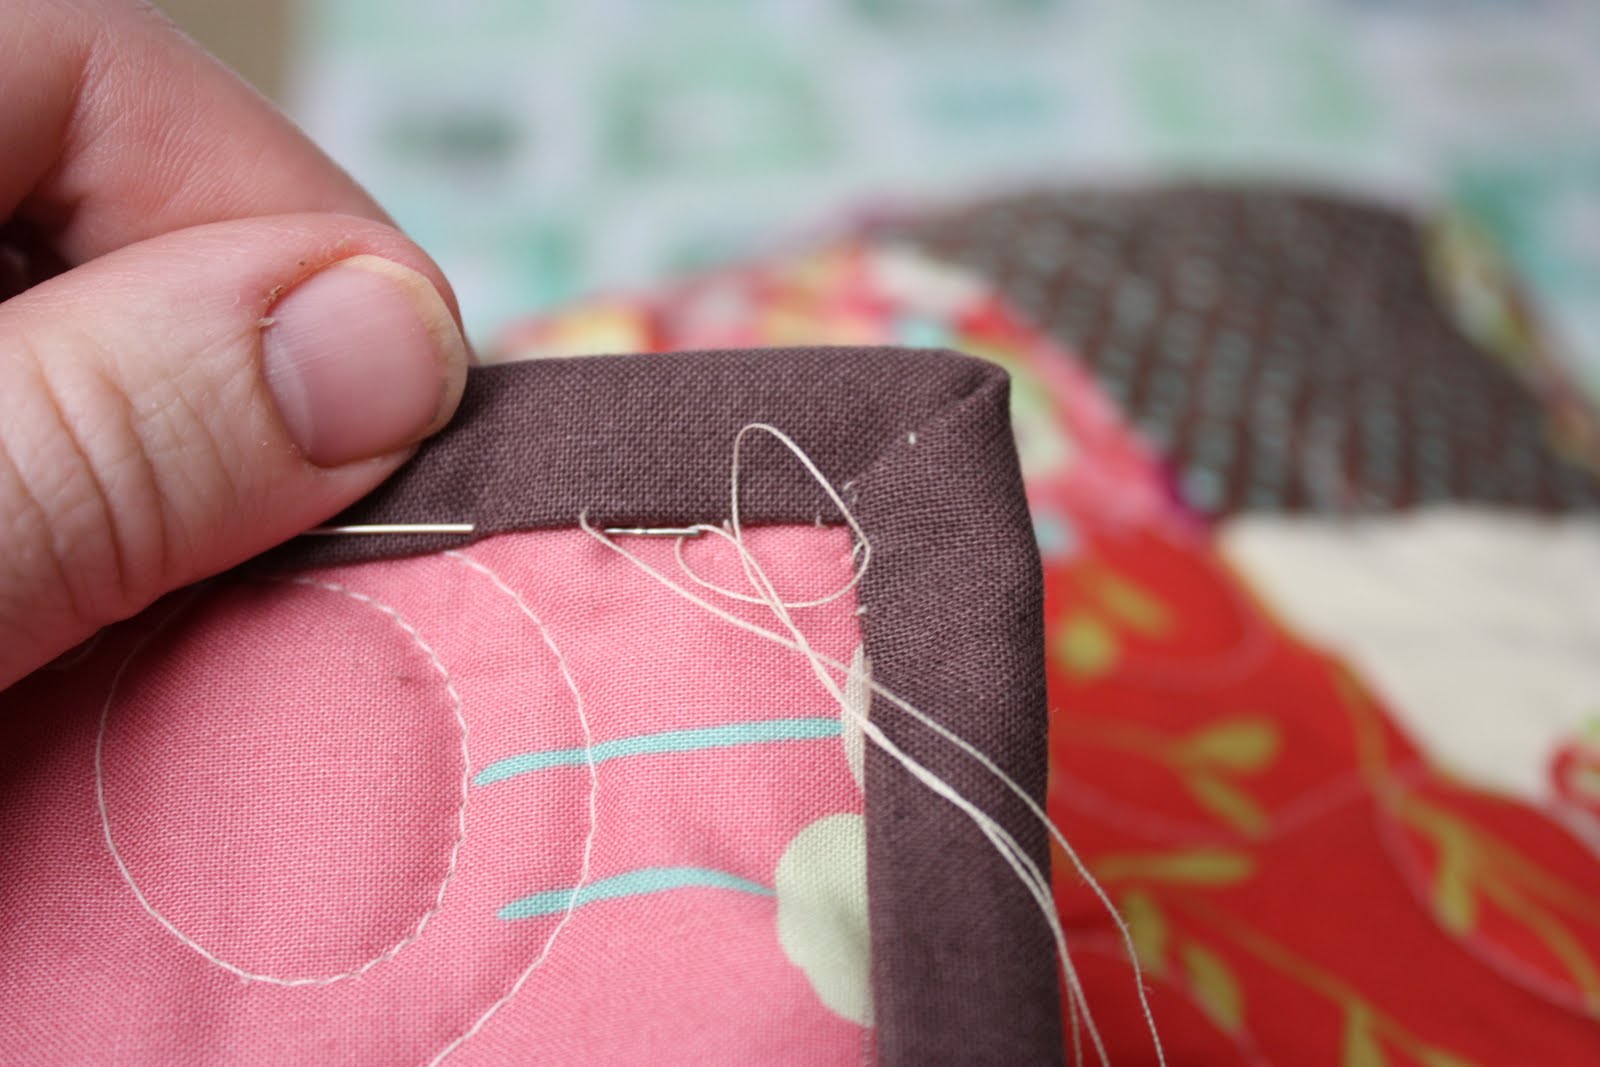
(For this part of the demonstration I used white thread so you could see what's happening. When I bound the quilt for real, I used brown thread to hide my stitches.)
Tie a knot at one end of your thread and pull through the backing fabric, under your folded-down binding, then bring the needle through the very bottom edge of the bias strip and tack it down on the backing fabric, right underneath where the needle came through. Then slide the needle through the backing fabric, behind the binding strip bringing the needle out the bottom edge again. This creates a blind stitch. Repeat!
 Continue the blind stitch catching down the mitered corner as well.

 This is how it will look using matching thread.
Now lets talk about bias binding.
 Bias binding is made from 2 ½" strips cut on a 45 degree angle. There are lots of tutorials for cutting bias binding like here and here.
Technically, bias binding is a more durable binding because the grain of the fabric is running diagonally in stead of parallel to the edge of the quilt. (Don't worry if it doesn't make sense, just trust me on this one.) It also has more stretch - good for scalloped or rounded borders. (But for this reason, a bias binding does much better with a walking foot.)
It also looks nice with strips and checks.
 Bias cut strips will have edges with a 45 degree angle.
 To sew right sides together, pin ends like this, leaving little ¼" tips hanging off the ends.
 Sew with a good old ¼" seam allowance.
 Press seam open.
 And fold in half, creating the long binding strip.
Once the bias strip is pieced, use the same method as above to sew the binding to the quilt.
 And there you go.
Once my binding is completed I love to wash my quilt to give it that puckery, antiqued look. (Plus, machine quilting can make your quilt kind of stiff, until it is washed. And what person wants to wrap a baby in a stiff quilt?) I tend to not pre-wash my fabric (and if you are using a charm pack, definitely don't pre-wash that or you will get a bunch of shriveled, unraveled squares.) With most higher-end quilting fabric the quality is good enough that you don't need to pre-wash ahead of time. I do throw in a Shout Color-catcher sheet when I wash the finished quilt, just in case. (you can get those in your grocery store laundry aisle.)
If you are using fabric from the bigger chain stores, you probably should pre-wash.
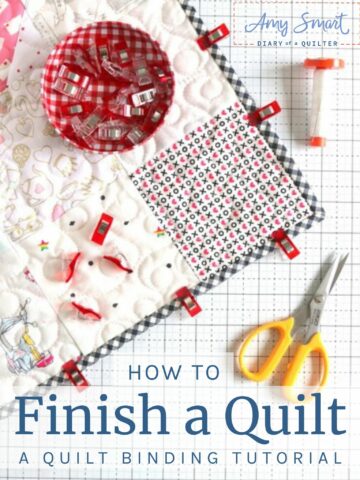
 And voila! Here is the finished Charm-square baby quilt!
Hopefully binding a quilt was not too painful, and more hopefully it was a lot of fun and you can feel really proud of yourself!
Please don't hesitate to leave feedback - especially if you have more questions or there are parts of this binding a quilt tutorial that need clarification.


Kim
Thanks! I am just about to start binding my biggest quilt yet, a queen! I am curious how far apart your stitches are on the back side, they look like they are at least 1/4" or so apart? I have always made them closer but I am very happy to see that I don't have to make them so close. Then it might only take me two weeks instead of three! : )
littlecumulus
Yay yay yay! Such a great tutorial...and perfect, because I am about to start binding a quilt, too. 🙂 Thank you!
The Quilt Buddy
Wow! Great tutorial! You definately put alot of work into it!<br /><br />Thanks for sharing!
luvinthemommyhood
Yay! Thanks for this great tutorial! I am at this point on my first quilt and find myself sitting here going - "hmmmmmm" and then voila, there was your post! Wonderful 🙂
Nedra
Good job on the tutorial. I just findished binding two quilts in the last few days, and I always do mine on the bias.
Amy - Park City Girl
Love the finished quilt!! I have a charm pack and can't decide what to do!
Kate/Massachusetts
Great tutorial! Thank you!<br /><br />Did you know that if you cut the corners off of a piece of fabric, it won't "ravel" when you wash it? You don't have to cut very much of the corner - just a tiny bit. Nipping off all four corners seems to interfer with the weave of the fabric and stops the fray. When I learned to quilt way back when dinosaurs roamed, my teacher was practically rabid about
Lisa @ Life with 4!
I will definitely need to refer back to this post often. The couple of quilts that i have finished, i've kinda just done my own binding. I'm sure it has not been correct but now I can learn from you how to do it right!<br />Thanks Amy!
Lisa @ Life with 4!
oh yea, i was also going to say that i love the red fabric with the little scissors on it. so cute!
Christianne
What should you do differently for sewing the beginning and endings of bias cut bingings?
Sherri
Great tutorial...they take so much time to do! I have a lot of quilts that need bias binding soon...so thanks for the tips!
Nanette Merrill and daughters
Ok I'm book marking this because I get calls all the time about people "forgetting" how to bind! So much easier to give a good link. Thanks Amy.
anne
Thanks for this really great tutorial. I'm about halfway done with the binding on my first ever (baby) quilt!
Laurie, the girls and Scott
Amy, you are a genius. This finally makes sense to me. Please come and visit and see the NEXT bindings I do, just don't look carefully at the ones I'v already done.
dotti white
Great job illustrating a sometimes tedious job!
Treasuresofjoy
I AM going to try this right now!!<br />It makes sense to me!<br />Thanks, Renee
HOUNDDOG's NEWS
Thanks so much for your tute seeing it done and reading as you go really helped. I know I can do it now.<br />Darlene
The Alford's Corner
I am leaving this comment hopefully not to late to get a response. I have my first quilt completed and don't want to pay to take a class to learn how to bind it so I can FINALLY sleep under it. With that said I think I have everything but was wondering if you could show me a few more photos of the blind stitch? Thanks for taking the time to do this quick how to session!<br /><br />Also
countrycosy
Thanks a million: I always had problems with the corners (even though helping friends tried to explain it to me). Now that I've seen it, it will be easy to do. Thank you so much.
searchfamilies
Thanks for this, i say i hate the binding it more i just struggle so much i did hand sew down the binding last night on a table runner first one & while not great it will improve with practice i do the machine part same as you shown thanks again i now know where i can come to check it out for reference if i need to<br />Hugs Janice
Natalia
This is another great tutorial with awesome pictures! I'm also going to featured this tutorial over @ http://www.sewwhattoday.blogspot.com
RaisinCookies
Thank you for the tutorial! I managed to bind two table runners that I made for Mother's Day (mom and MIL) well before the deadline! I'm really, really happy.
Mary
Just found your site (via V and Co) and this is by far, hands down, the very best binding tutorial I have seen yet! I'm a beginner and this makes it all make sense! Great pictures and explanations..... thank you thank you thank you! Going to print it off now....
~Amy~
This is by far the best binding tutorial for a quilt! I just made my first quilt for my little girl. I almost gave up at the binding stage and then I found this post!<br /><br />Thank you! Thank you! Thank you!
Liz @ LivingMySweetLife
I am leaving for the quilt store in a few minutes so I can make this quilt for a friends baby shower. THANK YOU for the awesome tutorial, I will most definitely be using it! This is my first real quilt, with the binding done right and everything!
Pam Ponder
I am so glad I found your blog today!!! I have always had trouble with binding a quilt thanks for the great tutorial...I just subscribed and followed you
Jenny! {www.alongthelei.blogspot.com}
I found your blog because the fickle pickle referred you after using your tutorials to make her quilt. She did a great job! And I see your tutorials are awesome!! I HOPE to get another quilt under my belt soon and when I do I will definitely refer to your page for help!
Angie and J.D.
Great tutorial!! I've always been intimadated by binding. I've always had some one else do it! But it seems so easy 🙂 I'm headed to finish off my table runner.
pinksuedeshoe
Sigh, I REALLY should have reread this before I bound four quilts yesterday. Like REALLY should have reread. Ah well, I'm OK with slightly rounded corners. Well, mostly OK with it. OK enough to not change them. 🙂
Jessie
I just found your tutorial via pinksuedeshoe today, and all I can say is thank you!! I just had my first quilt professionally quilted, and I really, really didn't want to mess up the binding. Now I'm feeling more confident that I won't. 🙂 Also, I'm glad that you say I can do the binding either straight or on the bias. So very, very helpful. Thanks. 🙂
Blossom
Wow - awesome tutorial! All my quilting questions answered!! You are a rock star!
marine13
Thank you very-very much for your blog!!!!! So many useful and inspiring things! I always thought that quilting is difficult, but you made me change my mind! ))) Спасибо!!!!
Amy Kirchhoff
Thank you so much for this tutorial! I just finished my first quilt using it. I have arrived! :P<br />https://www.amytriedit.com/2012/01/new-wave-quilt.html
LetMeRead
Thanks so much for this tutorial. I'm linking it to my blog. http://www.howtobeamollymormon.blogspot.com
Sandra (Cherry Heart)
Thank you so much for this tutorial. I just used it today for the first time and it worked a treat. I got a bit scared at the cutting the ends of the strip while it was on the quilt and sewing it together to create a binding with no ends, but I did exactly what you said and it worked wonderfully well. Thank you, thank you!!!<br /><br />S x
beinspireddaily
This helped me visualize the right way to do this. Worked like a charm. Thank you thank you!
devotedtoquilting
I sometimes leave pins in also. It drives most quilters I know nuts, but I first learned to sew clothing and that's what I learned to do. At the corners, I go so slow and careful, that the pins aren't an issue. 🙂 Thanks for the tut, I'll be linking to it on my blog next week. Quilted blessings, Nita
Mindy
I just have to tell you I come back to this post over and over. Thank you so much for the great tutorial! You have saved me hours of stress!
vikki
I had never bound a quilt the "right" way before and your tutorial was so easy to follow. I am now working on binding my second quilt. Thanks so much for helping me through this.
Granny's Button Box
Hi, you are a brilliant, I have been fighting on with joining the binding by laying the fabric ends at right angles to each other and sewing a line diagonally across which is a bit tricky and always seems to pucker the binding when I sew it on the quilt, your method of just ironing a straight line where the end fold joins is fab, much easier and a lot less fuss, thanks, Cheers Sharon
sandy
Thanks for this great tutorial. I am not ready to bind my quilt yet, but have a good idea of how to do it now. I am sure I will refer back to this blog often. Thanks again of taking the time to do the tut.
Meredith
Thank you so much for the tutorial. I have finished my quilt front and thought 'what now' I have not seen a tutorial as detailed and easy to follow as this one. I cannot tell you how many times I read 'then miter the corners' -huh?? I very much appreciate it, and I am sure countless others have benefited from the fruits of your labor! Thank you again, <br />Mere
Linda
I just finished my second quilt, and this time I followed your binding tutorial. I am so pleased with the result! For my first quilt I used another quilter's method, and although the instructions were great, and I liked the way the completed binding looked, there were a couple of things I wanted to change. So I tried your tutorial, and I am 100% happy with it! I'm not comparing or
amy smart
Thanks for the love, friends! I'm glad this tutorial has been so helpful!
Paula
After reading this maybe I won't fear binding so much!! Can't wait to give it a try!
Foy Update
I followed your Charm Pack Baby Quilt tutorial. It's taken me a month to put it all together by hand; mostly working in the evenings after the kid is asleep. I just pinned the binding on and will start sewing that tonight!<br /><br />I recently had a dream I put it in the washer and all the stitches dissolved! Really I think it was my mental note to buy a Tide color catcher that played
Doe
I am a new quilter. I've made two table runners and just finished my first baby quilt. All three projects have resulted in the same problem. When I am finished I wash my project and the quilt/project pulls away from my binding. I have to cut off my binding and start again. I am "machine" stitching the binding. I sew it onto the back of the quilt and turn it to the front and stitch as close to the edge of the binding as I can. Should I NOT wash it? Should I wash it before I put on the binding? HELP! Thank you in advance for your advice.
Amy Smart
Hmmm.. When you say pulling away - are the stitches coming undone? I'm having a hard time visualizing. If you have a picture, email it to me amy@diaryofaquitler.com. It might give me a better idea of what is happening.
Kelsey
Hi! When hand sewing the back- do you sew the entire back by hand?
Amy
I do, but that's because I like the process and the finished look. There are tutorials for machine sewing the binding down, if you need to finish something faster. Here's one:
https://cluckclucksew.com/2013/01/machine-binding-tutorial.html
Lori
I’m first time quilter. I’m making a T-shirt quilt. Do I have to put border and binging?
Amy
I'll be honest - I've never made a t-shirt quilt, so I'm not a lot of help. I think there are lots of ways to make one. You don't have to put a border on any quilt - that's just a design choice. And there are multiple ways to bind a quilt too. Here's a good way without having to put on an additional binding: https://thesewingloftblog.com/make-tshirt-quilt/
Hope that helps!
Bev
Thank you for the best tutorial on binding a quite. It is the most helpful one I have found. Saved me so much time. Thank you so much
Katie
This tutorial is so thorough. I return to it every time I have to bind a quilt. Great photos. Thanks for taking so many.
Amy
You're welcome! I'm so glad it's been helpful.