• Skip to primary navigation
  • Skip to main content
  • Skip to primary sidebar
Diary of a Quilter - a quilt blog
  • Home
  • Tips + Tutorials
  • Shop
  • FAQ
  • Subscribe
menu icon
go to homepage
  • Home
  • Tips + Tutorials
  • Shop
  • FAQ
  • Subscribe
    • Amazon
    • Facebook
    • Instagram
    • Pinterest
  • subscribe
    search icon
    Homepage link
    • Home
    • Tips + Tutorials
    • Shop
    • FAQ
    • Subscribe
    • Amazon
    • Facebook
    • Instagram
    • Pinterest
  • ×

    Sew and Flip Corners - Tips and Shortcuts

    Last Modified: September 29, 2022 by Amy · This post may contain affiliate links · This blog generates income via ads · 2 Comments

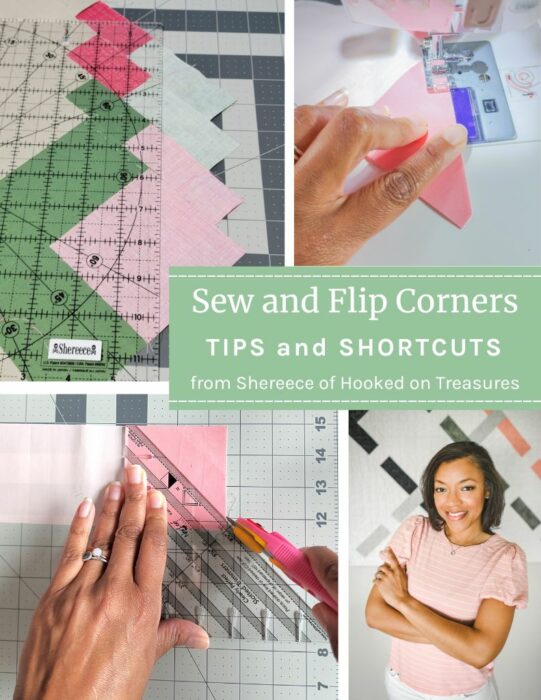
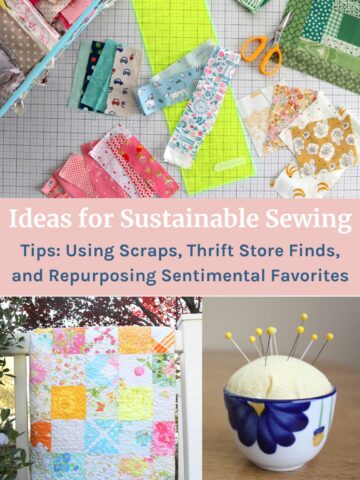
    Sew and Flip triangle corners (also called Stitch and Flip Corners) are a quit-block-making staple and frequently used in lots of popular quilt patterns. Shereece of Sew Hooked on Treasures is sharing tips and an awesome trimming shortcut to help you streamline your sew and flip corner making process.

    Sew and Flip Corners Tutorial

    Hello fibre friends! 

    I’m Shereece Nicole of Sew Hooked on Treasures (the spot for quilty gems to help you maximize your sewing time). I’m grateful to Amy for giving me the opportunity to share a new free quilt pattern with all of you - the Wonderline quilt. It’s a beginner-friendly, quick throw quilt that’s great for a weekend, retreat or last minute gift project.

    Free Quilt Pattern From Shereece

    Since this pattern uses the Sew and Flip (also called Stitch and Flip) technique, I thought I’d walk you through the two ways to do so. You’ll also be able to use this when making flying geese, snowball or hatchet quilt blocks. It’s a technique utilized to keep your bias sewing from getting wonky or to “round out” the corner of a square. 

    Ready? Here we go!

    Sew and Flip Option 1: Line Guide

    1. Draw a diagonal line from corner to corner on the wrong side of the smaller square.

    2. Line up the smaller square on top of the larger fabric piece with right sides together. Sew along the drawn line.

    3. To trim, place the quarter inch line of your ruler along the sewn line. Cut to remove the extra fabric. Press seam according to your preference (pressing open reduces bulk). That’s it!

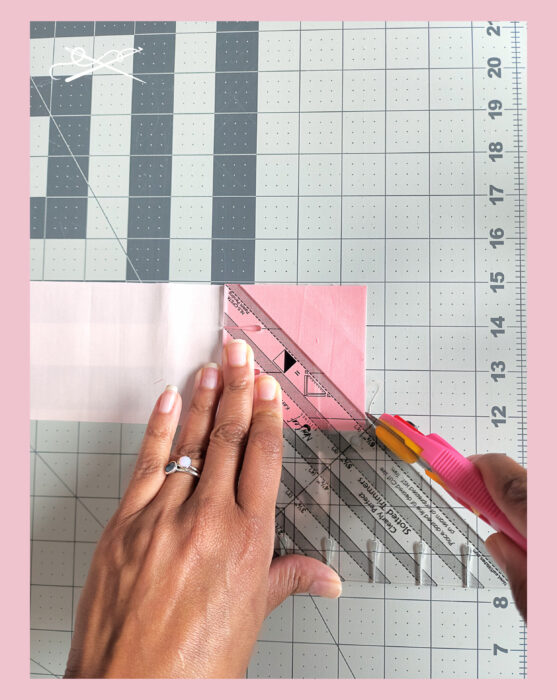
    Time Saving Tip: Trim multiple blocks at once.

    1. Place your first block on your cutting mat with the sewn line on top of a line on your cutting mat.

    2. Place the next block on top approximately 1″ below the previous block. Match the top of the sewn line with the first block and the bottom with the line on your cutting mat. Continue to add as many blocks as the length of your ruler will allow.

    3. Line up ¼" line on ruler on top of the layer of drawn lines. Trim all waste ¼" away from drawn line.

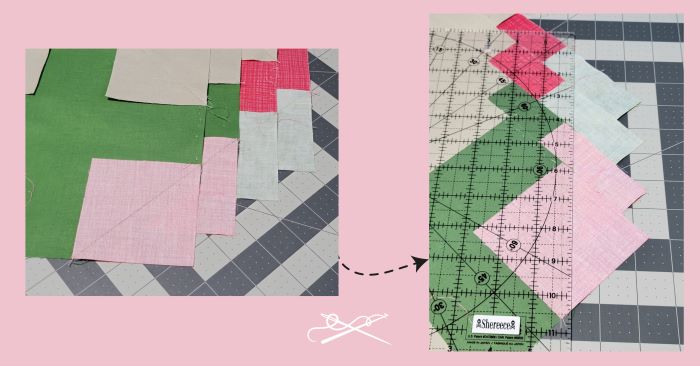
    Sew and Flip Option 2: Cut First

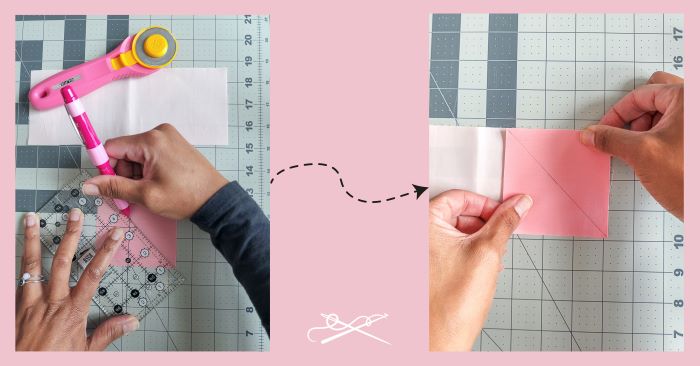
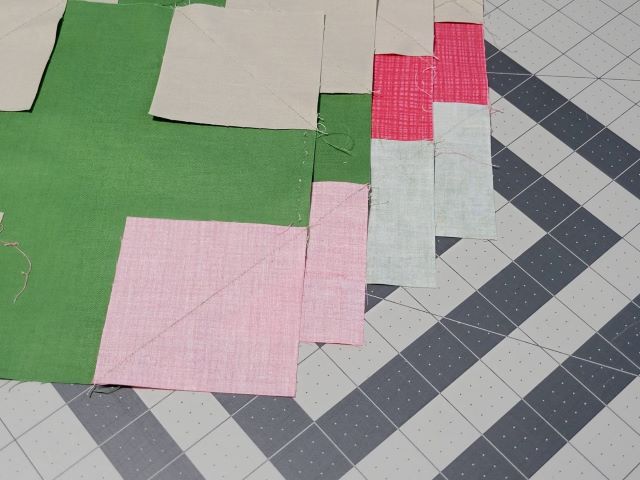
    1. Align smaller fabric square on top of the other square or rectangle with right sides together. 

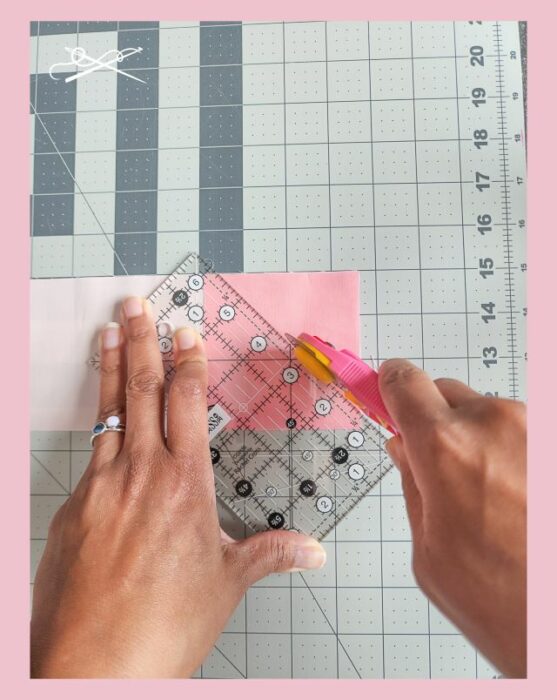
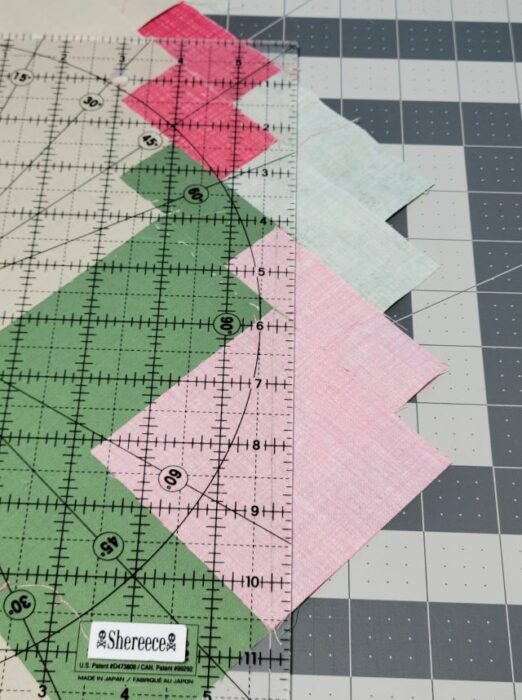
    2. Using a half square triangle ruler (like this one or this one), line up the left side of the ruler with the left edge of the smaller fabric piece and the dog ear corner with the top. Trim the extra fabric.


    3. Sew from corner to corner. The edge of the fabric will follow the ¼” guide.

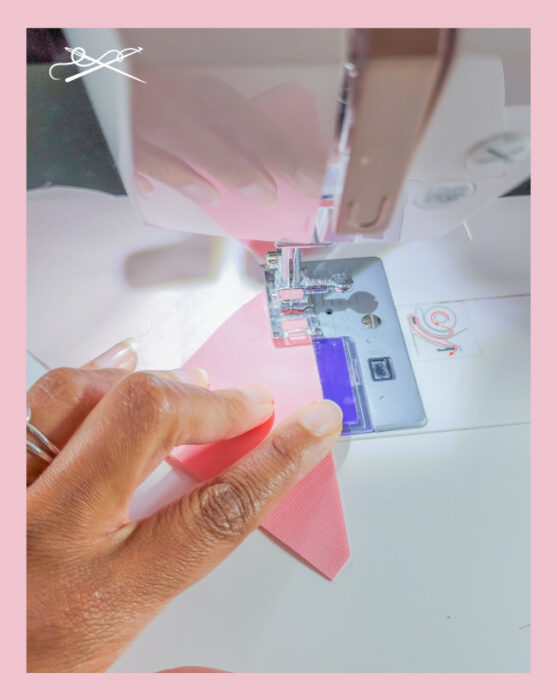
    4. Press to the side or open, according to your preference.

    Free Quilt Pattern From Shereece

    I hope you’ve found this tutorial helpful! Don’t forget to get your FREE Wonderline pattern today.

    Please swing by my neck of the internet to my website, Sew Hooked on Treasures or on Instagram for other patterns and creative inspiration. You can also find my Pattern Shop here.

    Stitch on me hearties! ♥ ~Shereece

    Thanks so much for the handy tips, Shereece!

    Sew and Flip Corners Tips and Shortcuts


    More Tips and Tricks

    • The ultimate quilting calculator and planning app
      How to Calculate Backing with Quilt Geek, the Quilting Calculator App
    • Ideas for using scraps, Repurpose and Reuse sewing notions
      How to Reuse and Repurpose as a Quilter: Tips for Sustainable Sewing
    • Modern Quilt Patters using Ombre color palettes with Amber Elliot
      Book: Quilts in Modern Color, Creating Ombre Palettes
    • 7 Tips and Tools for Piecing Accurate Quilt Blocks
      7 Tips and Tools for Accurate Quilt Block Piecing

    Reader Interactions

    Comments

    1. Peg

      September 30, 2022 at 8:21 am

      OOOOO that looks like fun!! Thanks

      Reply
    2. Rhonda Gagne

      October 01, 2022 at 9:54 pm

      As always, thank you for sharing your knowledge.

      Reply

    Leave a Reply Cancel reply

    Your email address will not be published. Required fields are marked *

    Primary Sidebar

    My name is Amy Smart and I'm a quilter, pattern and fabric designer, wife & mom. Excited to have you here!

    more about me →

    THE PERFECT PLACE TO START

    I SEW WITH

    Baby Lock Sewing Machines

    MY FABRIC COLLECTIONS

    Fabric Collections by Amy Smart for Riley Blake Designs.

    FAVORITE FABRIC SHOPS

    COME SEW WITH ME CRAFTSY CLASS

    Pre-cuts Shortcuts Video Craftsy Class with Amy Smartma

    SEARCH

    Archives

    The Perfect Place To Start

    How to make a Manx Quilt Block
    Top 15 Favorite Free Baby Quilt Tutorials from Diary of a Quilter

    Ideas for Charitable Sewing

    Ideas for Charitable Sewing

    Gift-Guide-for-Quilters

    Gifts for Quilters and sewing lovers

    Proud Ambassador for

    Baby Lock Sewing Machines Ambassador

    Check Out My

    Amy Smart Pattern Shop photo Pattern Shop blog tag.jpg Amy Smart sewing tutorials photo Tutorials blog tag.jpg

    Footer

    ↑ back to top

    PRIVACY POLICY

    DISCLAIMER

    TERMS & CONDITIONS

    ACCESSIBILITY POLICY

    NEWSLETTER

    SIGN UP for weekly emails including: links to free tutorials, and new projects!

    CONTACT

    FAQ

    This site uses affiliate links:

    I make a small commission on some purchases with no additional cost to the reader.

    As an Amazon Influencer, I earn from qualifying purchases.

    Copyright © 2025 Diary of a Quilter - a quilt blog