
If you’re brand new to sewing or just got your first sewing machine, congratulations! Sewing is a wonderful hobby that can open up a whole world of creative possibilities from garments (clothing), to quilts or bags, and other sewing projects. Here are some of the the first steps you should take get started when you get started with new sewing machine.
These tips apply to sewing machines coming right out of the box or acquired second hand. If you've got a used or hand-me-down machine, congratulations! That's just as exciting! Sewing machines can last for decades if properly cleaned and maintained and many older models hold up really well.
Tip: First Steps With a New Sewing Machine
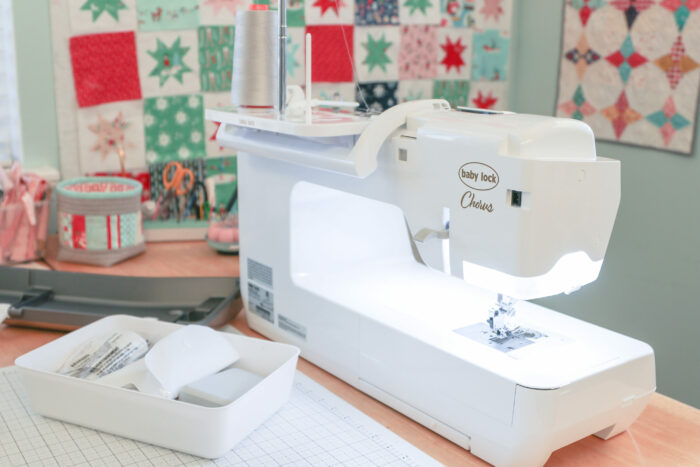
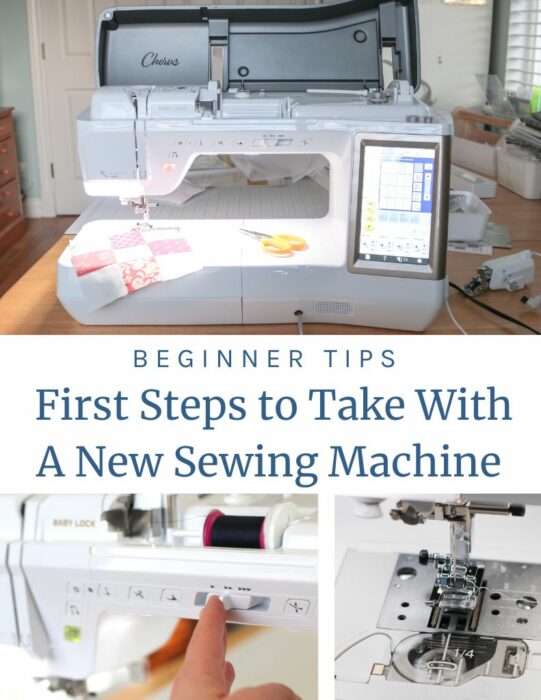
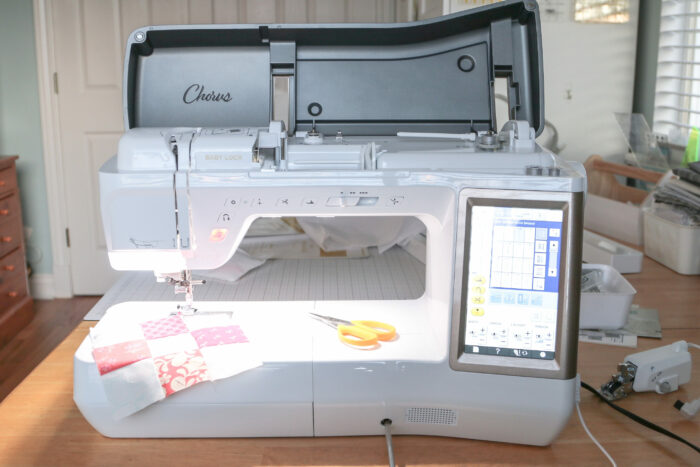
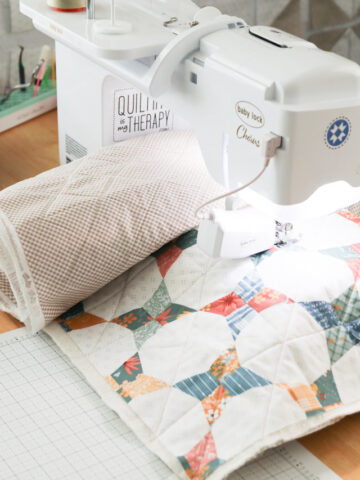
This week I unboxed a new-to-me sewing machine: the Baby Lock Chorus quilting and sewing machine on loan from Baby Lock. I've had so much fun opening up a new machine and thought I'd share a few tips for anyone else opening up their first sewing machine as well!
Tips for getting started with a new sewing machine
1. Find and read the manual
Before you start sewing, you need to understand how to use your machine. I know it sounds boring, but read the sewing machine's manual carefully so you know how to thread the machine, select stitches, and make adjustments. There may even be some kind of Quick Reference Guide or Simple Set page to refer to first.
Chances are your machine will be able to do so many more things that you know! The manual will be a great resource and guide for learning all of the functions of your new sewing machine.
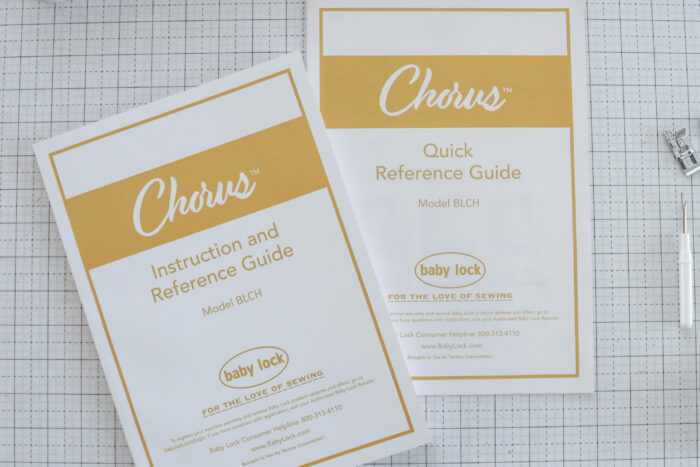
If you bought or inherited a previously-used machine and it didn't come with the original manual, do not fret! Many sewing machine manuals can be found online in printed or digital formats. Here is one resource to try. Or Google your sewing machine maker (brand) and model to find lots of sources of a copy of the original manual.
One step better: take a class! Check with your local sewing machine dealer for classes available. Many times free classes and training are included with the purchase of a new machine. Take advantage of this resource! You will get so much more out of your experience with your sewing machine.
Also, check out the online classes that are available from your sewing machine maker. For example, Baby Lock offers a Sew Ed membership with access to 100's of hours of classes for their machines.
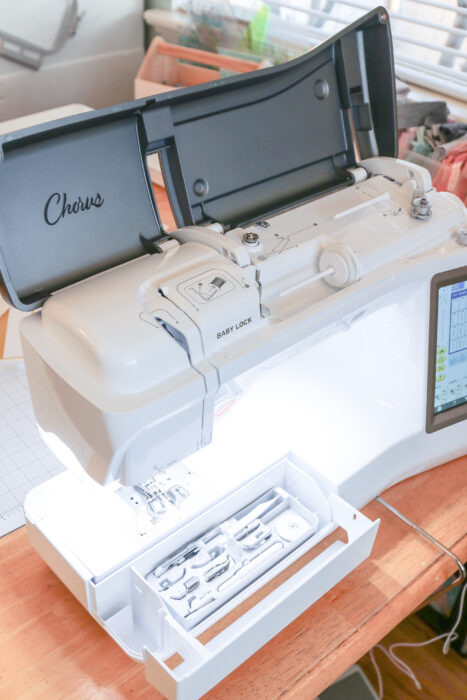
2. Review all of the accessories and attachment pieces
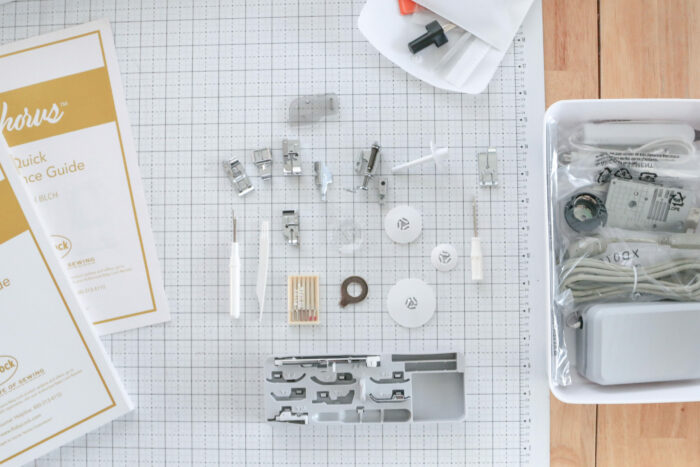
This will often include a variety of presser feet, cleaning brushes, screwdrivers, empty bobbins, thread/spool covers and removeable sewing machine parts as well as the foot pedal and power cord.
You can find a list of all parts and accessories in your manual with notations about their purpose and page numbers with information about how to use them.
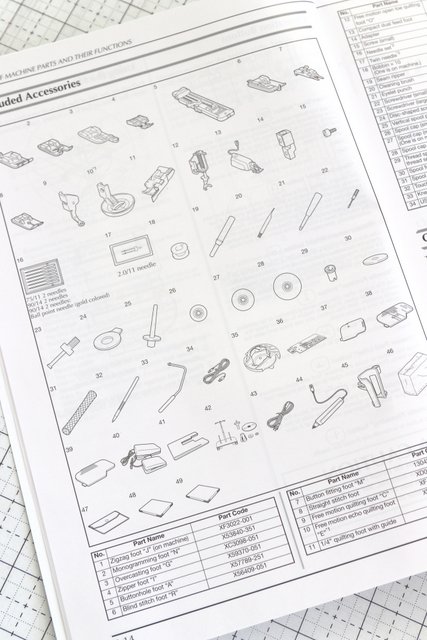
If your machine has more bells and whistles, it will probably come with more accessories. But depending on your project, you don't necessarily need lots of accessories to get the job done.
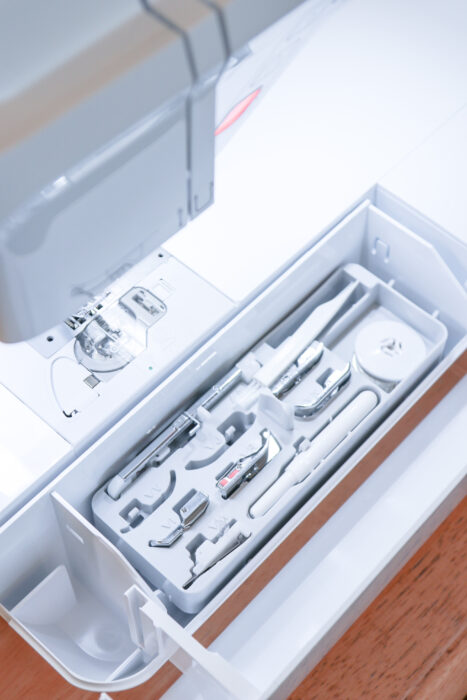
After inventorying the accessories, created a designated place to keep track of them and keep them organized. This particular machine comes with a handy compartment to store the variety of presser foot options. I also keep extra bobbins, cleaning tools and a seam ripper handy in this compartment.
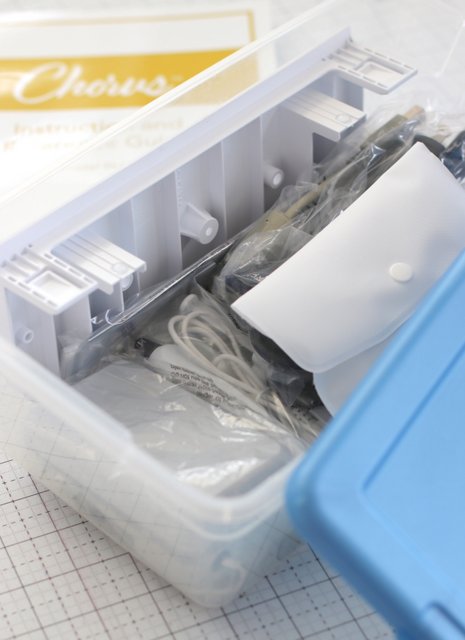
If your machine doesn't come with a built in storage compartment get a simple plastic tub with a lid where you keep all of the accessories together in one place. Also store your manual in a handy spot nearby so you can find and access it easily.
I recommend you put everything in one spot right away so that you find everything whenever you need them or if you ever want to trade-in and upgrade your machine.
3. Wind the bobbin
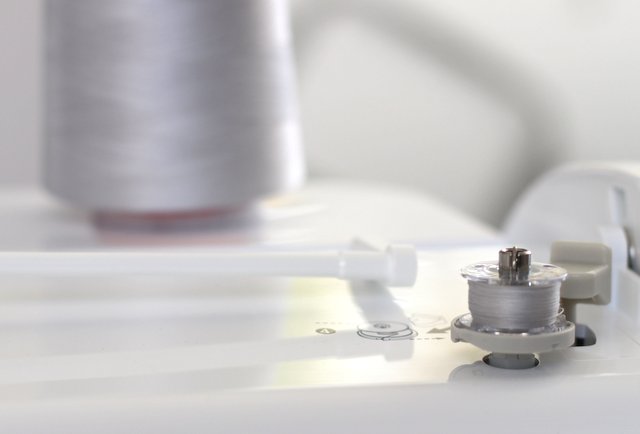
Wind the bobbin according to the instructions in the manual. This is essential for sewing, as the bobbin provides the thread for the underside of the fabric. The bobbin winder is typically found on the top of the machine. You may even want to wind multiple bobbins at once so that you always have a fresh one ready to swap
4. Thread the machine
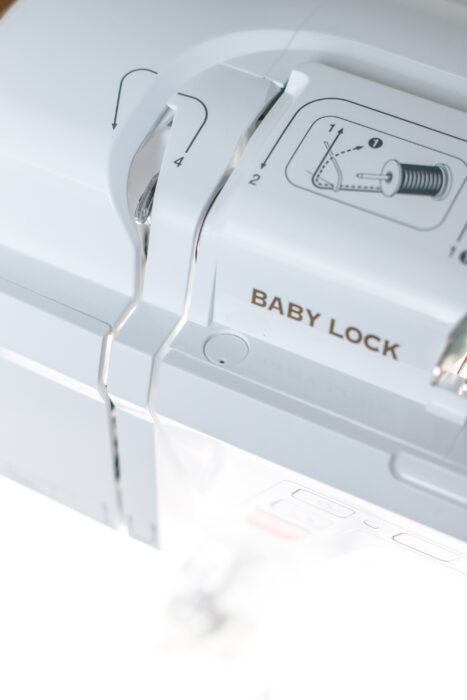
Threading the machine is more than just putting thread in a needle. Guiding the thread from the spool to the needle requires attention to detail. Use the instructions in the manual to show you the direction of the top thread over different knobs and levers. Often there will be a thread guide diagram on the machine as a reference to help remind you of the thread path.
How you thread a machine makes an important difference in how well the machine will sew a perfect straight stitch. Make sure the spool of thread is properly tensioned and securely in place before you put the thread through the eye of the needle.
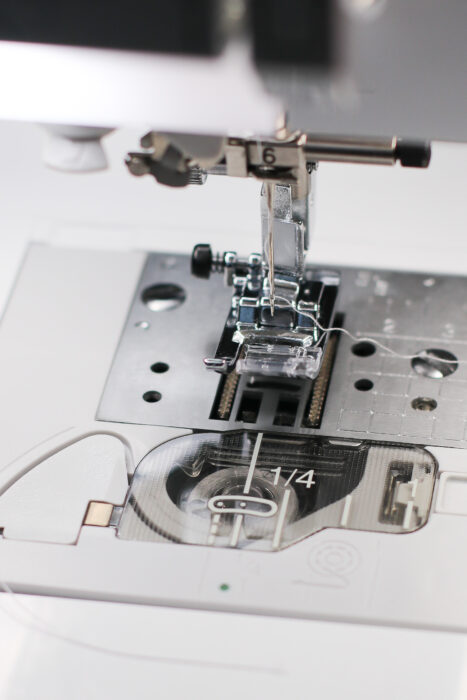
Place the wound bobbin in the bobbin case and follow machine instructions to bring up the lower thread. This machine has a drop-in bobbin right under the stitch plate. Other machines may have a door in the bottom front of the machine.
Both top and bobbin threads will need to be in place at above the needle plate to sew a seam. If you have any kind of thread loops when you sew a seam, something is wrong with the thread tension and you'll need to check your manual to learn how to adjust it.
5. Practice!
Once you have your machine threaded and the bobbin wound, it’s time to practice sewing a basic stitch. (Don't forget to find the power switch and turn the machine on! The power switch is typically found on the side of the machine.)
Start slow.
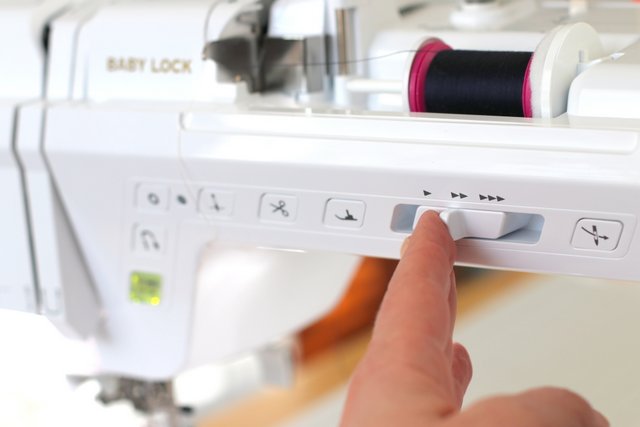
Some machines will have speed control settings. Or you may control the speed by simply pressing lightly on the foot pedal. It's okay to take things at your own pace. If you're feeling intimidated, practice sewing on lined paper or fabric scraps just to get the feel for the speed of your machine and how it works to smoothly guide the fabric through the machine.
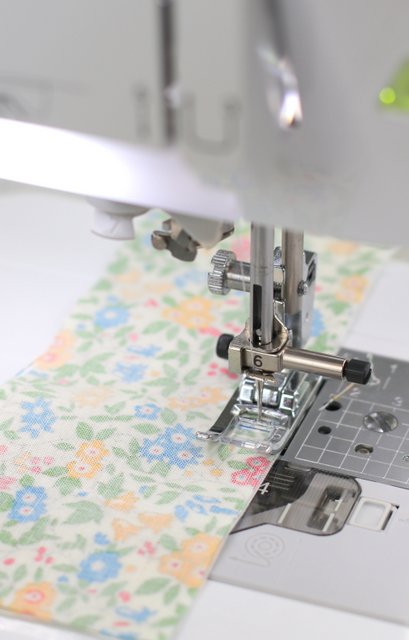
Then choose a simple project and practice sewing straight lines and curves. I have a list of simple, beginner-friendly sewing projects here.
6. Maintenance
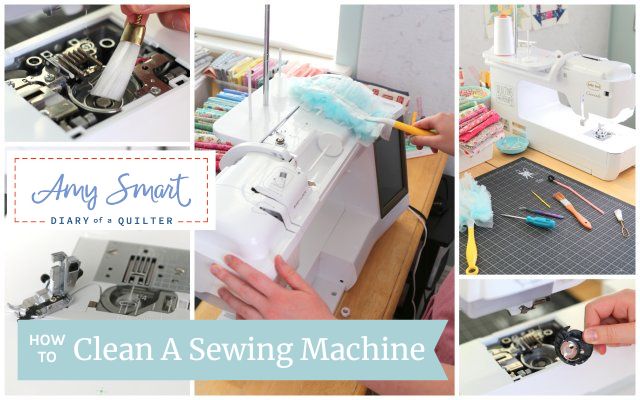
To keep your machine running smoothly, you should clean it regularly and oil if needed. Refer to your manual for instructions on how to do this for your specific machine. I also have a post here about How to Clean a Sewing Machine at home.
Regular maintenance and cleaning will help your machine These are the basic steps for getting started with your new sewing machine. With a little bit of practice, plus some time invested in learning about your specific machine, you’ll be sewing like a pro in no time!

This post is sponsored by Baby Lock Sewing Machines but all content, thoughts and opinions are my own. I have been a Baby Lock ambassador for seven years now and have loved every machine I've worked with.
If you're looking for recommendations for buying the right sewing machine for a beginner or ideas for upgrading your current machine, I've got a post here on how to choose the perfect sewing machine, for any level or budget.

Allison Reid
Thank you for these helpful tips and reminders. Even switching between different machines often leads me to get the manual out to remind me how to get the best from the machine. I've also found some (not all!) tutorials posted on YouTube by dealers and or owners can be helpful.
lizzerdblog
you might consider reversing 3 and 4 - thread the machine first so that you *can* wind a bobbon!
Leslie K.
Hi Amy, I have a Babylock Aria and absolutely love it (I also have 2 other lower-end Babylocks that don't have names)! When I went to the Babylock website, I didn't see the Aria listed under machines any longer. The Chorus looks a lot like the Aria....it does have more stitches and a few more bells. Do you know if they are phasing out the Aria and replacing it with the Chorus? Enjoy your new machine!
Linda Sapp
Amy, I have a Singer sewing machine that I bought in the '60's and took lessons. Learned how to sew and from there I made clothes for our two little girls. They got bigger and before I knew it, they were married and gone. I hadn't sewn in a long, long time and thought I'd love a new machine so my husband took me to a sewing dealer of Bernina and I wish I'd read your article before I bought my machine. I love having the bobbin up on the top so I can see how much thread is in it. Also, it's extremely easy to refill. I didn't look closely enough and ended up with a machine that has the bobbin down below and it's in an enclosed area plus the bobbin itself is enclosed so you can't tell how much you have left in it. And threading the machine is another thing. It's so involved plus I found out that they sold me one with a broken needle threader. Now I'm in my 80's and it's getting harder so see that tiny hole, but I manage. To make things even worse, my husband built me a gorgeous cabinet so I can put my machine down when I'm not using it and have a flat surface on the top. He's also built several other cabinets for fabric storage. However, I really have wished that I had not picked that Bernina. Mine was made in Switzerland but the new ones are now being built in Japan, I've heard. But I hope young ladies and gentlemen who are interested in purchasing a new or even an older model will take these two things into consideration before they buy one. I miss the bobbin on the top too much!!!
Mary Bishop
Hi Amy!
I just got my first new machine in 25 years! I picked the Baby Lock Soprano! I’m excited to learn how to use it. I take my first class in February. I appreciate all your tips on getting started.
Amy
Yay! I'm so excited for you. I think you're going to love it. It's amazing how far machines have come in the last few years.