

Today as part of the Virtual Quilting Bee we are going to assemble our quilt blocks into a finished quilt top wish sashing and borders, ready for quilting. It is so much fun to be this far along in the process!

For all of the previous tutorials for the blocks, etc in this series you can visit the Virtual Quilting Bee page.
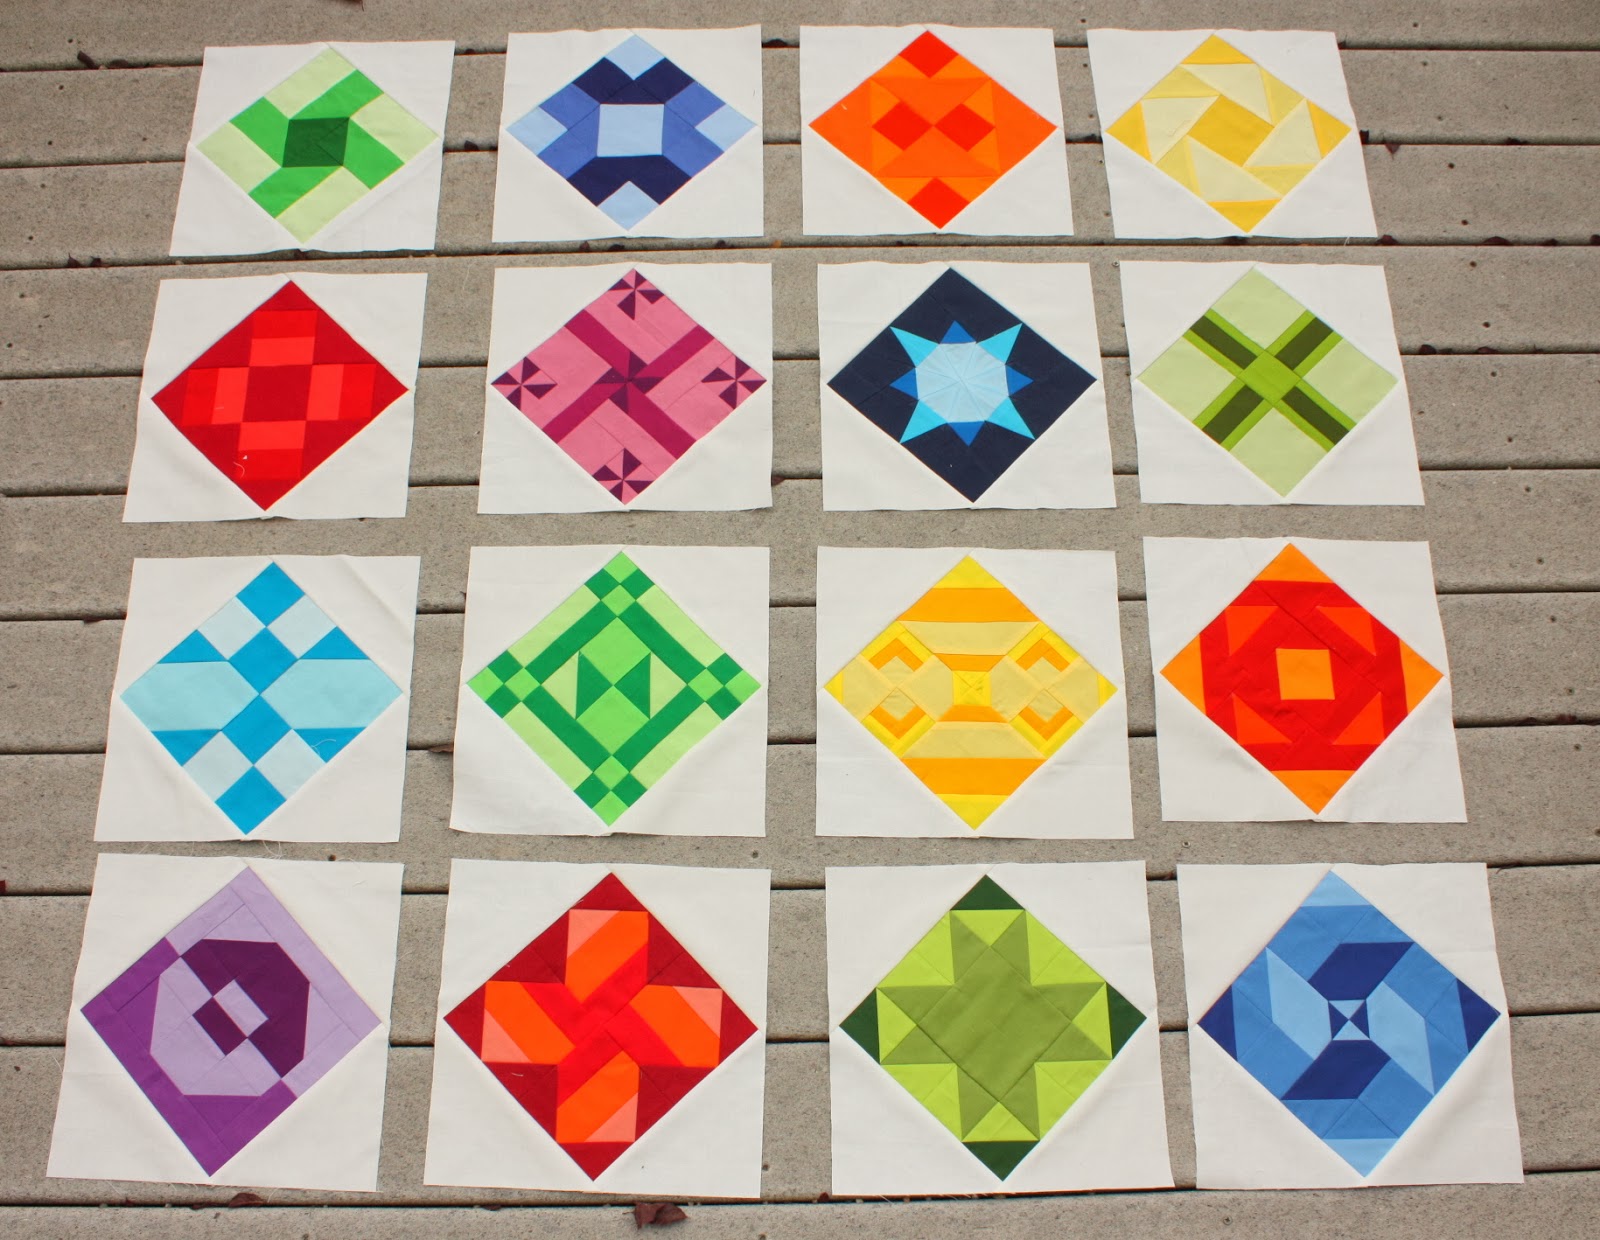
As you know, we've done two versions of each of the blocks. This is the Kona Solids version of the blocks. I added white (Kona Snow) corners to all of the solids blocks. See the finished sashing on this version at the end of the post.
But for now here are the directions for sashing and borders for the scrappy prints, Happy Go Lucky, version.
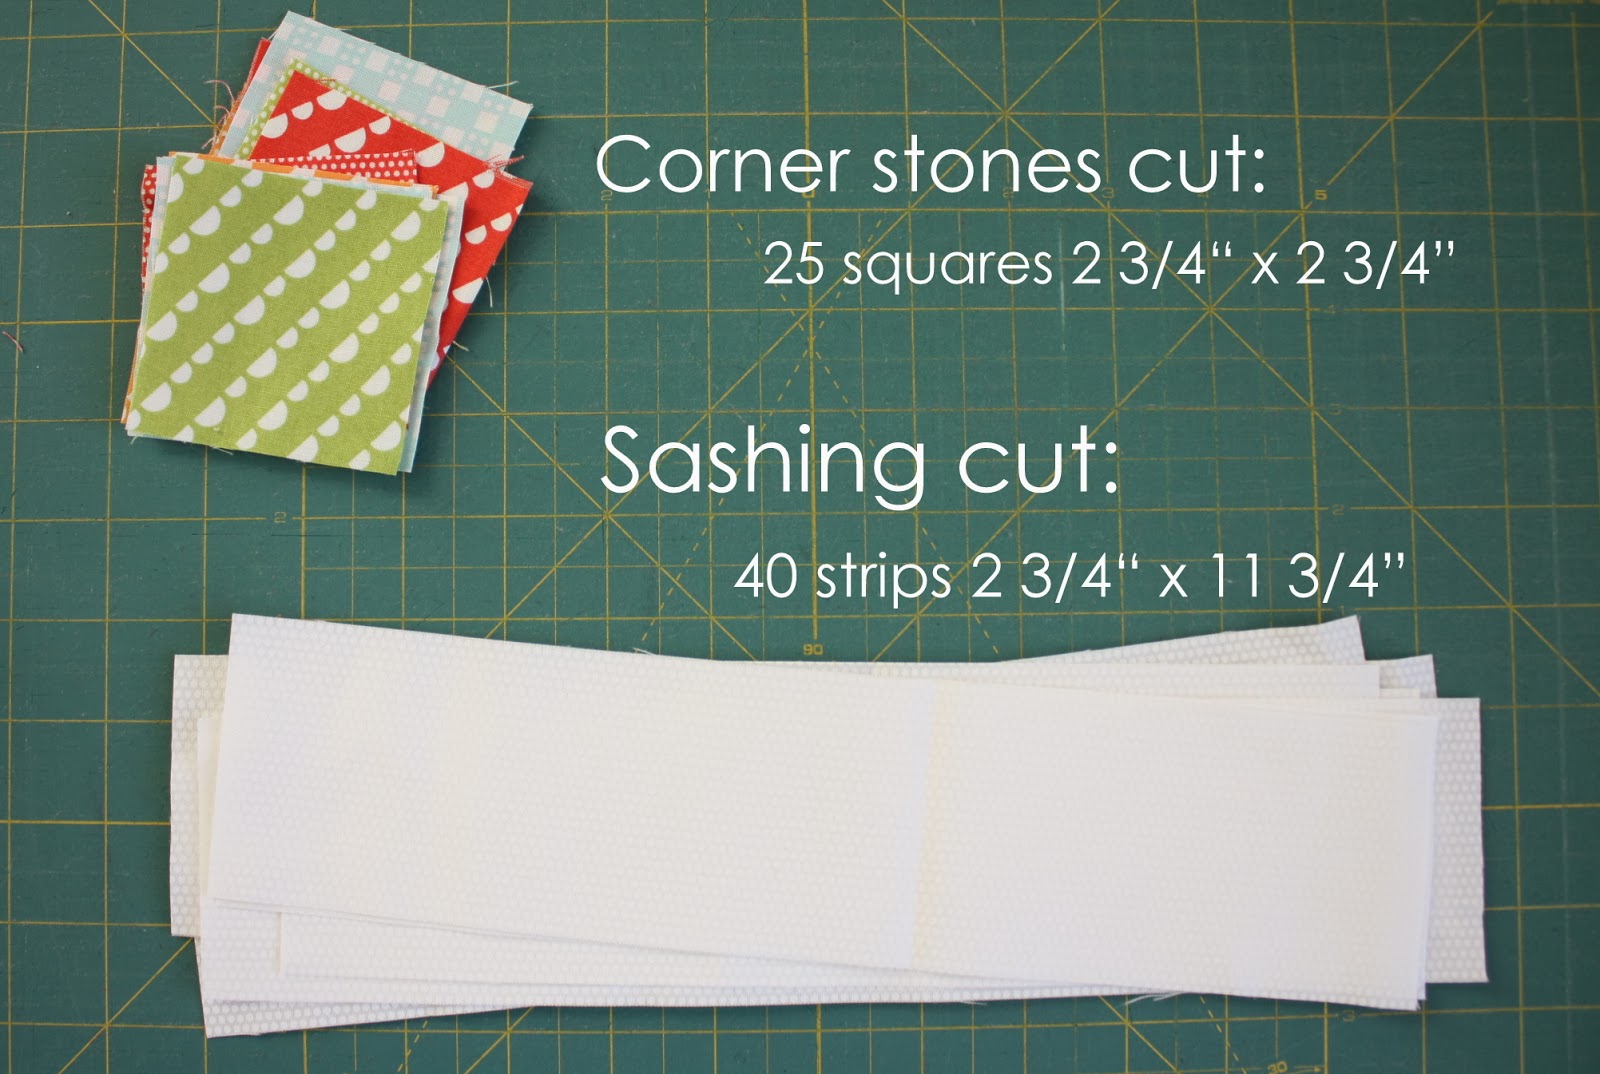
Cutting:
- From assorted prints cut 25 squares 2 ¾" x 2 ¾" for the cornerstones
- From sashing fabric cut 40 strips 2 ¾" x 11 ¾" (requires 1 yard fabric)
- From 1st border fabric cut 6 strips 2" x 42" (requires ⅜ yard fabric)
- From 2nd border fabric cut 7 strips 6" x 42" (requires 1 ¼ yards fabric)

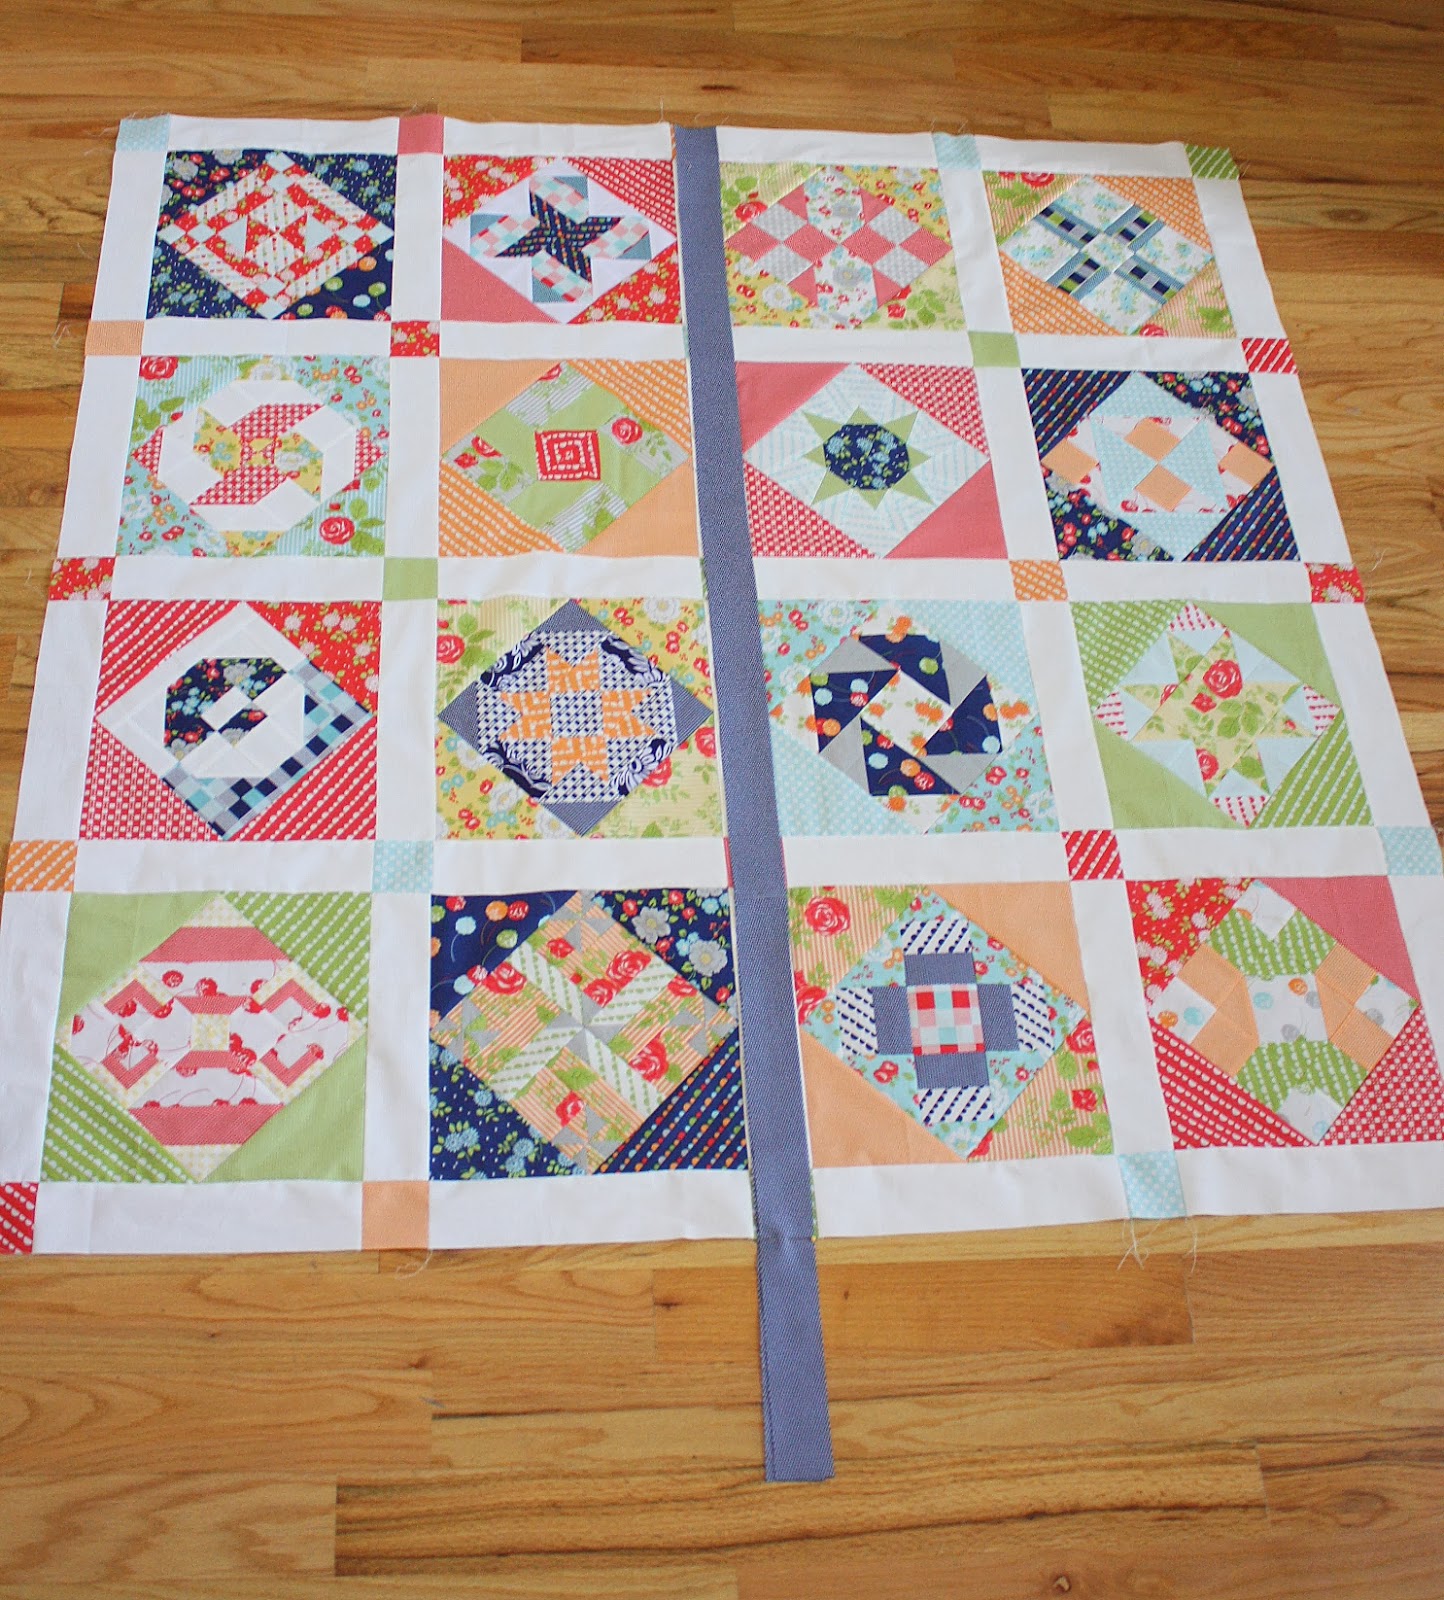
I knew I wanted to use a tone-on-tone white print for my sashing fabrics (the strips between all the blocks) but I wasn't sure what color fabrics I wanted to use for the cornerstones (the squares between all the sashing strips.) So I played with some different options when I laid out the quilt.
I was originally going to use the navy prints as my cornerstones, but decided the contrast was a little stronger than I wanted. So I tried some of the lighter prints, but colors that still had contrast with the white sashing. I decided I liked the more subtle cornerstones and went with that for this particular quilt. Neither one is right or wrong- just whatever personal preference you reach. With this quilt, I liked the pop of red in the cornerstones. In that quilt I also used the same fabric for all of the cornerstones. Lots of options. Don't be afraid to try different looks. I was surprised by what I ended up choosing in the end.

When you've got your final fabrics chosen, lay out the entire quilt to balance colors, prints, etc. Sew quilt together first into rows. You will have four rows of sashing strips alternating with the pieced blocks, and fiver rows of cornerstones and sashing strips alternating. Press all seams (¼" seam allowances) toward the sashing strips. (Pressing is going to make for a really crisp quilt top and help corners match up much easier.)
Then sew the rows together in order. Match up the seams so that they butt up against each other to keep corners matched up. One thing I really like about the sashing with cornerstones look is that the cornerstones keep the rows lined up straight.
Borders: I'm going to share a really simple method for measuring and adding your borders. It's important to be careful and measure and trim your borders before you sew them to the sides of your quilt. This will keep your sides "square" and keep them from becoming wavy or stretched out.
First take the strips from your first (inside) border and sew sets of strips together end to end to create two long strips. Now take your strips and carefully lay them down the center of your pieced top, matching up the edges with one edge of the quilt. Carefully use a pin to mark where the bottom edge of the quilt hits the border strip, and trim neatly with a rotary cutter.
The reason you measure using the center portion of the quilt, and not the outside edges is that the edges of a quilt can tend to wave and bow. The center is the tightest part.

As a result the newly trimmed border strips could be slightly shorter than the sides of the quilt. (This is not a bad thing because it will help square up the quilt and keep the edges from getting wavy). When you go to pin your border to the sides (and this is a really important part for keeping that quilt square) start by finding the center of the strip and matching it up with the center of the quilt edge. Pin there and then pin at both ends. Then carefully pin the rest of the strip to the edge of the quilt. If the quilt edge is slightly longer, carefully space the pins equally. When you go to sew the seam, place the border strip on top as you send it through the machine. The feed dogs should ease the excess of the quilt edge through the machine without creating puckers.
Sew with ¼" seam and then press seams toward the border. Repeat with remaining sides.

Repeat that method again, two opposite sides at a time, with the outside quilt borders. For more information and details on adding borders to a quilt visit the Quilt Borders 101 tutorial.

And here is the finished Kona Solids version. I opted to make my sashing slighly thinner on this one - cutting the sashing strips 2 ½" x 11 ¾" and the cornerstones 2 ½" x 2 ½". I also did not put on a skinny border between the sashing and the 6" outside border.
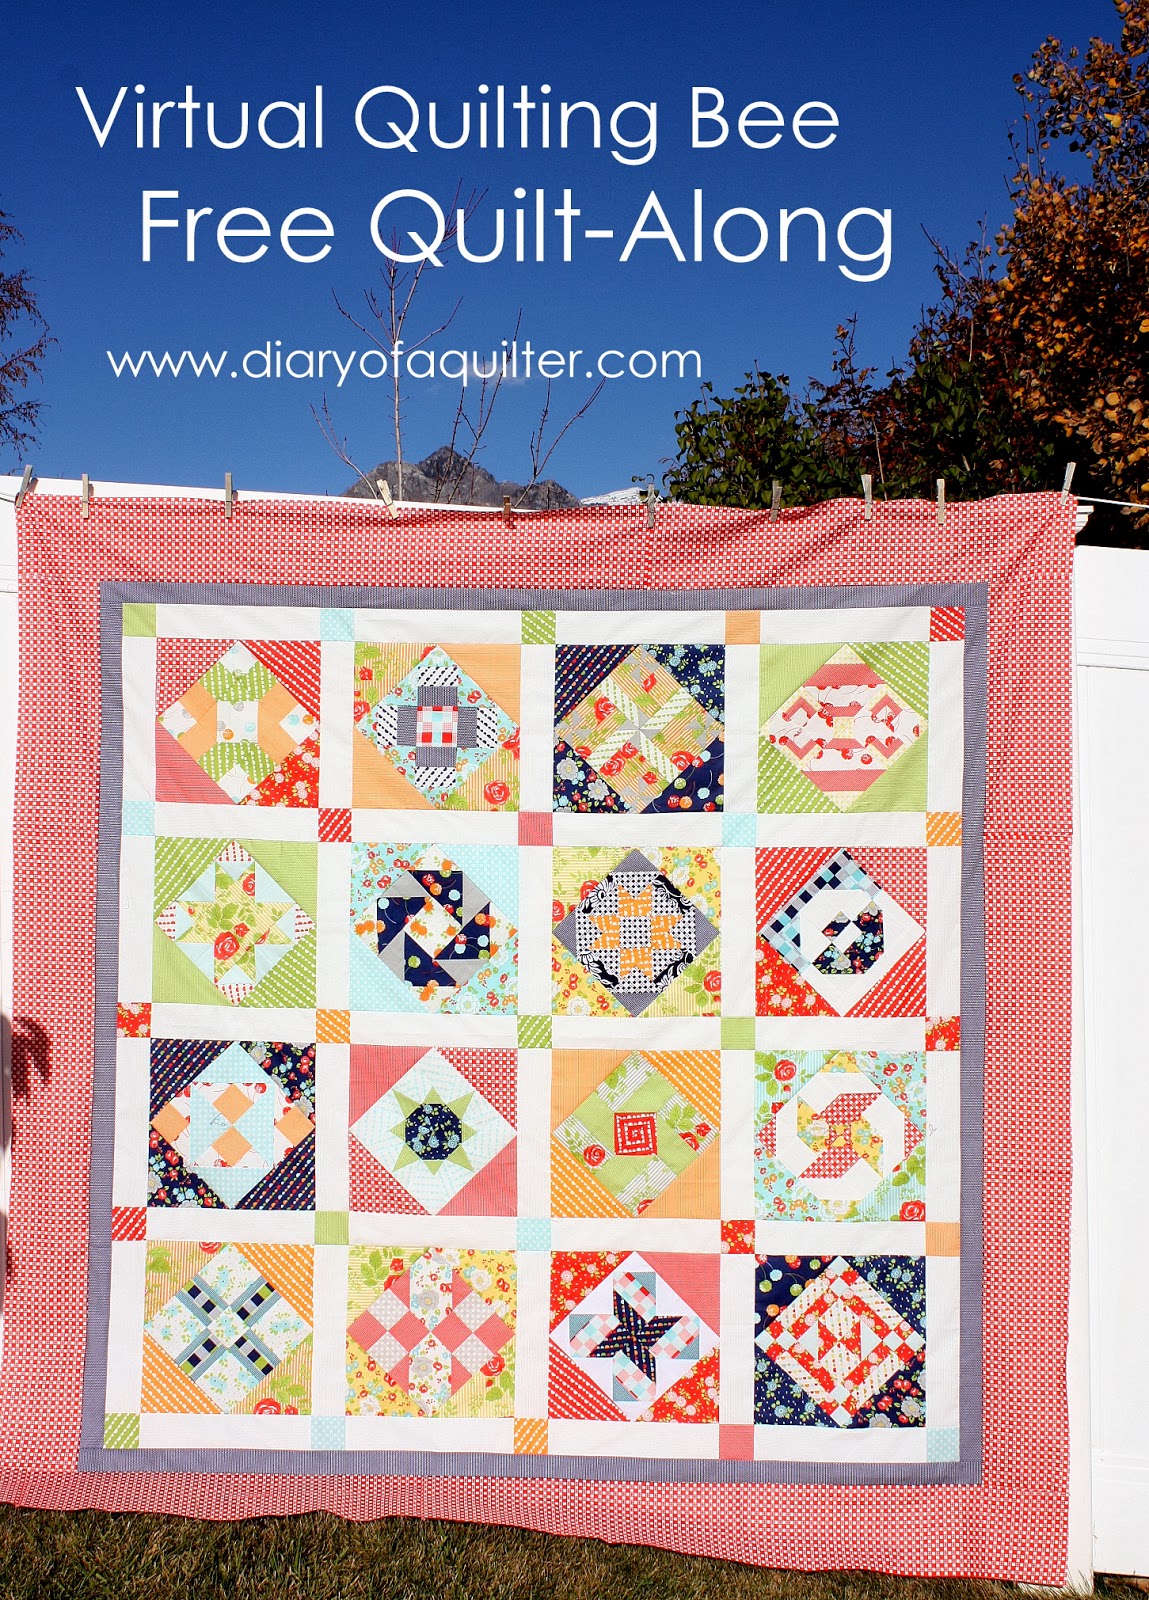
I love seeing the contrast between the two quilts. f you are looking for Happy Go Lucky yardage, precuts and some bundles, try these shops: The Little Fabric Shop, Poppyseed Fabrics, and Southern Fabrics.
In two weeks we will be talking quilting! See you then!


Lynn
I wished I was this far along! I'm close! Hoping to get some sewing done this weekend! Yay!
Katy Cameron
Cool, that outer border finishes it perfectly :o)
margaret
thank you for this tutorial, have not done sashing with corner stones so this is very helpful
Teje Karjalainen
Hi Amy! This is so beautiful! I love your colour choises! x Teje
Live a Colorful Life
Really love this option. Can't wait to see what you do with the solids!
lattegirl40
i am falling behind, but I will catch up!! My daughter is getting married today!!! So than things won't be so crazy, but what a lovely crazy it has been!!
KristiLynne
I'm having so much fun with this quilt! Thanks for doing this. I haven't been brave enough to take a class yet, but I've learned a lot throughout this virtual bee. I got way behind but have recently caught up.
Thimbleanna
What a cute quilt Amy! I love how you kept it simple with the sashing - Beautiful!
joanne
It is GORGEOUS!!! <br />And I think you have just solved my border problem for my happy go lucky Swoon!!!
Maria Wallin
It's so lovely this quilt, awesome work! Can't wait to see the finished solid version =D
Maureen McKane
What did you use for backing on the Kona solids quilt? I'm stumped...looking for ideas!! Thanks for this fun quilt along!!