
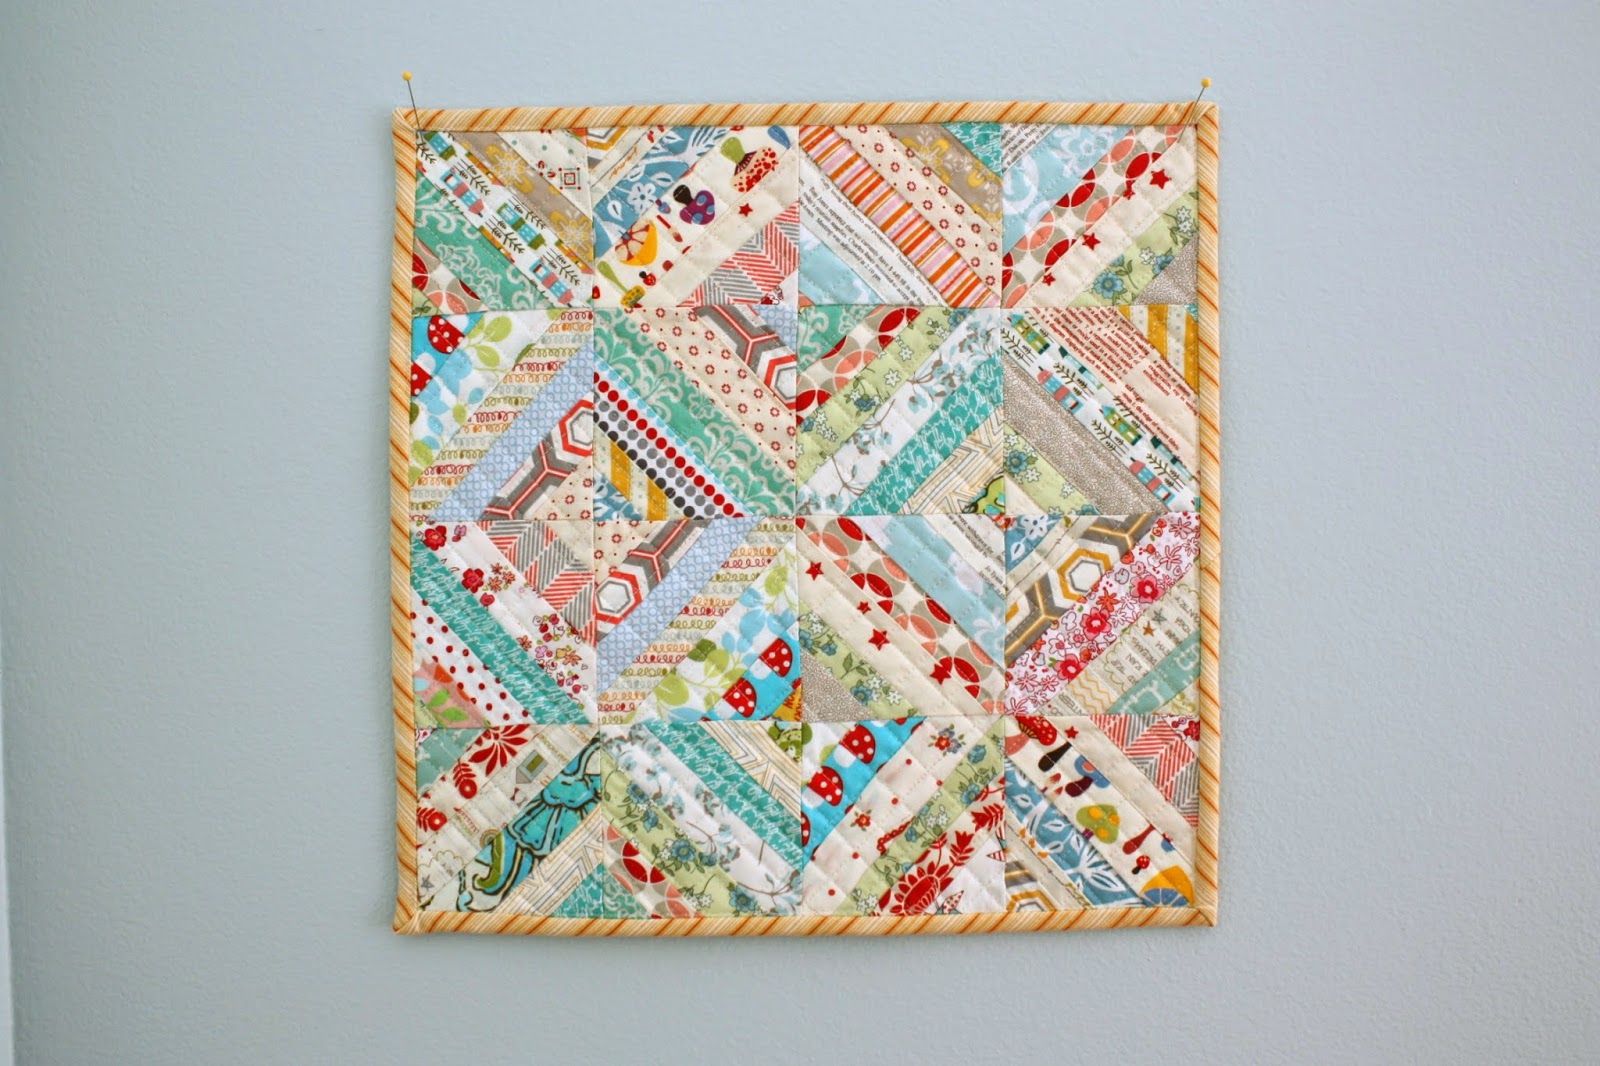
This is a simple project for using fabric scraps. I've shared it previously as part of scrap-busting series but never on my blog so I figured while I was away at Quilt Market this weekend, it would be a good time.This project is for a 15'' x 15'' mini quilt, but of course you can make use this concept to make any size quilt or quilt blocks. This is a great project for using all kinds of random scrap sizes. This method is called "Foundation-paper-piecing" and it's fun because it allows for lots of improvisation and does not require perfect accuracy (best part!):

- Assorted string-y scraps of your favorite fabric no wider than 1 ½” and between 3” and 13 ½” in length.
- 17” x 17” piece of batting
- 18” x 18” piece of fabric for backing
- ⅙ yard piece of fabric for binding (or more assorted 2 ½” wide scraps)
- 4 pieces of paper 8 ½” x 8 ½”
- Sewing machine
- Rotary cutter and ruler
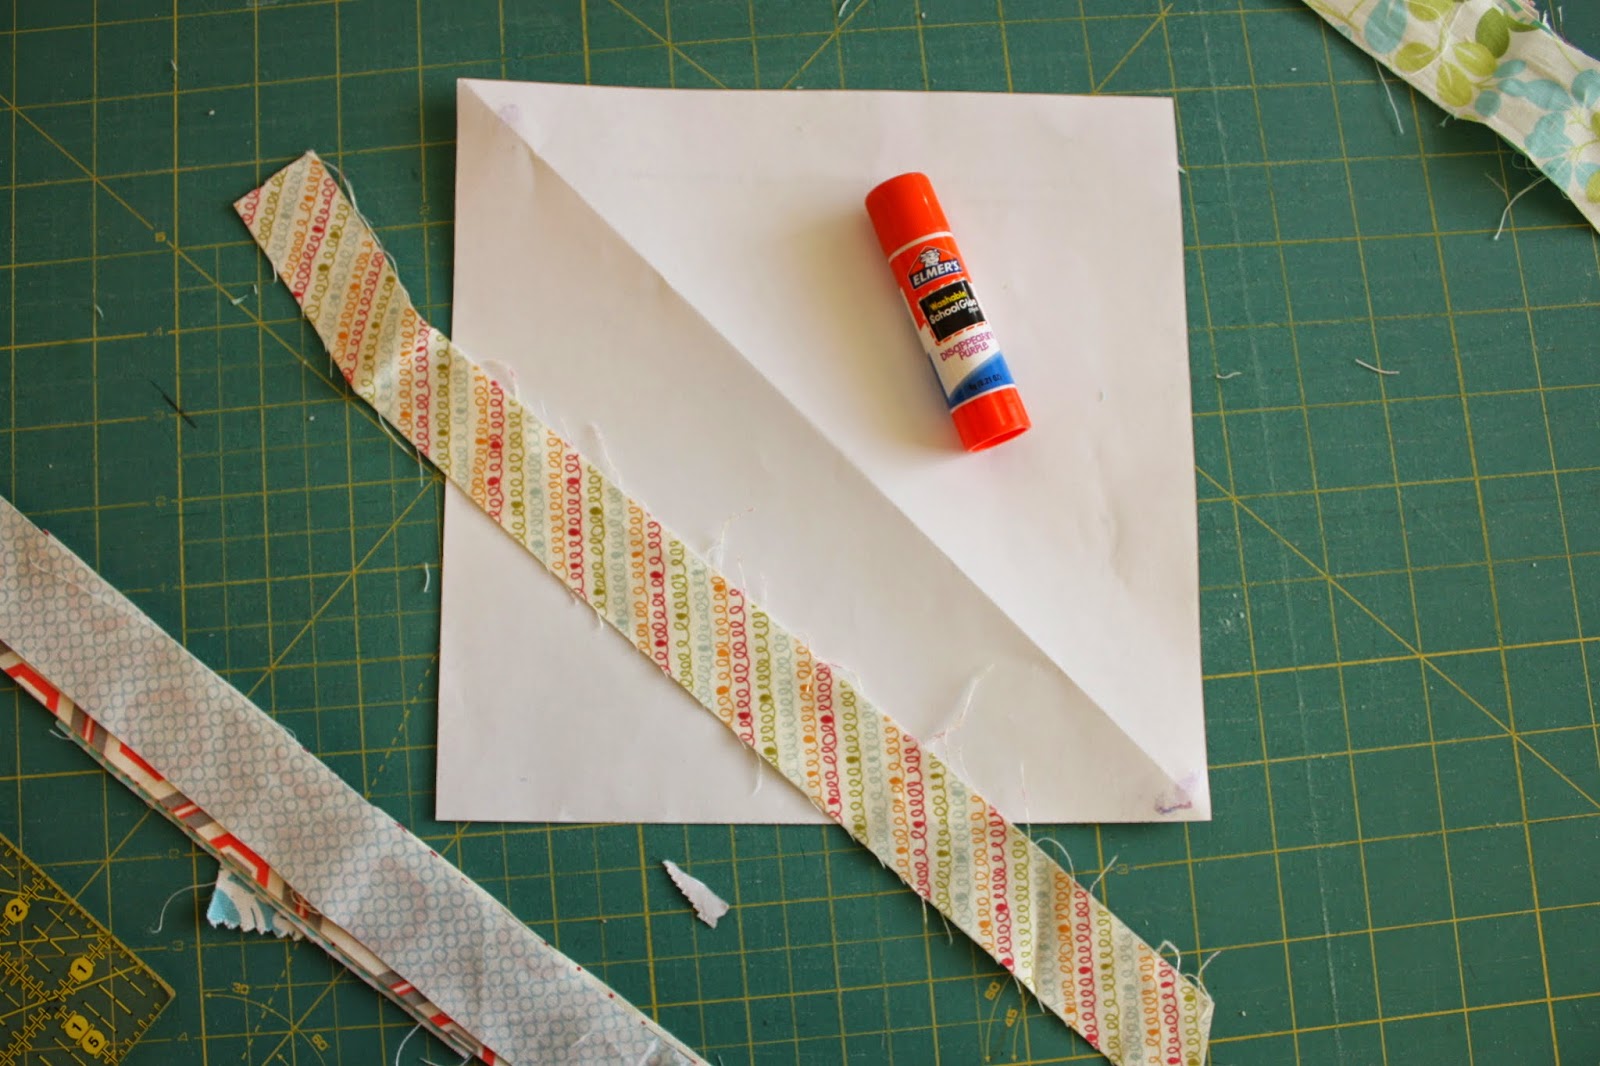
Fold one of the 8 ½” square pieces of paper diagonally down the middle. Lay one 13.5” long scrap down the center of the fold, using a small amount of glue at both corners to hold the first scrap in place.
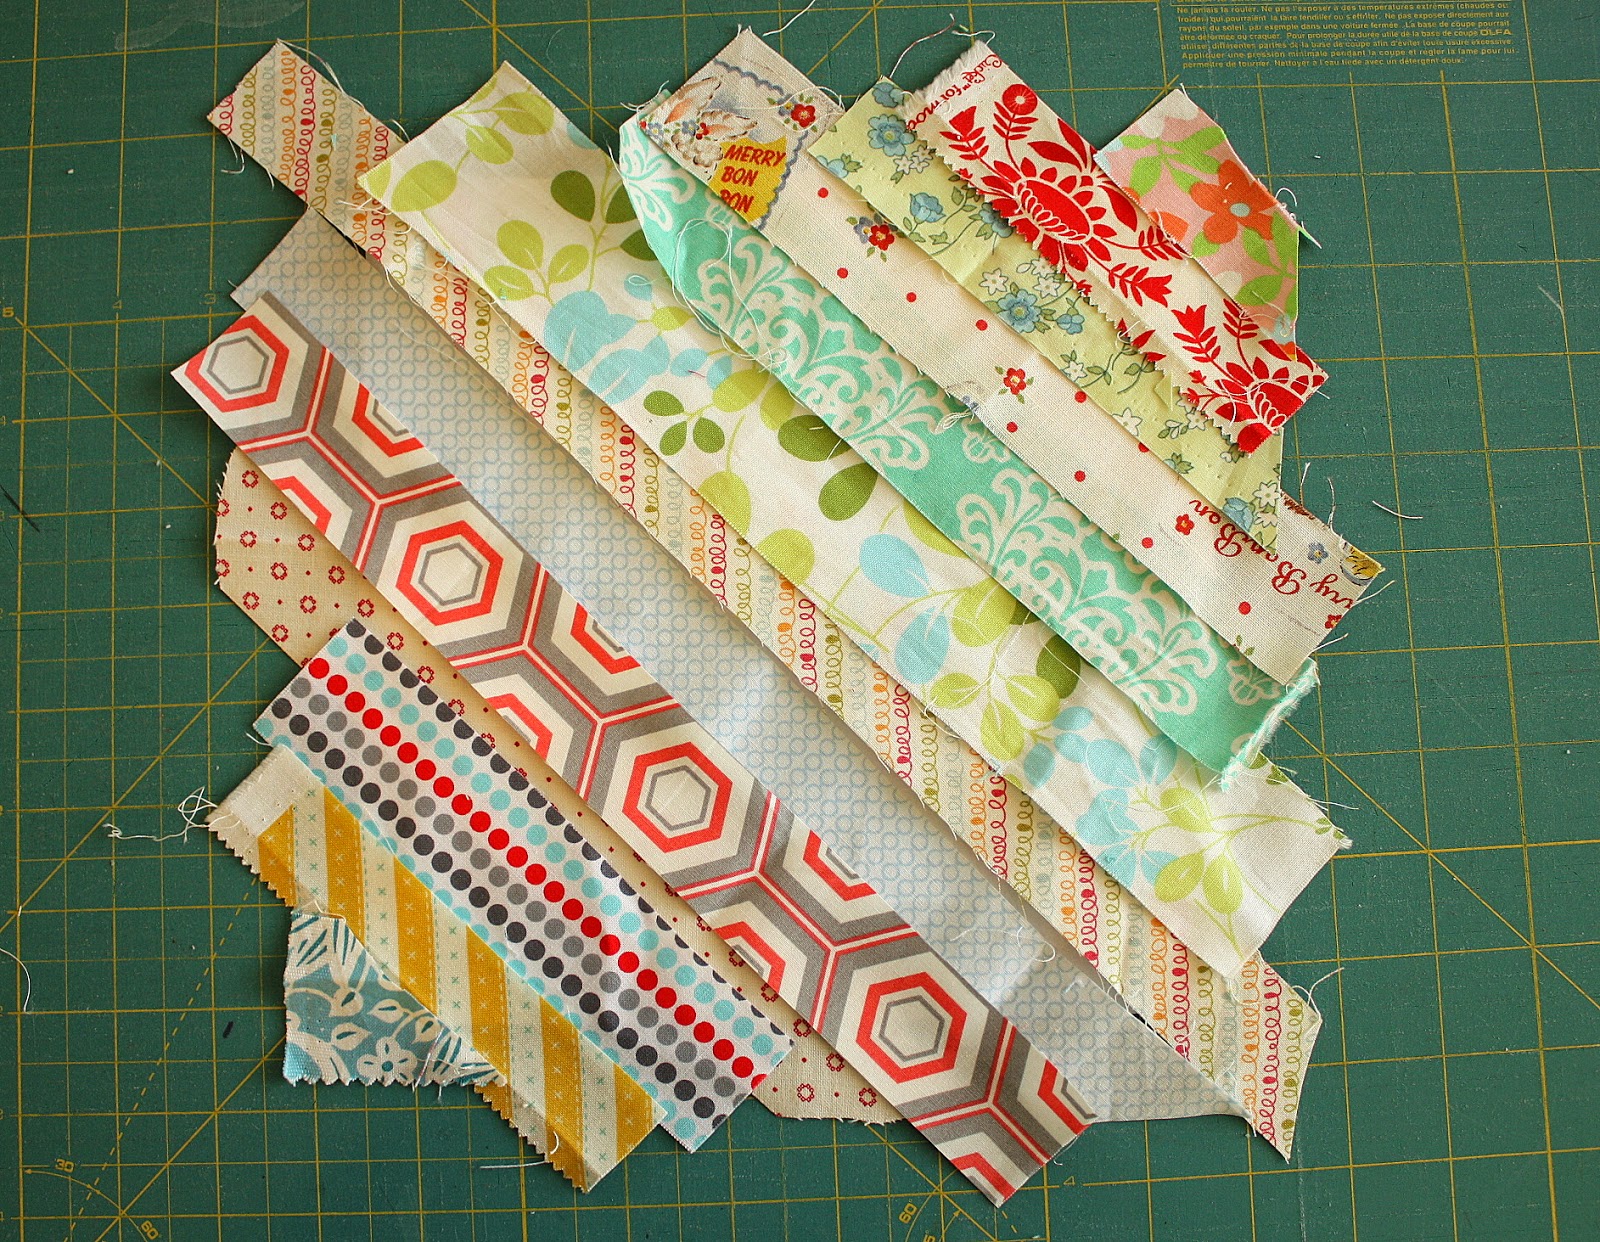
Audition various scraps by placing them on either side of the middle scrap, in diagonal rows, overlapping generously to compensate for seam allowance. Make sure you completely cover the paper. Carefully remove the scraps, keeping them in the right order so that it's easy to grab the next one and sew.
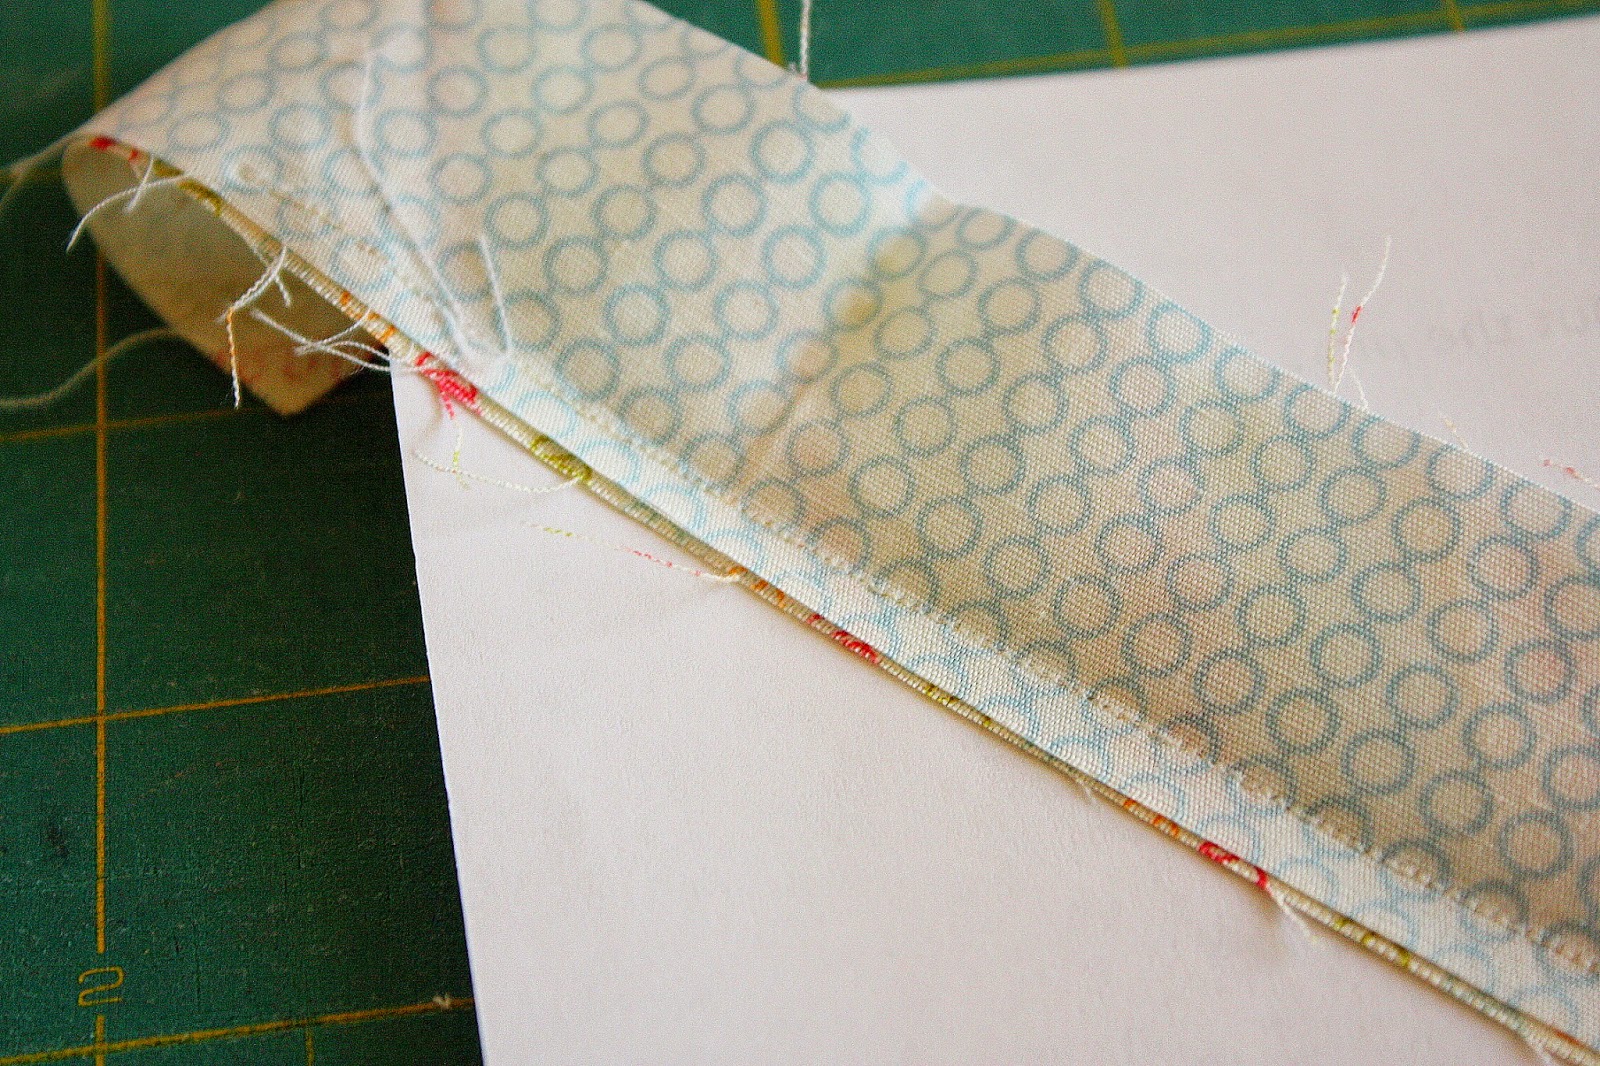
Turn stitch length on your machine to about 1 ½. (The shorter stitches will perforate the paper more often, making it easier to tear the paper away later.) Put a new fabric scrap right sides together on top of the glued center scrap with right edges matched up. Sew through both fabric scraps and paper using a ¼” seam allowance. Working from the front of the fabric, press both strips open and flat.
Start at the center and work outwards toward the corners, sewing your strips in the order that you auditioned them.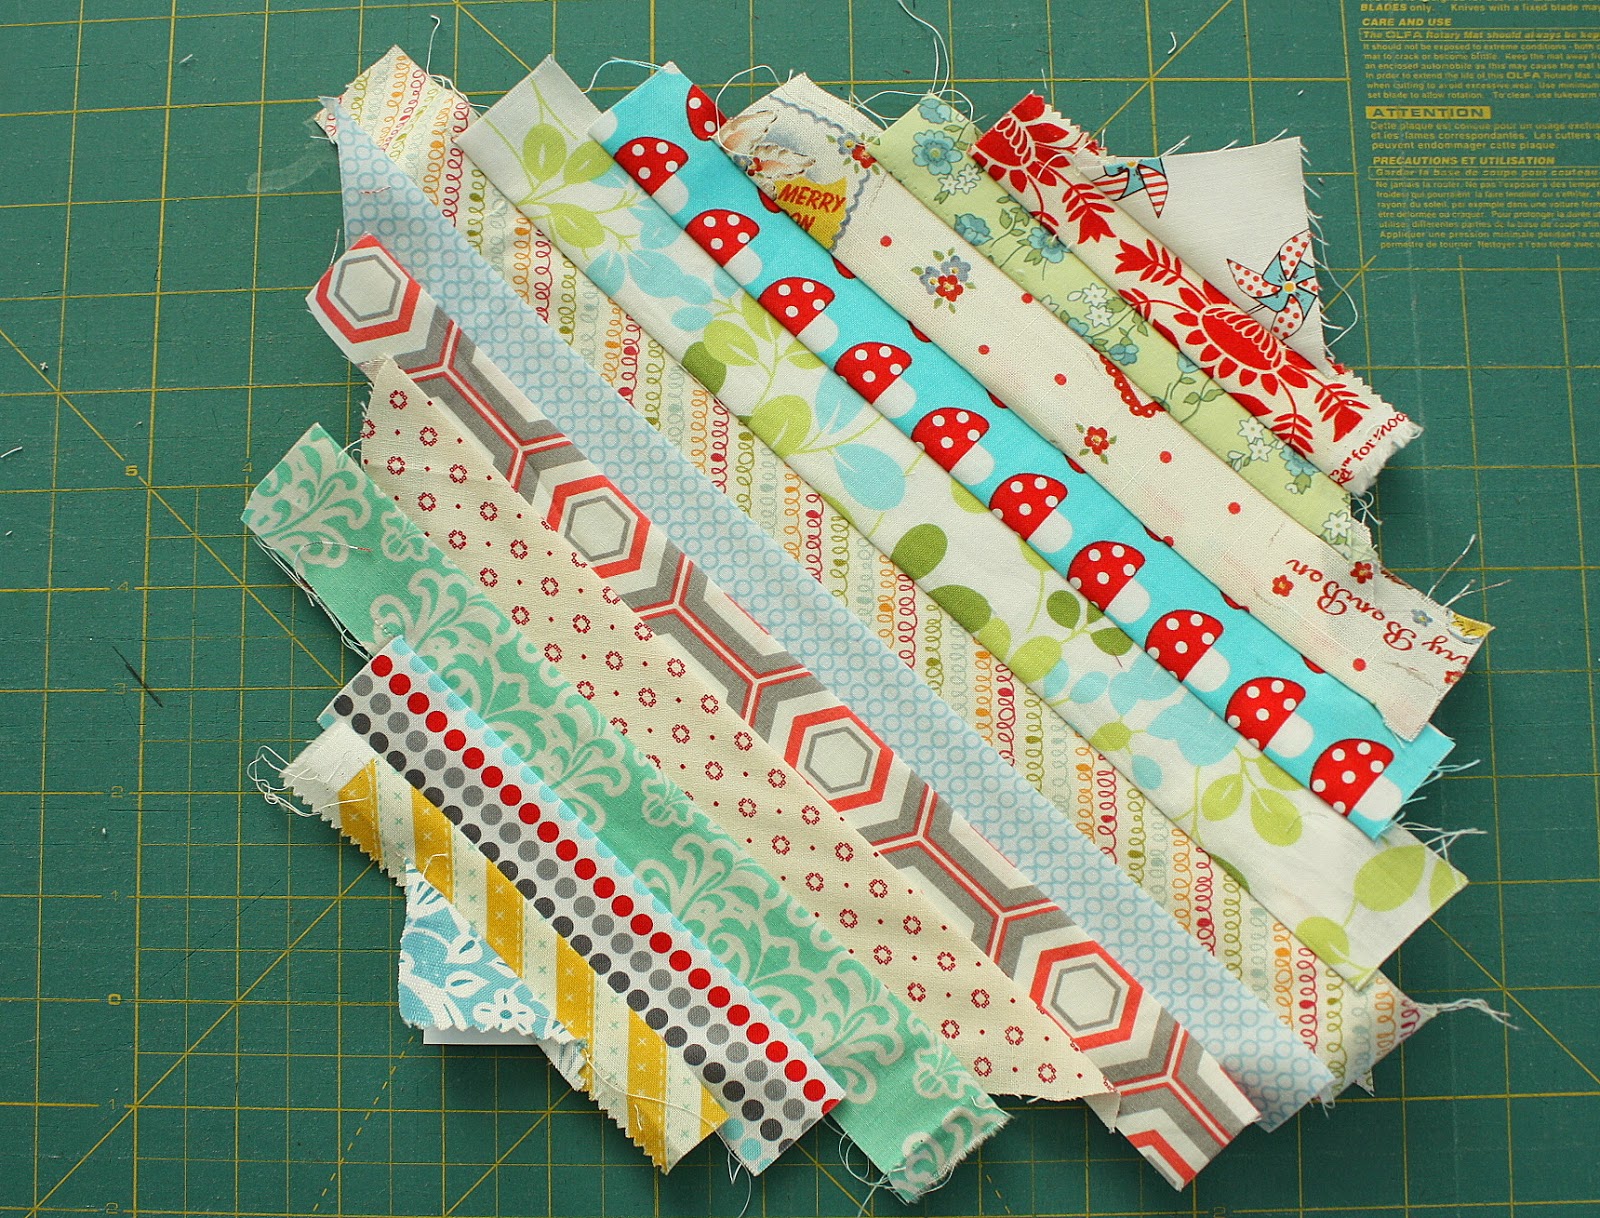
Repeat the process with additional scrap strips, completely covering the paper.
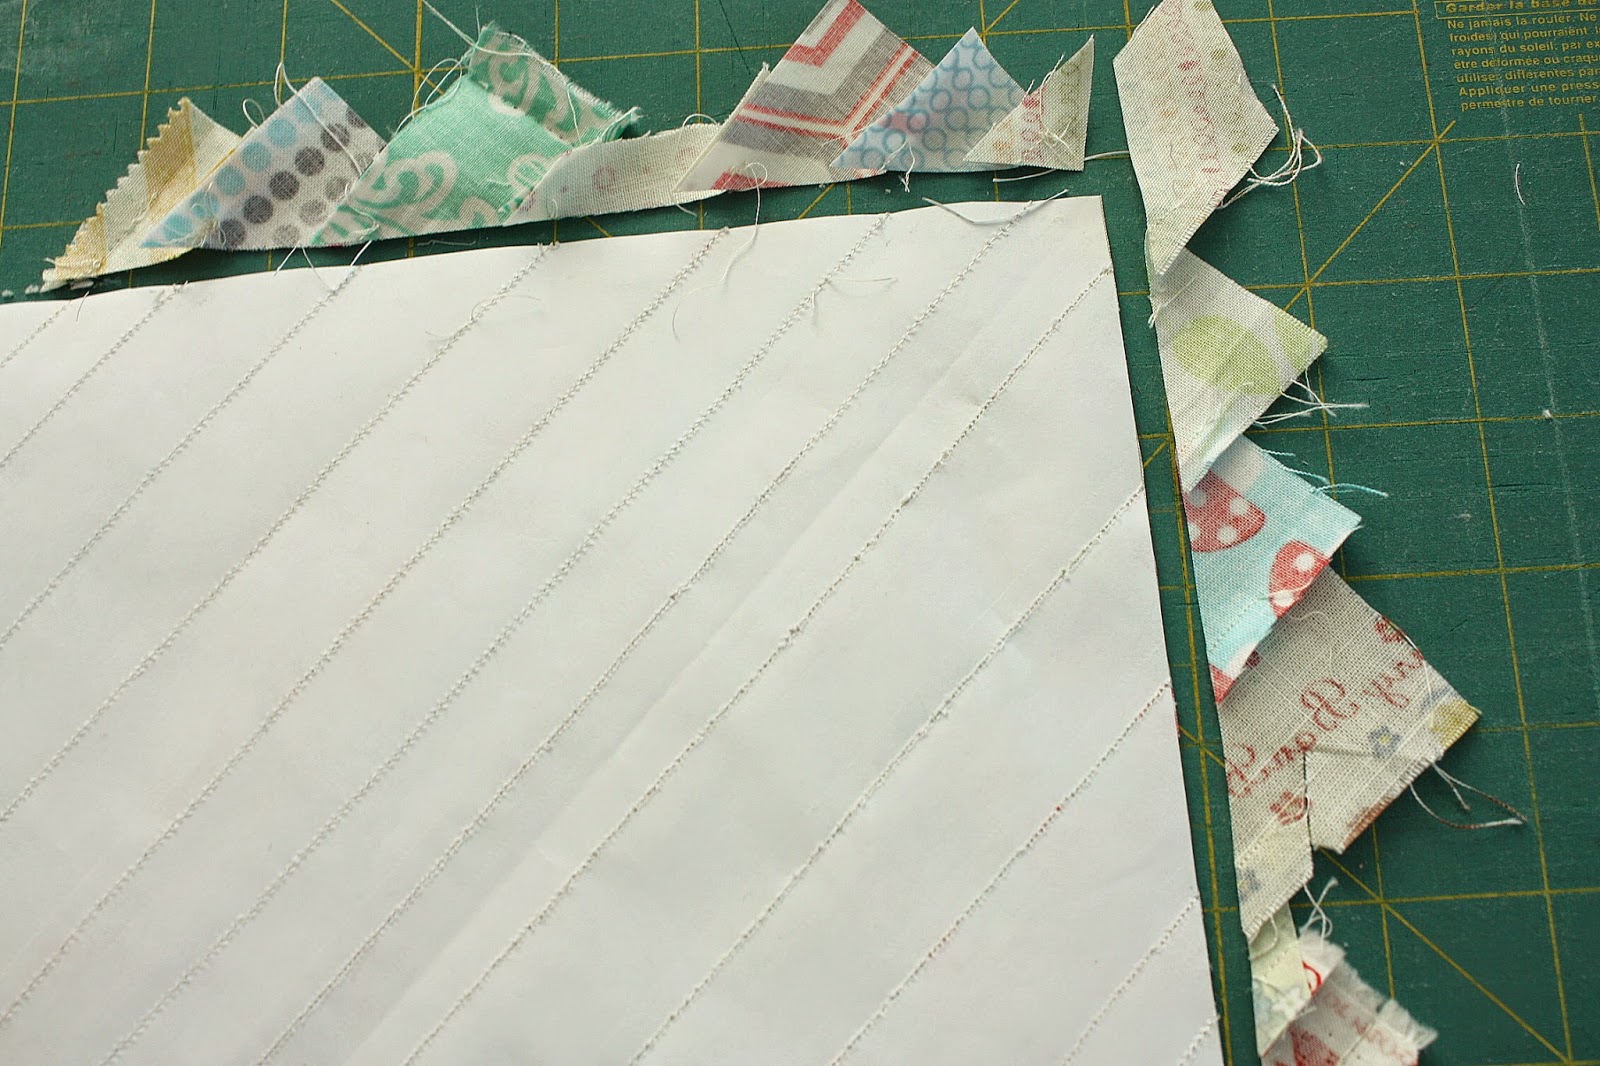
Turn the square over and with the size of the paper as the guide, use a ruler and rotary cutter to trim all four sides.
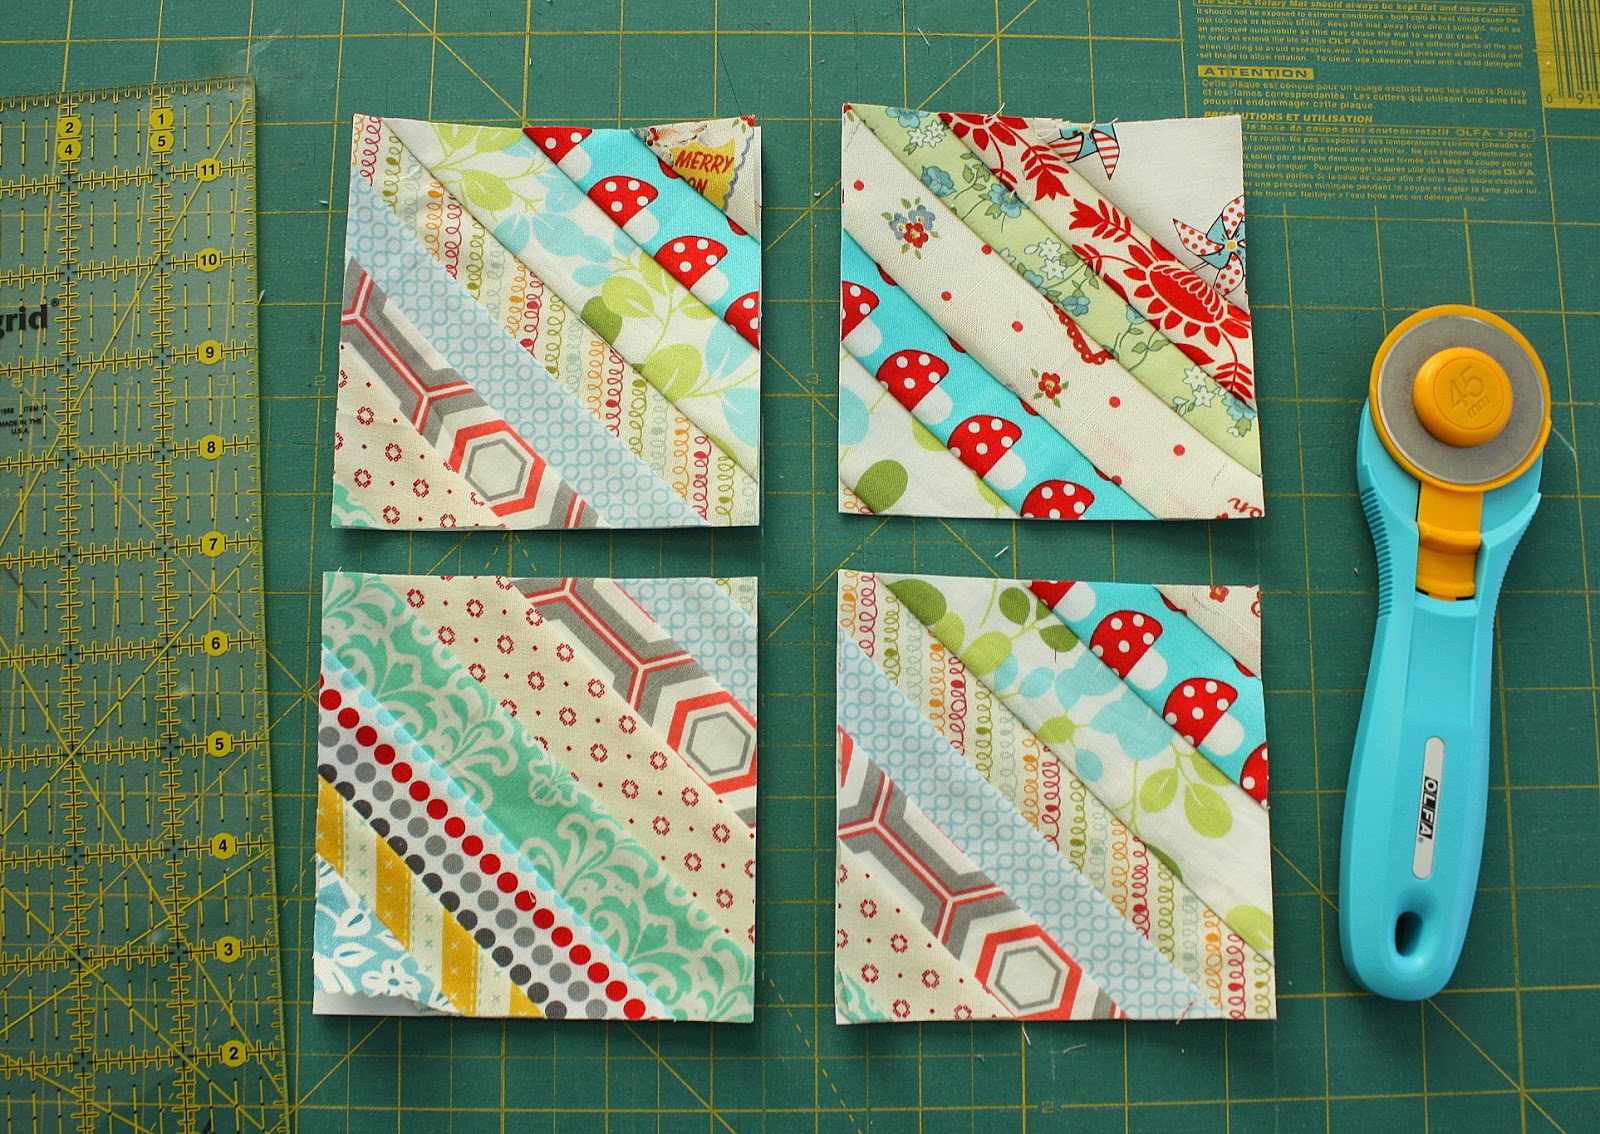
Turn paper over to the fabric side and using a ruler and rotary cutter, cut into four equal 4 ¼” x 4 ¼” squares. Carefully remove the paper backing by folding on the stitched lines to crease and then tear them off completely.
Repeat the process with the three 8 ½” x 8 ½'' paper squares and remaining scraps to create a total of 16 mostly different 4 ¼” x 4 ¼” scrappy diagonal blocks.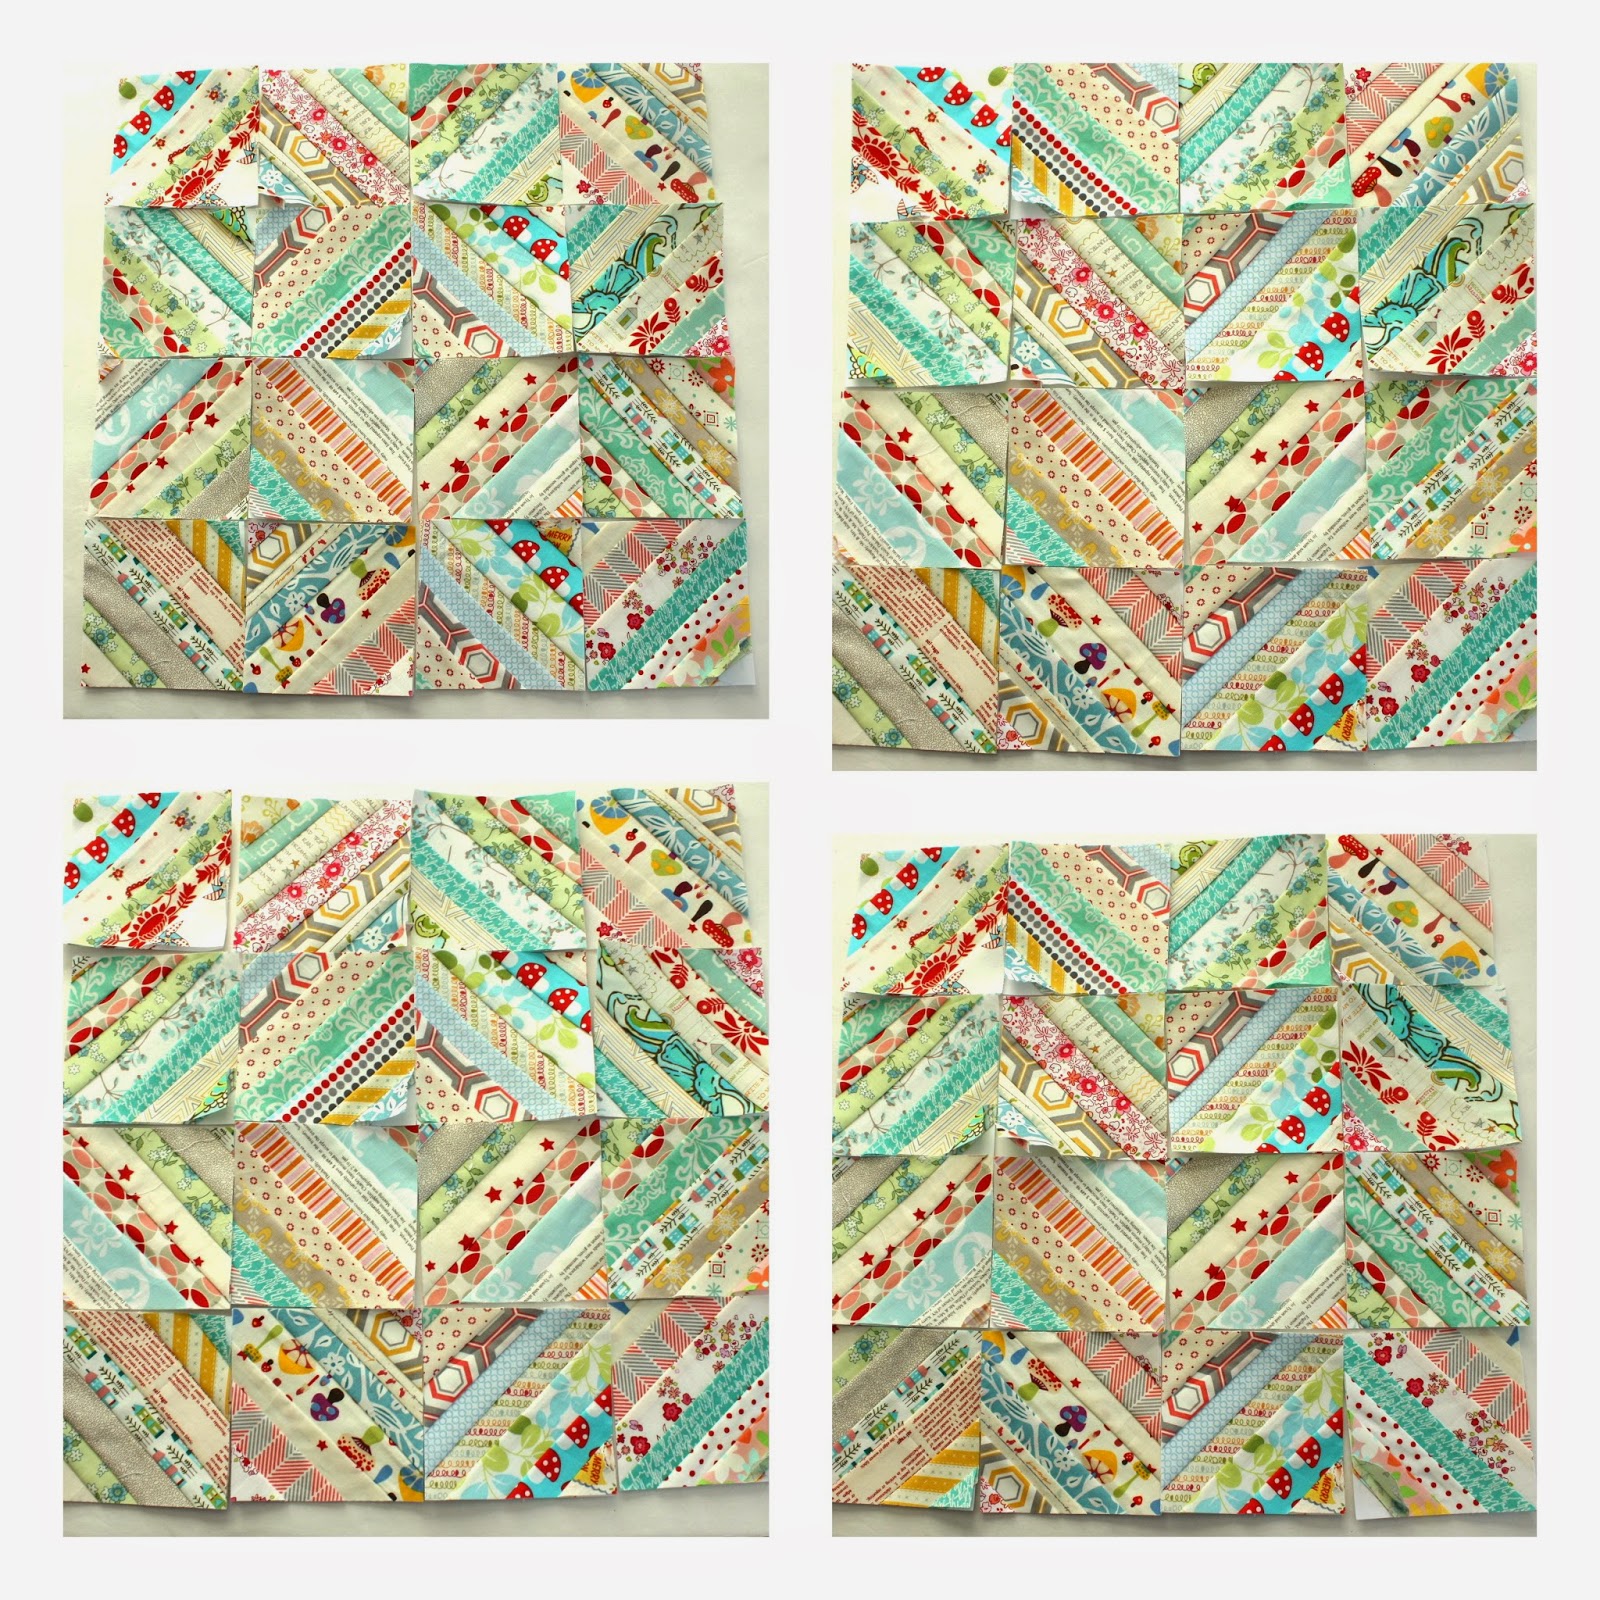
Layout the pieced blocks 4 across by 4 down. There are a variety of designs you can create by rotating the blocks. Here is a sample.
Sew blocks together using a ¼” seam allowance into four rows of four blocks each. Press seam allowances to the left on rows 1 and 3 and to the right on rows 2 and 4. Sew rows together in order, nesting opposing seam allowances.
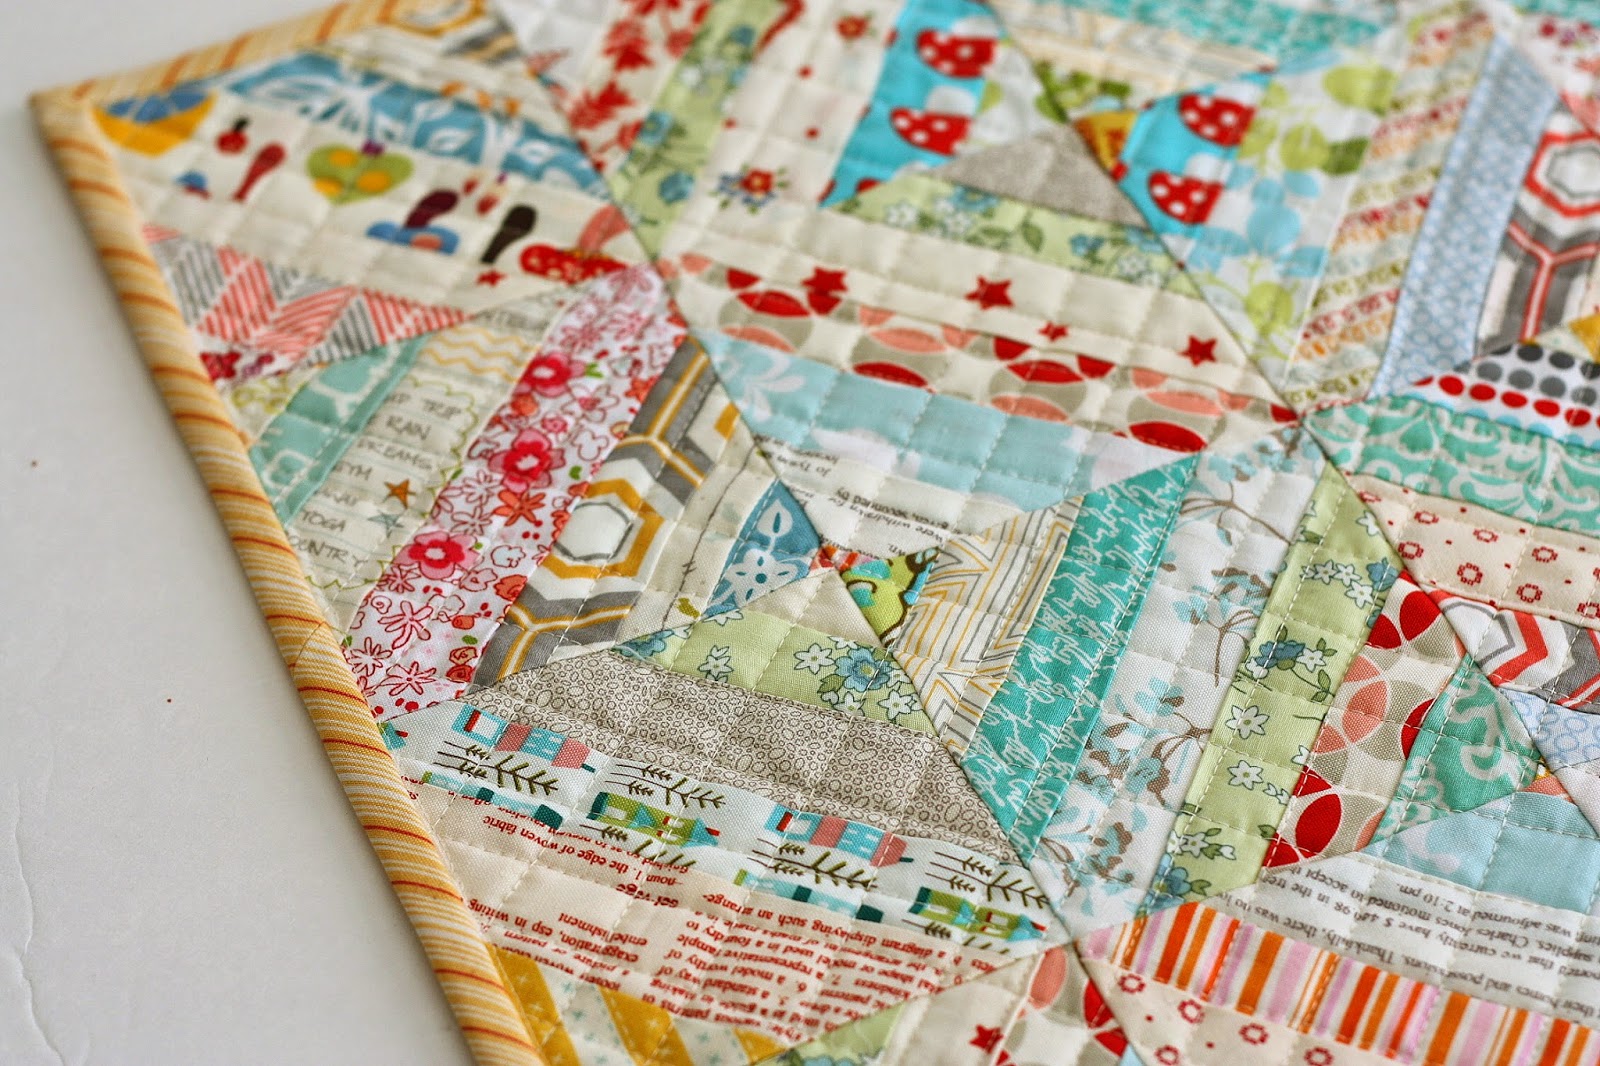
Layer quilt top with batting and backing pieces underneath and quilt as desired (machine quilting tutorial here.) Using remaining fabric or scraps to create a 2 ½” x 64” strip for binding the quilt.
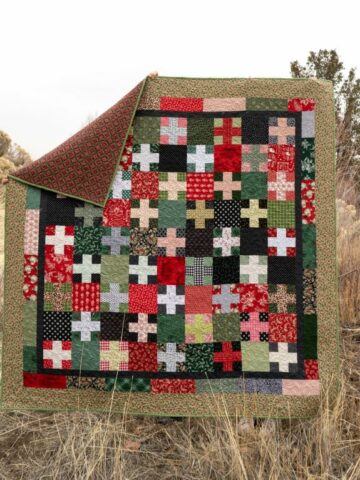
You could easily make multiple blocks to make a bigger quilt, re-scale the sizes, use this panel for the side of a bag, etc. 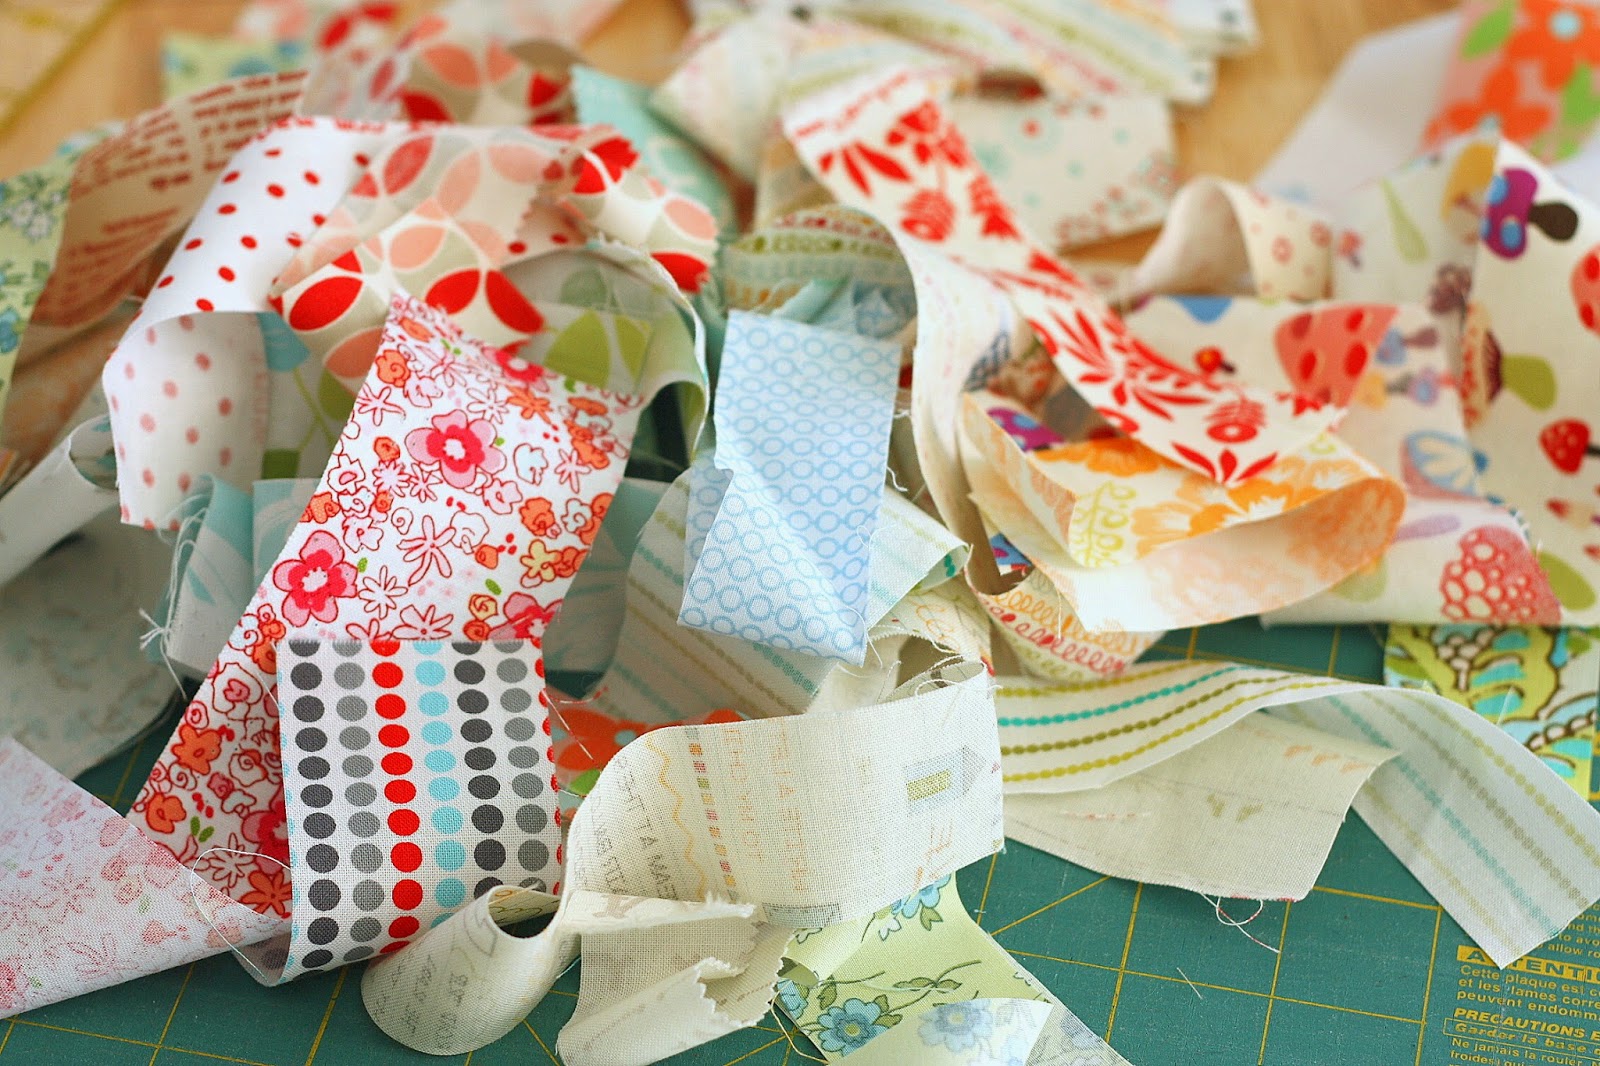
Since scraps can so easily get out of control, here are more tips for organizing and using your scraps.


Deb Chimes
Thanks for this tutorial Amy! I've recently decided I need to do a few mini quilts to give myself a break from all of those "big" quilt projects I have been working on. And using up some scraps is an added bonus!
Heidi
This is perfect for all those scraps I can't bear to throw away! Thanks for the tutorial!
KathyinMN
Tiny and adorable. And easy!
DonnaLee Q
What a fun idea. I have a ton of scraps that would look really great with this idea.
Ioleen
Such a cute little project. I have scraps from baby quilts I've made that need a home. This will be perfect place for them. Thank you for the tutorial.
Jessica
Whst an adorable little quilt!!! Ive been wanting to cull my scrsps for ahes now...i might have tp sew this one!! Wouldnt it be stunning in a large quilt!?
thanks so much for the inspiration
Sandra b
Love this little mini quilt!! Love the fabrics you chose....it just makes me smile!
Safe travels back home....
Angie @ gnomeangel.com
Fabulous tutorial and great block! I know some people that will love this, thanks for sharing!
Pam M
Why is it that everyone else's scraps are always so much nicer than your own? The mini quilt is adorable, Amy. Love your work.
Kathi
I made a king size quilt several years ago,using that method,with one change.I used muslin squares as my foundation piece instead of paper,no need to remove the muslin,and it adds an extra layer of warmth.I cut my muslin blocks at 8 1/2".My quilt has been used,washed and loved many times,and is still in good shape.
I may mame a small one like yours for my ggd's dolls.Yours is very pretty.
Kathi
Jodie
Great scrap quilt. Such cheery fabrics. Again lovely demo.
Lesley Gilbert
Thanks for this tutorial. I like how you can make one block and then cut into 4 - yes!! 🙂
Deanna
I have done string quilts before but I love your idea of making a bigger block and cutting it into smaller blocks. Thanks for sharing.
Janie
Beautiful! Thanks for sharing, you have so many good ideas.
Miriam ayala
thank you for your tutorial it was easy to follow and i proably make a bigger one for a twin bed ....
Sharon Gibson
Amy, perfect timing with this. There I was forcing even more scraps into my cardboard scrap box making the side bulge (no where to store another box, craft spaces are full of vintage sewing machines and fabric) then I read your blog. Bingo. Immediately cut some scraps into strips, they are now sitting next to the Singer 201, neatly in colour piles. The scrap box looks like its been on a diet! Looking forward to starting, going to make a colourful cushion cover. Thank you so much for the tutorial. Take care. Sharon x
Amy Smart
Sounds so fun! I'd love to see what you make!
Sharon Gibson
Thank you for the idea Amy, finally finished my quilt sorry over size cushion, got carried away! hee hee. Its a great way of using my scraps. Kind regards Sharon x
Anita T.
I am hoping you will do a quick post with a market report?? Thanks,
Anita T.
christine @ 12,450 miles
I love this!! Thank you for the detailed tutorial. I thinking I might do this with some of my more treasured fabrics as a way to display them in a way that I can see them all the time...
Lori
I am excited to try this scraps project. My mother recently passed away and I have been trying to find a way to make a quilt from her sleepwear. Thank you
Karee
So very cute and clever. Thank you!
michelle polston
My grandmother used to do a similar pattern with old newspapers and my mother taught me to use old fabric softener sheets! Not only are they softer than paper they smell nice as well! Just be sure to iron them before using!
Sherri G.
Michelle, same here! Grandma B. used newspaper squares and sewed them by hand! No sewing machine!
Sherri G.
My great grandmother made these quilts! I have one that was made in 1985 and it is mostly red colors. It is almost a queen size one. I've thought of making these, but have never sewn much. Yes, she made quilt scraps by hand! No sewing machine used. She did this while while she enjoyed a dip of snuff. Gotta love my Southern grandmother from Alabama. Thank you for sharing this! I have wanted to know how to get this started. Hopefully, I can make one!!
Amy
Hah! That is such a great memory. I bet those quilts were amazing!
Debby Clegg
Thank you so much for this great tutorial, I am thinking of using this block and make it 5 across and 4 down and use for placemats
Amy
That would be so cute!
Linda
Thank you for the great tutorial! I want to make a small scrip quilt as my first attempt at quilting, using fabric from clothes my Mom made me when I was growing up. Yes, she still has some!
Amy
That is awesome!
Nancy Brown
Brilliant! Thank you! I love mini quilts and I love string quilts and I'm always looking for more efficient ways to do things. Why didn't I think of this? I've finished one charming little piece following your directions and know I will do many more--perhaps size it up just a whisker. The only limit is the size of the foundation paper! Four blocks for the work of one--what could be bad?
Amy
Awesome! I'm so glad you enjoyed it!
Carol
Hi Amy, thank you for posting this tutorial. I am a quilter, but had never tried paper piecing before. A family friend's mother died and she asked me to make a scrap quilt for her soon-to-be-born baby using her mom's knit shirts and flannel pajama bottoms. We pinned a bunch of patterns that could work and she picked this tutorial! It turned out to be a perfect choice, because sewing all of those knit fabrics would have been a nightmare, but paper piecing worked out perfectly for this project!
Amy
Oh, I'm so glad. xo