
This post is sponsored by Cricut and contains affiliate links. All thoughts and opinions are my own.
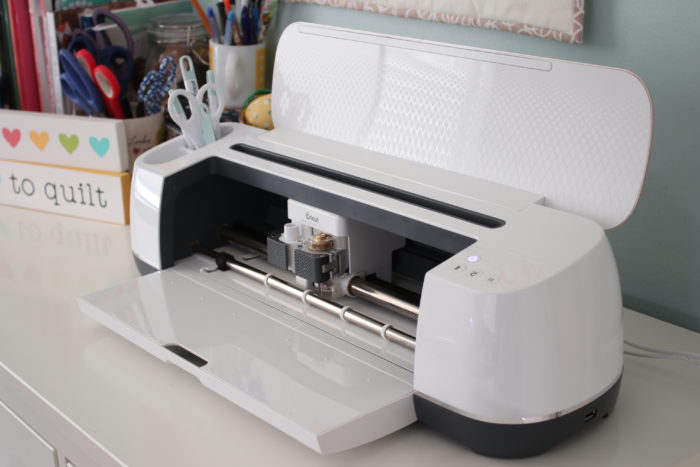
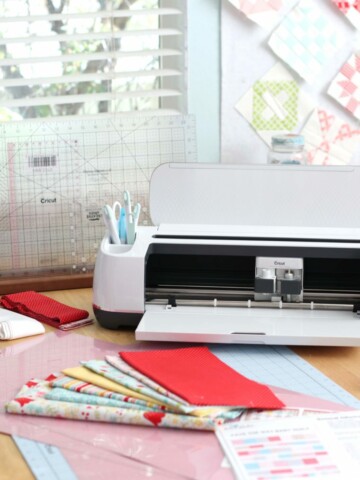
You may remember that I shared a fun spring bunting project a couple of weeks ago that I made with my new Cricut Maker electronic cutting machine. The amazing thing about this machine is that because it has a mini rotary cutting blade, the Maker can cut a variety of fabrics, including regular quilting cottons without having to have some type of Heat n Bond to stabilize. You can read more about my experience getting to know the Cricut Maker and see what it can do in this post.
I decided to put the Maker to the text cutting another fabric - 100% wool.
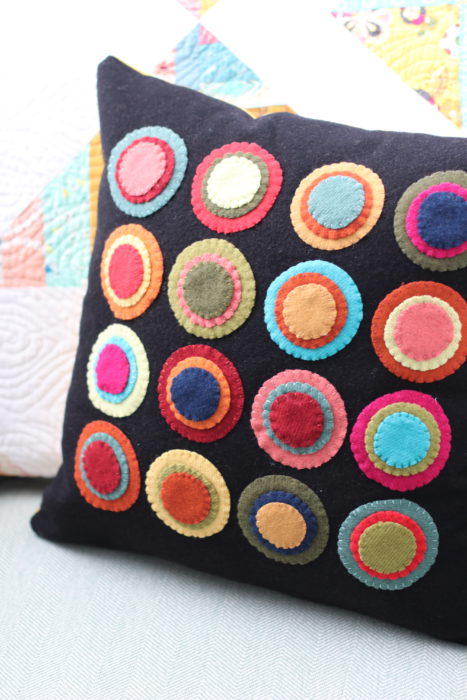
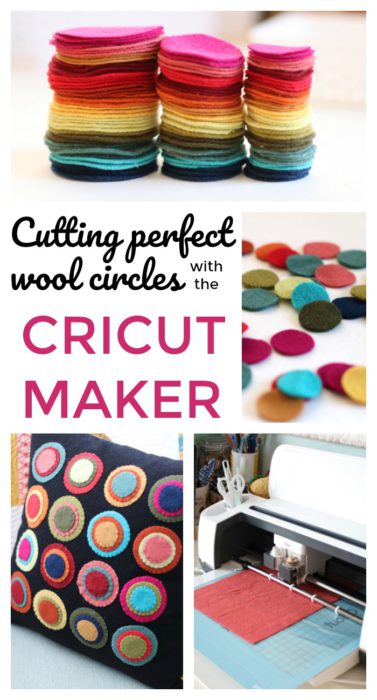
I love the look of traditional "penny rugs" made from dozens of colorful circles. But cutting all of those circles is a pain. Sometimes literally when you have to hand-cut lots and lots of wool circles. But also because, as any of you who have tried to cut a perfect circle know, it's tricky! Even when you cut trace a template and cut carefully, it's hard to get them all perfectly round.
So I decided to put my Cricut Maker to the test and have it cut lots and lots of wool circles. And the best part is that I can set the template to cut multiple sizes of circles from the same piece of wool!
Here's how I made this 18" x 18" Penny Rug pillow + a fun, fast wool garland.
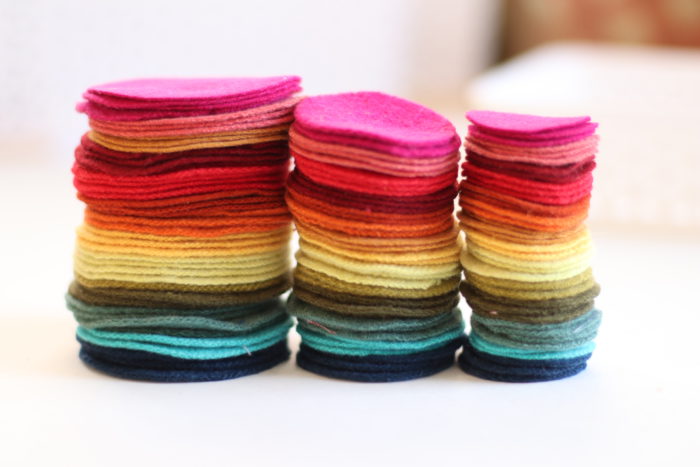
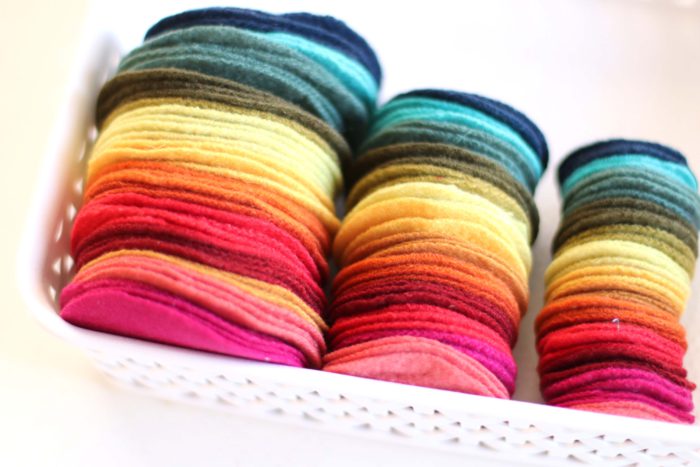
First of all: thoughts on working with 100% wool: It's AMAZING to work with - especially for hand work. It's so forgiving, feels amazing to touch as you work with it, gives gorgeous texture and depth to any project. Especially when you've got a beautiful spectrum of colors to work with.
Cutting the quilting cotton with the Cricut Maker in my last project was a breeze. It worked SO WELL. In creating this project, I knew that working with wool might bring some different challenges, but I wanted to really put the Cricut Maker to the test and see how it would do with this type of fabric. I found some good tips that I'll share below to make the process work and save a lot of time cutting all of those gorgeous, colorful circles.
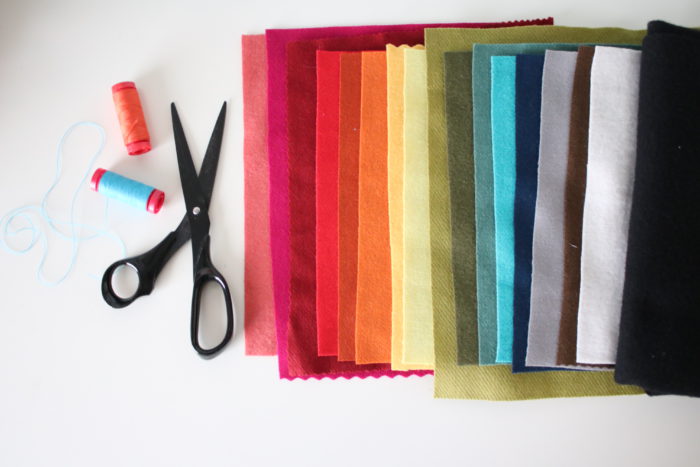
Supplies needed for this project:
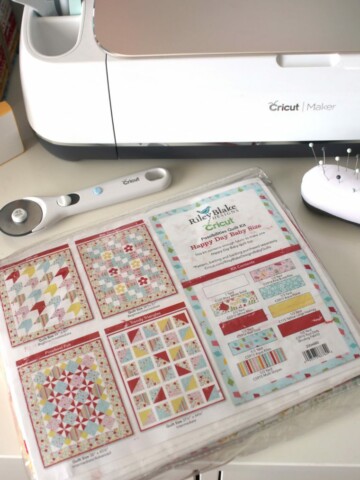
Assorted colors of Wool - I used Riley Blake 100% woven wool. (It comes available in yardage or, better yet, 10" x 10" sampler packs with a variety of colors - perfect for a project like this where a variety of colors makes it fun and a little bit goes a long way.) You could also use wool felt for a similar look, although wool felt doesn't get as thick and soft as 100% woven wool.
½ yard of black wool
Fat Quarter of cotton for backing fabric
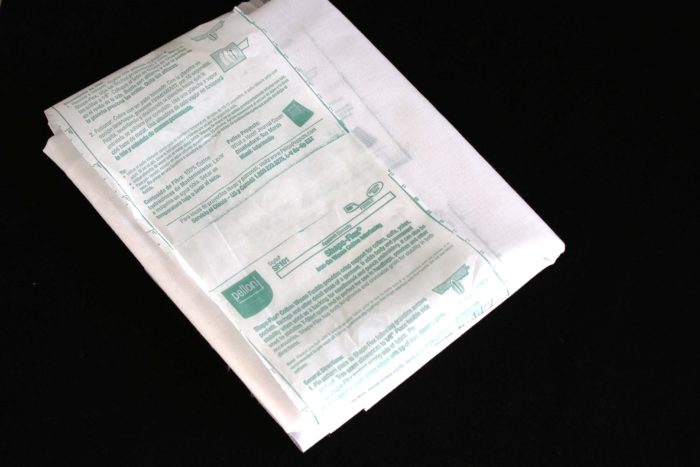
½ yard Pellon Shape Flex interfacing style# SF101
assorted colors of embroidery floss and an embroidery needle
pillow insert
optional - 20" zipper
Cricut supplies:
Light Grip (blue) or FabriGrip (pink) resusable cutting mats
Roll of Cricut Transfer Tape
Optional: Brayer and other basic Cricut Maker accessories
Instructions to make Penny Rug wool pillow:
I used the Cricut Design space to create a variety of 4 sizes of circles. You can use my file here with access to the Cricut Design Space for a 9" x 10" piece of wool or you can easily create your own custom circle sizes.
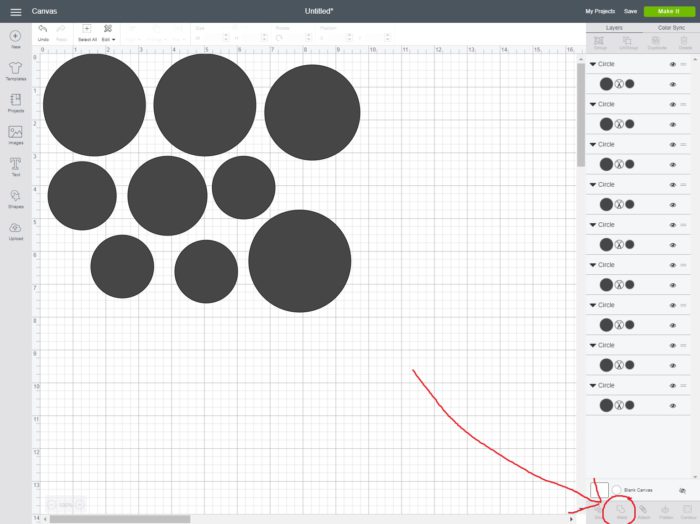
Important tip: If you are working with a piece of fabric smaller than 12" x 12" and draft any custom shapes or letters in the Design Space, highlight the whole space (click ctrl+A) and click WELD in the bottom right hand corner of the screen. This will keep your shapes within the space of your fabric. (Otherwise, when you go to cut, Design Space will automatically re-assign all of your shapes/and letters to fit a 12" width.)
This flexibility to cut multiple custom sizes of perfect circles for each piece of fabric is what makes this machine so much more versatile than most die-cut systems. The possibilities are endless instead of limited to the sizes of individual dies.
![]()
Now here's the part where working with real 100% needs some modifications. Working with the quilting cotton I used the pink reusable FabricGrip cutting mats to quickly cut all of my fabric. However, because the wool is a lot thicker and creates a lot more lint, after two uses the lint pretty much took away all of the stickiness of the mats. So, in talking with the clever folks at Cricut, we came up with the perfect solution!
This is where the roll of Transfer Tape comes in really handy! This sticky, clear film is typically used to transfer vinyl lettering and shapes.
![]()
I cut a piece of the tape just larger than my wool fabric pieces and stuck it to my cutting mat, peeling away the white backing, leaving an extra-sticky surface that could hold a tighter grip on the wool. And since it's removable, my cutting mats would remain sticky too.
If you are using felt, you do not need to take this extra step as the felt will adhere better to the cutting mat and not leave behind as much lint as real wool. 
Once the transfer tape was stuck to the mat, I placed my wool fabric on the transfer tape and used the Brayer tool to smooth and press the fabric to the tape.
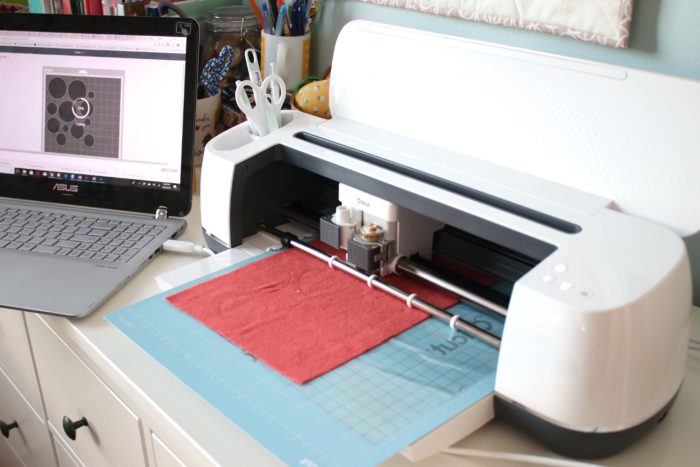
From there I fed the cutting mat with the wool into the machine to cut the circles. When you go to start the cut, the Design tool will always ask you to set the machine according to the material you are cutting so that the cutting mechanism will apply the right amount of pressure. The rotary cutting tool does a beautiful job cutting through the wool like butter.
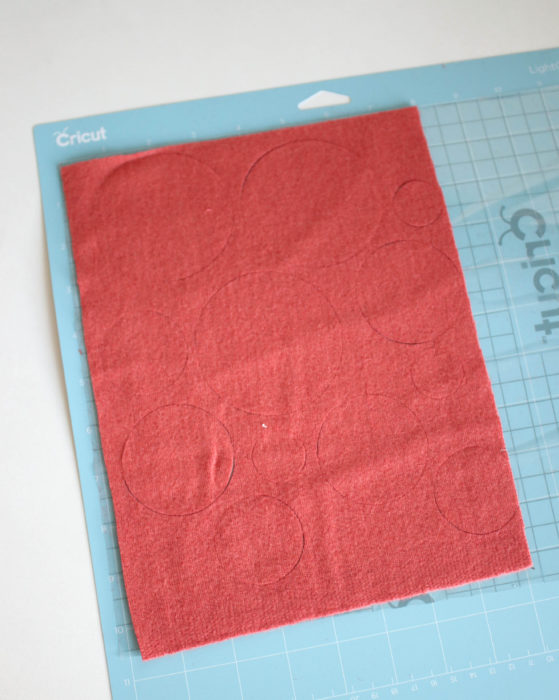
Because the wool has a harder time adhering to the mat, it helps if there is space between the circles and they are not too close to the edge of the fabric. This helps provide material to better adhere to the cutting mat. The transfer tape does need to be changed after cutting through 2-3 pieces of fabric. The blade will also cut through the transfer tape, so the scraper tool will be helpful in removing the smaller pieces of tape from the mat.
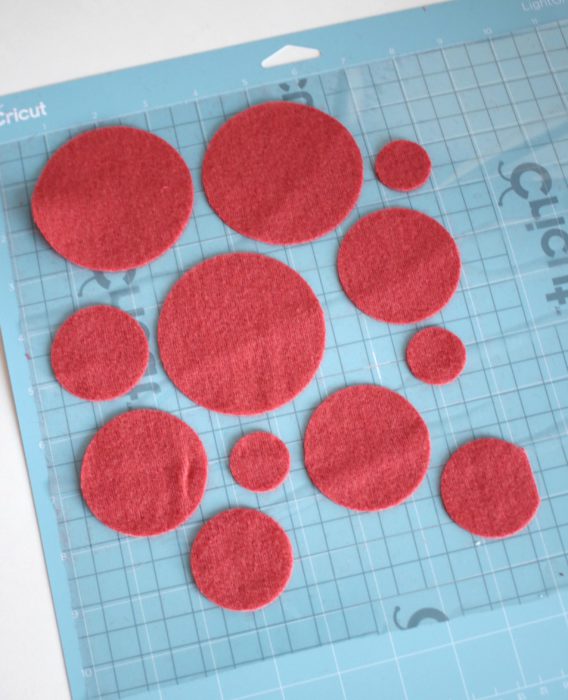
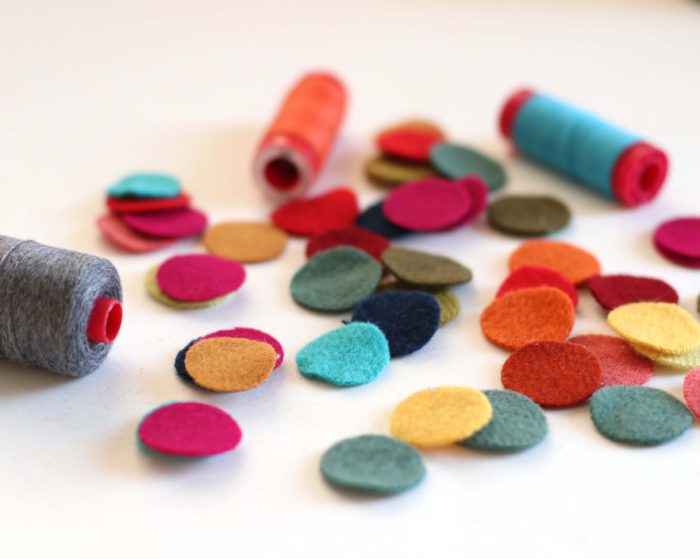
And here you see my perfectly cut circles! So much faster and the circles are so much better. Using the Cricut Maker is a huge timesaver - even with the extra step of adding the transfer tape!
Once all my circles are cut, I'm ready to sew them down for my Penny Rug Pillow!
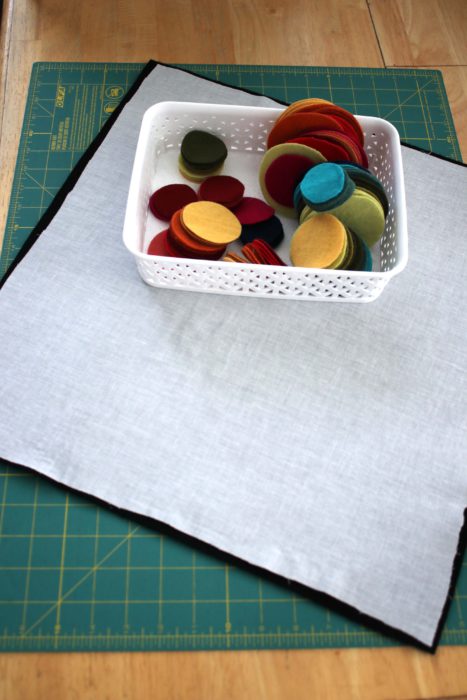
I chose to sew my circles to a piece of black wool for a very traditional look, but you could also sew them to other fabric including canvas, cotton, decor weight etc. If your backing fabric is softer, stabilizing it will make a big difference when you go to hand applique the circles. I used the fusible Pellon Shape Flex interfacing to stabilize my wool backing.
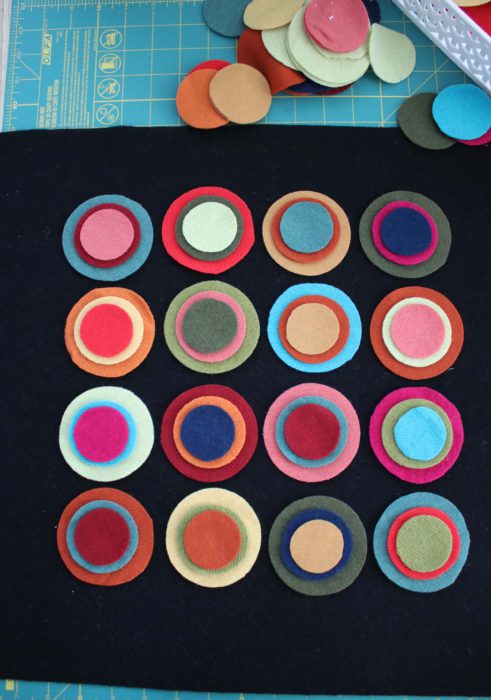
Next, lay out the circles in the rows and layers that look pleasing to you. My large circles are 3" wide and I choose to lay them out 4 rows x 4 rows.
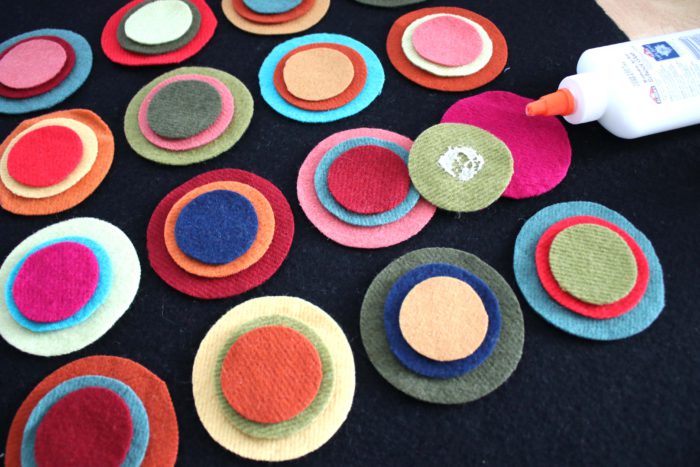
In order to keep my rows of circles in place so I can sit and hand applique without loads of pins everywhere, I glue-baste my circles in place with a very light dab of Elmer's school glue. Only apply the glue in the middle of the circles - you don't want any at the edges so that it doesn't impede your stitching. An I'm serious when I say a little goes a long way - just a very small amount of glue is all you need. (This is where all of those loose fibers in wool work in your favor.)
Important note. Glue-baste the three circles together, but DON'T baste the layers to the black - yet.
It's much easier to hand sew the circle layers together on their own and THEN applique the stack to the backing.
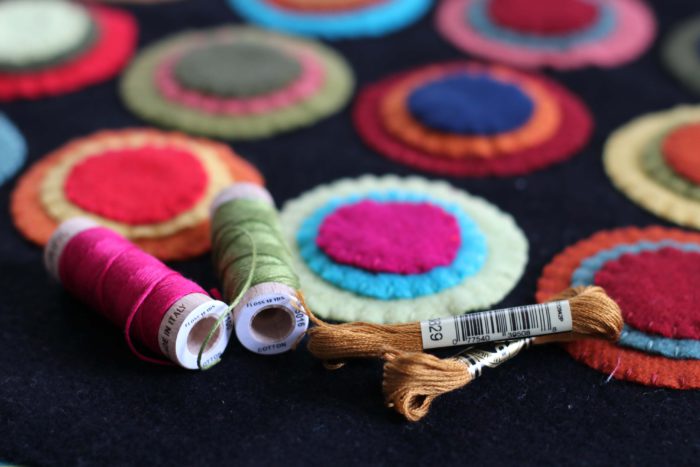
I used a variety of embroidery floss colors to applique my circles. I choose to use a similar thread color to the wool color, but it would also be fun to use contrasting threads. Use an embroidery needle when working with the thicker thread for best results.
![]()
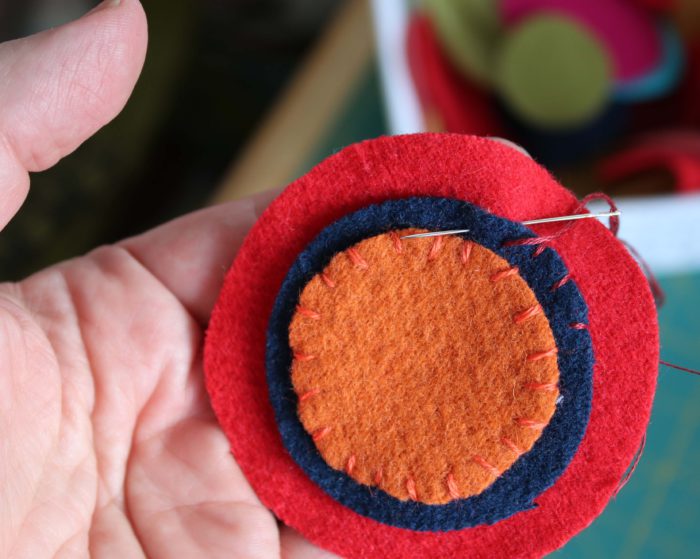
I used a very simple blanket stitch to sew the circles in place. Tie a knot in the end of your thread and pull the needle up through the back of the circle, coming out between ⅛th" and ¼" away from the edge of the circle. Put the needle down just beyond the edge of the inside circle through both layers of wool and stitch in place. Then pull the needle up again the same distance away from the edge of the circle and about ¼" away from the previous stitch.
Repeat this process to stitch around each circle.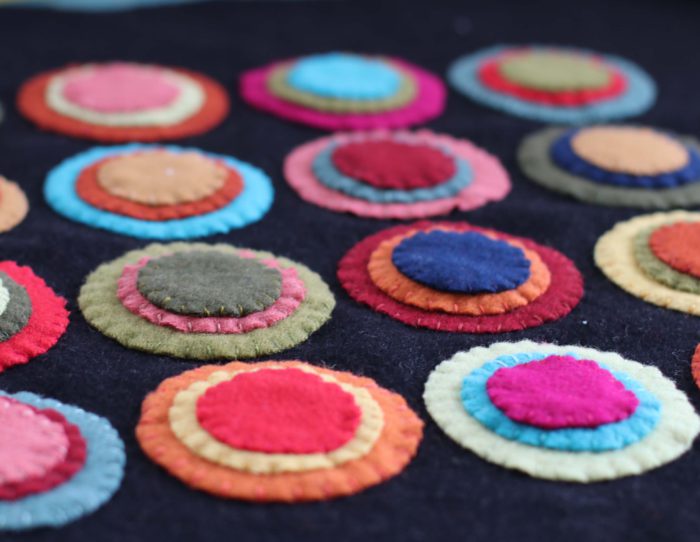
Once the "penny" layers are sewn together, use the same stitch to applique the circles to the black wool backing.
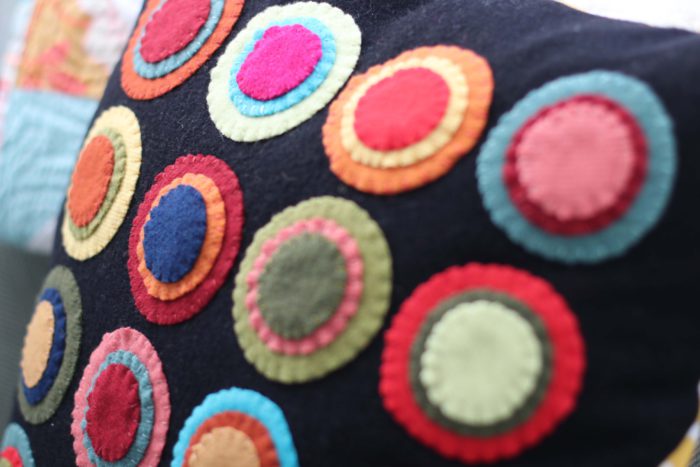
I love this part. It's so soothing working with the wool and I love the way the chunky hand-stitches give the layers more texture. You'll notice that my stitches aren't perfect. I'm okay with that - I feel like it gives the project a real handmade feel as well as a hint of primitive folk art in keeping with the traditional Penny Rug look.
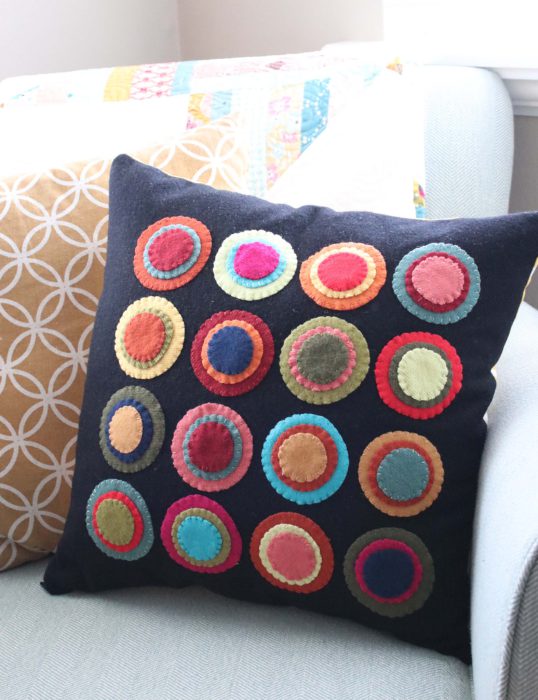
Once the circles are stitched, sew the pillow backing fabric right-sides-together to the wool front and stuff with pillow-form. (I use a 20" x 20' form, just to make the pillow a little more firm.)
I also programmed the Cricut Maker to cut a bunch of 1" circles so that I could make a simple, colorful garland. I sewed across these circles through my sewing machine, leaving about 5 stitches in between to give them some space.
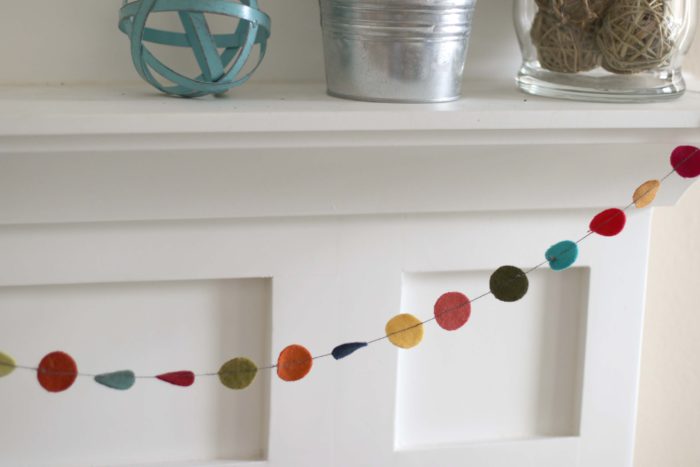
I used a wool thread from Aurifil for added weight (but used a regular cotton thread in my bobbin). Also, use a 90/14 Topstitch needle to accommodate the thicker thread.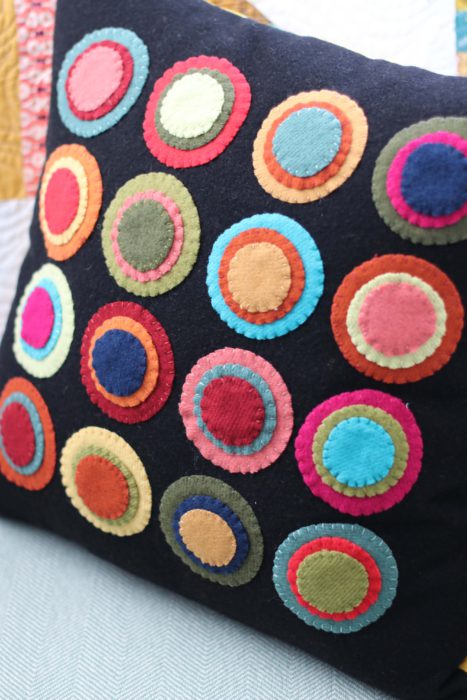
So there you go! Two fun projects with LOTS of perfect circles that I didn't have to hand-cut thanks to the Cricut Maker.
Thanks again, Cricut, for letting me play with this amazing machine! I'm so excited about all of the possibilities it holds and I'm looking forward to sharing more projects in the future!
Have any questions about the Cricut Maker? I'd love to answer what I can - just leave them in the comments.
This is a sponsored conversation written by me on behalf of Cricut. The opinions and text are all mine.
Carolyn Terry
Thanks for the information about the Cricut Maker....I would love to own one. Do you know if there is a washable felt. I am wanting to cut out some silhouettes, to add to my quilts. Thanks
Amy
I know there is washable felt (definitely pre-wash because it will shrink the first time) but I'm not an expert. Reach out to Renae at Benzie Designs. She's the pro! https://www.benziedesign.com/pages/about
Karen Seitz
Hi, Amy. I love your penny pillow and that colorful stack of wool! I want to let you know that the stitch you used is not a blanket stitch. Blanket stitch has thread along the edges of the shape as well as the stitches perpendicular to the edge. You've used a very tidy whip stitch!
Amy
Thanks, Karen! I knew it wasn't an official blanket stitch, but wasn't sure what else to call it (at 12:45 last night. lol) I'm off to update. Thanks for looking out for me!!
Deb R
Thanks so much for this info....I have the Cricut Maker and have been looking for any info on how to cut wool with it. I am a wool applique lover but don't really like the hand cutting part of it. This is a game changer for sure!!
Amy
I LOVE wool applique too - and my hands are getting more tired lately, so I was so excited to use this option! You just need something super tacky because the wool (especially if it has been felted) is a little more thick and has a harder time staying stuck down. It took a little bit of practice to make it most effective, but once we figured out the trick of using the transfer tape, that made it work great! That and not putting the shapes too close together. I tend to want to milk every square inch of my fabric, but the machine definitely performed best if the shapes weren't too close together or to the edge.
Stephanie
This is a perfect project for the maker! I really liked the transfer tape too, I have a post in the works about tips for cutting with felt, I tried it after making my first felt project on the maker. Not that I'm an expert, but instead of welding, you can select a different size (if I'm reading what you wrote right) like this https://i2.wp.com/swoodsonsays.com/wp-content/uploads/2018/03/step-6.png?w=740&ssl=1 😀
Amy
Ooo! I missed that! That's a great tip. Thanks Stephanie!
Jo Avery
I adore this project! I made something similar once using a Sizzix die (and with yo-yos on top of the wool circles) but I love the fact you can control all the sizes of circles with this machine. I totally want to make this now!
Anna Rose Johnson
Love this Amy! What a great way to feature what the Maker can do!
JD
Wonderful tutorial! Had always wondered about 100% wool felt especially merino wool felt. Felt is tough on needles and blades so I just wonder how many uses you could get out of the rotary cutter when cutting 100% wool felt. I also wonder how much felt residue was left behind on the machine parts after cutting and how much of the felt had gotten stuck on the sticky transfer tape. I own a Cricut Maker and totally see the point in having to space out the cuts so that the tougher-to-stick fabrics don’t lift during the cutting process. This is a very enlightening and honest post - I must say, one of the better / substantial sponsored ones out there. Thank you so much for such a helpful post!
Tammy Tutterow
I like to add HeatnBond to the back of my wool for applique. Do you think with the HnB I could skip the transfer tape?
Amy
Ooh, that's a great idea! I think it would make it so you could skip the transfer tape. Thanks for sharing!
Janet
What about the craft felt you buy for 25 cents each sheet? How do I prepare that to put in the cricut maker?
Amy
I would do the same thing - use the sticky transfer tape, just to preserve the stickiness longevity of the mats. But I actually think the craft felt will cut even better than the wool! It should lay flatter and cut cleaner.
Patty
Hi Amy! What settings on the Cricut do you use for cutting felted wool? Default pressure, cotton material or felt, etc.?
Tami Bontrager
I'm thinking of getting a Maker, but not sure of all it's capabilities. I need it to cut very small circles in a grid pattern onto felt. Will the Maker be able to do this?
Amy
Depends how small the circles are. I cut 1" circles in wool felt, but I don't know how accurate the circles would be much smaller than that (just because of the rotation radius of the rotary cutter foot). If it's stiff craft felt, the regular blade may do the job just find.
The Maker is amazing for so many projects.
Sandy
I would just like to clarify, did you use the standard blade or the knife blade? Thanks in advance.
Sandy D
Amy
For this project I used the rotary cutter blade (different from both the standard blade and the knife blade).
Lisa Freeman
Hi Amy~ What size were each of your circles? Thanks so much, I love this pillow!
tinaorlita
Hi Amy, thanks for this post, this is exactly what I was looking for, but do you have any information on the settings used for cutting the wool, like what pressure setting should be used in the Design Space? Thanks!
Mary Hodges
I have never used a machine like this before but I need to cut 300 circles ranging from 5" to 9" out of vinyl banner canvas - would this machine work for that purpose? It seems so many different kinds of machines out there I am so confused knowing nothing about any of them.
Amy
Without knowing exactly what kind of material you're cutting from, I'm assuming it would work as this machine can cut all kinds of material. Honestly though, I'd recommend going to a large craft store (like Michael's or JoAnn's) where you can see the machines and talk to an associate in person. They'll be able to recommend the right machine for your specific needs. I hope that helps!