
A quick little St Patrick's Day project - a Lucky 4-leaf Clover mini quilt - from guest writer April Rosenthal.
Hello friends! It’s April Rosenthal--I’m a pattern/quilt designer, and also get to design fabric for Moda! It’s pretty darn magical, if I’m being honest. 🙂 I’m excited to be here and share a little project I’ve had up my sleeve for a while now.
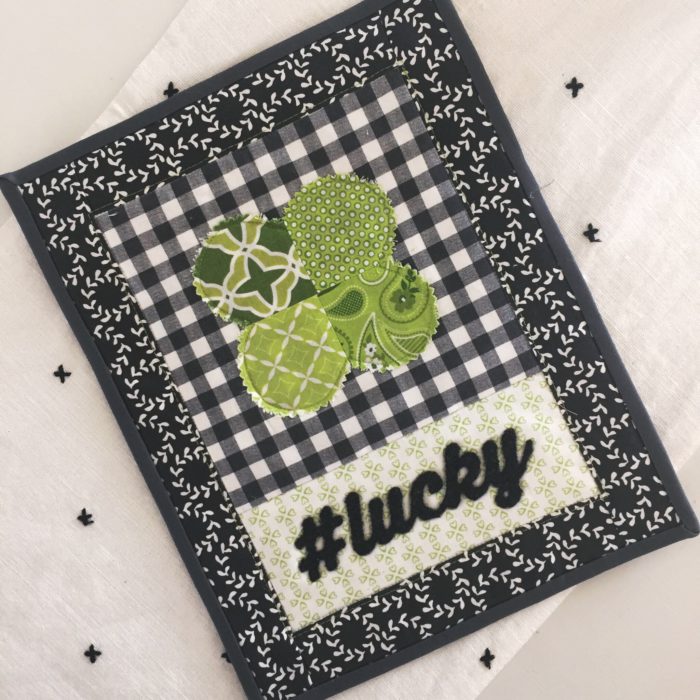
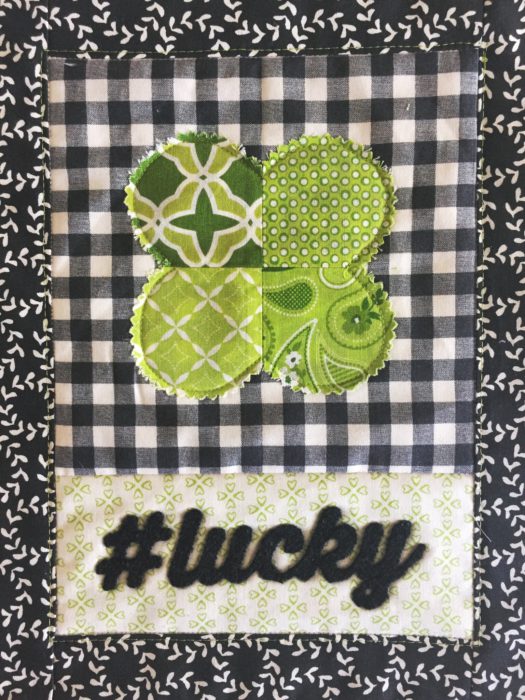
My children have brought to my attention that we don’t have nearly enough seasonal decor---aka holiday decorations---so I’ve been thinking a lot about what I could make that they could have fun changing up on a monthly basis. I made this little St. Patrick’s day mini in under an hour, and I’m pretty sure there are more in my future! It was just so fun and fast to make. The mini finishes at 10" x 12 ½".
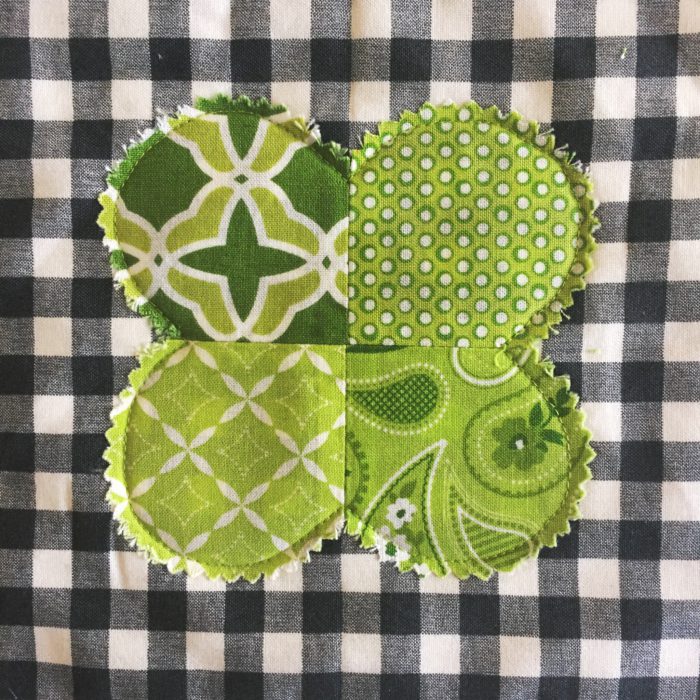
First up, I chose 4 scraps of green fabric, trimmed them to 3” square each, and stitched them into a 4 patch. You could also sew strips or smaller squares together, or just use one 5” square. Use your imagination!

Next, I traced my clover template (see link to printed pattern on my blog) onto some fusible webbing and cut on my marked lines. I ironed the webbing to the back of my pieced patch, and then cut the clover out using pinking shears. I wanted to have a raw edge for a bit of texture, and pinking the edges helps the fabric fray evenly.

I used a square of black and white checked fabric (from Vanessa Goertzen’s Farmer’s Daughter collection for Moda) and ironed the clover to the center of the square.
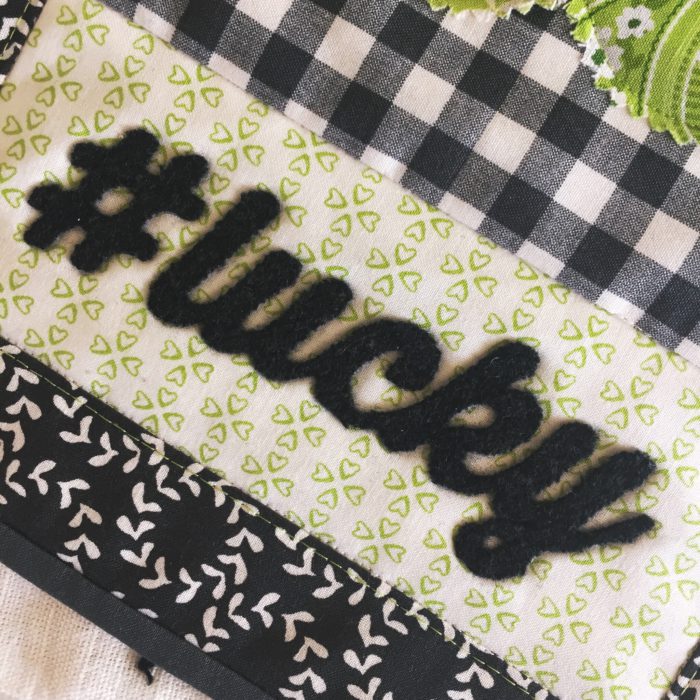
I used felted wool to make my #lucky words at the bottom. I used a cutting machine to cut mine, but you could also trace the template by hand to the back of heavy fuseable interfacing and cut it with some sharp tiny scissors. Just take your time and enjoy the process. First, I ironed heavy fuseable interfacing to the back of my wool--this helps it from falling apart with those intricate cuts. Then, I used my cutting machine to cut the words out. I actually used fabric glue to glue my words on to the low volume rectangle. This worked well for me because I don’t plan on washing or really handling this piece--if I did, I would certainly have stitched around the edges. (Machine applique tutorial, here)
I also considered using a light box and acrylic paint to just paint the letters on the fabric, which would also be really fun and fast. Or you could trace the pattern and stitch the letters. In the end, I just really wanted the texture of the felted wool.
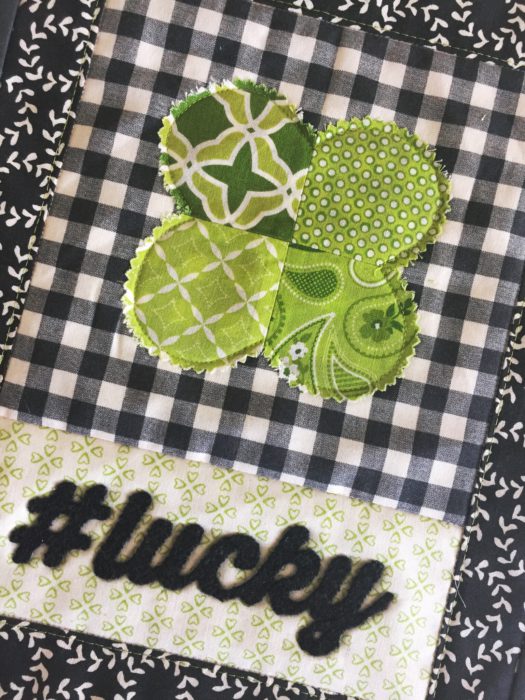
Stitch the #lucky piece to the checked square. Press toward clover.
Attach top and bottom borders (I used a darling black wreath print from Sweetwater’s Hometown Christmas line for Moda), press toward borders, then left and right borders, press toward borders.
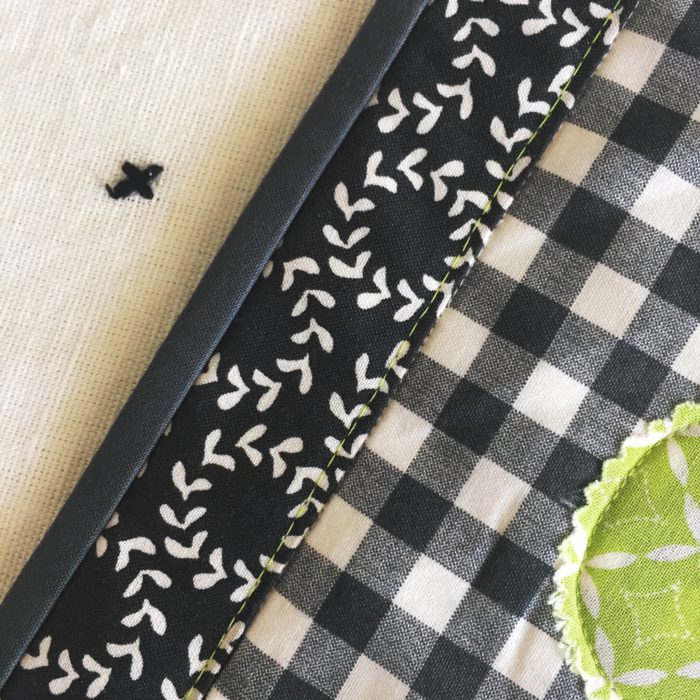
To finish up, I layered my mini with a scrap of batting, and a solid dark grey from my stash. I stitched in the ditch around the checked and #lucky sections, and then stitched 1/16” around the border with matching green thread. I bound this sweet thing with the same dark grey solid.
All in all, this little mini took me under an hour to make, and my kids adore it. They expect an Easter/Spring version next, so I guess I’ve created some more projects for myself. 🙂 I’ll post future seasonal mini’s over on my blog, and additional details over on Instagram and Facebook.
Download the printable pattern with templates here.
Happy stitching! 
Xoxo
April
Thanks, April!
If you're looking for some other cute St. Patrick's projects check out these tutorials:
Free Irish Chain Quilt Pattern
Clover Quilt block from Natalia Bonner
Shamrock quilt block from Pat Sloan
Gingham Shamrock zippy-pouches
Lucky Shamrock applique pillow
Felt Shamrocks St. Patrick's Wreath
Jenny Coyle
Very cool idea! Happy St. Pat's to you!!