Accuracy when piecing quilt blocks is something we're all striving for. It's always so satisfying when those star or triangle points line up perfectly. Did you know, that doesn't need to be as hard as it looks? I'm so excited to have Lee Monroe of May Chappell as a guest today. Lee is an experienced quilting teacher (and all-around delightful human being) and has 5 super simple tips to help us all have perfect points on our quilt blocks.
Hello everyone! I'm Lee Chappell Monroe and I am a designer and teacher. I usually share my adventures over on MayChappell.com , but Amy has graciously invited me to share here with you today. I teach a lot of piecing classes and I thought it would be fun to share Five Easy Tips to Perfect Points.
Tip #1 - Stitch a short test seam at a crucial spot
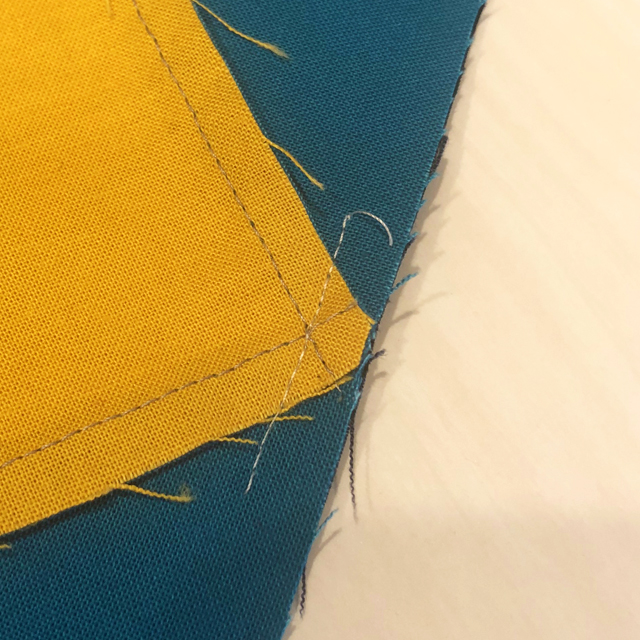
Whenever you're aligning points and looking for accuracy, stitch just a ½" on either side of the crucial spot. This will limit your seam ripping if things are not ideal. Once you've sewn the short section and are happy with your point, you can sew across the full edge. No need to stop at the point, just sew right over it.
Tip #2 - Mark the "Stitch-through" spot with a pin
Often times the piecing reveals exactly where you need to stitch. Look to previous seams as a guide. (See intersection of point seams in photo from Tip #1.)
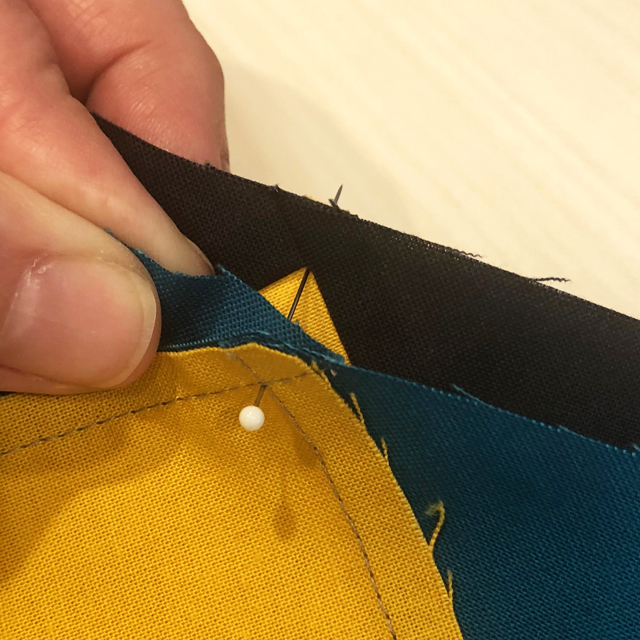
If they're on the "wrong side" and not visible, you can always poke a pin through the point and give it a good wiggle. By wiggling the pin, you'll create a visible spot in the fabric that you can stitch through. These two flying geese blocks are showing exactly where I need to sew to get a crisp point.
Tip #3 - Use a straight pin as guide to match up two points before sewing
Put a straight pin through the points to match them up. Leave the initial pin perpendicular to the fabric and pin on either side to keep everything in place. Then you can remove the perpendicular pin and sew. This can feel time consuming, but it's way faster than unsewing! Stitching two points to one another is one of the more difficult seams.
Tip #4 - Accurately Square-up Your Blocks
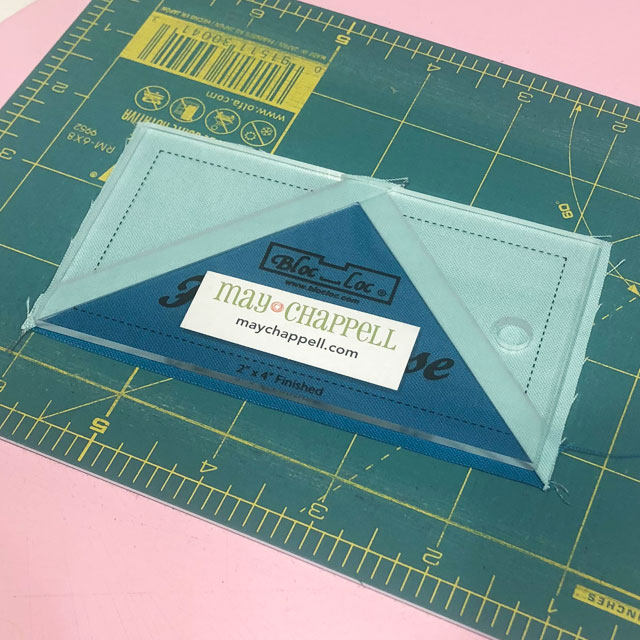
By stitching your block elements larger and trimming them down, you'll find the elements are perfectly sized. This works for half square triangles, flying geese, square in a square and more. Accuracy in cutting and trimming will make those points fall right into place.
Especially with flying geese, if you square up the the point exactly ¼" from the trimmed edge, after you sew a ¼" seam that point will be right in place! If you only change one thing about your piecing to improve your points, this is the one with the most bang for your buck! You will see a huge improvement. Find a trimming ruler that works for you; I am a Bloc loc rulers fan.
Tip #5 - Mark your machine with a perfect ¼" seam allowance
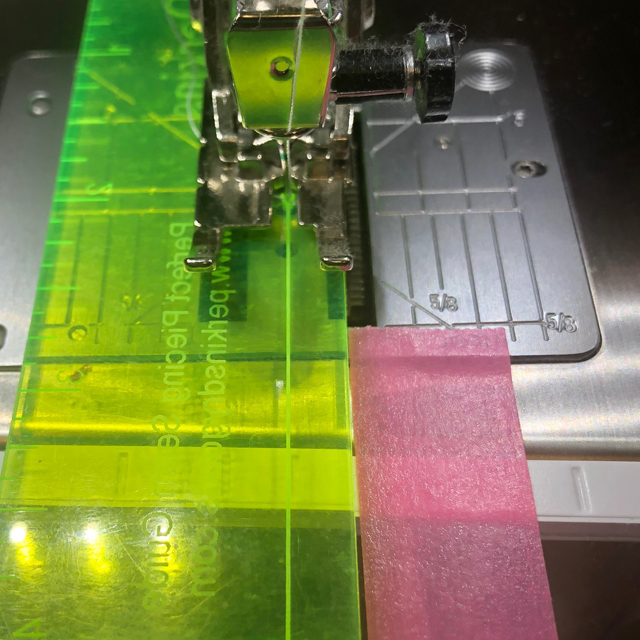
The quarter inch seam is going to make all the difference when you're working to improve your points. Make sure you know where the quarter inch is on your machine. I love the Perkin's Perfect Piecing Seam Guide. Once you find the quarter inch line, add a piece of tape to align your fabric to. Knowing your machine and knowing where the quarter inch line lies is a crucial step to successful piecing.
If you'd like more tips about all things quilty and stitchy, you can check out my Terrific Tuesday Tips series.
Happy Stitching, Lee
Thank you Lee! Be sure to check out Lee's May Chappell pattern shop. She's got so many fun quilt designs!




The Joyful Quilter
Lee is always full of helpful hints. Thanks for hosting her here on the blog, Amy!
Amy
Isn't she the best? I just love Lee.