
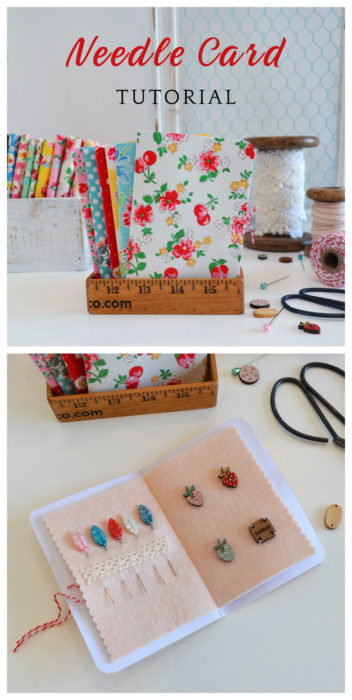
I'm so excited for another darling tutorial from the uber-creative Sedef Imer. This little retro-inspired fabric covered needle cards book is so simple to make - and would make a great gift for other friends who love to sew.
Hi, it's Sedef Imer here, from Down Grapevine Lane . I'm delighted to be back as a guest blogger on Amy's blog and today I will be showing you how to make these sweet fabric covered greeting cards!
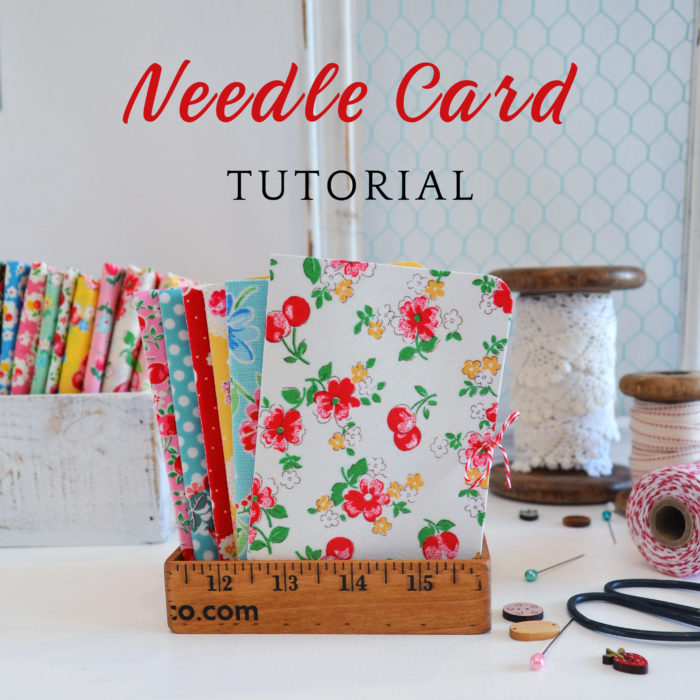
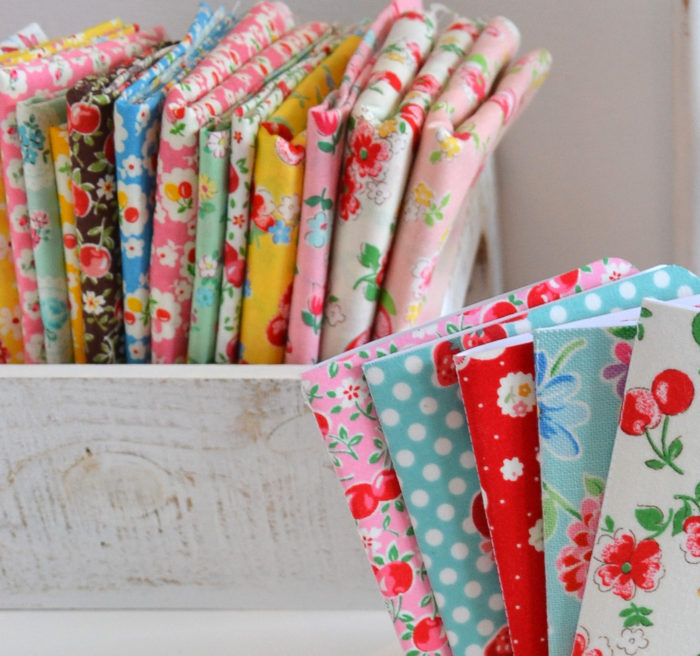
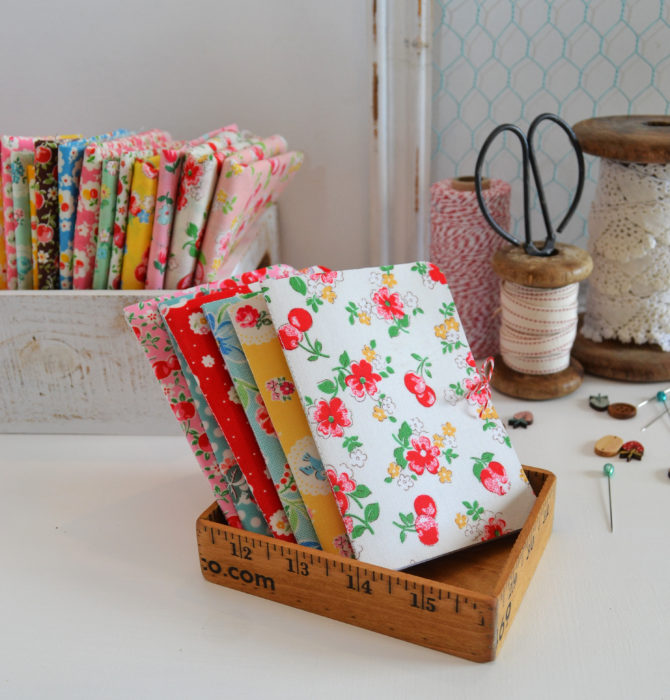
Although sewing is a solitary hobby, most of us are part of a sewing circle of friends, be it virtual or real. We take part in swaps, gift or sell our handmade items, share our fabric stash with friends, and generally form a social group around this beautiful hobby of ours. And there are so many occasions when you are sending something to someone where you want to include a special card with some 'extras' - a cute pin or two or some buttons perhaps. This fabric covered needle card is just the ticket!
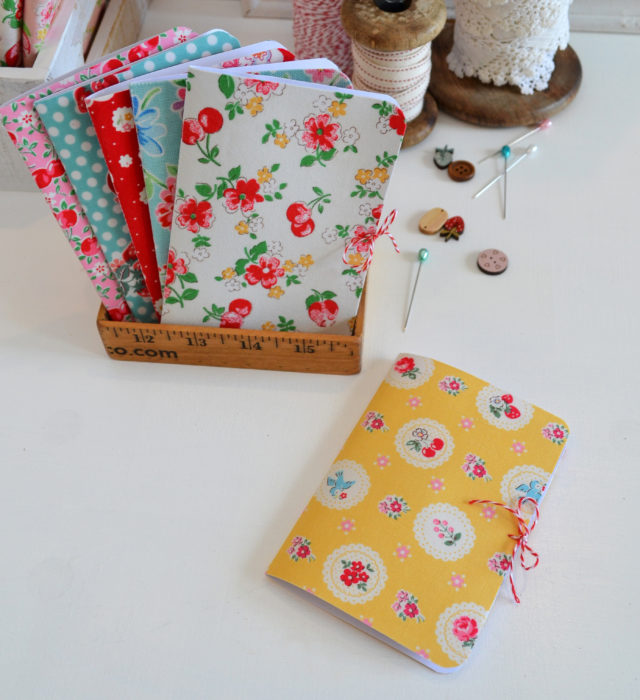
There is a 'Thank You' message on the inside cover and a cute sewing drawing on the other side. There is room to write your personal message also.
Here are the materials you will need and the steps to make these cards.
NEEDLE CARDS MATERIALS (TO MAKE ONE CARD)
5 ¾" x 8 ¼" of print fabric
5 ¾" x 8 ¼" of fusible web
4 ½" x 6 ½" felt
Cardstock or other heavy weight paper
2 ½" long decorative lace or ribbon
8" long baker's twine or string for closure
Pinking scissors
Pins & buttons to decorate
NEEDLE CARDS ASSEMBLY STEPS
1. Download the PDF template from here and print to A4. Make sure you download it to your computer and open in Adobe Acrobat to print - if you print it straight from your browser this often causes size problems. Cut the template into two along the horizontal dashed line - you can make two cards from one printed template.

2. Apply fusible web to the wrong side of your print fabric, following the manufacturer's instructions. Peel off the backing paper and fuse this onto the back of the paper template with hot iron (no steam). You can use ordinary glue instead of fusible web for this step too, however bear in mind that the fusible web gives some extra stiffness and also makes sure there are no air bubbles so the fabric adheres to the paper uniformly.
3. Neatly cut off the excess fabric/card outside the rectangular card outline. (Tip: I used a ruler and rotary blade to cut the 4 sides first, and small scissors to cut out the curved corners after).
Now you can stop at this step, and simply write a message inside your card, fold it in two and it's ready to be sent. If you want to include a felt sheet inside with some 'extras', proceed to the next step!
4. Using an erasable fabric pen, draw a vertical line down the centre of your felt piece (this is the line we will stitch along in the next step). Sew your decorative lace or ribbon in the middle of one side of your felt. Trim the edges with pinking scissors for a cute finish (I used scallop edged pinking scissors).
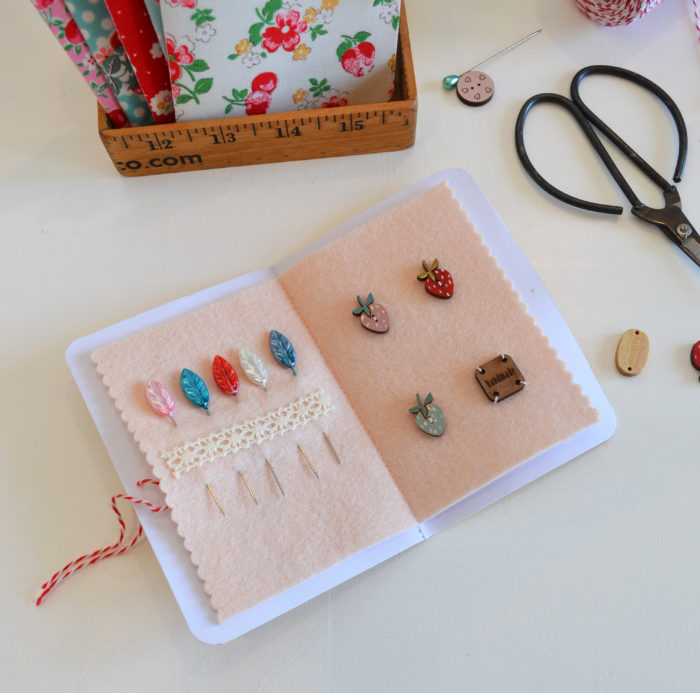
5. Place the felt in the centre of your outer fabric covered card, lining up the central mark on the felt with the dashed line on the card. Stitch all the way down from the top to the bottom of the card. Erase the pen mark on the felt.
6. Carefully fold the card in two - the stitch line in the centre will act as a spine which will make it easier to fold. Press down with your hands or hot iron.
7. Open the card and attach your pins and sew the buttons to the felt by hand.
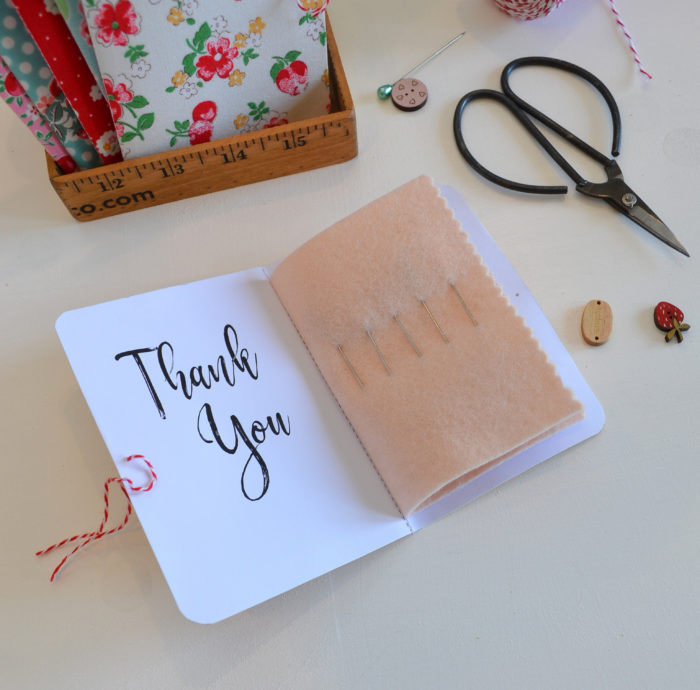
8. Thread the baker's twine through a large eye sharp needle, and poke it through the middle of the front cover, a few mm from the edge, and then through the back cover. Pull the needle and twine through so the twine goes through both holes, remove the needle and tie up the twine into a bow. This will help keep the needle card closed.
 I hope you enjoyed this tutorial and use it to make many sweet greeting cards for your friends. Please come visit me over on my blog Down Grapevine Lane and you can also follow me on Facebook and Instagram for free tutorials, patterns, and general sewing inspiration. Happy sewing!
Thank you so much Sedef!
Have you made needle cards before? Share in a comment below!
If you haven't already seen Sedef's other guest posts, check out her very popular
Leaf Coasters Tutorial found here
Scandi Pillow Tutorial found here
And Simple Sprocket Pincushion Tutorial found here
Linda Douglas
THANKS for sharing Sedef ! So Neat!
Susan Barlow
I will definitely be trying to make this!!
Sandra B
Thanks so much! The timing of this is perfect...I was thinking I would like to make a couple of these as Christmas gifts for several of my quilting friends, along with a coordinating pin cushion...
Thanks again!
Madonna Brady
Another sweet project, will give it a go. Thanks
Kathie
Haven’t made a needle card before... these are precious! Great gift idea indeed. Looking through stash right now. Thanks for sharing with us!
Karen
Oh my gosh, these little needle cards are just adorable! They would definitely make a cute gift! Thank you so much for sharing!
Beverly Button
I'm going to try using a plastic snap to close my needle card.