
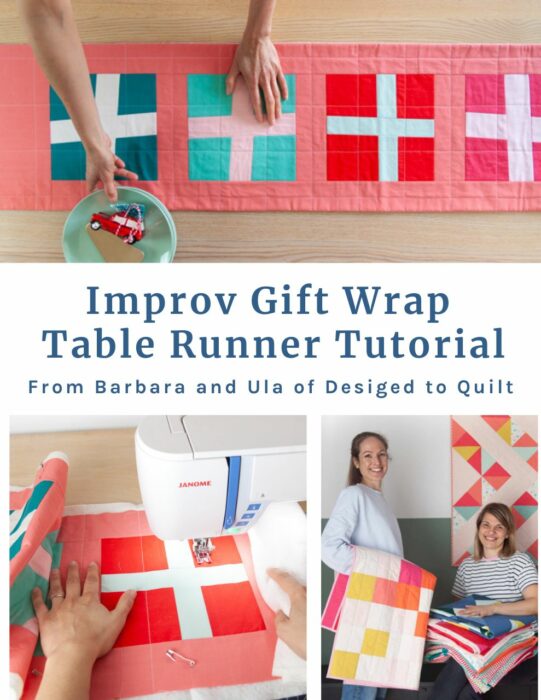
I'm so excited to share this guest post tutorial with you today. Meet Barbara and Ula from Designed to Quilt. In this post they're sharing a project tutorial for a fresh, modern holiday improv table runner. It's such a great project for practicing using improv-piecing techniques. I'm excited for you to hear from them!

Hi, friends! We’re Barbara and Ula, the creators behind Designed to Quilt. We run a graphic design studio but found our true love in quilts. We created DTQ as a place to explore and share all the quilty things we learn. And we’re excited to have you join us here on our journey.
Table Runner Idea
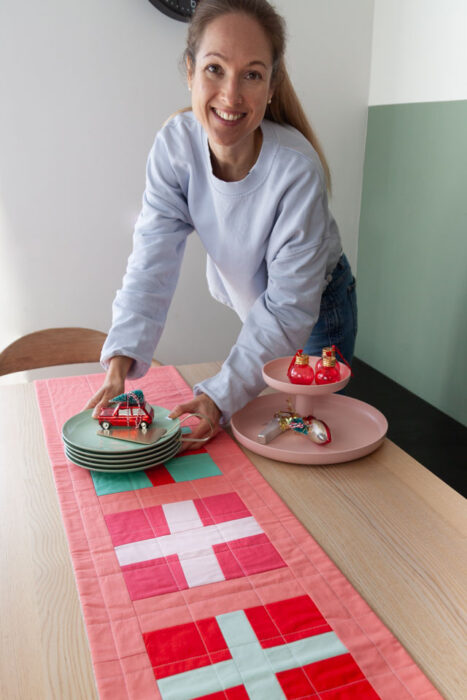
We have a super fun quilty tutorial for you guys: a modern holiday improv table runner. It’s such a great way to add a quilty vibe to your dining table, and this fun Christmas gift design is perfect for the jolly season!
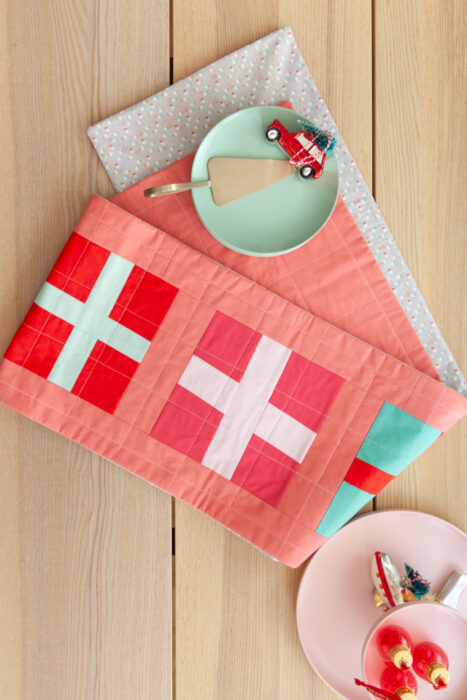
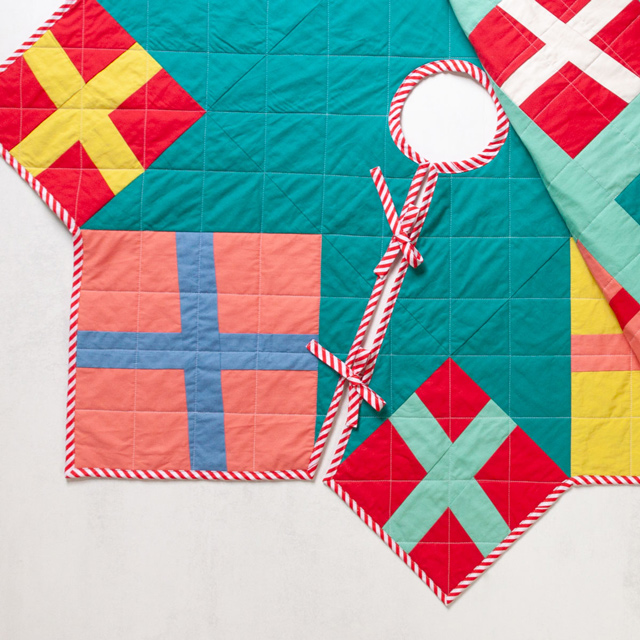
Our table runner is created using these fun improv blocks, which are actually the building blocks of our two Christmas patterns: the Gift Wrap Quilt and the Gift Wrap Christmas Tree Skirt.
We had so much fun with these patterns we keep finding new ways to use the blocks!
In this tutorial, we’ll first show you how to create the wonky gifts. It’s actually really easy and great for some relaxing sewing.
Then, we’ll explain how we constructed the quilt top and finished the table runner.
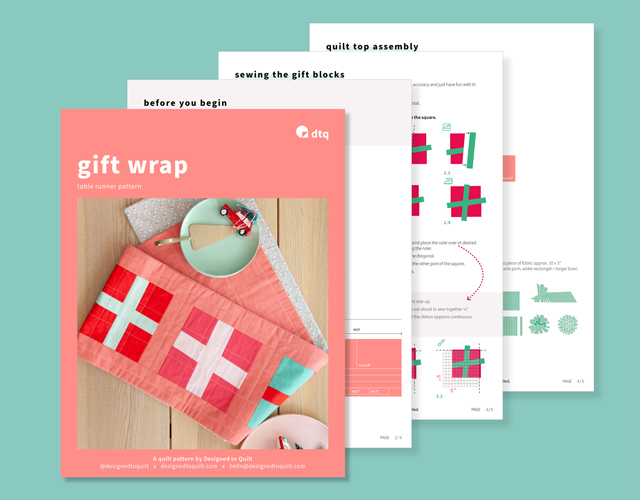
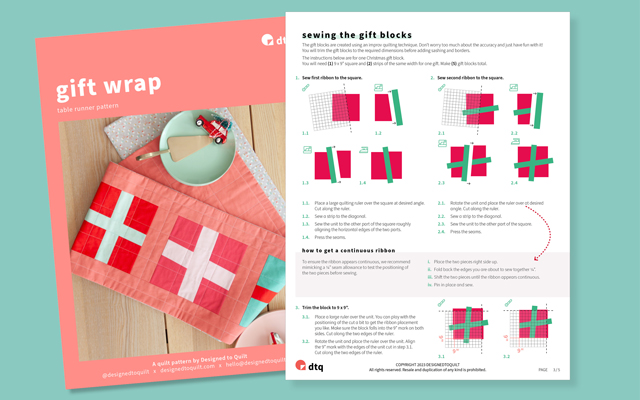
To make things easier for you, we created a free pattern for the table runner! You can get the pattern here: Click here for the free Gift Wrap Table Runner Pattern.
The Wonky Improv Gift Block
We’ll show you how to make the improv-style gift blocks used in the table runner pattern. (All the fabric requirements are also listed in the pattern.)
Of course, you could also make these wonky gifts to use in a different project. In that case, adjust the size to fit your needs.
To create one wonky gift, you’ll need:
- 1 fabric square for the ‘wrapping paper’ (about 9x9’’)
- 2 strips for the ‘ribbons’ (around 11” long and 1 ½” to 3” wide)
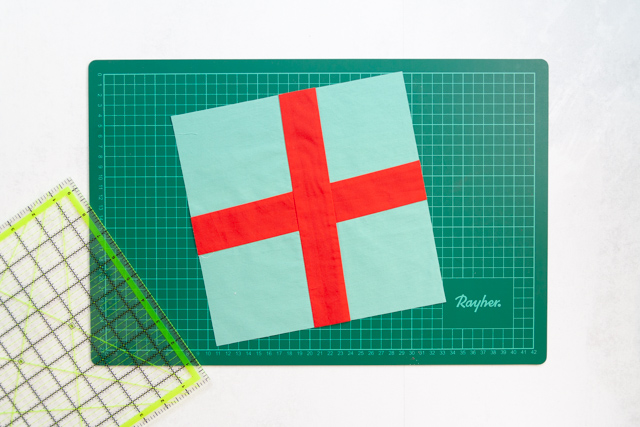
How to Make a Wonky Improv Gift Block
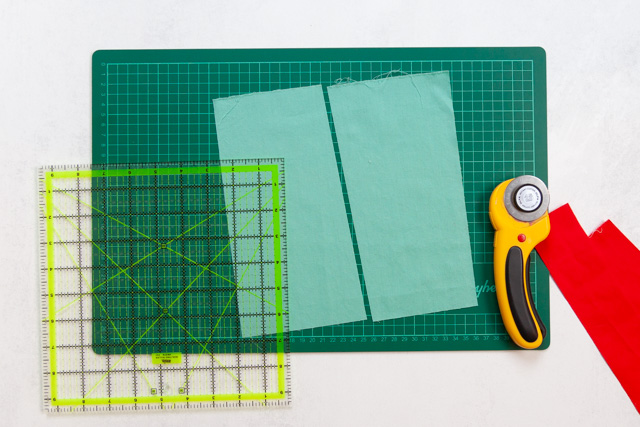
STEP 1: Sew the first ribbon to the square.
Place a large quilting ruler over the square at the desired angle and cut along the ruler. Sew one of the strips into the opening. Press the seams.
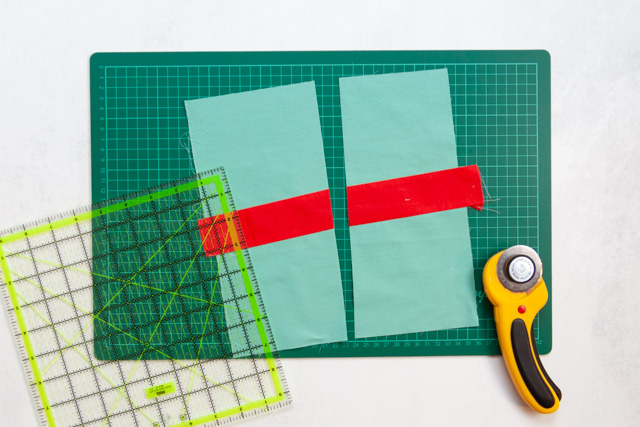
STEP 2: Sew the second ribbon to the square.
Now, rotate the unit and again - place the ruler over at the desired angle and cut along the ruler.
Now you’ll sew the other strip into the opening. You’ll need to be a bit more careful here to make sure the strip (ribbon) appears continuous.
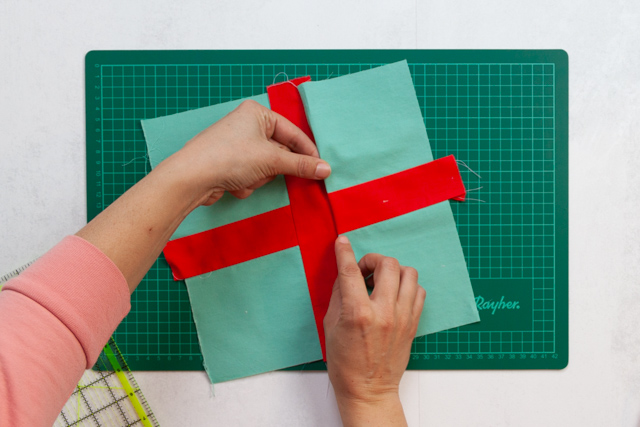
We recommend mimicking a ¼” seam allowance to test the positioning of the two pieces before sewing. To do this, simply folding back the edges about a ¼’’ and shifting the two pieces until the ribbon looks continuous. We pin everything in place and sew.
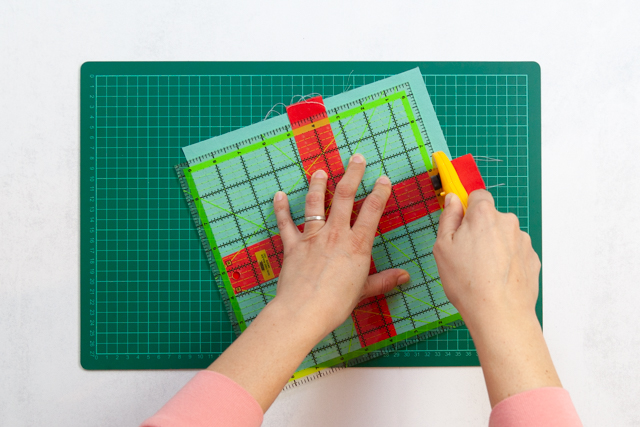
STEP 3: Trim the block to 9x9’’
Now all we need to do is trim the block to size. Place a large square ruler (at least 9x9’’) over the unit. You can adjust the positioning a bit to get the ribbon placement you like. Just make sure the block stays inside the 9’’ mark in both directions. Cut along the first two edges.
Then, rotate the block and repeat on the other two edges.
Voila! You’ve got one wonky gift block!
We created illustrated diagrams to take you through all these steps. They’re included in the free pattern, so you can print them out and have them at your sewing table.
Quilt Top Assembly
Once you’ve made five gift blocks, you can move on to the quilt top assembly which is pretty straightforward.
We recommend following the directions in the pattern, but here’s a quick overview of how to do it.
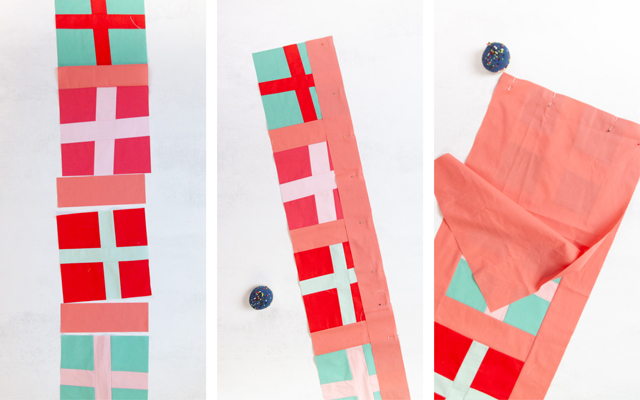
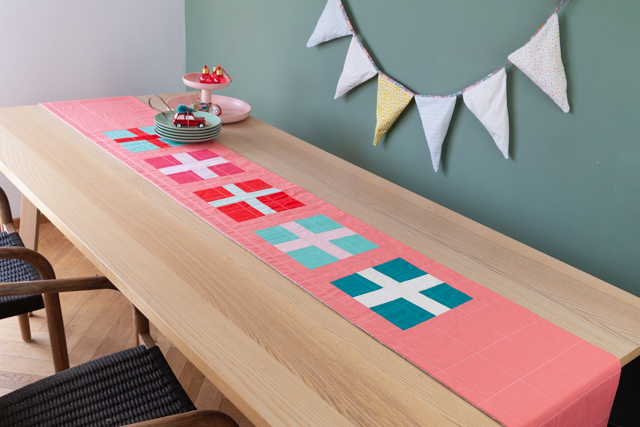
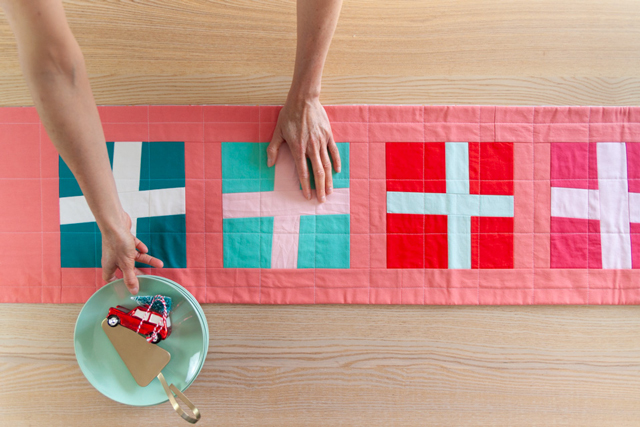
All you need to do is first, add the sashing between the gift blocks. Then add the borders on both sides of the gift block unit. And finally, sew on the end pieces.
The finished size of our table runner is about 94x14’’. You can easily adjust this to fit your table dimensions simply by adjusting the length of the two end pieces.
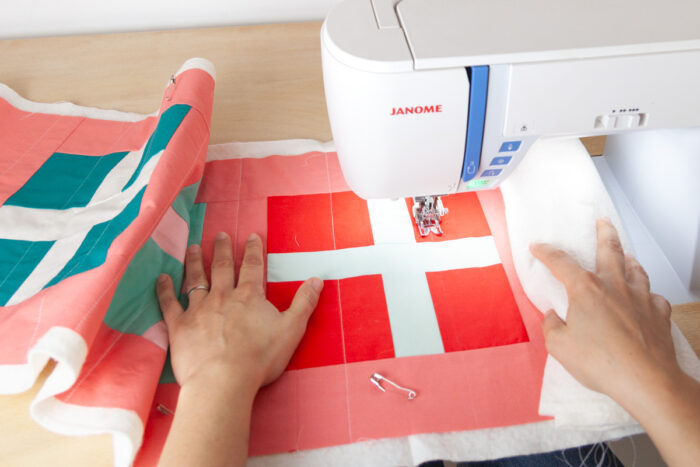
Finishing the Table Runner
With the quilt top finished, all there’s left to do is finish the table runner. There are different ways to do this.
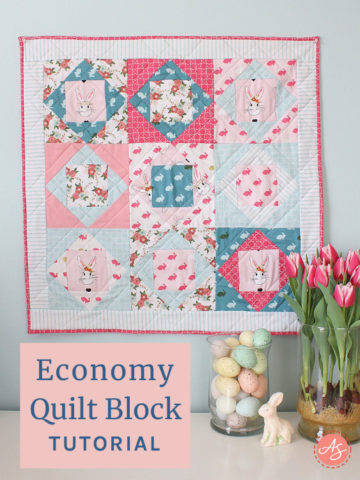
You can finish it exactly like you would a quilt top with binding and all. Amy has a great tutorial you can follow here.
Of course, we always look for shortcuts (so we can get onto the next project). With table runners, we’ve found a great time-saving technique that works perfectly every time.
We have a Table Runner Tutorial on our blog you can follow for all the deets. But basically, here’s how it goes.
Instead of making your classic quilt sandwich (with the quilt top, batting, and backing), just baste together the quilt top and batting.
Free Quilt pattern for Improv-piecing gift wrap quilt block table runner
Quilt as desired and cut away the excess batting.
Now, lay the quilted layer and the backing right sides together. Pin in place and sew all around the edges. Leave an opening along the shorter side.
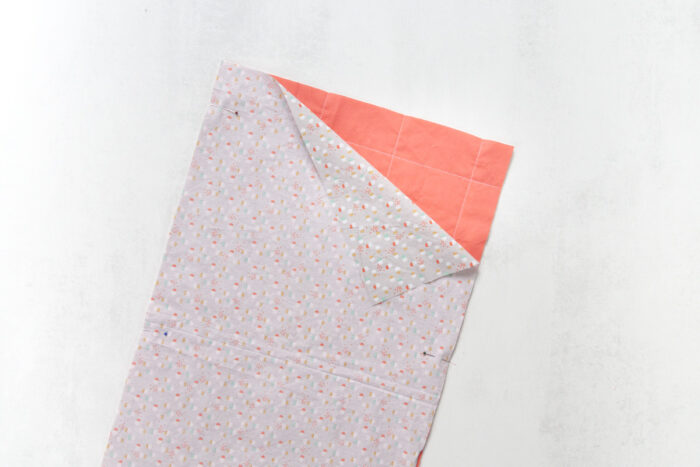
If you want you can cut away some of the excess fabric around the corners. Just make sure you don’t cut off too much.

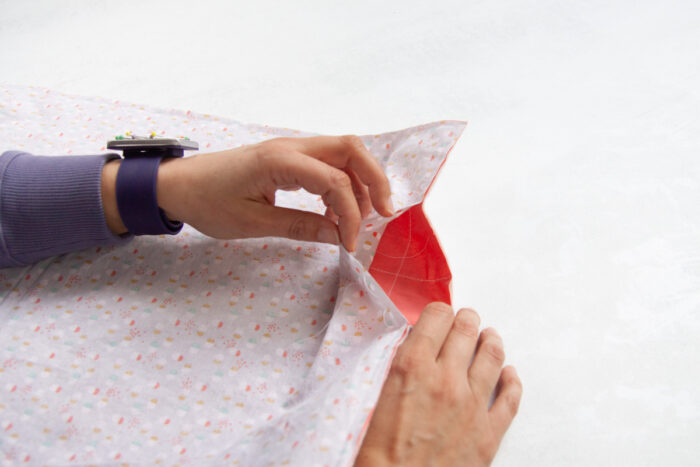
Now, pull the inside of the table runner out through the opening you left on the shorter side. You’ll want to adjust everything and give it a good press.

Finally, hand stitch the opening to finish the table runner.

Yaaay! It’s all done. Amazing!
All that’s left to do now is invite your friends and family, get some good food out, and enjoy your new holiday table runner!
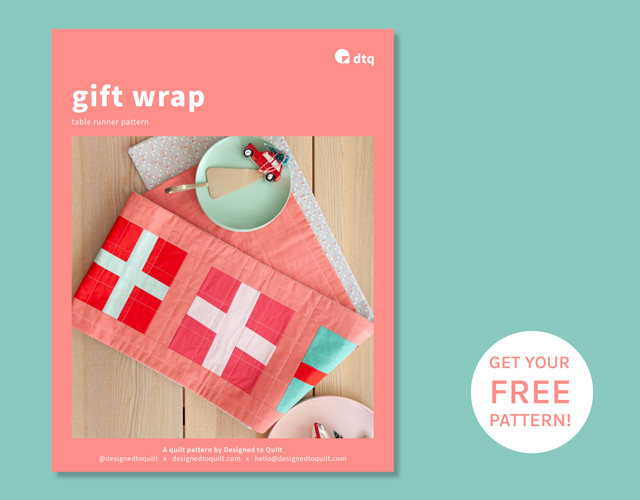
Download your free table runner pattern here: Gift Wrap Table Runner Pattern
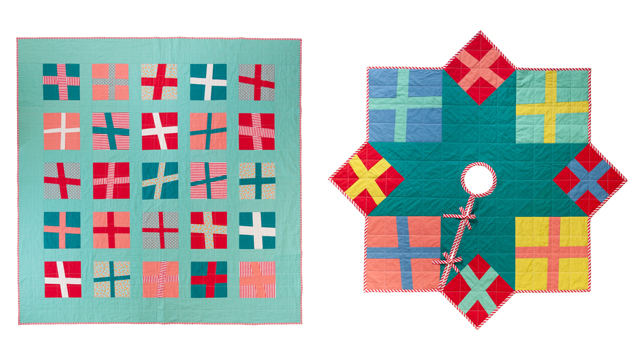
And if you want to make a matching quilt top or (and?) quilted tree skirt, we’ve got two fun patterns in our shop: the Gift Wrap quilt and the Gift Wrap Christmas tree skirt.
Thank you SO much Ula and Barbara for this fun and fast modern holiday improv table runner project! I think this idea could go in so many fun directions.
Be sure to check out their site Designed to Quilt for lots more inspiration. I'm especially smitten with their minimalist quilted stocking tutorial. SO pretty.
Leave a Reply