
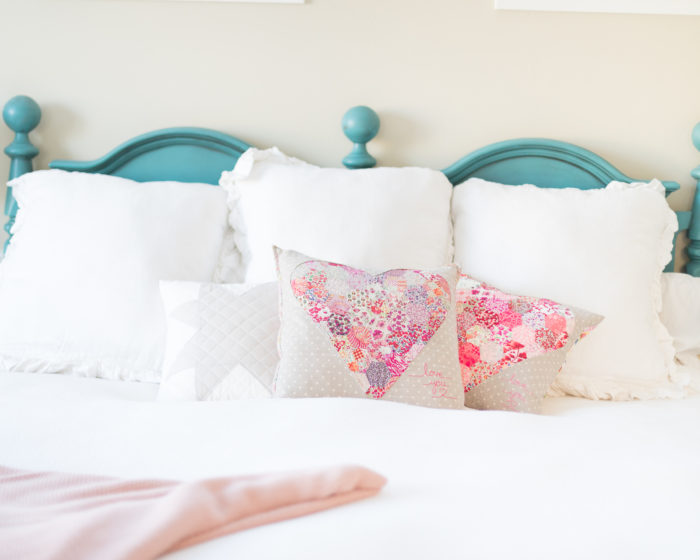
This year I personally invited some of my favorite, creative and inspiring quilters to share their creativity and knowledge here. I'm so excited to see what they create and share! This adorable heart pillow by Amanda (in the gorgeous Liberty Lawns, no less!) will inspire you to create something pretty in time for Valentine's Day - or to keep out year round!
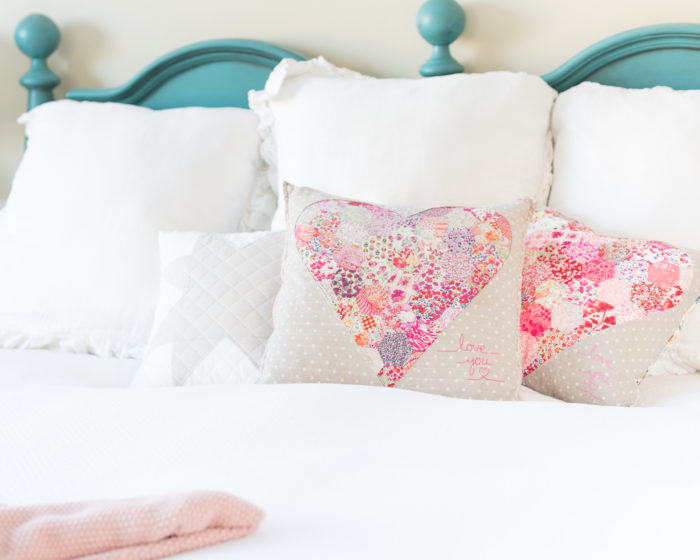
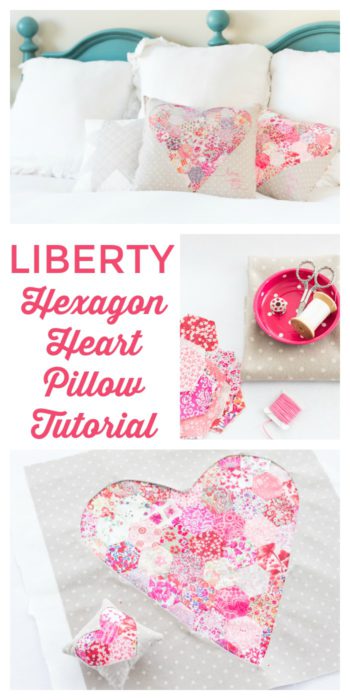
Liberty Hexagon Heart Pillow Tutorial
Hi! I’m Amanda from the blog A Crafty Fox and the shop Westwood Acres. Today I’ve teamed up with Amy to share one of my most requested tutorials - our hexagon heart pillow!
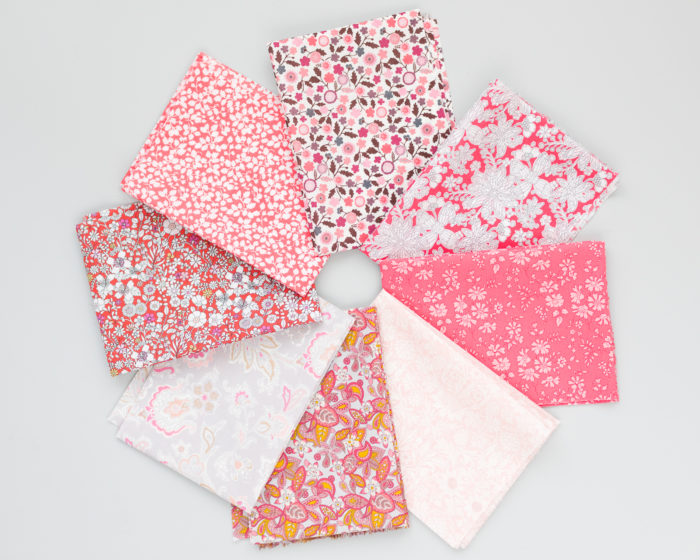
For this pillow I'm using a bunch of pink Liberty Lawns.
Now, the long awaited Hexagon Heart Pillow Tutorial!
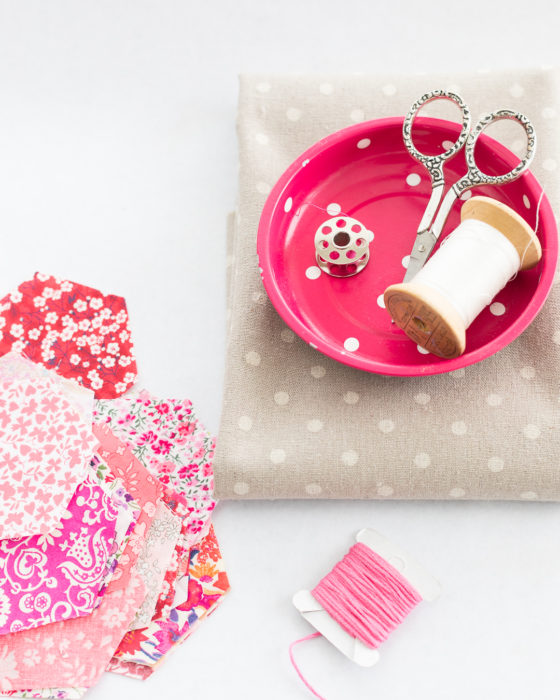
To start, you’ll need to gather your supplies. You’ll need at least
- 47 pink and red 1.75” hexagons (the sides should be cut 1.75”),
- freezer paper (you can find it at your local grocery store)
- 80/10 machine needle
- an 18.5” square of mochi dots linen, batting & backing,
- 24” x 19 inches for the back of the pillow,
- zipper (optional - for the back of pillow)
- pink embroidery thread
- 80” of binding.
- normal sewing tools, scissors, needles, thread etc
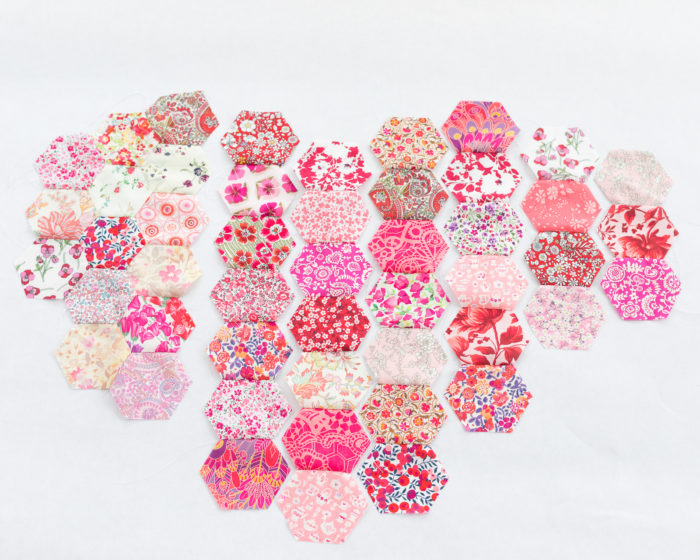
Once your supplies are gathered and your hexagons are cut, you’ll want to piece your hexagons together. I pieced mine by machine and I highly recommend this method. There are quite a few great tutorials on youtube on how to tackle this. (Here is one about machine piecing Hexagons from Red Pepper Quilts. Another one on YouTube here.)
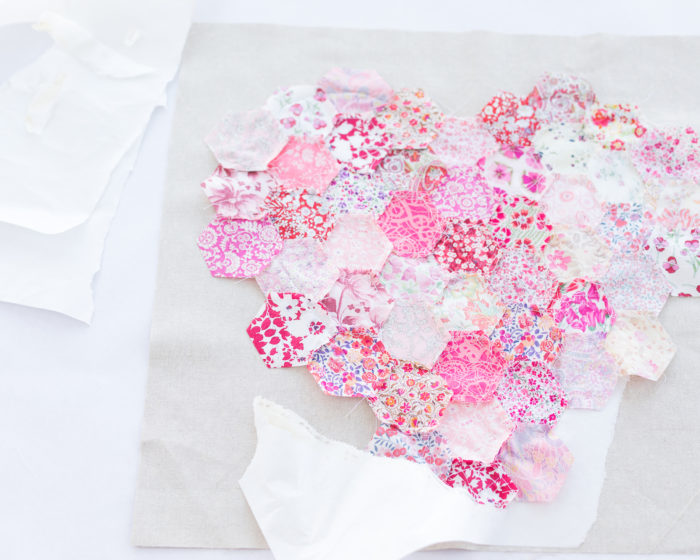
Sew your hexagons into rows. You need two rows of three, two rows of four, two rows of six and three rows of seven. Lay them out as shown and just stitch them together. Easy peasy!!
(If you're feeling intimidated by piecing the hexagons, you could piece a simple patchwork squares piece to use for your heart insert - which would look just as cute!)
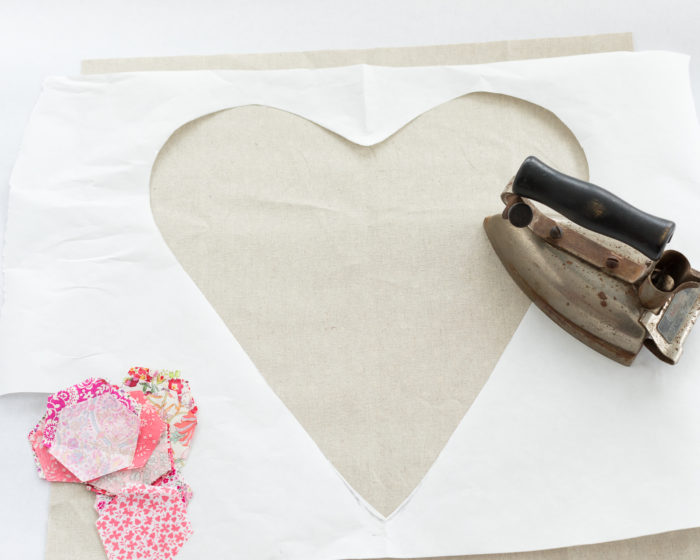
Now, grab your freezer paper and trim it into an 18” square. Fold it in half with the shiny side in and trace a heart 16” tall and no more than 7” wide from the fold. Cut it out with the paper folded so your heart is symmetrical. Center and iron your freezer paper to the linen with the shiny side down. Trim out the center of the linen leaving a half inch seam allowance.
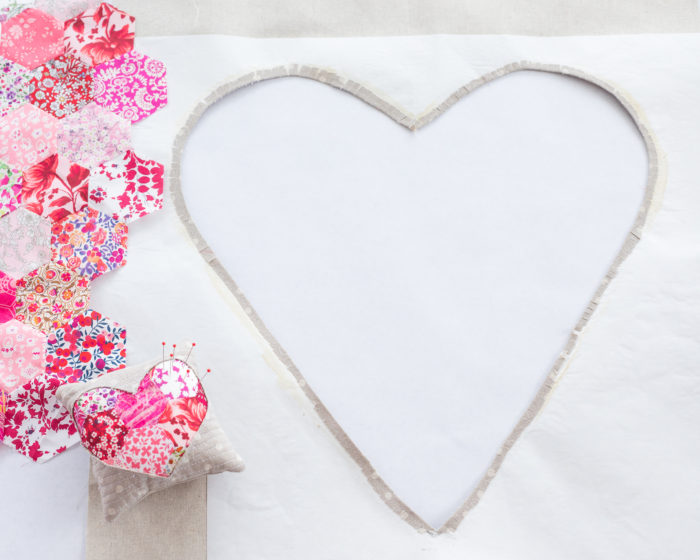
Clip the seam allowance all the way around, and using a glue stick and an iron, press the seam allowance back over the freezer paper.
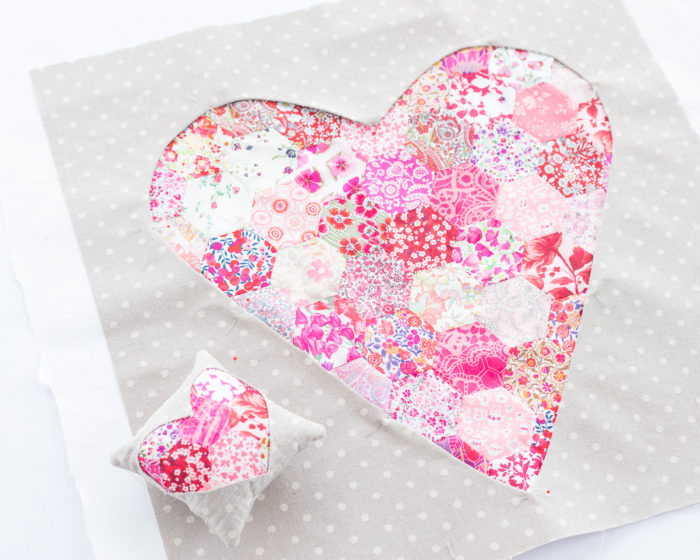
Center the heart right side up over the Liberty Lawn hexagons and pin carefully around, making sure everything is flat and tight, (not tight like a drum, but without waves).
Using an ⅛” seam allowance stitch all the way around the heart. Once you’ve got the two pieces stitched together, rip out the paper from the back of your pillow front.
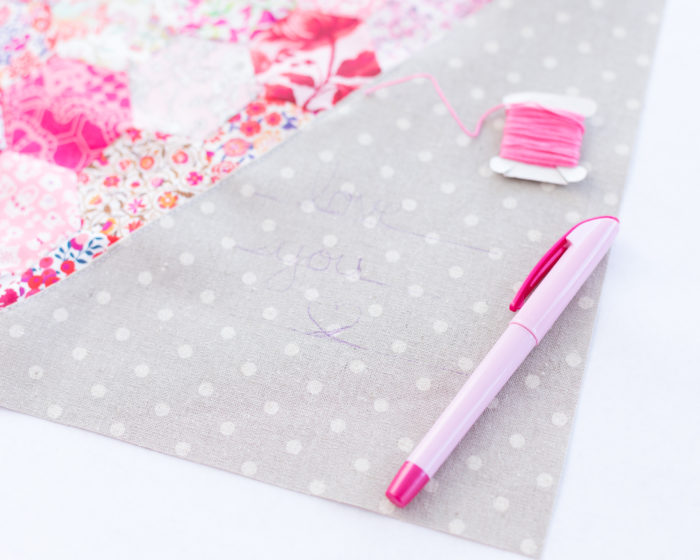
Trace your ‘love you <3” onto your pillow (I used the template from here). You can use a pencil or I used my favorite Sewline Pen. Embroider over it using a backstitch.
I straight line quilted this pretty pillow and then used a hidden zipper on the back. In my experience, zippers make square pillows. If you’re more comfortable with an overlapping back you can do that too.
Thanks so much for the beautiful pillow tutorial, Amanda! Now I really want to make one of these!! To see more of Amanda's work, visit her beautiful blog: A Crafty Fox and see her patterns and kits in her shop at Westwood Acres.


Barbara Opett
Love this post, thanks ?❤️
Karen Seitz
Hi, Amy! Hi, Amanda! What a happy and fun project! Thanks for sharing the tutorial here.
Lynn Boelk
Wishing love this, thank you for an excellent tutorial.
Rosemaryflower
this is a really pretty pillow. The Liberty fabrics just make this even more romantical and sweet
Lynette
Gorgeous pillows. 🙂 You keep posting things I want to make! I just finished putting together my Daisy Days top last week. Hope to quilt it in two weeks.
Amy
That's awesome!
Lori
I picked up one of Westwood Acres’ Baby Girl Pink bundles earlier this week, and although I might have a hard time making that first cut into my beautiful fabric, this looks the perfect project for it!