
While at Quilt Market a couple of weeks ago, I attended a demo where Sharon McConnell showed how to use her Classic Curves Ruler. I was so amazed, not only at what a clever and useful tool it is, but also the versatility Sharon has with piecing curves.
Since curved piecing is still something that I don't feel 100% confident in doing, I asked Sharon if she would mind sharing some tips with my readers. Her own blog is a great resource for more in-depth tips. There are more helpful links further down this post.
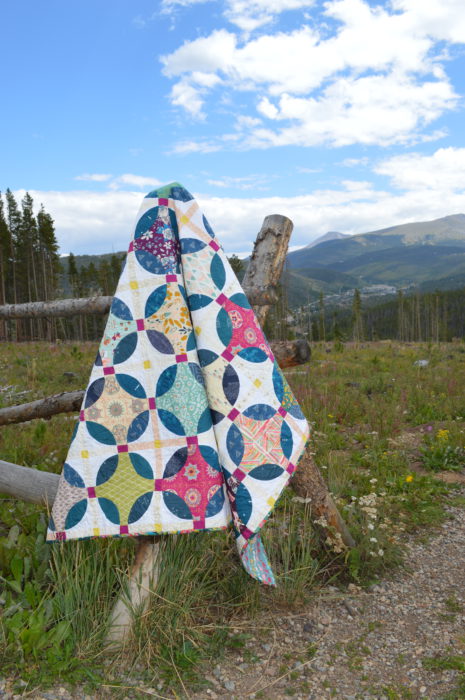
Tips, Tricks, and Tools for Piecing Curves
Hi, it's Sharon McConnell here, from Color Girl Quilts. I am so happy that Amy asked me to write here about curved piecing in quilts.
I often hear from quilters that curves are something they would like to add to their sewing skill set but feel intimidated to try the technique. It is my mission to convert as many quilters as I can to sewing curves! You can find out more about me and see my quilting patterns, projects and tutorials on my website, colorgirlquilts.com and follow me on Instagram and Facebook.
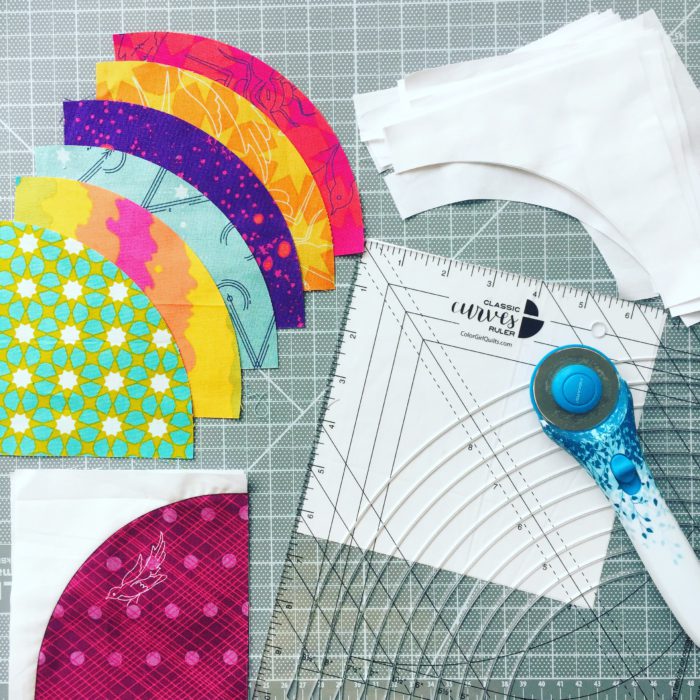
Curved piecing doesn't have to be an advanced skill. Even if you have only sewn a few quilts, you can certainly add curves to your tool box and make amazing quilts. The key to getting started and being successful with curves is to begin with a large block and use tools that will give you accurately cut pieces.
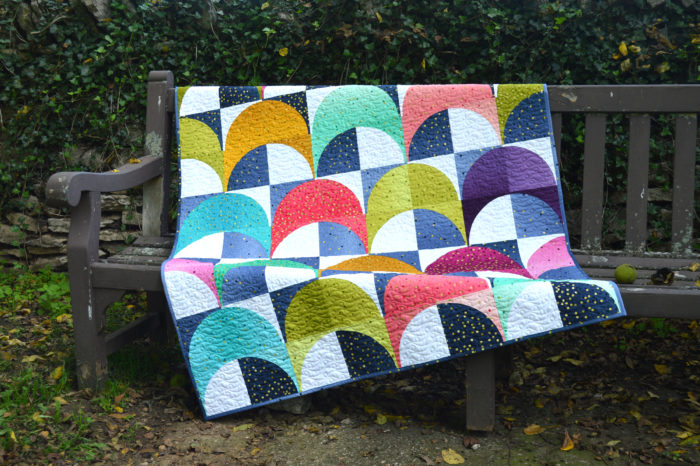
Patterns usually come with templates or you can get a tool specifically for cutting curved pieces. Make sure what you are using to cut gives you pieces that include seam allowance on the curved edge...your curves will fit and sew together much more easily and blocks will lay flat. The most basic (and incredibly versatile) curved block is the drunkards' path. This is a basic quarter circle unit consisting of two pieces of fabric: the convex piece (the quarter circle) and the concave piece (the rounded L shape). The larger your pieces, the easier they will be to piece.
I have designed a new tool for cutting these pieces, the Classic Curves Ruler. This allows you to cut both convex and concave pieces with seam allowance included. The Ruler has ten size options, and for beginners, I recommend starting with a 6"or larger block. The more confident you get, the more you will want to experiment with new shapes and smaller sizes.
Read more about Cutting with the Classic Curves Ruler HERE.
Begin by matching your curved edges and pinning them at the center, half-way to center and the ends. It is critical to make sure you feed the fabric through your machine evenly and avoid stretching the curved edge. The more pins you use the easier it will be to keep your edges lined up and avoid puckers and stretching.
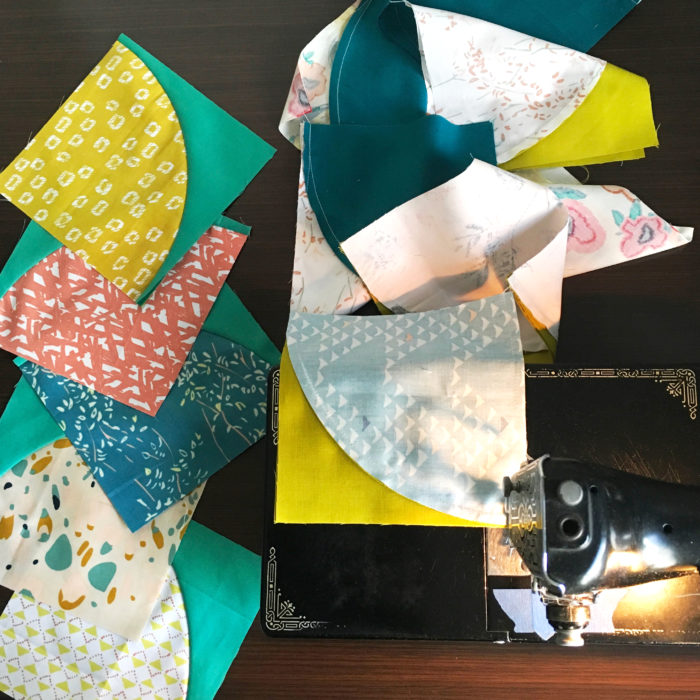
Start slowly, but once you have sewn curves a bit, you will get comfortable with feeding the fabrics evenly and you'll speed up quite a bit. A few tips:
-
Set your machine in the needle down position if you have it. This allows you to stop periodically to adjust without having your fabric slip.
-
When I pin my curves, I sew with the concave curve (the L shaped fabric) on top. When I sew the curves without pins, I sew with the concave curve on bottom. This is personal preference. If you are struggling, try flipping your fabrics over and sew with the other one on bottom.
-
If you get puckers in your seam, check your cutting and make sure your pieces are cut correctly with ¼" seam allowance. You will reduce the chance of puckers if you pin your pieces well and sew slowly. It's okay to use as many pins as needed to keep the fabrics lined up.
See this post for more about Curved Piecing HERE and Trimming and squaring your blocks HERE.
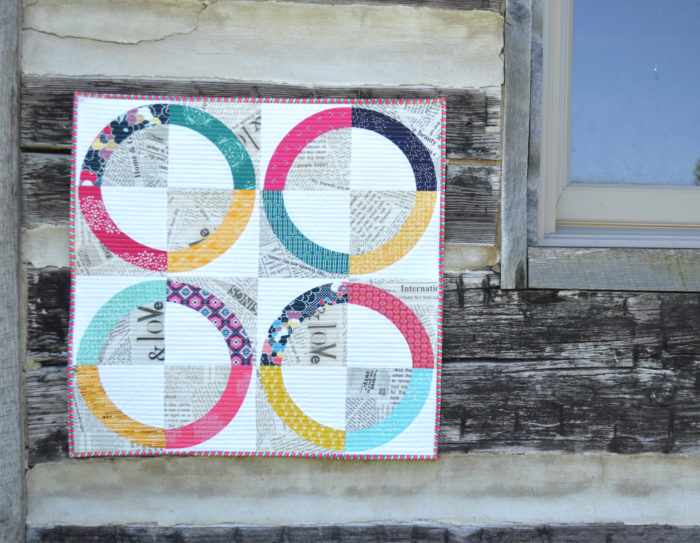
If you'd like to learn more, you'll find visual tutorials on my blog and I'd love it if you visit.
I hope you feel inspired to try a curvy quilt! I'd love to see what you are making
(-: --Sharon McConnell Color Girl Quilts
 If you are looking to up your game with curved piecing, definitely check out Sharon's tutorials. She is such a whiz with curves and will give you all kinds of confidence. Also, be sure to check out Sharon's creative patterns featuring curved pieces, in her pattern shop! It still kind of blows my mind how much more you can do with curves as part of your skill repertoire.
I'm looking forward to pushing myself out of my comfort zone and trying more curves myself!
Pam Landolt
I love the quilts that Sharon makes with her Classic Curved ruler! I have that ruler on my wish list and with her tutorials and tips feel confident that I can make one too! Thank you for this post.
Jan Parker
I really enjoyed this post, Amy! It has given me some ideas for our quilt guild. I am on the education committee and am always looking for something that will spark creativity in our members. This really should do that! Thank you so much for sharing this with your viewers.