
If you follow me on Instagram, you got a sneak peak of the wool applique blocks I've been working on using Lori Holt's Autumn Love pattern and templates.
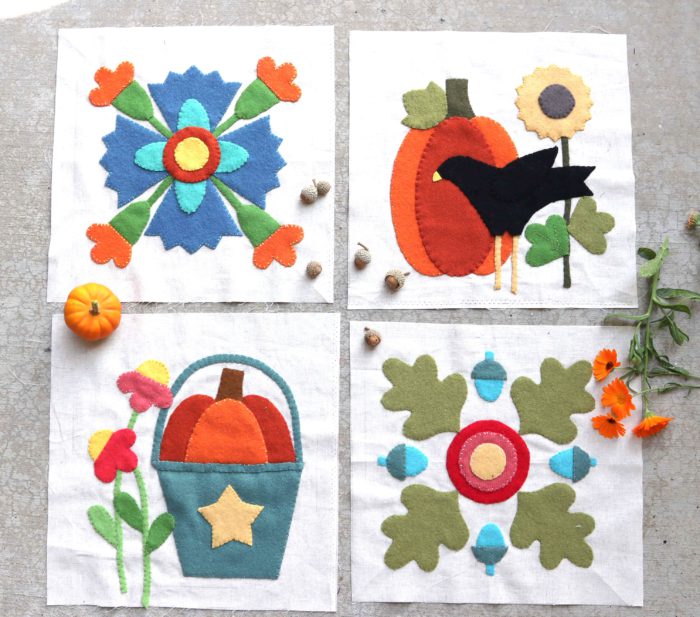
Aren't they the cutest? Right now Lori is hosting her latest sampler quilt along - Autumn Love.

As per all of Lori's quilts, it's another AMAZING sampler quilt design full of beautiful blocks and details. The quilt pattern is free on Lori's blog, but you do need to purchase the coordinating plastic shapes templates. There are 34 different pre-cut templates in this package. (I love Lori's templates. They're sturdy, reusable, and ready to go - I don't have to cut out plastic pieces.)
Lori's version is made using her latest fabric collection, also called Autumn Love. More versatile prints in Lori's signature happy colors.

When I saw Lori's quilt last spring at Quilt Market, I was instantly smitten. Fall is my favorite season - I love the changing leaves, decorating with pumpkins, pretty much the whole color palette of fall in general.

Just yesterday I went on a hike with my husband up the nearby canyon. I think the leaves were just about at their peak - it was breathtaking. I couldn't get enough. I snapped this picture of the back side of Mount Timpanogos. It looked like a painting - even in real life!

So I decided I needed to make this quilt - or at least as many of the blocks as I could! This was Block 1 - the Crow and Pumpkin block (tutorial here.)

Today I'm showing off the Fall Flowers and Oak Leaf blocks that Lori demo'ed on her blog last week.
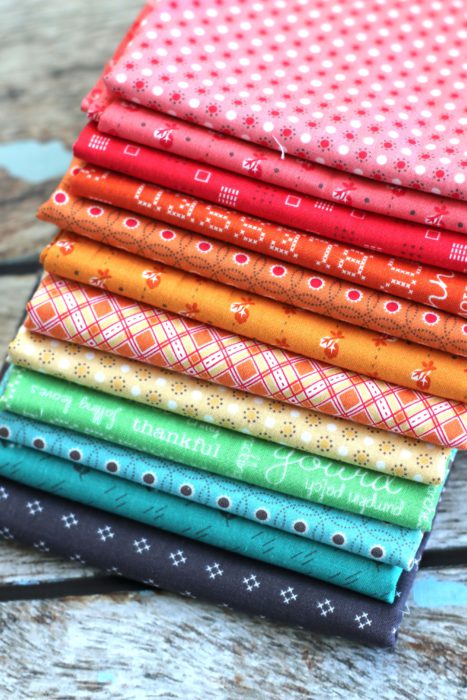
I was recently at the Riley Blake offices and got a preview of all of the new wool colors they have coming out later this year. Many of them are inspired by and will coordinate with Lori's happy color palette. And that's when I had an "Aha!" moment - wouldn't it be fun to make this quilt using the new wools!

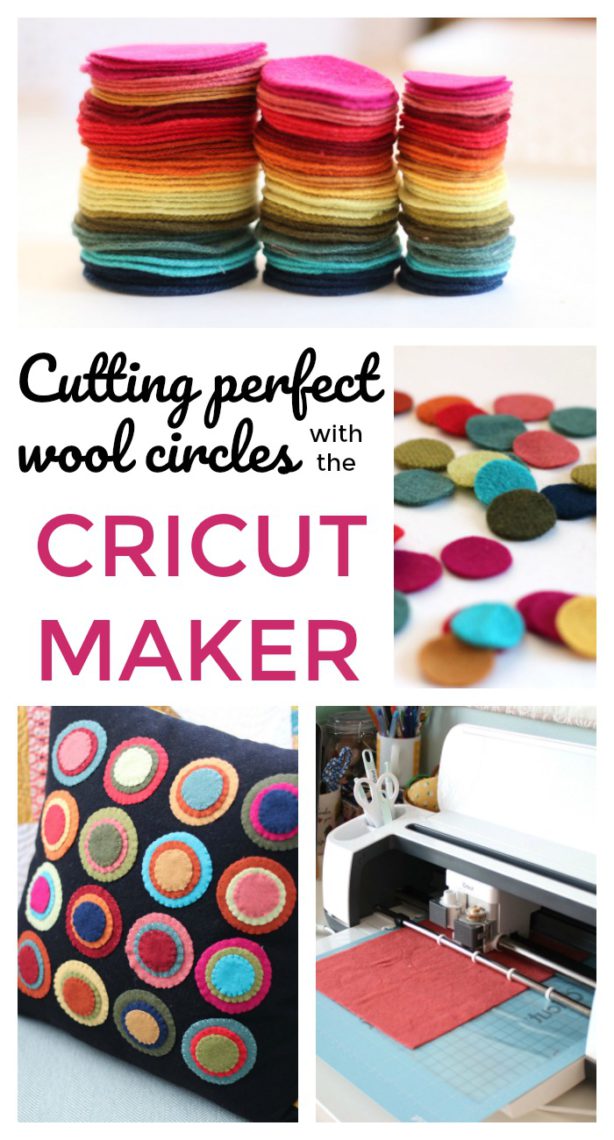
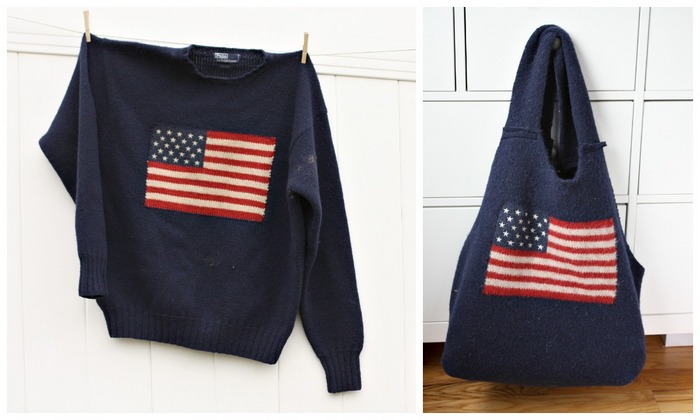
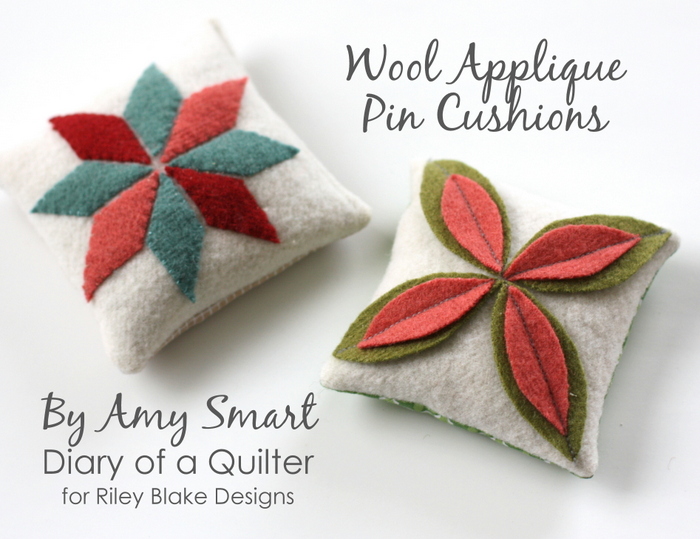
I'd used the original Riley Blake wool colors in my penny-rug pillow I made last spring. Here are all of the colors together - both original and new. You can find the original colors available in 10" precut squares on Etsy or from the Fat Quarter Shop. (This is the most economical way to get a variety of colors. And a little goes a long way, so you don't usually need huge pieces.)
If you're looking for coordinating floss, Lori Holt has pulled together a coordinating pack of DMC floss.
Or check with your favorite local shop that stocks wool!

For the background fabric of my blocks, I chose the new Riley Blake Linen in Natural. I've always loved the added texture of linen and I really like this weight - it's sturdy enough to hold up to applique, but still has some soft drape.

I took my first wool applique class about 18 years ago and I've loved it ever since. I love that you can easily raw-edge applique the shapes and they don't fray! There's no prepping with starch or turing raw-edges under. You just cut the shapes and they're ready to go.
For this project, as I mentioned, I am using a wool blend (90% wool, 10% rayon). It is a tightly woven fabric that is felted and heavily brushed making it extra soft without having to "felt it" - or wash and dry it on hot temps to soften it more. (But you could if you want to.)

I'm going to show you my system for appliqueing with wool. This system also works with Wool Felt - not to be confused with Felted Wool (which is what I'm using). (This article explains the difference between the two textiles.)
Basically, to sum up, Wool Felt is made from wool fibers that are pressed together to make sheets of felt. Wool Felt is a higher quality product than the cheap felt you find at the craft store. It is wonderful to use and slightly cheaper than Felted Wool. Because it is a little stiffer, Wool Felt is better for making toys or softies, or anything where you want it to retain some shape.
Felted Wool (the kind that I'm using for this project) is made from woven wool threads. It feels and works like butter in your hands. I love using it for applique because it's so forgiving and hides a lot of my imperfections.
Wool products are more expensive - but a little bit goes a long way. If you're using it for applique, you don't need to account for seam allowances, so you can use small pieces very effectively.

Here is my method for making applique blocks using Wool. (This will work for Felted Wool or Wool Felt.) First, trace your shapes/templates using Freezer paper. (You can find this in the foil aisle at the grocery store. One side is paper and the other side is waxed.) Put the wax side down and trace on to the paper side. Cut out the shapes.

Place the freezer paper template on the wool, wax side down and lightly press in place with an iron. This will make the templates stick lightly to the wool. The freezer paper removes easily and is reusable multiple times.
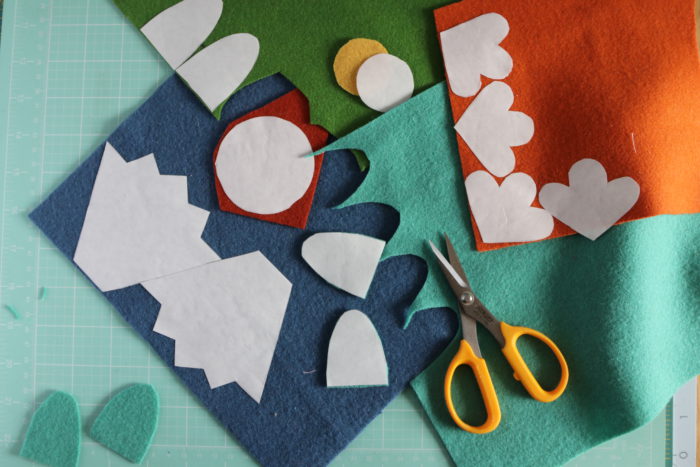
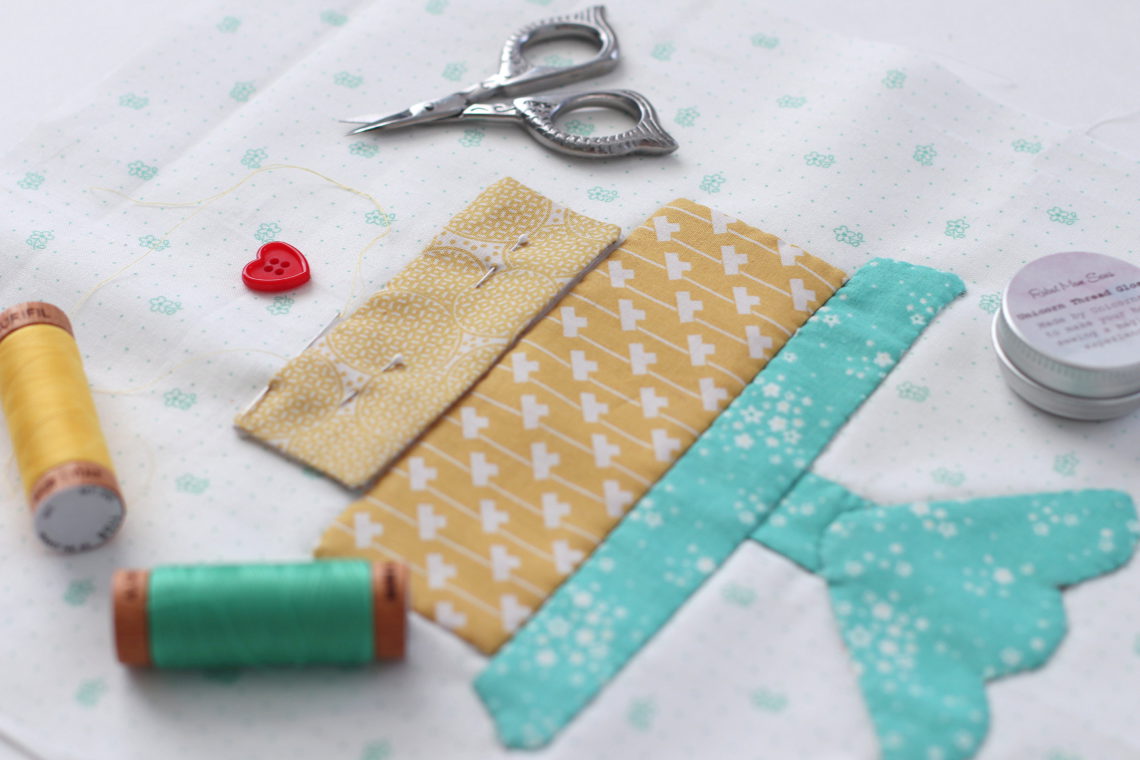
Use a sharp pair of scissors to cut out your wool shapes. (These Olfa Precision scissors are my favorites - they're sharp for cutting cleanly through fabric and the pointed tips make it easy to cut small details.)
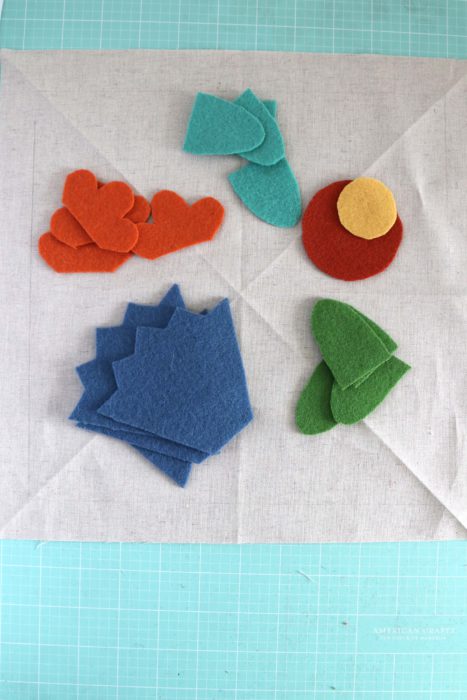
When ever I applique, I always cut my background square extra big, so that it's easier to work with and accounts for possible fraying. The process of applique can also slightly distort the background fabric, so I like to be able to square up the block to the right size after all of the applique work is done.
To make shapes placement easier, I fold and press my background piece into four squares and two diagonals. That way it's easy to find the center of the block as well as the vertical, horizontal and diagonal lines for shape placement.
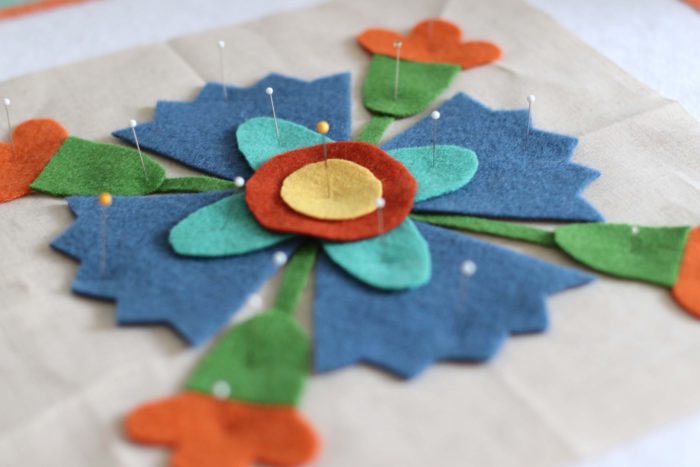
Lori always gives detailed placement tips and instructions in each block tutorial to help you get the right shape placement. She also has a really helpful video on YouTube with tips for prepping you block. That is where I learned the tips for using a batting design board (you can buy them here or make your own) and pinning your pieces in place.

Once the pieces are placed, use a very little bit of glue to stick the the pieces in place. (I really love Sue Daley's glue bottles - they're easy to use and have a pre-made micro tip to control the amount you need - especially because a little bit goes a long way.) Lori demo's this in her video as well.
This eliminates the need to pin and makes the block so much more portable when you're ready to sit and applique!

When I applique felted wool I use 3 strands of embroidery floss. The colors can match perfectly if you want to hide the stitches or you could use something with a little more contrast to make the stitches an added design element.

I use a very simple whip stitch when sewing my shapes down. It gives the look of a blanket stitch, but I think it's a little cleaner and less bulky. You can make your stitches as long or short as you like.

I love the added texture the stitching gives the wool shapes in particular and the whole block in general.

I still need to add my button and extra stitching details to these blocks. But I'll get there. I'll wait to square-up my background blocks when that part is done.

Here are my four blocks so far. I'm smitten! I'm planning to make a wall-hanging with mine (since the wool is not machine washable). So I'll probably only make 9 blocks for the wall hanging and then sash the blocks with Lori's Autumn Love fabric. I know it's not going to get done this season, but hopefully I can at least get the blocks finished this year while I'm in the Autumn mood. We'll see...
You can find the block tutorials for Lori's Autumn Love quilt along on her blog. (See side bar for the blocks she's already done and stay tuned for more over the coming weeks!)

*this post contains affiliate links.
Margaret
My goodness, all those wool colors are gorgeous. As are the autumn colors you encountered on your hike - you are so fortunate to live close to so much natural beauty.
Karen Seitz
Great post and lovely blocks! I am getting ready to start the Raspberry Applique project at Raspberry Spool. It's needle turn applique so not as forgiving. Wish me luck!
Joanne
So cute! How do you remove the freezer paper when you’re done?
alittlestonecottage
The freezer paper goes on top, so removing it is as simple as pulling it off. It’s a great applique method!
Peggy
Just peel off
Laurie A Becker
Just beautiful!! You are kind of inspiring me to work with wool again! Thanks for the tip about the precut 10” pieces with FQS!
Lea
Thank you for this Amy. I haven't done a lot of applique but have been aching to try it again. I never had considered wool applique. This would be fabulous for fall and winter quilt projects. And it is simpler, which is a very good thing sometimes, right? Your blocks are beautiful, your work always is.
James Vickers
I was wondering if any one has use the no waste method for the 4 inch star block. If so what are the measurements please. TIA James
ksl5343Kathy
Do you use add form of stabilizer on the back of your cotton fabric before beginning the wool applique process?
Amy
Great question. I've done it both ways - some projects with stabilizer and sometimes without. When I do use stabilizer I use a lightweight woven stabilizer with press-on adhesive.