
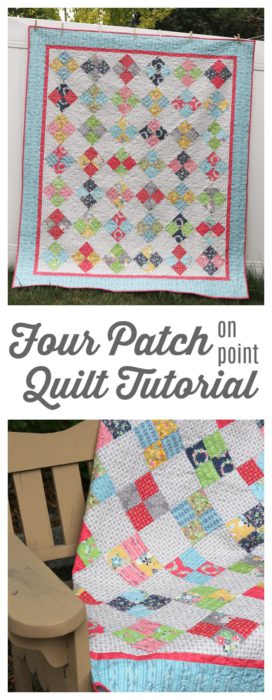
Today's the day! I'm finally sharing the tutorial for this Four-Patch on point quilt. I'm calling it the Farmhouse Four Patch because it's such a classic patchwork patterns and works with lots of different color and fabric combinations.
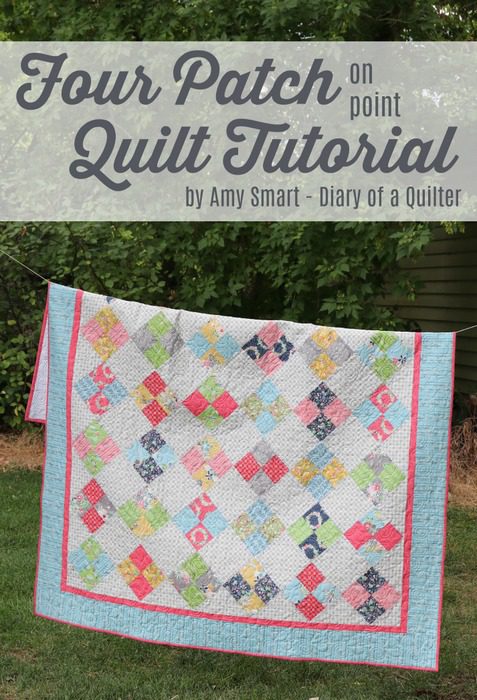
The fabrics in this quilt are from the Daisy Days collection by Keera Job for Riley Blake Design.
For this classic project, I took my popular Fast Four Patch quilt and turned it "on point." This is a relatively easy quilt, but a good skill-builder if you've never pieced an "on point" quilt together. Basically, this means that the blocks are set together "on point" rather than horizontally/vertical orientation. As a result the rows will be sewn together on the diagonal. We'll talk about setting triangles as well as block and row assembly and you can make this quilt in no time.
If you're relatively new to quilting, you may want to try the original Fast Four Patch quilt first, just to build your confidence, before you start assembling rows on the diagonal. Or check out my Beginning Quilting Series for LOTS of basics to help you get started.
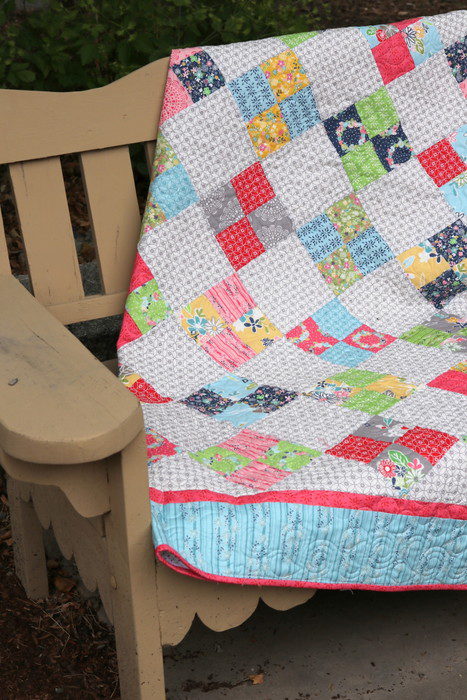
 I really like how scrappy this quilt can be - great for showing off a fabric collection. The trick is a "neutral" background fabric to tie the busy colors together. But you can make your background - or solid squares - colorful and scrappy too, for an entirely different design.
Fabric Requirements for this 62" x 70" throw-sized quilt:
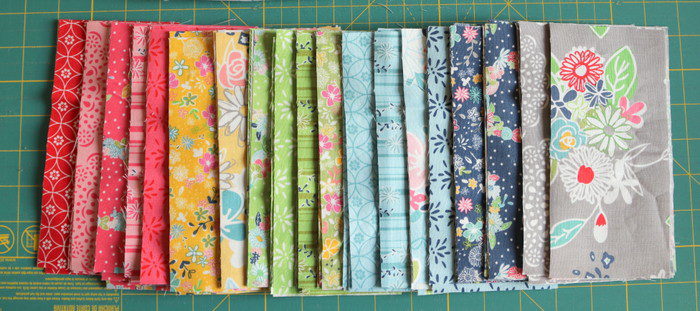
- Four patch blocks: 14 colored strips 3 ½" x Width of Fabric (WOF)
- (these could come from 7 different ¼ yards, or 14 assorted ⅛ yard cuts, or just favorite prints in your stash)
- Background fabric: 1 ½ yards
- 1st Border: ⅜ yard - cut 6 strips 1 ½" x WOF
- 2nd Border: 1 yard - cut 6 strips 5" x WOF
- Binding: ½ yard - cut 7 strips 2 ½" x WOF
- Backing: 3 ¾ yards

Cut the 3 ½" x WOF strips into 3 ½" x 7" rectangles. (You can get 6 rectangles from each WOF strip). You will need a total of 84 rectangles.

Assemble Four Patch Blocks:
Match-up assorted 3 ½" x 7" rectangles into 42 pairs and sew them together on one long side. Press seam to one side and cut pieced unit into two strips 3 ½" x 7". Rotate one strip and sew units back together to get a Four Patch block. Easy, peasy.
Make 42 blocks.
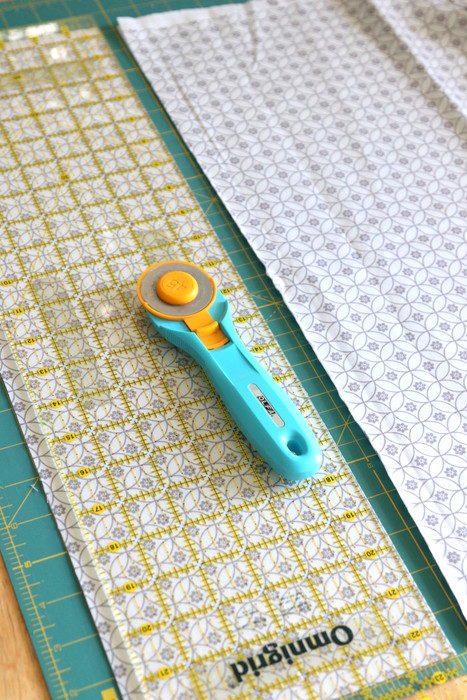
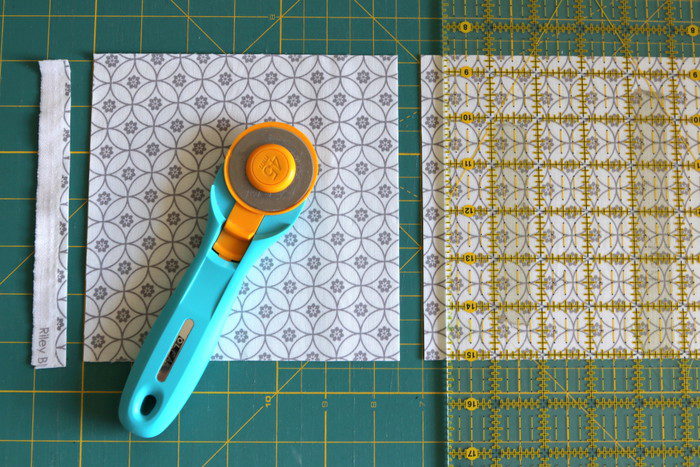
From the Background fabric cut 5 strips 6 ½" x WOF and 2 strips 9 ¾" x WOF. (Here are some tips for cutting straight strips.)
From the 6 ½" strips, cut 30 squares 6 ½" x 6 ½" (you should be able to get 6 squares from each strip).
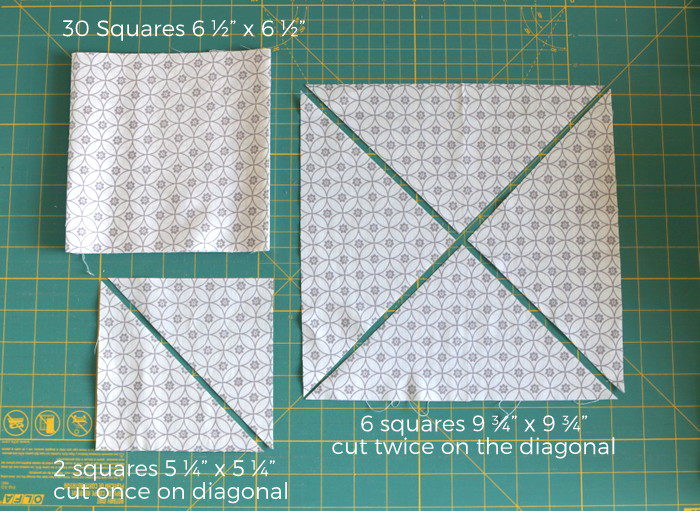
From the 9 ¾" strips cut 6 squares 9 ¾" x 9 ¾" and 2 squares 5 ¼" x 5 ¼".
Cut the 9 ¾" squares on both diagonals (making an X) to get four triangles from each block. You will need 22 total side-setting triangles.
Cut the 5 ¼" x 5 ¼" squares once on the diagonal to get two triangles per square. These will be the triangles in the four corners or your quilt.
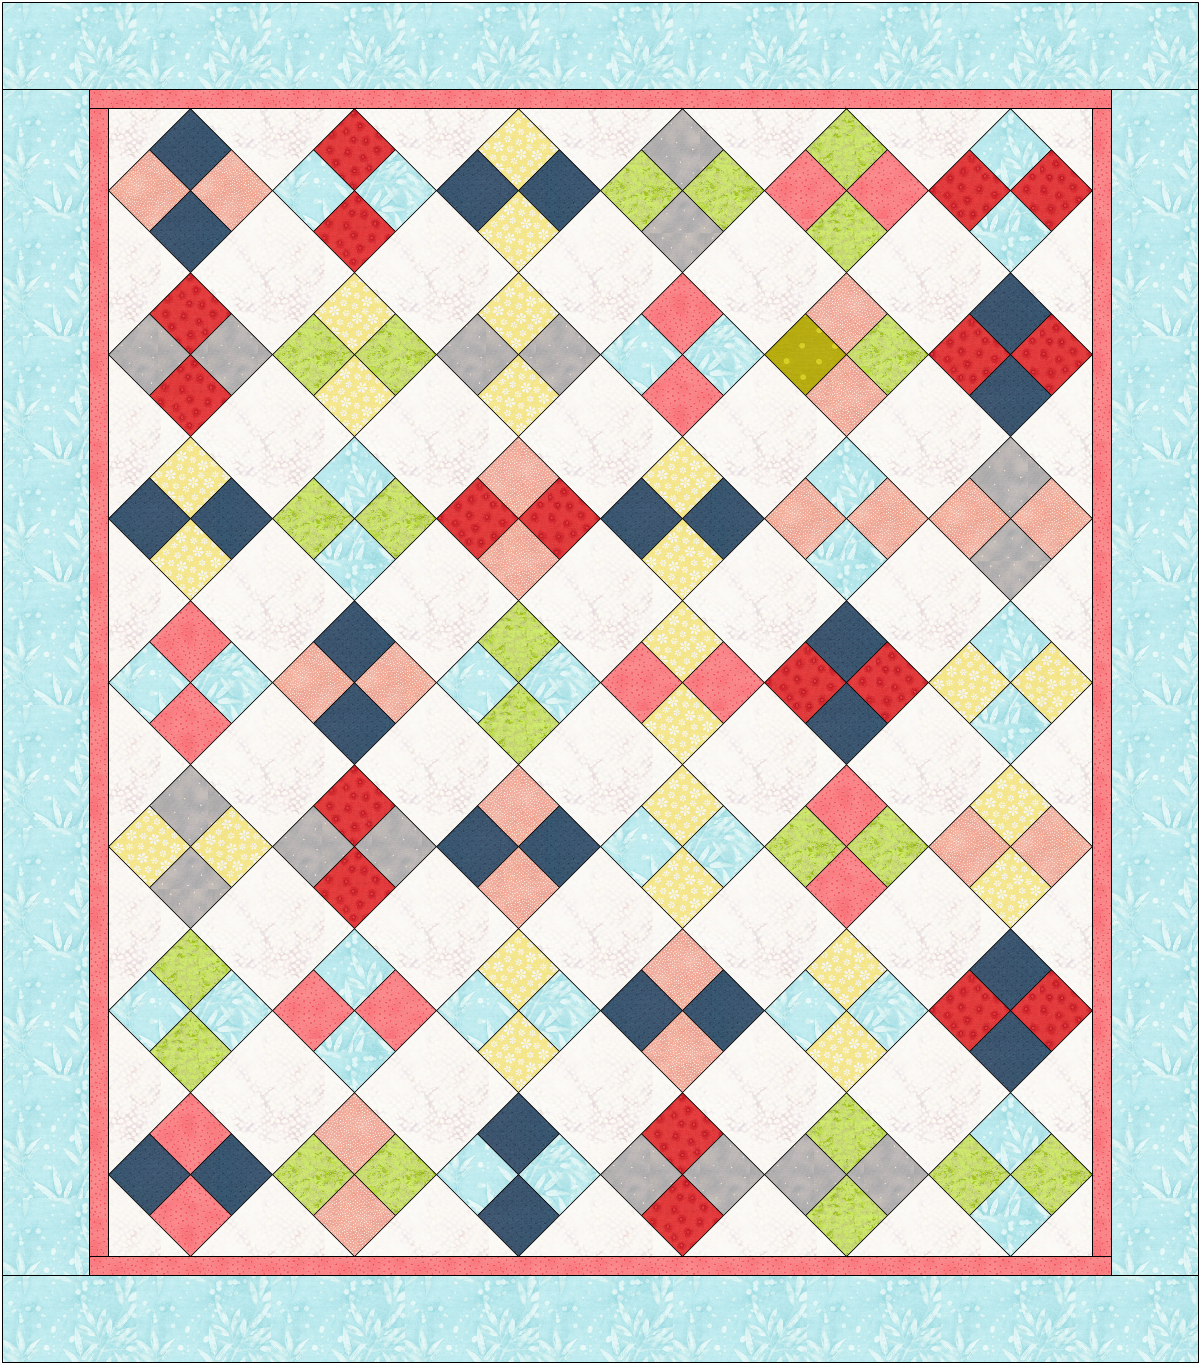
Using the diagram layout above as a guide, layout the Four Patch blocks point-to-point, six blocks across by seven blocks down. Fill in the remaining squares with the 30 6 ½" x 6 ½" squares. Use Side-Setting triangles to fill in edges and Corner-Setting triangles for the four corners.
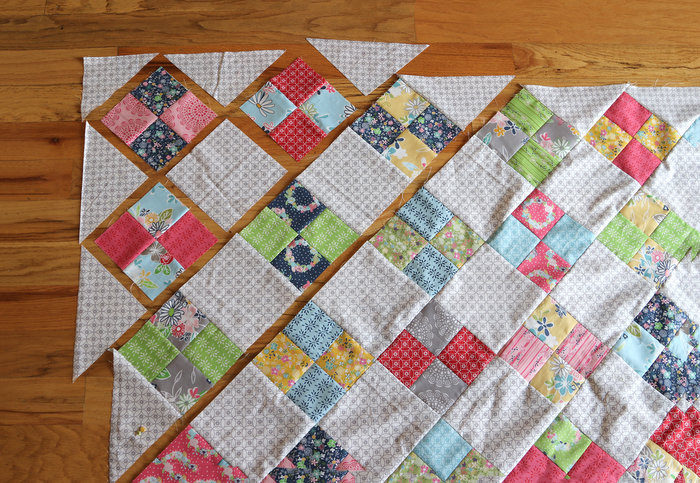
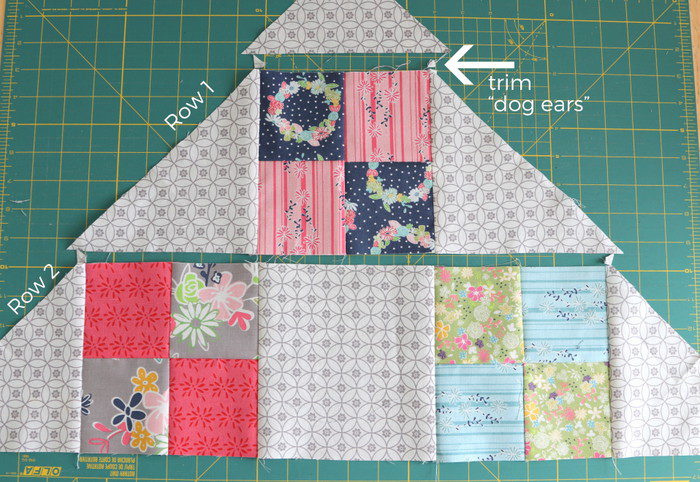
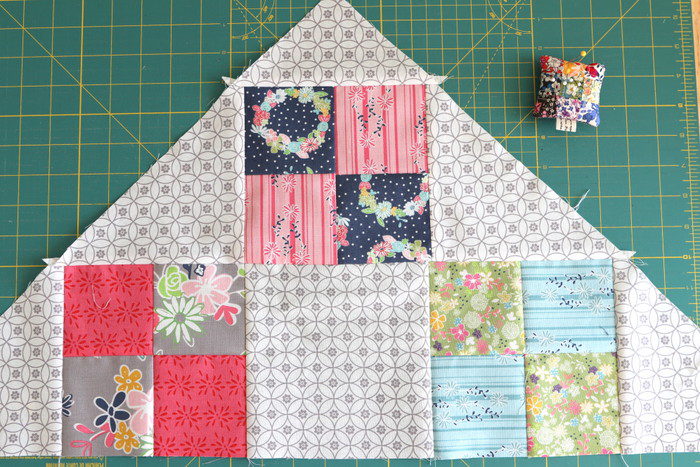
Start assembling rows diagonally with a side-setting triangle at the beginning and end of each row. Row 1 will have only 1 Four-Patch block between the side-setting triangles and a corner-setting triangle at the top. (See photo above for layout.) Row 2 will start and end with a Side Setting triangle and alternate 2 Four-Patch blocks and a background block.
Continue, each row starting and ending with a triangle and alternating Four-Patch Blocks and background blocks.
Press all seams toward the background squares and triangles. This will help the seams nest and points match-up when sewing the rows together. (I prefer this because the seams lie flatter without the Four-patch seams folded back on top of each other, but if you don't like the idea of pressing toward the lighter fabric, press the seams toward the four-patch blocks. As long as they're all consistent, either direction will work.)
Side Setting Triangles: Sew the right (90 degree) angle to the end of your row.
Frequently asked question: The edge of my triangle is longer than the 6 ½" x 6 ½" square - where do I match it up?
Answer: line up the bottom edge of the triangle with the bottom edge of your square. The top tip of the triangle (dog ear) will protrude past the top edge of the square. After sewing the blocks together, you can trim off those dog ears.
Notice that that triangles rotate directions depending on where they lie on your specific row.
Corner Setting Triangles: center the long edge of these four triangles and sew to the end of the square in the four corners. We will square-off the uneven edges off later, if needed.
Once the 12 rows are assembled, you will begin piecing the rows together.
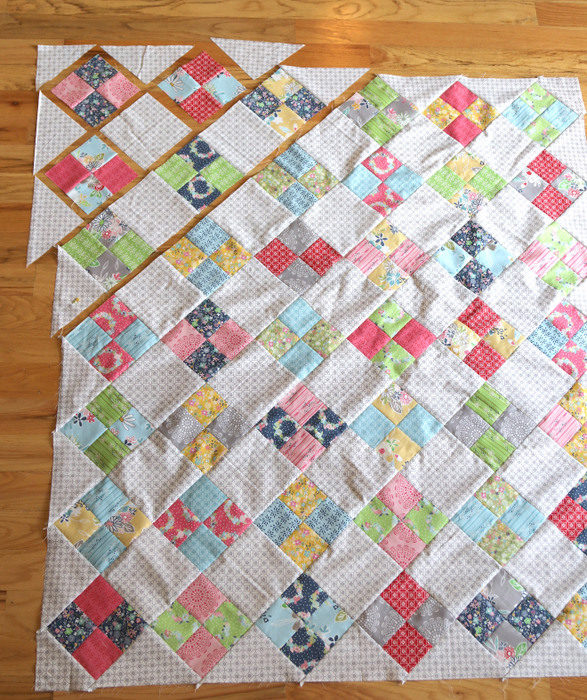
Rather than sewing all the rows together sequentially (i.e. Row 1 through Row 12), I recommend sewing the first 3 rows together into a unit and press row seams (all one direction). Then sew the second 3 rows into a section and press. Then the third 3 rows together into a section, etc. Then sew the four sections together. It's really easy for on-point quilts to get distorted and this method will help prevent that.
Press all long seams the same direction.
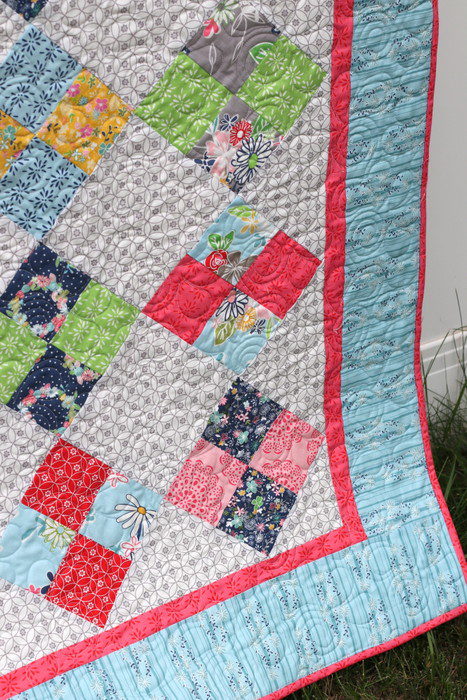
Adding borders: It's easy for quilts pieced together in diagonal rows to get a little misshapen. Adding the final borders will help keep you quilt 'square' and not have wavy edges. This is my favorite method for adding borders. It's the easiest, and also really effective. I highly recommend it.
If you would prefer a printable PDF version of this pattern, you can buy one here for $2.00. The printable version also includes the instructions for a Crib and Twin size variation.
And there you go! I hope this quilt will add another quick, basic design to your repertoire!
(And thank you so much for your patience getting this tutorial done. I'll admit right now - the end of summer I just needed to put everything quilting-blogging related on hold. We had family we love visit from out of state, my sister and her cute family are moving out of state, and I just needed to be the mom. It was a good call.)


Pat
What a beautiful quilt! I've never done 'on point' before. Your tutorial makes it very clear and less scary. Thanks for sharing.
Amy
Oh good! Yes, once you get the hang of it, on point quilts are not scary at all. 😉
Sally J Becker
There is a different way of doing this to make the 4-patch LOOK like it is on point. All you have to do is cut 2 sqs. in half diagonally for each 4-patch & put the 4 hst's around the 4-patch. It is actually a sq. within a square. I have done many on the diagonal then I found this way and it is so much easier & no side setting triangles.
Amy
I've seen that method too! I know a lot of people who like it and I've used it for different block settings. I like this method for this look because then you don't have four seams intersecting the off-setting squares, if you want to fussy cut or use a patterned print. Definitely lots of options to get a similar result. THanks!
Bristol Sunset
Love this!!! Thank you so much for this. This is awesome. Another beautiful project.
Amy
Thank you!
Carol
Very nice. Speaking of 4-patch quilts, I recently posted a similar one on my blog. It is one from your *Fabulous* book. ☺
Gina
Love your 4 patch quilt! Also love the fabrics in it! After seeing your first blog post about this quilt, I loved it so much I bought some Daisy Days fabric from the fat quarter shop. Thanks for the pattern tutorial!
Mabel
Beautiful quilt! Thank you for the instructions??
Barbara
I've been waiting for this one since you mentioned it about a week ago. Thank you so very much, it's a beauty.
Hugs to you!
Patti McGarry
Fantastic quilt! I love on point quilts but don't feel confident to design my own. Is there a formula to determine the size of the triangles? Thanks for sharing your beautiful quilt and the tutorial!
Lu
Thank you Amy for your tutorial. I love the look of this quilt and the fabrics used are so attractive. I will put this on my list to try.
Linda Polson
What is the fabric you used for your background? I love it!
Amy
Isn't it great?! It's a print in the Daisy Days collection called White Daisy Chain.
Judy Chastain
Thank you, Amy, for the tutorial. I love the quilt.
Lynette
Hi, Amy. I'm so excited - I've just received my fabric order of Daisy Days and can't wait to make this quilt up. Thanks SO MUCH for taking the time to put together a tutorial and for sharing it freely. Is it OK that I've put one of your pictures of the quilt on my blog? I linked back here. I'll pull it off in a jiff if you don't like it there. 🙂
Susan Taylor
I made this for a baby girl. I made my rows 4 squares by 5 squares. The narrow border I cut 2 inches and the wide border 3.5 inches. I was going to post a picture of it but could not figure out how to do it.
Patsy O'Shea
Absolutely all of your quilt tutorials are brilliant; uber-precise instructions, excellent sequencing, extra tips for success accompanied by perfectly matched images. Thank you!
Amy
I'm so glad! Thank you, Patsy!
Amy
Thank you, Patsy! I'm so glad!!
Tabitha Terry
Hi Amy! I found your blog through Pinterest 😊 I’d like to try to make this on-point for-patch in a queen or king size. I’m new to quilting and am not sure how to determine fabric needs for a larger than pattern quilt. I’m also curious if 3.5” squares will be too busy on such a large quilt but I don’t know how to adjust the triangle sizes to accommodate larger four-patches. Any direction would be so helpful to me! Thank you!!
Jane
Hi Amy, I just purchased your Farmhouse 4-Patch Quilt pattern. It is just perfect for my deceased sister's many finished 4 patch blocks. Her finished blocks are 4 1/2" sq. compared to your 6 1/2" sq. How would I change the math for the rest of the pattern? I know the solid color would also be 4 1/2" sq. If I make the same size (or almost) throw I don't know how to change the amounts for the fabric and cuts. I would so appreciate your help! Thank you!