
This week I'm teaming up with Baby Lock Sewing Machines for a fun Summer School series of beginner friendly sewing projects. This simple patchwork baby quilt tutorial is a perfect first-quilt for a beginning quilter, or a quick finish for someone with a little bit of sewing experience. It's also an easy way to successfully teach a new or young sewer how to make a quilt. Scroll down for the step by step tutorial!
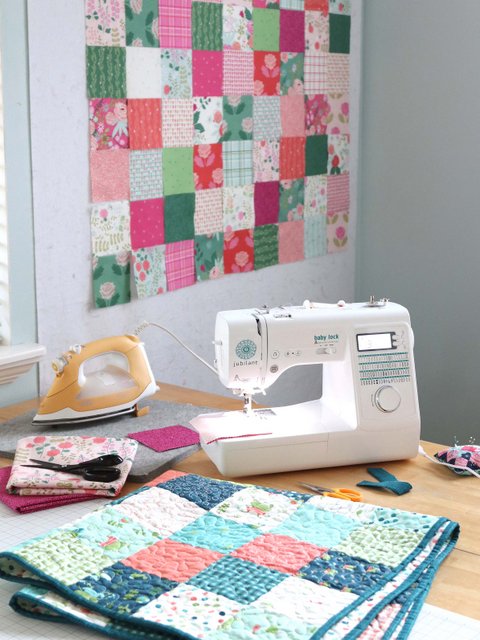
I'll be walking you through the process step-by-step to show you how easy it is to make one of these simple patchwork squares baby quilt - the perfect beginner quilt project. This is a great one for teaching a child or sewing newbie how to make a quilt. Gathering the supplies is simple and the repetitive straight-line-piecing is good practice for a beginner.
For this baby quilt project I sewed with my Baby Lock Jubilant sewing machine and fabric provided by Riley Blake Designs. I have more information on the machine and the supplies I used farther down in the post. This post also includes some affiliate links.
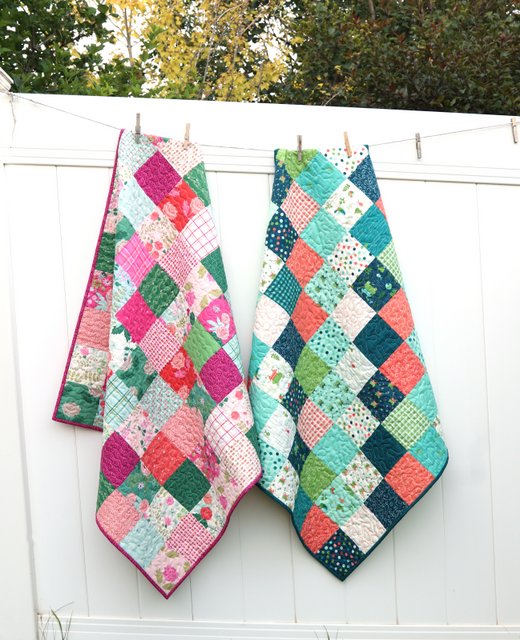
One of the secrets for making this patchwork baby quilt project simply is the availability of precut fabric squares (some times called Charm Packs or 5" Stackers) that come uniformly cut and ready-to-sew in a variety of coordinating prints and colors. These precut stacks of 5" x 5" squares take all of the stress - and added expense - out of choosing fabric for a simple patchwork quilt.
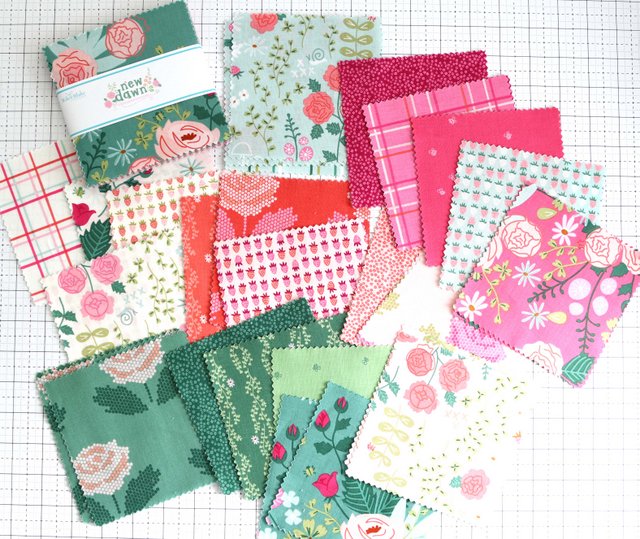
One set of 5" precuts typically has 42 prints with a variety of about 20 or more different fabrics - the easiest way to get a large variety of perfectly coordinated colors and prints without having to buy 20 different fabrics.
The biggest plus is that the patchwork squares are cut and ready to sew - saving lots of time. And again, perfect for a beginner or working with a young sewer by not having to worry about rotary cutters or accurate cutting.
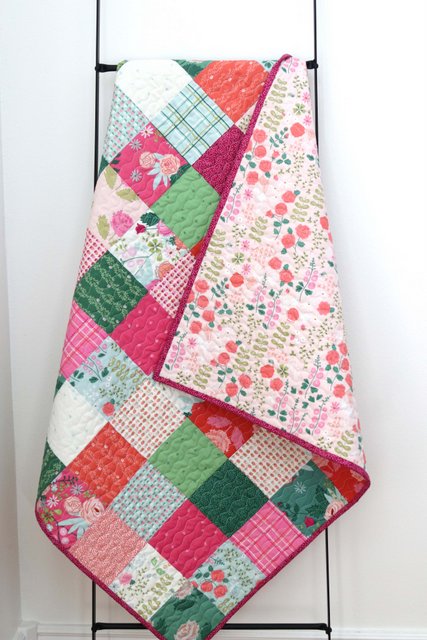
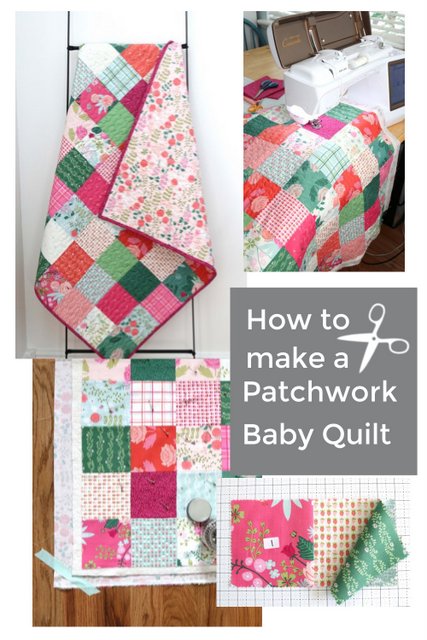
This tutorial will walk you through the steps to make a 40.5" x 40.5" patchwork baby quilt.
(Fabrics used for these projects: Pink/Green quilt fabric is New Dawn by Citrus and Mint and Blue/Orange quilt is Ready, Set, Splash! by Sandy Gervais.)
Fabric Requirements for your Patchwork Baby Quilt:
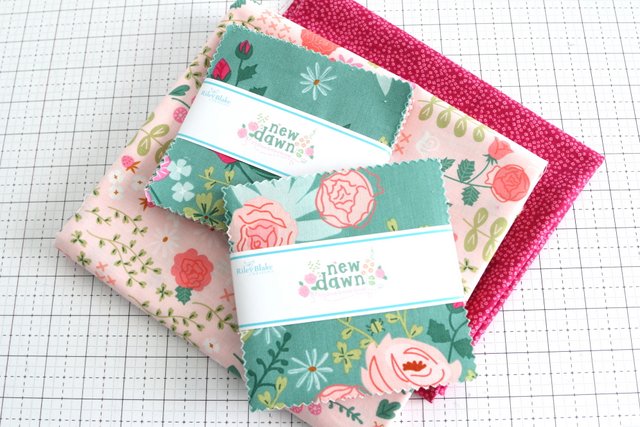
-
81 precut 5" x 5" squares. (typically two sets of precut/packaged 5" squares.)
-
42" x 42" piece of batting
-
1 ¼ yard fabric for backing (based on a generous 42" Width of Fabric.*)
-
⅓ yard fabric for binding (for finishing outside edge of the quilt.)
*(This is amount of yardage is typically generous enough with extra length and width to spare for basting/quilting, but if you prefer to make your backing bigger, I would recommend getting at least 2 yards and piecing a larger back.)
Do you need to pre-wash fabric?
Most quality quilting fabric today is color safe and does not need to be pre-washed. I definitely would not recommend pre-washing the precut squares in particular as they will fray and become distorted. I have sewn dozens of quilts with these factory produced precuts and have never had an issue with color bleeding. I do wash the quilt after it is finished and you can use a Shout Color Catcher sheet (available in the laundry aisle at the grocery store) to be safe.
Notes about Precut Fabric Squares:
One thing to note about factory-bundled precut squares - they typically have a pinked (zig-zag) edge to prevent fraying. They do "shed" as a result, so you may want to have a lint-roller handy. This minor inconvenience is totally worth the time and money saved having your patchwork quilt squares ready to go!
How to make a Beginner-Friendly Patchwork Baby Quilt
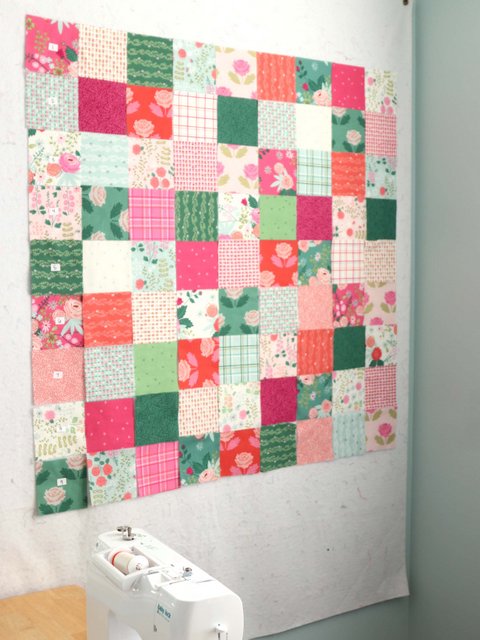
Lay out 81 precut squares 9 across and 9 down, arranging colors and print scale in a pleasing pattern. (I used a Design Wall - kind of like a piece of flannel hanging on my wall, but you can easily lay them out anywhere you've got room including the floor, a bed, or a table.)
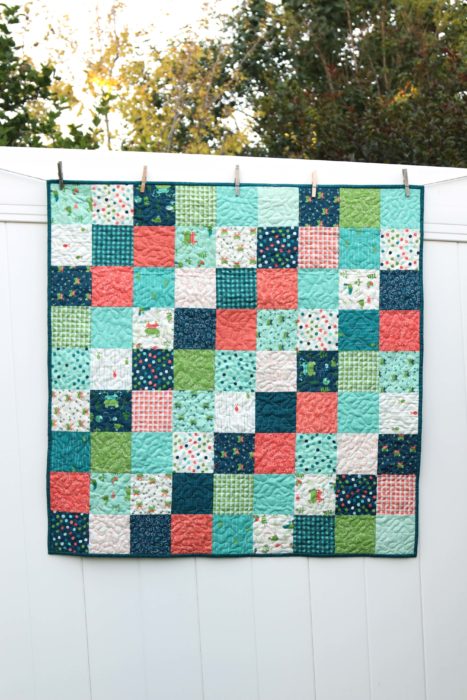
One tip: If you feel intimidated by color or fabric placement, divide squares into equal piles by color and lay out the squares in color order diagonally as pictured above. (For this quilt I combined the orange and green prints and scattered them through out for their diagonal row.)
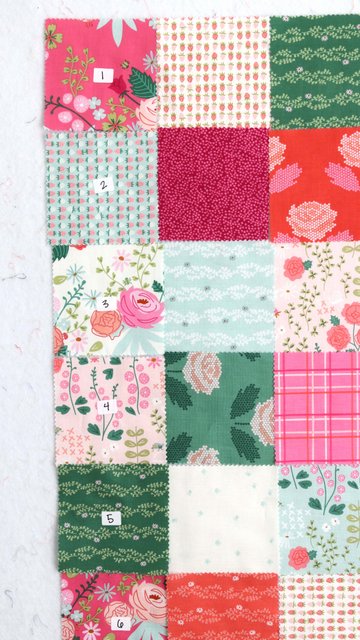
Label each row in order 1 through 9. Starting from the left, carefully stack the 5" x 5" squares into rows, keeping the far left square on top and adding squares to the bottom of the pile as you move to the right.
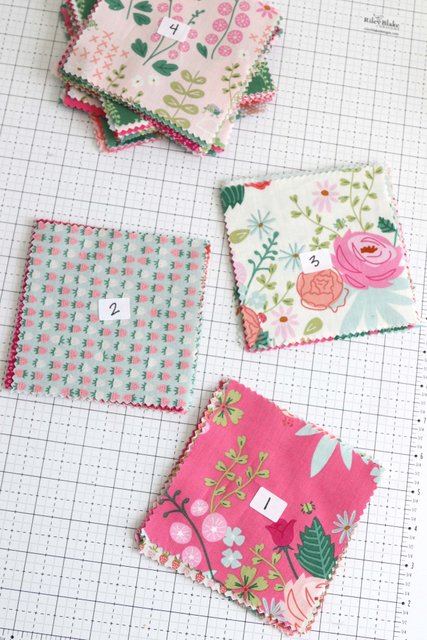
Carefully bring your 9 stacks of squares to your sewing machine.
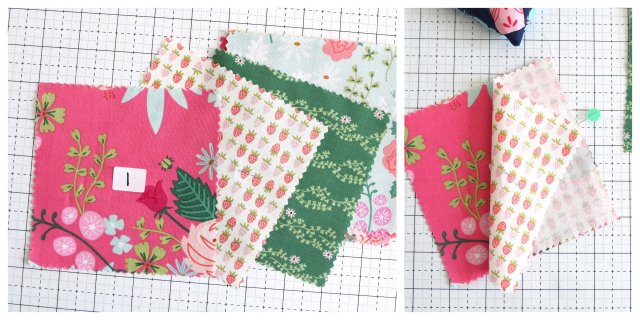
Starting with Row 1, take the top square (Square 1) and place Square 2 face down on top of it. Pin the right side together.
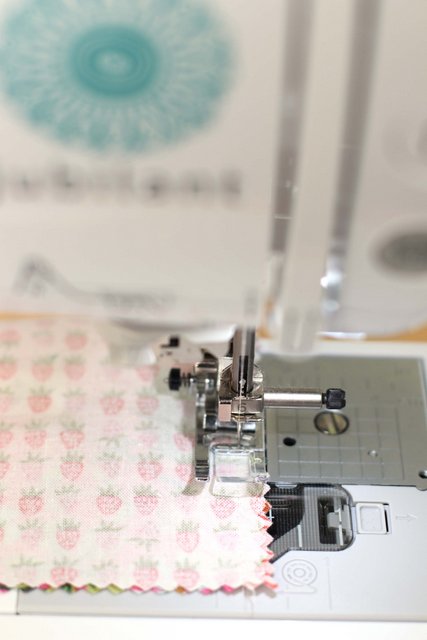
Sew the pinned edge (removing pin as you go) with a ¼" seam allowance.
(A note on working with precuts and their pinked edges: measure one of the precut squares before you start sewing to determine if the edge of the 5" square is the peak or valley of the pinked edge. On a one-patch quilt it won't matter as much which you choose - I choose to use the 'valley' as my edge on this quilt. But with more complex patterns you'll want to know which one is the correct edge of the precut square.)
Seam Allowance Tips: The key to great looking piecing is a consistent seam allowance. A ¼" is the gold standard for all quilt projects. If working with younger or beginning sewers a foot with a seam guide or a simple attachable seam guide will help with that accuracy.
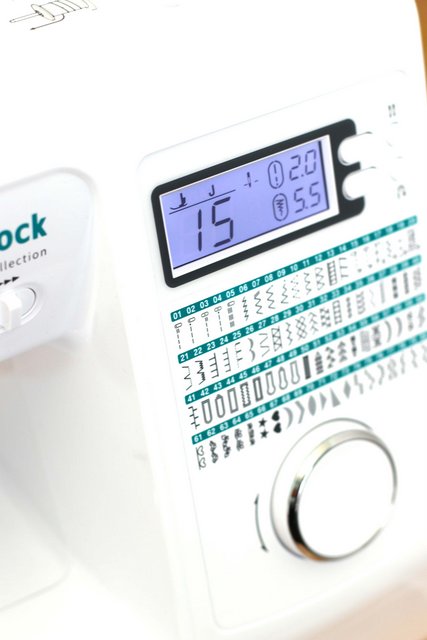
I'm sewing with the Baby Lock Jubilee machine which has a stitch that moves the needle to the right, a ¼ inch away from the edge of the basic J presser foot. Works like a charm!
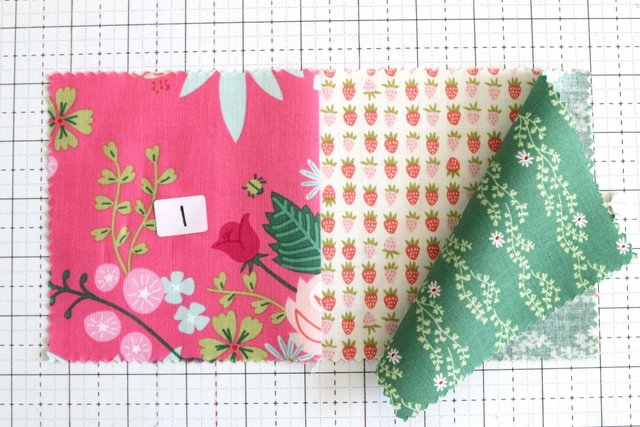
Now open up that pair and pin square 3 facing square 2. Sew a ¼″ seam. Continue to add the next 6 blocks to the right side of the row of squares.
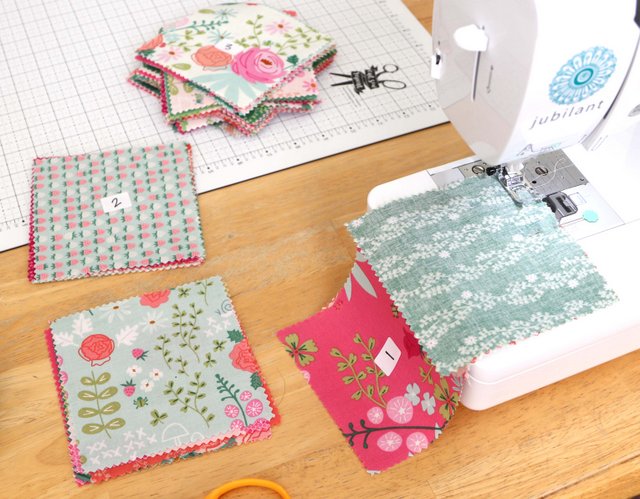
Repeat the process for the remaining 9 rows.
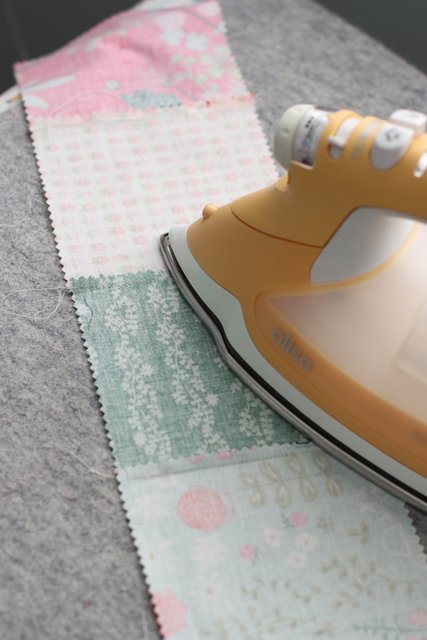
Press all of your seams to one side (not open.) When making a quilt, pressing seams to the side will help prevent seams from splitting open.
Pressing may seam tedious, but it really makes a big difference in piecing a neat quilt.
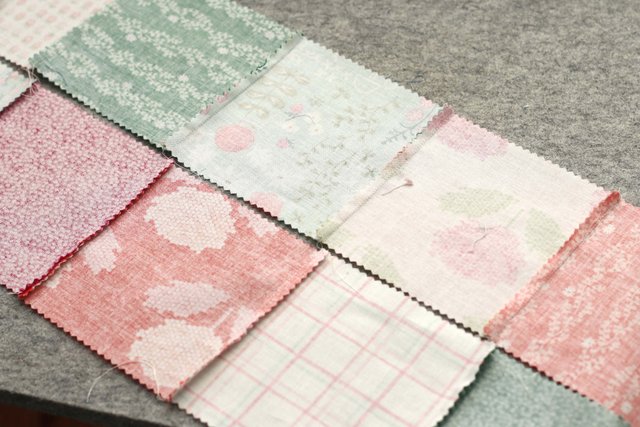
For odd-numbered rows, press seams to the left. For even-numbered rows, press seams to the right. (This will help points match up nicely when sewing the rows to each other.)
Then turn over and press from the top to make sure the seams are nice and flat.
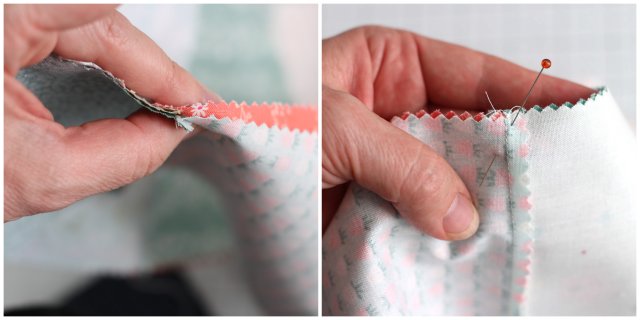
Sew the pieced rows together in order. Place the first two rows facing each other, matching up seams. The pressed seams should butt up against each other. Sew together with a ¼" seam.
Rather assembling the quilt by sewing one row after another to one big section, I recommend sewing the rows together into pairs first (1 & 2, 3 & 4, 5 & 6, etc.). Then sew the pairs into sections of rows 1-4 and rows 5-9 and then sew the two halves together. This method is a little easier to manage and will help keep the quilt from getting misshapen.
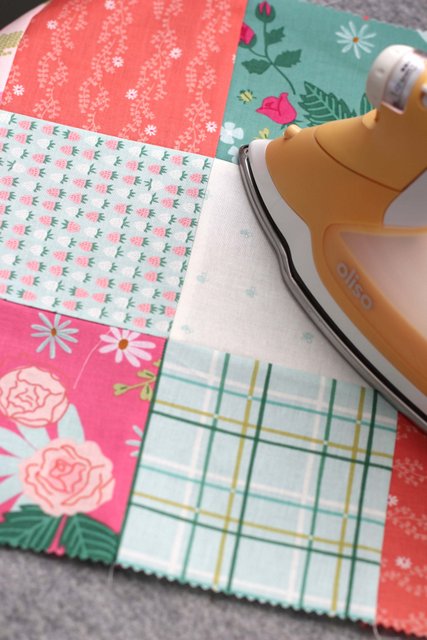
Press the row seams all one direction. Turn over and press from the front to make sure every seam is all the way open and flat.
Finishing your Patchwork Baby Quilt:
Now that your quilt top is finished, the next step is to add the batting and backing layers and baste them together.
Click here to read about choosing batting for a quilt. I recommend choosing your batting based on how you plan to quilt your quilt. For this project I quilted my quilt on my sewing machine, so I used a low-loft cotton-poly blend.
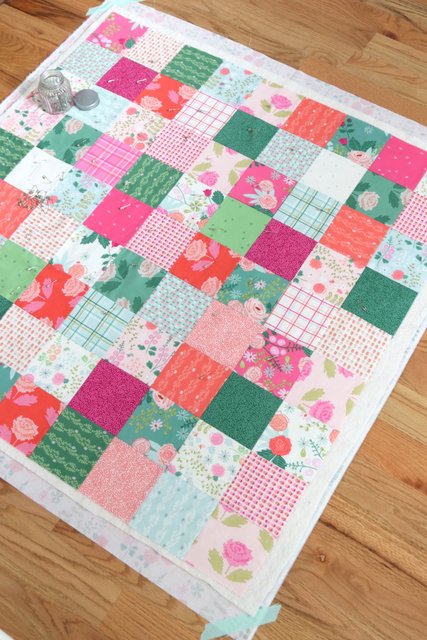
The quilt backing needs to be a few inches bigger on all four sides. Start by giving your backing layer a good press. Then lay it out on your surface face down. Center the the batting and then add the quilt top layer face up.
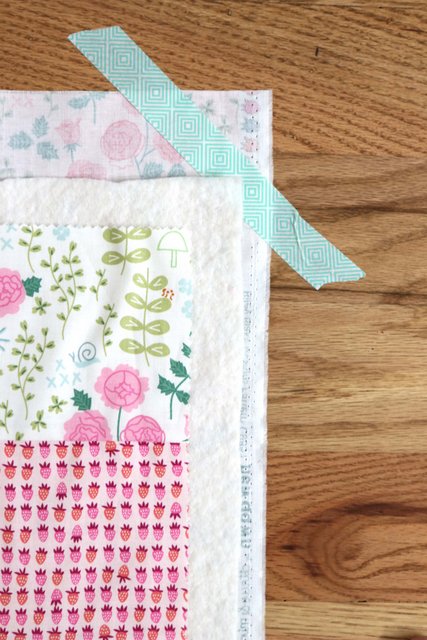
Make sure you can see all three layers from the top before you baste them together.
The reason a back needs to be bigger is because you’re usually quilting from the top of the quilt and the batting and backing can shift slightly underneath. The extra inches are your insurance policy that your back doesn’t suddenly become smaller than the front.
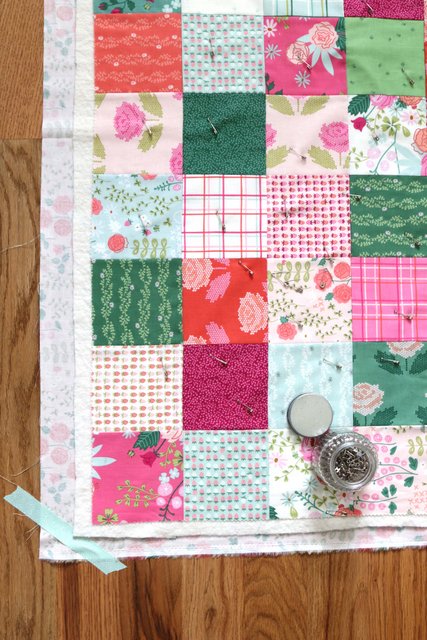
This post will walk you through the steps that I use to baste my three layers together before machine quilting. There are many options including using a spray baste adhesive for fabric to baste your layers together. I choose to baste using basting safety pins.
Pat Sloan shares a really great quilt basting tip here.
Quilting the Layers Together:
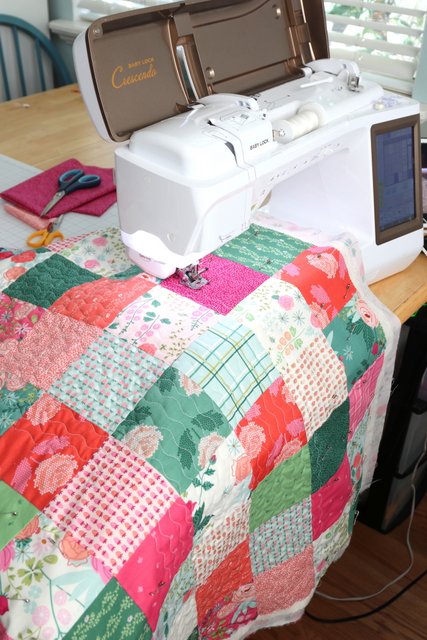
"Quilting" is the official term for sewing the through all three layers to hold them together. You have lots of options here including tieing a quilt, hand-quilting, machine quilting on your own machine, or sending it out to someone else to quilt the layers together. (I use my friends Monica or Melissa of Sew Shabby Quilting.)
I'll walk you through a few of the steps for machine quilting, but you can find much more information and detail on quilting a quilt here.
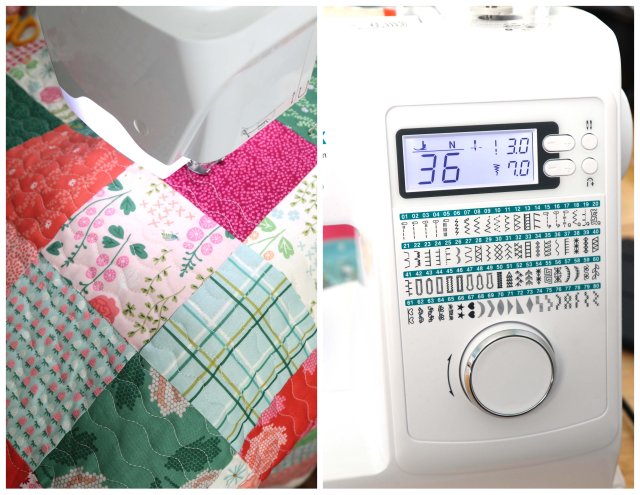
One of my favorite tips for machine quilting a quilt on my home machine is to use the 'serpentine' stitch. This stitch creates a wave effect. Basically you are sewing a straight line and the needle does all of the work moving back and forth to create this gentle wave design. This gives the quilt more of a 'free-motion' quilting design, without having to actually 'free-motion' move the quilt as you stitch.
I typically make the stitch setting as wide as the machine allows and a 3 length. If you have access to a 'walking-foot' I highly recommend it as it will feed the three layers most evenly.
How to Finish or Bind your Patchwork Baby Quilt:
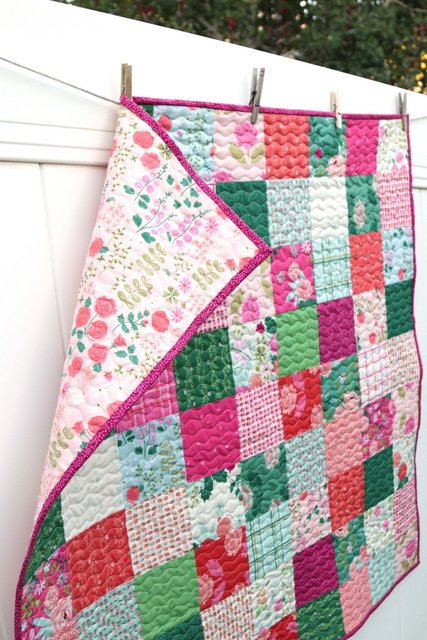
The final step to finish your patchwork baby quilt is to put a binding edge on. It's possible to roll your backing fabric to create this finished edge, but I personally like to add a separate binding for an extra clean finish. And it's fun to use a contrasting fabric for extra flair.
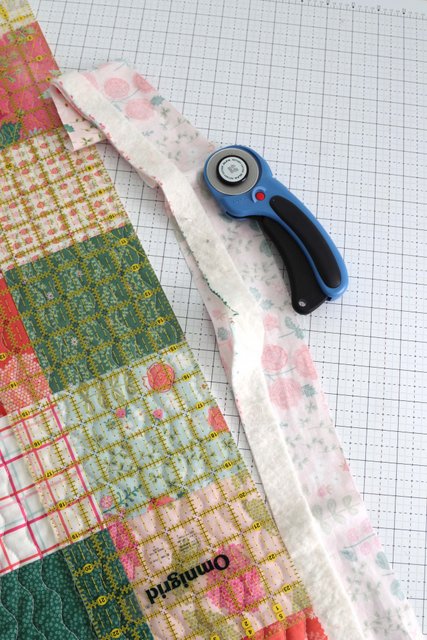
After the quilting is finished, carefully trim the excess batting and backing fabric with a rotary cutter for a nice, straight edge.
Cutting your binding fabric into 4 strips 2 ½" x the width of the fabric. Trim the selvage edges and sew the strips together end to end to create one long strip. Fold in half width-wise and press to create a 1 ¼" wide strip with a crisp folded edge.
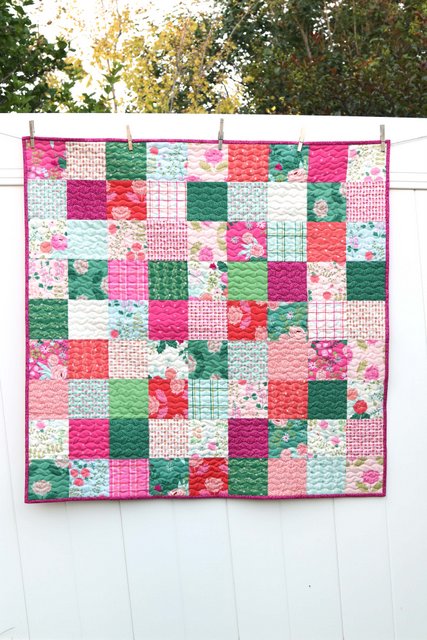
And there you have it! A simple but beautiful finished patchwork baby quilt! Of course, you can make your patchwork quilt any size you want, depending on the number of squares you use.
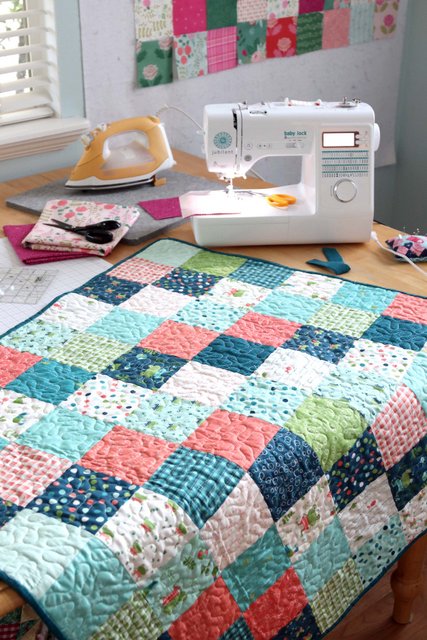
If you choose to use the 5" precuts, factor your finished block sizes at 4 ½" x 4 ½". Some graph paper and a calculator will help you figure out how many squares or packs of squares (42 is the typical number of squares included in most commercial Charm packs) you'll need for the size quilt you want to make.
If you'd like to make a bigger size patchwork baby quilt, you may want to use larger scale squares so that you're not sewing so many seams. Using 10" precuts (sometimes called Layer Cakes) is a great way to get larger scale blocks. Just factor them as 9 ½" x 9 ½" for the finished size block. 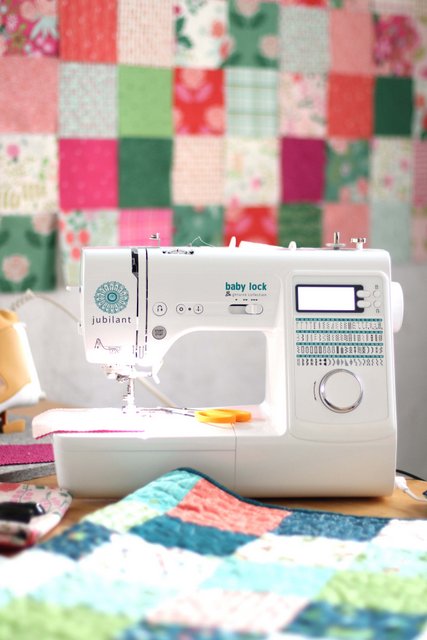
As previously mentioned, I pieced this patchwork baby quilt on my Baby Lock Jubliant sewing machine. This machine is compact and portable but it stitches so beautifully. It includes a large variety of stitch settings, including buttons and buttonholes, as well as decorative stitches. I also like that it has a stitch-speed setting, perfect for helping new sewists get the hang of a sewing machine on a slower setting.
 The Jubilant is part of the Genuine Collection of Baby Lock sewing machines - a nice variety of entry level machines. To find the right machine for you, visit your Baby Lock machine dealer. You can also find them online at Sewing Machines Plus (when they're back in stock).(A few months ago there was a huge rush to buy sewing machines, so entry level machines are scarce at the moment. Word is that these lower-end models will be available again this Fall, if you're looking to find just the right one for you.)
I hope this little tutorial will give you a fun place to start - whether you're making your own first patchwork quilt or teaching someone else how to make a quilt. Be sure to check out the rest of the fun beginner projects that are part of the Baby Lock Summer School series here.
If you have more questions on how to make a quilt, be sure to check out my Beginning Quilting Series - How to Make a Quilt from Start to Finish for lots more details and helpful information.
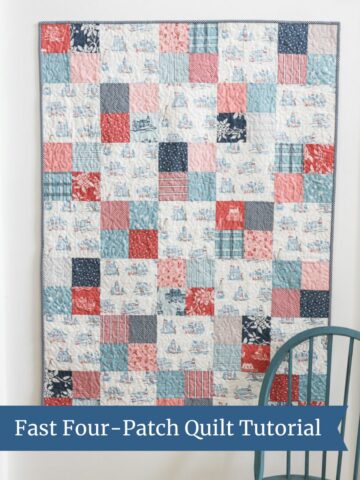
If you'd like more ideas of what to do with Charm Packs (5" precut squares) check out this list of 25 Best Charm Pack quilts and projects.
Shelia
Lovely quilt, great tutorial. I’ll be making more than one. Thank you.
The Joyful Quilter
Those quilt turned out SEW cute! Thanks for linking to your finishing tutorial, too. It's nice to pick up tips and tricks out in BlogLand!
Amy Smart
Imagine my shock while Googling, "Quilting" to find a web page run by myself!? Ok, not me actually but someone with the same name. LOL! Excited to learn more about quilting, thanks for the directions!
Amy
Haha! It's a great name! 😉
Rosemary B
I love this babylock machine. I would love to own one some day.
Your quilt turned out sweet. I am going to save this tutorial, I am hoping to somehow, get my girls into sewing and quilting.
Your tutorial is very inspiring
Amy
Thanks, Rosemary!
Kathleen Rehberger
Thank you for mentioning to measure the 5" pinked squares. It is such a simple thing, but I never thought of it when using pinked squares, I just went with the peak.
Gwyn
I have two sets of matching charm squares perfect for this quilt. I just might sew it up this weekend. Thank you Amy!
Pat
Very pretty and great beginner quilt, but I don't see how you can get an accurate seam when the edges are pinked, and accurate 1/4" seams are stressed so much in quilting. That's one reason I will never buy precuts.
ZR
great tutorial! if we want to make a bigger size, how will we manage the batting and backing? do they have to be one continuous piece?
Amy
You can pieced together both batting or backing yardage to the size that you need. Although, batting does come in larger sizes (usually available by bed size) so you can just purchase the size that you need.
Elizabeth
I have a bunch of flannel scraps and I’m trying to figure out what to do with them. They’re baby-themed. This project looks amazing though a little daunting since I’m still new to sewing. My question is: can I mix and match fabric types (ie, flannel and quilter’s cotton)?
Thanks!!
Elizabeth
Amy
I have mixed and matched flannel and cotton pieces with no problems. I say go for it!
Anna
I am brand new to quilting. What weight thread did you use for this project?
Amy
Great question. I always use 50wt thread for any time I'm piecing with Cotton.
Pattie
Hi do you need to use batting if the backing is cuddle flannel? Is so, what do you recommend?
Amy
I've seen people do both. Flannel will give it more weight and stability. Cuddle flannel alone will be lighter weight and have more drape. Totally a personal preference.
Jill+Davies
Hi Amy,
Your quilts are really beautiful with the blend of all the different colours. That is my problem: I just can't seem to get colours to blend together and I spend hours going through my large stash to select the colours in the first place. I wish that I had your talent in this.
Mary J Wiker
Is there a printable version of this? I’d love to make it!
Sue Heuston
I also could use a print version as my quilting area is not near my computer. Thanks in advance!