
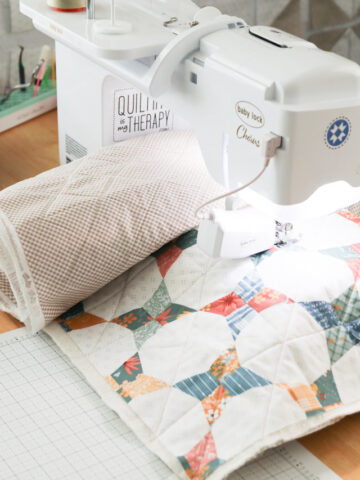
I found a fantastic new specialty sewing machine foot for my Baby Lock machine that makes machine binding a quilt easy and with perfect stitching! One thing I've learned in recent years is the availability of SO MANY more presser foot options that simplify a plethora of sewing and quilting needs. I'll share this new favorite here, but there are dozens more feet and accessories available for most machines. Way more than when I first started to learn how to use a sewing machine 40 years ago, for sure.
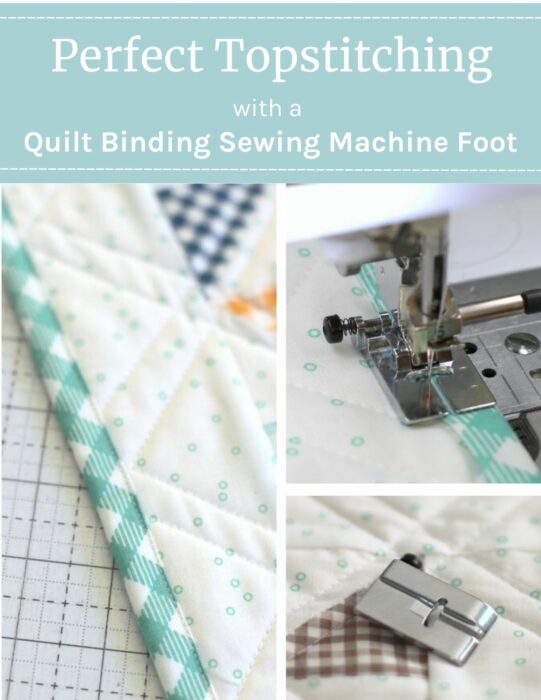
I talked about Walking Feet and Dual-Feed Feet in a previous post. This time I'm going to finish the patchwork wall hanging I've been working on and demonstrate this fairly new Quilt Binding Foot from Baby Lock.
Officially known as the Quilt Binding Foot (part BLSA-QBF) this foot helps to accurately finish stitching the binding to the outside edge of your quilt
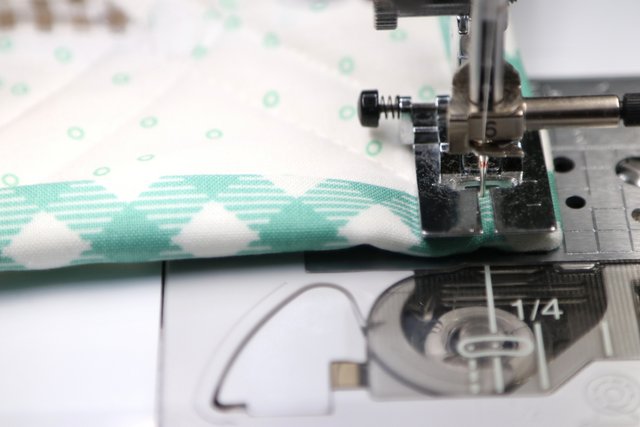
This snap on foot accommodates the difference in thickness between the body of the quilt and the attached binding. The bottom side of the foot has two heights - one section with regular thickness and a deeper section.
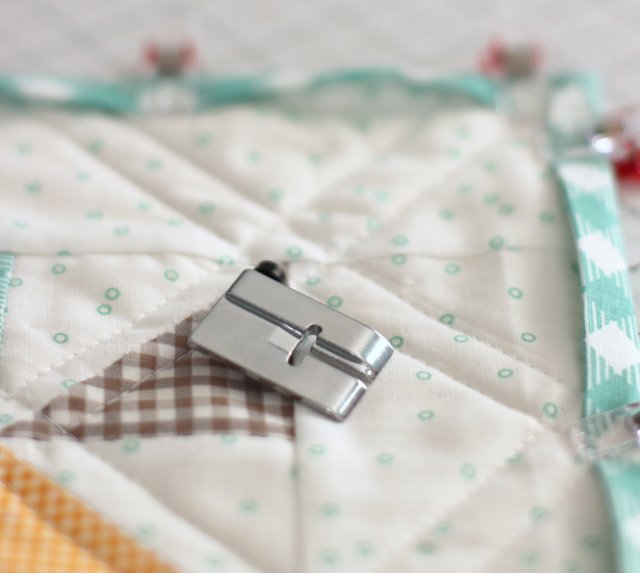
When sewing the finished binding to the quilt front, the edge of the deeper section runs along the edge of the the binding creating a perfect guide for a straight, tidy topstitch.
In addition to straight topstitching, the width on the of the needle opening of the foot also allows for using a Blanket Stitch, Overcasting Stitch, or similar decorative stitches. The wide opening also allows for moving the needle to the left or right if you want to adjust stitching placement.
I'll walk through the steps below.
How to Machine Bind a Quilt
Here is the step by step process I used for finishing this quilt by machine binding the final finished edge.
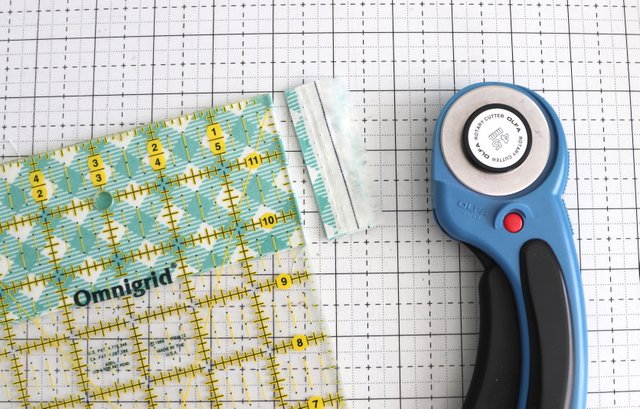
Cut binding strips - I typically cut them 2 ½" wide. Check individual pattern instructions for number and width of strips.

Trim selvage edges and sew strips end to end. (Some prefer sewing bias seams to reduce bulk. I just sewed the straight edges to each other.)
Press seams open to reduce bulk.
Fold long binding strip in half and press. This will create a nice clean finished edge for topstitching.
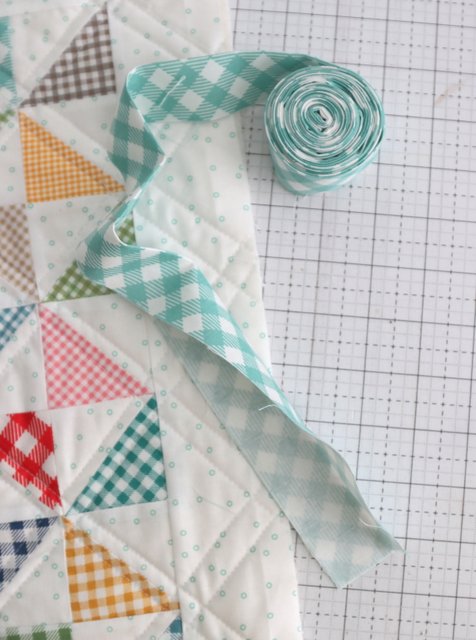
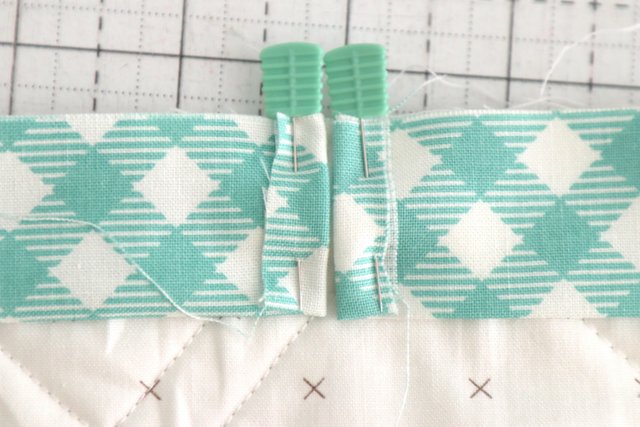
For this particular quilt I'm finishing with the topstitched edge on the front of the quilt. Pin raw edges of folded binding strip to the outside edges of the BACK of the quilt.

(I'm using my new favorite Magic Pins with flat heads. So much easier to grab and to see if you drop them on the ground. Your family will thank you. 😉 )
How to Miter (or Mitre) Binding Corners
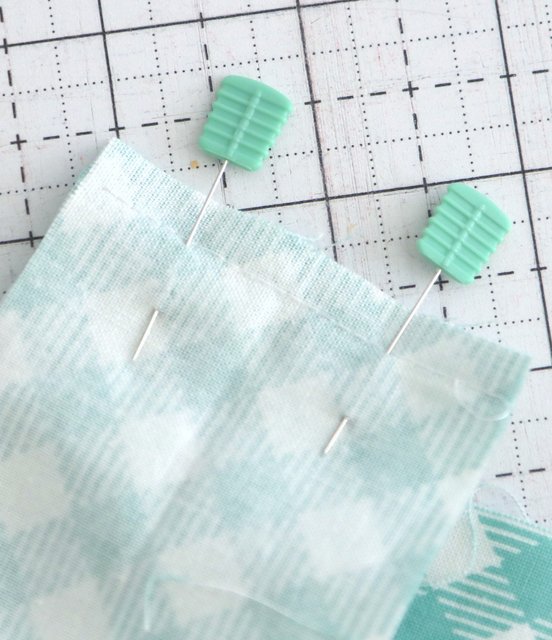
When you come to the corner put a pin in the corner at a 45 degree angle.
Fold strip to the side at that same 45 degree angle.

Now fold the strip back on it self with the fold at the first edge of the quilt and matching up the binding edges to the edge of the second side of the quilt.
Place one more pin on the new side at a 45 degree angle. This will create a little triangle flap of fabric in the corner. Repeat at all four corners.

When the strip gets back around to the beginning fold the ends down so that the strips meet-up. Press with your iron to make a crease at both folds.
Trim both ends to ¼″ away from the folds.
Remove pins, match up strips right sides together and sew ¼″ seam right on the pressed crease. Press seam open, refold strip and pin the joined binding to the quilt.

Sew binding in place using a ¼″ seam allowance. When attaching the binding to the quilt, I highly recommend using a walking foot, if you have one, as this will ease the multiple fabric layers evenly through the machine.

Sewing Binding with Perfect Topstitched Edge
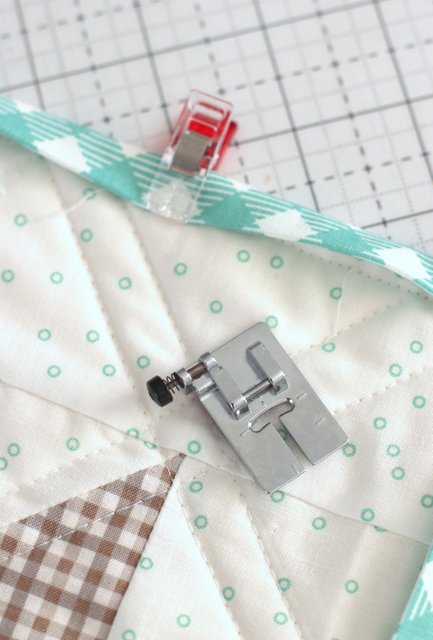
Now to finish the binding with a perfect topstitched edge. Fold binding over to the front of the quilt and pin or clip in place. (I love Wonderclips for this process.)
Replace walking foot with Quilt Binding Foot on regular shank.
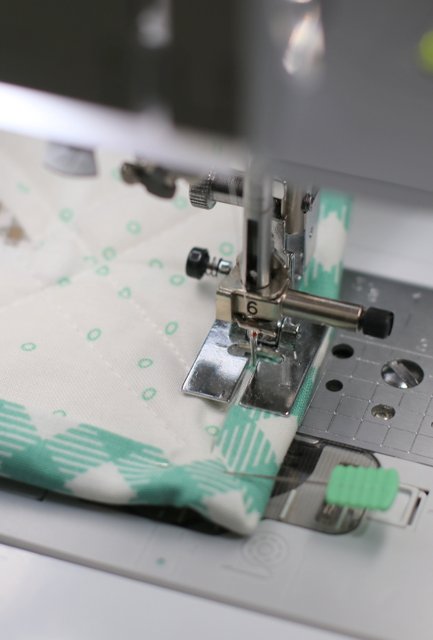
Position the project under presser foot with the thick edge of the binding to the right - the inside of the deeper side of the foot should rest right next to the inside edge of the binding.

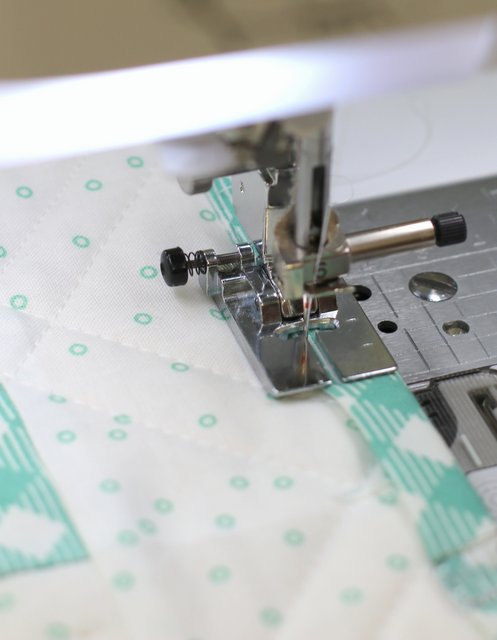
Slowly lower needle using handwheel to check for needle placement. Move needle position (left or right) to desired placement, depending on your binding width, then start stitching!
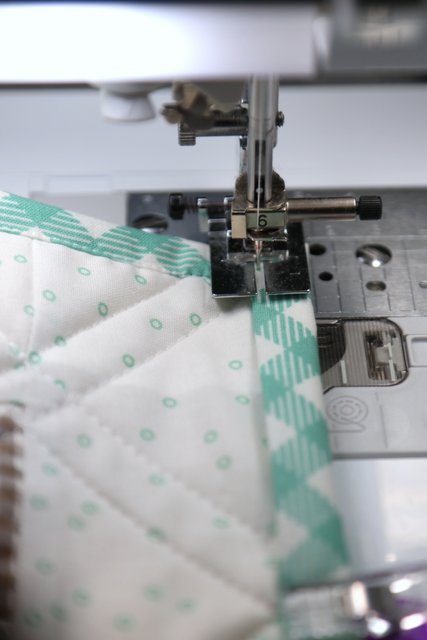
I like to carefully fold and pin the mitered corners in place and stitch slowly as I approach the layered fabric.
Remove pin as the foot approaches corner and holds fold in place. (A small dab of glue would also be great here, just to make sure everything is secured in place and doesn't shift underneath the presser foot.)
As the needle approaches folded edge, keep the needle dropped in place.
Raise foot, pivot machine, and continue stitching.
Finish topstitching around all four sides.
And there you have it perfect machine topstitching to finish binding your quilt!
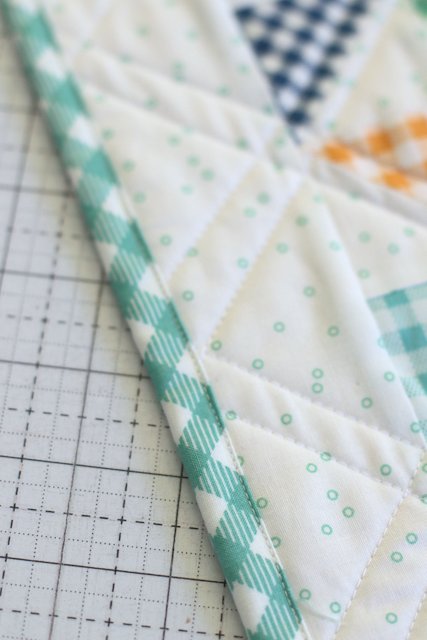

My machine bound quilts have never looked so good. And this simple in-expensive sewing machine foot made it so easy!
Here is what the back side of the quilt looks like:
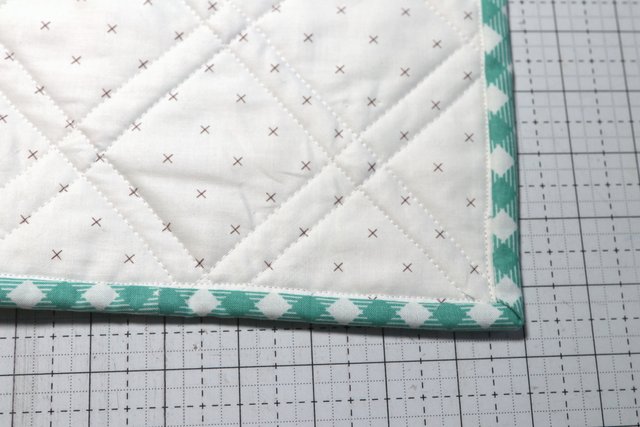
The seam isn't perfectly in the ditch next to the binding edge. That probably has to do with the seam allowance I used to attach the binding to the back of the quilt. But it's close enough and clean enough for me, so I'm okay with it.

This post is sponsored by Baby Lock. One of my favorite things about my Baby Lock sewing machines has been the huge variety of quilting feet and attachments available to simplify all of your sewing and quilting needs. The price is excellent.
Another one of my favorite feet is this updated ¼" Qulting foot with guide. I would highly recommend checking with your local dealer to learn about other foot attachments that could really make difference in simplifying or expanding your sewing and quilting skills!
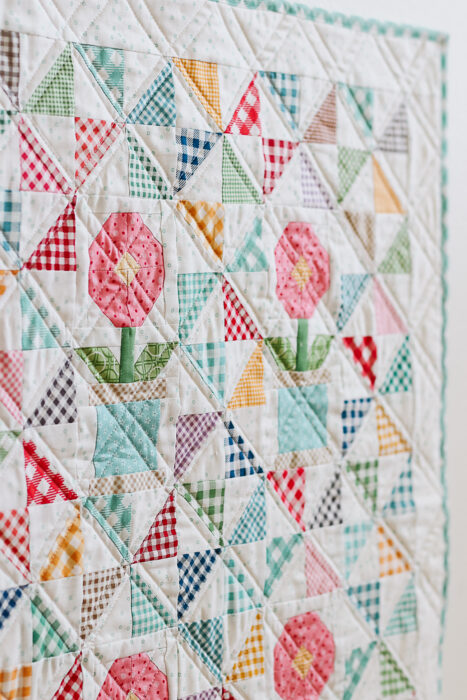
The Finished Quilt
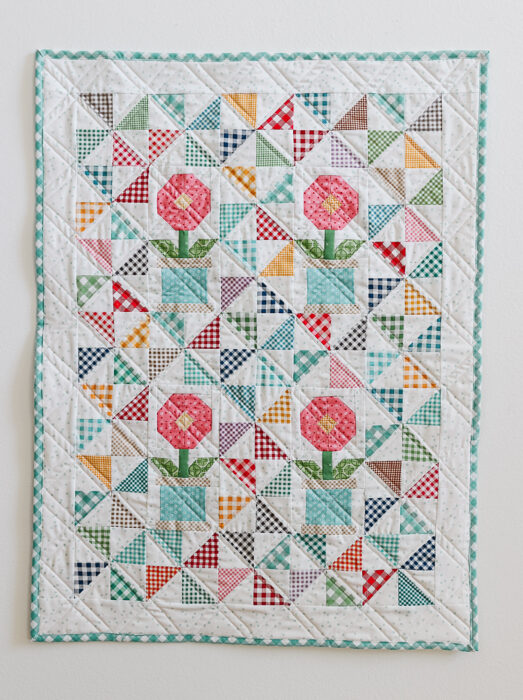
This Lori Holt Gingham Flower Pots mini quilt (24″ x 32″) featuring Lori Holt’s Gingham + Basics collections is an kit exclusively sold by Baby Lock Sewing Machine dealers. Check with your local dealer (your can find them here) to see if they have the kit in stock!
You can also ready parts 1 and 2 of making this quilt below including

Marlene Johnson
I love your detailed photos and instructions for using the foot. Maybe you could show the binding on the back of the quilt....that's always been the deal breaker
for me when I've tried a similar method. Thank you, Amy!
Amy
Great suggestion. I will add photos of the back of the quilt on Monday! I'll let you know when they're up.
Dawn
I was thinking the same thing!
Amy
HI Dawn! I just updated the post with a photo of the quilt back. 🙂
Amy
Photo added!
Kerry Davidson
That's brilliant. I think there is a dual level food available for my Janome, with SHOULD be able to do the same thing with any luck. Now I have a real reason to chase one down, Thank you
Dawn
Is it ONLY for Baby lock or is it low/high shank to fit other machines?
Amy
I'm not an expert on other machines, so I'm not the best resource there. The foot is made by Baby Lock, so it is definitely compatible there and with Brother machines. But could also work with machines that have a low shank snap-on foot adaptor. That said, I'd reach out to your local machine dealer and ask if there's a foot like this that's compatible with your sewing machine.
Geralyn Matejcek
Which machine(s) does this fit? I have a Bernina & a Janome.
Geralyn Matejcek
I found the answer! Sorry for missing that.
Quiltybea
I have been using a Brother bi-level foot and have sewed on some lovely bindings front and back. My nemesis seems to be getting a “mushy” corner on the front. No matter what I do, I can rarely get a flat and tidy 45 degree corner. I don’t think I am stretching the binding when stitching to the back but could this be the culprit that a walking foot could solve? Thanks for your post Amy.
Amy
Hmm, without seeing it, I can't accurately diagnose, but I think you're theory is a good one. A walking foot can really help keep the binding from getting distorted - especially if you're sewing a bias binding.
Julie
Thanks for sharing about the new binding foot. I always use my walking foot, but I think this will give me a more straight and even stitch along the front binding.
Amy
I have machine bound with my walking foot in the past. I would still recommend attaching the binding to the quilt with a walking foot, but this Quilt Binding Foot made it so much easier to get a clean and strait topstitch along the front binding.
Rosemary B
I love this. Is there a foot like this that would fit an old singer machine. I have a 301 slant foot. Anyway, Wow, I like this.
Amy
Hi Rosemary! Isn't it cool? I'm not an expert on all machines, but I would definitely check with a sewing machine dealer to see if they know of a similar foot that would fit your machine.
Heidi
Thanks for posting this! I have been looking for this type of foot and hoping that it existed!
Ellen F Sawyer
Hi Amy-- Thank you for this tutorial. I finally got my hands on a binding foot. I am surprised at how people feel about machine stitching a binding on! If I have just sewn the entire quilt on my machine, why can't I machine stitch the binding on? We had a lively conversation about this at my sewing group!! After using your method a couple of times, I am hooked. One difference I made was to use a serpentine stitch, so that on the backside it looks a bit more decorative than a regular straight stitch. Thanks again! Ellen, Cape Cod, MA
Pat
I have never heard of this foot. I always use a walking foot for binding, after all, you sewing through multiple layers. So, how can this foot stitch without getting any puckers, which always happens if I don't use a walking foot?
Amy
Hi Pat! I still use my walking foot to attach the binding to the quilt first. I then use this foot for topstitching the finished folded-over edge. I've used it multiple times and haven't had any puckers. It's kind of amazing. I think attaching with the walking foot first helps prevent them.
Nora Cain
The link for the binding foot goes to a different part number than the one listed; the pictures look the same, but could you clarify.
Amy
You are right! Thanks for pointing that out. I've updated the link to the correct foot. Here it is: http://shrsl.com/4i0ut
Lucy
If I remember right, you have a Bernina 801S. So do I. I'm wondering if the binding foot would work with the Bernina Sport's universal shank.