
This post is sponsored by Cricut and contains affiliate links.
Last week I shared the first post introducing cool collaboration between the digital cutting machine, the Cricut Maker and Riley Blake Designs quilt kits. The Cricut Maker has a library of hundreds of projects in their Design Space that can be made with multiple mediums including paper, vinyl, balsa wood, etc. And now, the Cricut Maker is the first digital cutting machine to be able to accurately cut regular quilting cotton!

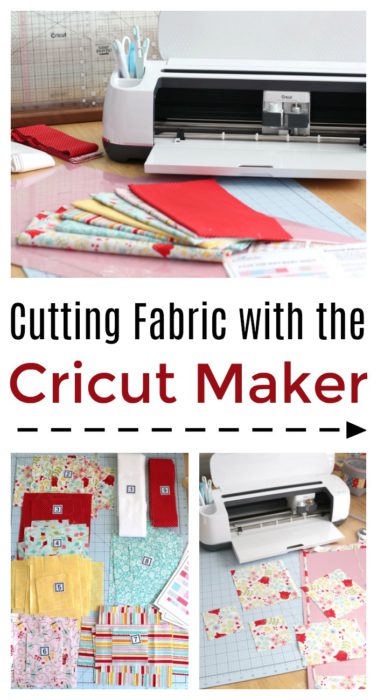
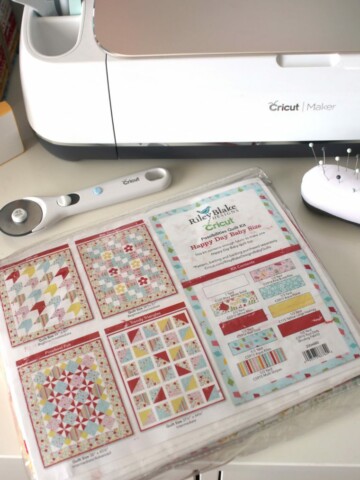
Cricut has teamed up with Riley Blake Designs to provide over 30 pre-programed quilt designs in their Design Space. (To browse all of the projects in Design Space, create a free account.) You can read more about the kits here. I'm making a baby quilt using the Happy Day baby size fabric kit and the Pave the Way baby quilt pattern.

In this post I going to share more about the fabric prep and cutting process and demo how easy it is to cut out an entire quilt in a short amount of time!
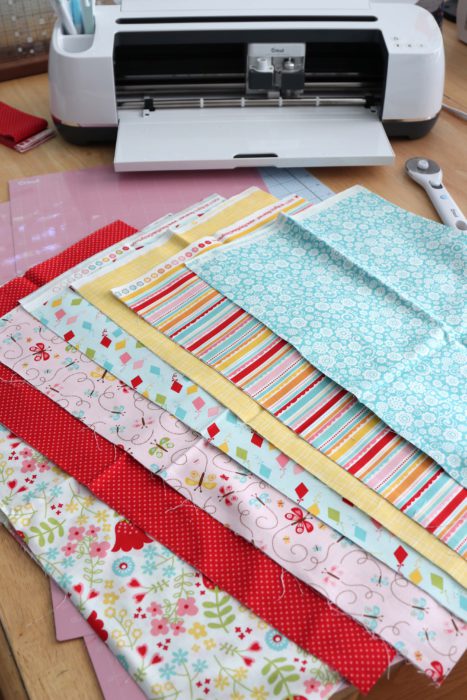
First of all, open up the fabric from your kits and lay it out in order according to the printable instructions.
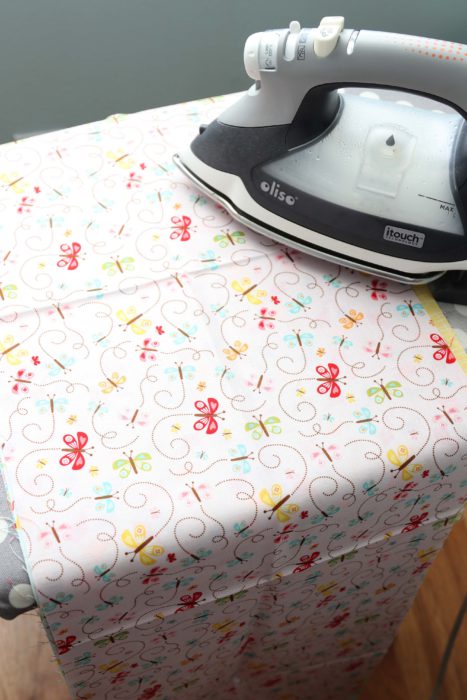
Before I cut any fabric, I like to give it a good press to get out creases - this will result in more accurate cutting.

Once all of your pieces are pressed, lay the fabric on the sticky Fabric Cutting Mats - I'm using the 12" x 24" mats. The Brayer tool will help you get your fabric adhered smoothly without any puckers or wrinkles. Most of the fabric in the kits is already pre-cut to 12" wide and ready to put on the mats.

Since the first cuts will be right at the top line of the mat, when putting the fabric on the mat make sure the selvage edge is above that top line. You don't want to accidentally cut selvage edges into your quilt pieces. (Or just trim the selvage edge off before your place your fabric on the mat.)

You can prep multiple mats and have them ready to load as soon as each cut job finishes - making the job go even faster.
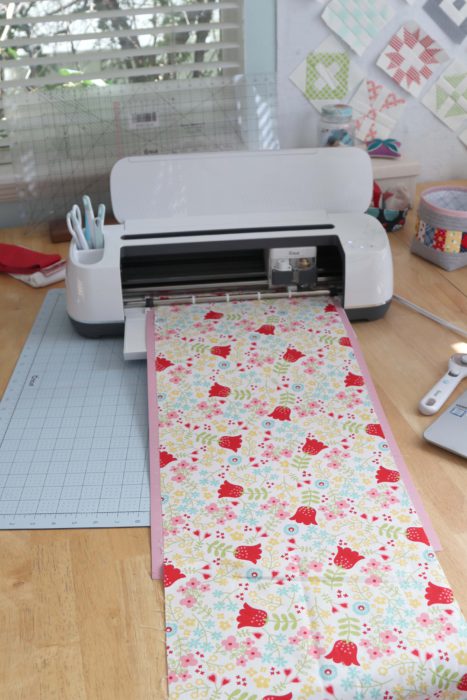
You can trim the fabric pieces before you send them through the machine, but I choose to just leave the width of fabric intact and let it hang off the edge of the mat - that way when the cuts are made there is a bigger piece of useable continuous leftover yardage for other projects.

Here is what makes the Cricut Maker different from any other digital cutter - and what makes it possible to cut quilting cotton: it’s a mini rotary cutter, part of the advanced Adaptive Tool system. This is significant because past electric cutting machines have only been able to cut fabric if it was bonded to something to make it more stiff – like Heat n Bond. The cutting tool on those machines is like an exacto knife – sharp and accurate, but unable to cut un-bonded fabric without catching threads and dragging the fabric. Kind of like trying to cut a pizza with a plastic knife. You could do it, but you’d probably drag the cheese and toppings with the knife, rather than cutting cleanly through them.
This rotary cutter makes clean, accurate cuts in quilting cotton!

I have used my blade for multiple projects and it's still sharp and accurate. But you're probably wondering how you would safely change such a tiny round blade. Cricut has thought of everything and they have the safe and easy Rotary Blade Kit for changing it when the time comes.

Once the fabric goes through the machine it's easy to peel away the cut pieces that are now ready for piecing!
The Cricut Maker is able to cut through multiple layers of fabric at the same time - just like your regular rotary cutter. This is a great time saver if your cutting lots of custom shapes or pieces. (See a demo in this video.)
There will be some threads left over on the mats after cutting fabric. This is not a problem. Just continue to place the next piece of fabric right over the threads and the rotary blade will cut right through them.
To preserve the tackiness of the mats, try to touch them as little as possible and definitely don't try to scrape the threads with a scraper tool - it will damage the tacky surface. If your mat starts to loose it's tackiness, you can wash them, perpetuating their use for a long time. You can find tips for washing the fabric mats here.

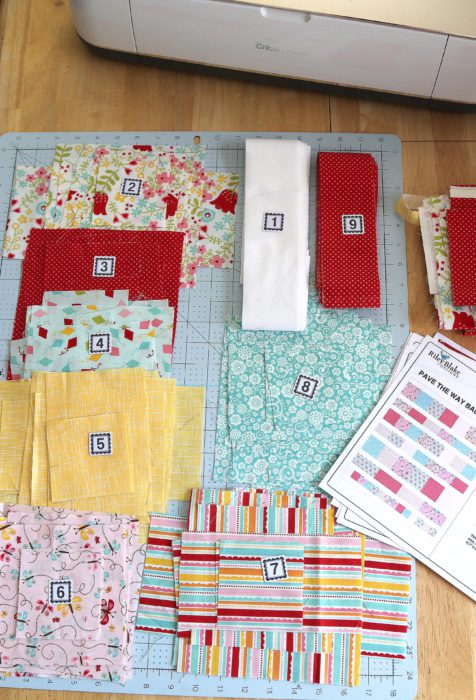
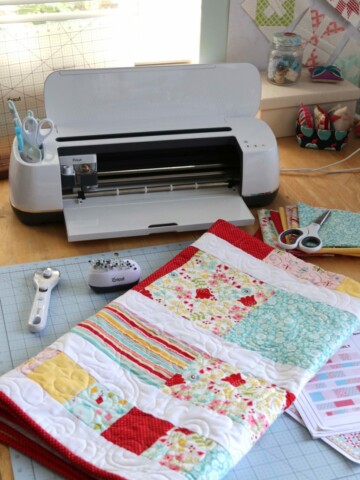
Here are all of my pieces cut and ready to assemble! I'll be sharing more of that in my next post in the series in a few weeks.
The one thing I did cut by hand was my sashing strips (#1) and binding strips (#9). For the Pave the Way pattern I need 8 white 2 ½" x width-of-fabric strips for sashing and 5 red 2 ½" x width-of-fabric strips for binding. These are quickly, and most accurately, cut with the mat, ruler, and rotary cutter.

Some quick tips: Fold the yardage in half, making sure the selvage edges match up evenly. (This may mean you need to refold and re-press the center fold.) To keep the strips straight and square, line up the center fold on straight line at the bottom of the mat. Square-off the raw edges so that you start with a clean edge.
Use the cutting ruler to measure the width of the strip in need of cutting and using your left hand, gently put pressure across the center of the ruler. Use the rotary cutter to firmly press the rotary cutter away from you.

Continue to move the ruler along the fabric to the right, cutting 2 ½" wide strips.

Repeat the process to cut the 5 binding strips.
I'm excited to start sewing! This pattern is a simple one, so it should come together really quickly for a cute, finished baby quilt.
 But I'm equally excited about all of the capabilities that the Cricut cutter has for lots of future quilt projects - particularly eliminating lots of cutting by hand. Especially repetitive patchwork pieces. For example, English Paper Piecing projects where the Maker can cut both the cardstock templates as well as the fabric pieces (as seen in this post by Jeni Baker).
This project was perfect timing for me as I've been nursing a sore shoulder. It was so handy to just feed the fabrics into the digital cutter and have them come out ready to sew!
If you missed Part 1 where I introduced the Riley Blake Kits, you can see them here.
Quilt assembly steps as well as the finished quilt, see Part 3 here.
If you are in need of any Cricut supplies, now is an awesome time of year to stock up with lots of accessories (including the quilt kits!) 50% off during their Christmas in July sale.

This is a sponsored conversation written by me on behalf of Cricut. The opinions and text are all mine.
teresamnj
Love it, and this Happy Day fabric is beautiful! I have a traditional Cricut, but hope to get the Maker some time in the near future!
Irene Bullock
Hi, This is so handy just to feed the fabrics into the digital cutter and have them come out ready to sew! I also have a traditional Cricut, But I want to get this. I think I will be more flexible with this. Thanks for the sharing this information.
MaryJo
Curious, how long did it take you to all your fabric with Cricut? How much time do you think you saved opposed to cutting the traditional way with a rotatory cutter?
Amy
If I was just cutting a lot of the same size squares, it probably wouldn't save me a lot of time - mainly because I'm pretty fast/experienced at cutting squares/rectangles. THe times when the Cricut has been a huge time saver is if I'm cutting one of their kits (like in this post) where there are multiple size pieces from each piece of fabric - so nice to just feed the fabric through and not have to stop and count, measure, etc.
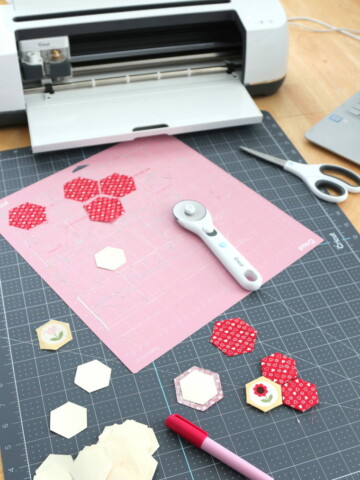
The other big timesaver is when cutting multiple half square triangle blocks or odd-shaped pieces like hexagons. (See this post: https://www.diaryofaquilter.com/2019/02/cutting-fabric-for-quilt-blocks-with-the-cricut-maker.html) The hexagons are cut so much more efficiently and quickly and I love the Half Square triangle cartridge because it cuts them accurately and fast with all of the dog ears pre-trimmed. That's a HUGE timesaver. I can just match up the triangles and chain the HST blocks quickly through my sewing machine.
bikrgran
PLEASE tell me how to get the fabric off the mats without fraying the edges. I just cut 2 quilts, and I have some edges frayed, almost to the 1/4" seam line. Some, at least, a good 1/8", easily. At this point, I'm really disappointed in the $400 quilt-cutting toy I bought.
Amy
Well shoot - that stinks. And it's a really good question. I would try a couple of things - are you using the tools that came with the Cricut machine to lift the fabric? The sharp tweezers can help you grab a corner or edge and life carefully from the sticky mat. Try pulling the pieces on the diagonal rather than along the grain of the fabric as that will help avoid fray. Also, it's more likely to happen with a brand new, super-tacky mat. Make sure you are using the fabric cutting mat and if it's brand new, don't super-stick the fabric. After a few uses of the mat, it won't grab the fabric as tightly. You want it to grab just enough that the fabric doesn't slide or come loose, but not so tightly that it's difficult to peel the cut pieces. I recommend running a few practice cuts with fabric you don't care about just to get the hang of how firmly to stick the fabric to the mat and how to grab the cut pieces and carefully peel them from the mats. After a few runs, you'll be able to find the right balance. I think these tips will make a difference.
Pam Palmer
I wish that the Riley Blake quilt kits were still available for Cricut
Amy
I do too!
Valerie
I just bought a Cricut maker 3 and am trying to understand what else I need to design a block and cut fabrics.