
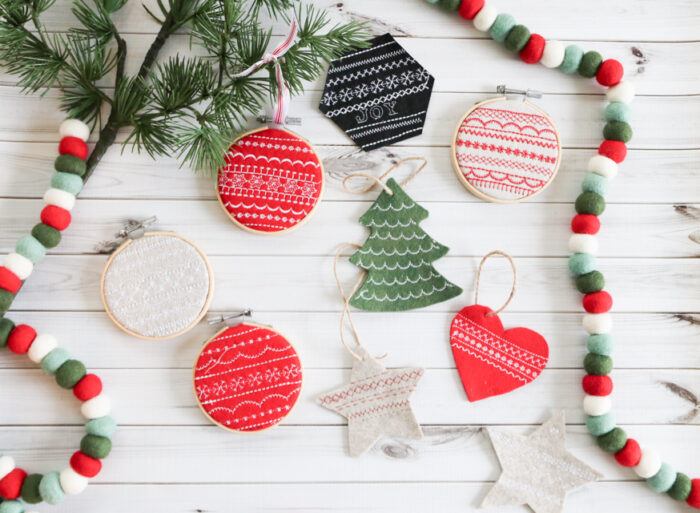
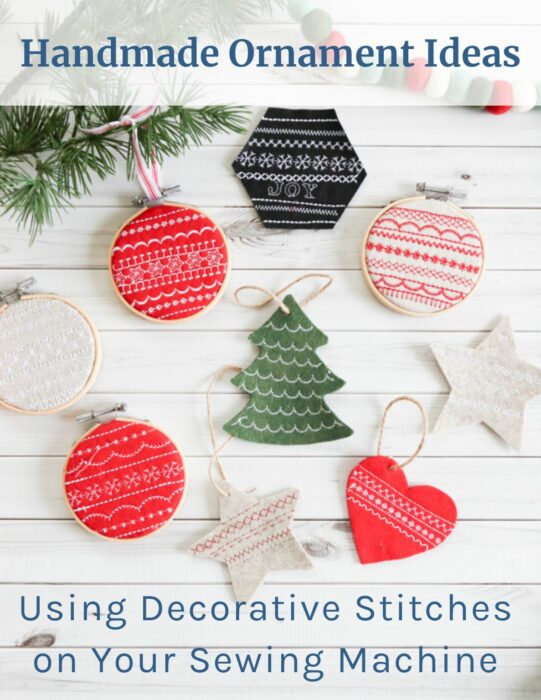
Many of us quilters have machines with a variety of decorative stitches, but if you're like me, I hardly remember to use them. Well, I've got a fun and easy project for those decorative stitches making handmade Christmas Ornaments. A couple posts back I shared a tip for making a catalog of the decorative stitches that come with your sewing machine. In this project you'll get to put them to use making these darling Christmas ornaments.
I've partnered with Baby Lock Sewing Machines to create this post and share a few different styles for you to play with. Hopefully they'll spark some creativity and you can come up with even more ideas of your own!
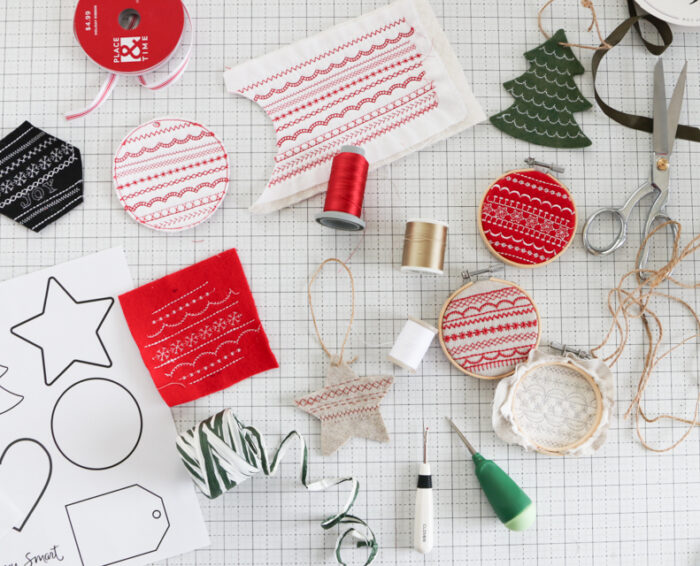
Before you make any of them, I recommend practicing the variety of stitches you want to use on scraps of fabric or felt, as well as different weights of thread.
I used polyester embroidery thread for most of mine, but I also bought some heavier 30 weight thread so that the stitched designs would really stand out.
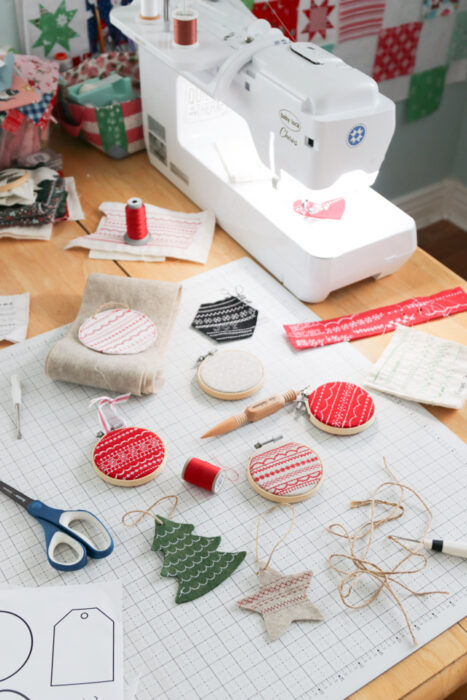
All of the stitching was done on my Baby Lock Jubilant or Chorus machines. The Chorus is a higher-end machine and has SO many cool stitches. The Jubilant is a mid-range machine - the one I use as my portable machine - and still has 30 decorative stitches!
(Your machine doesn't need to be a fancy one to have fun with stitch varieties - including your zig zag stitch, applique stitches etc. You might be surprised what yours can do!)
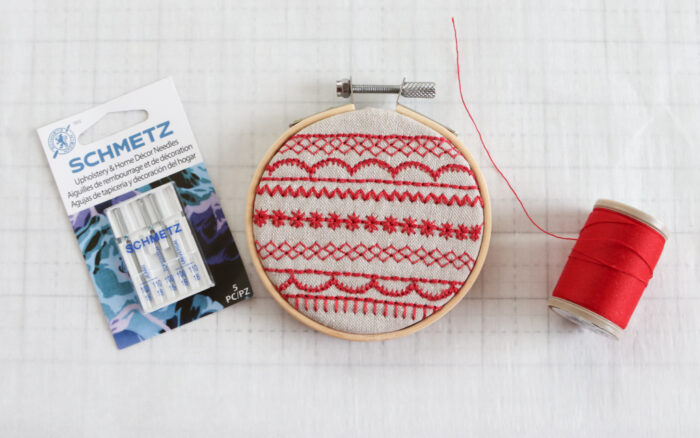
If you DO use a heavier weight thread, be sure to get a larger needle - like a 100/18. I bought this package of Upholstery Weight needles and they worked great! Also, I'd recommend using a lower weight thread (40 or 50) in the bobbin - otherwise the designs will be too bulky and less defined.
This first ornament below was made was made from scraps where I was just having fun playing with the stitches available on my machine. I used two pieces of white solid fabric with a scrap of 80/20 batting in between to create a quilt "sandwich". Thread is a Polyester Glide embroidery thread and I used the same thread in the bobbin so both sides are identical.
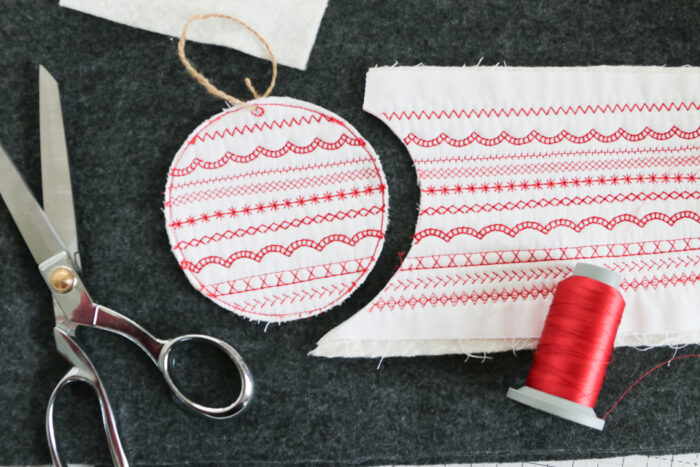
Then I just went for it, playing with a bunch of different stitches. After my mini sandwich was covered with rows of stitching, I used a cup to trace a simple circle, cut it out, and then added stitching around the outside edge using the same thread.
And voila! A very simple, but charming decorative tag. And so much room for creativity with this method.
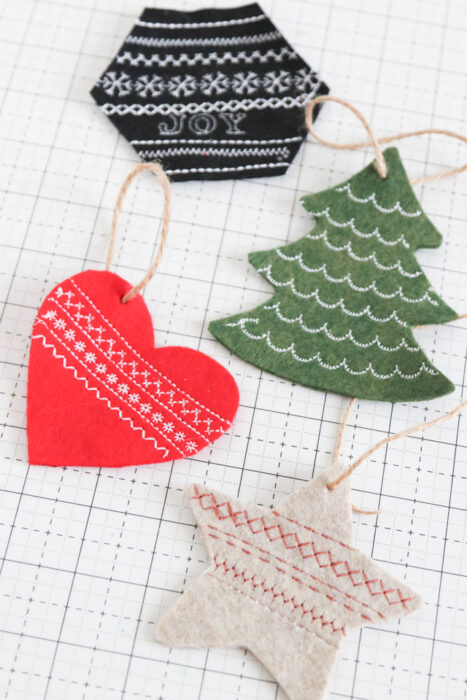
Stitched Felt Ornaments or Gift Tags
The second set is made using craft felt - you can even use the really cheap kind of felt if you want!
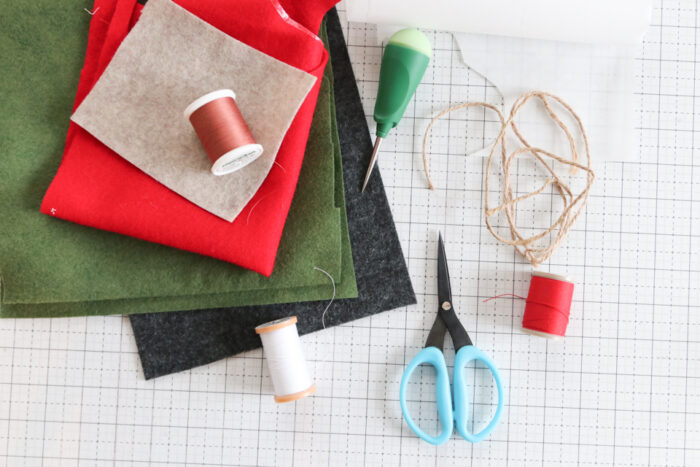
Supplies needed:
- Assorted felt pieces - you will need to pieces that are the same size for each ornament
- Lightweight Fusible (Pellon 805 Wonder-Under or Heat n Bond Lite)
- Sharp scissors
- Wax ironing paper
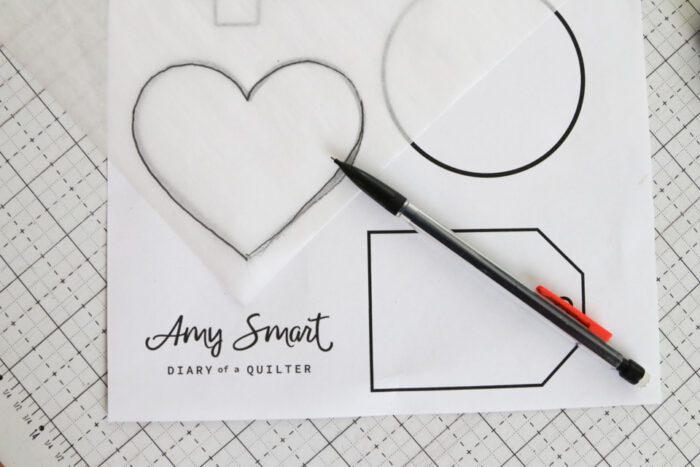
Trace the shape you want for the finished tag/ornament (adhesive side down, paper side up) on the fusible wonder under. You can use any shape you want - or you can download a free page of Christmas shapes here.
Press the fusible adhesive to the back of the felt. (Check the fusible manufacturer's instructions for settings on your iron. I like to use my iron on a higher heat setting but use a ironing paper to protect the felt from melting on the iron. I just use the paper that came with my kids' perler beads.😉)

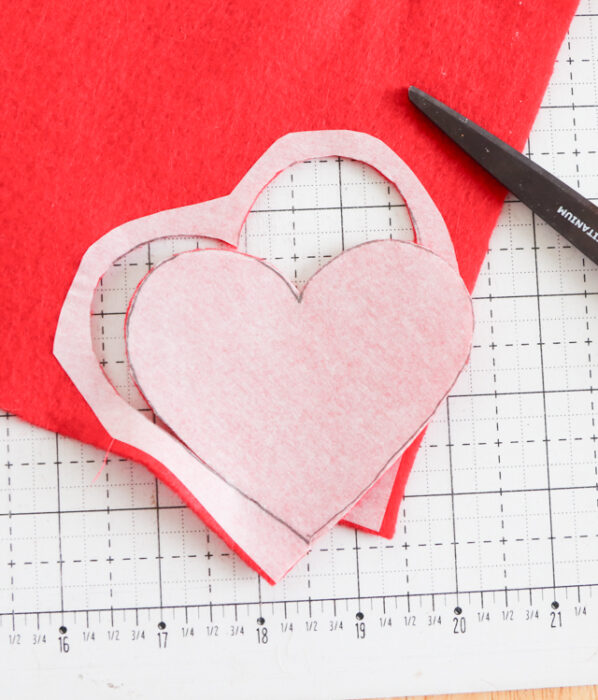
Cut out the shape on the traced line and remove the paper backing.

(I experimented stitching with the paper backing as a stabilizer, but it was difficult to remove fully and the paper made the felt more slippery, resulting in uneven stitching.)
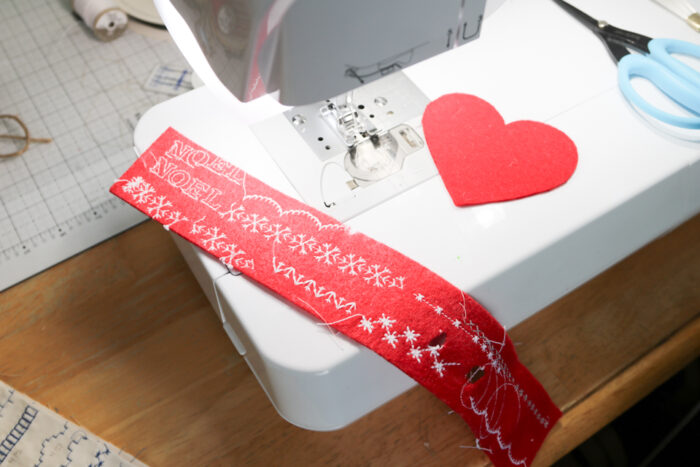
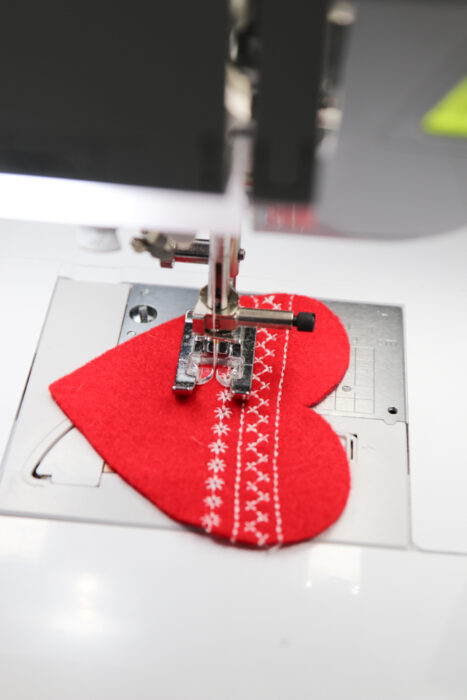
Use your sewing machine to stitch a variety of decorative stitches. Again - I totally recommend practicing on a scrap of felt first to get the feel for the machine combined with the fabric and thread choice.
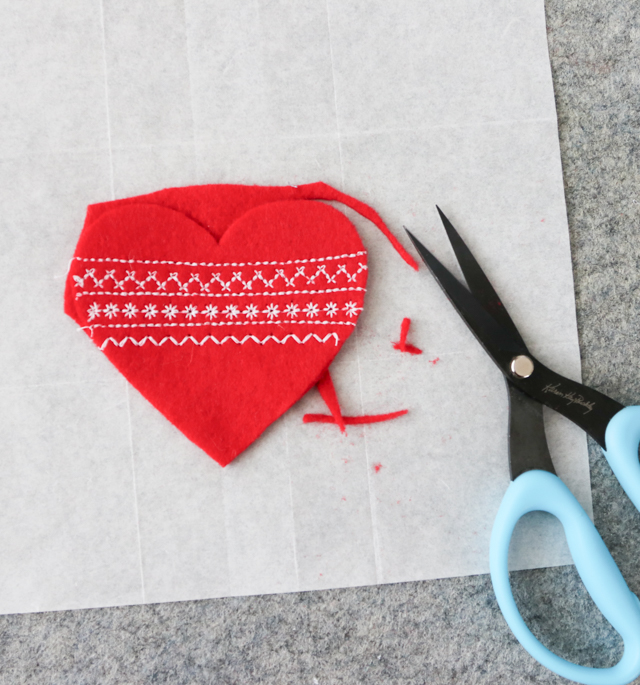
Trim threads and cut a rough-sized backing piece from the same color. With the fusible layer in between, use your iron to adhere the stitched front to the backing piece.


Trim edges to match. Use an awl sewing tool to easily create a hole through the layers and use any kind of thread/cord/jute to create a loop for hanging.

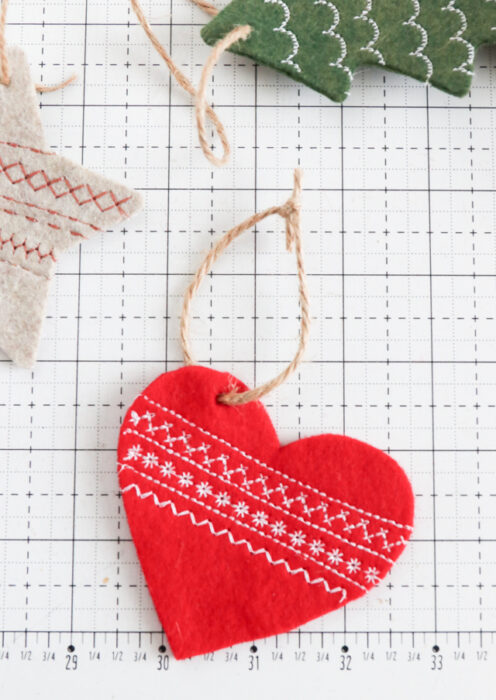
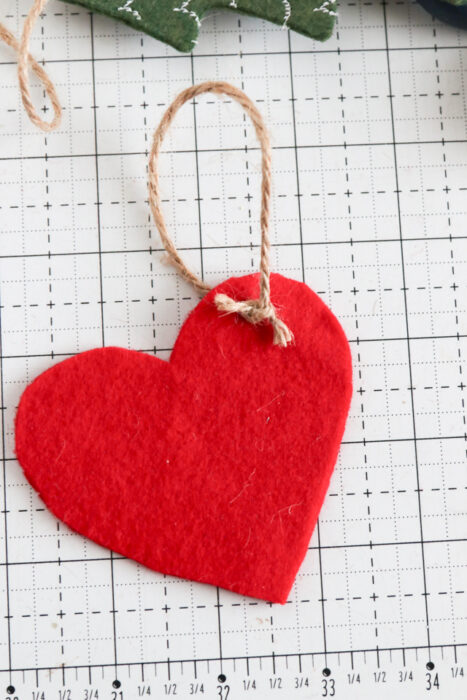
SUPER simple! And really fun for playing with different shape, stitches, thread, and color combinations!
Decorative Stitches in Embroidery Hoop
After playing with my stitching, I decided to try one more variation using wooden embroidery hoops. It's another simple project, but the results are really charming.
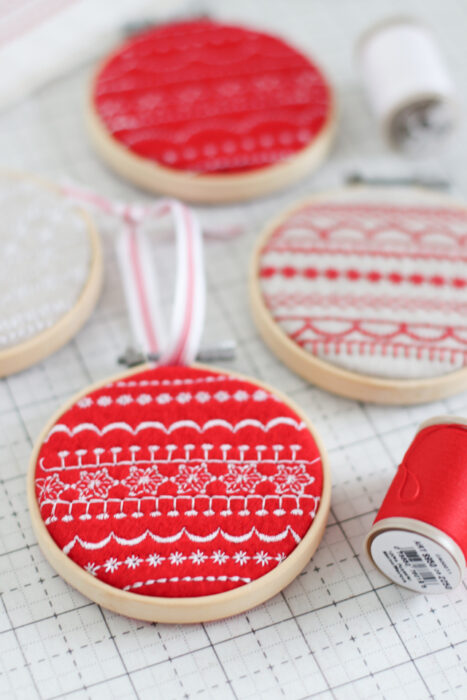
For this version I used 3" embroidery hoops to frame the stitching and it's so simple and pretty!
Supplies:
- 4.5" x 4.5" scraps of fabric or felt
- Fusible Featherweight Interfacing (Pellon 911FF) for felt
- OR batting scraps for backing fabric
- 3" Wooden Embroidery Hoops (you can buy them in bulk here)

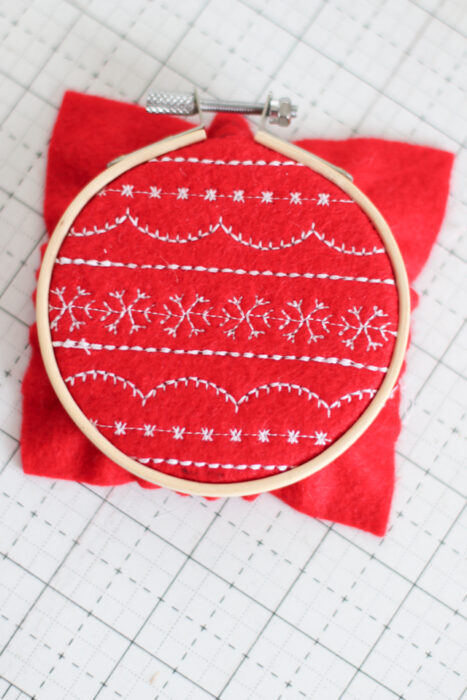
Before stitching, back the felt pieces with fusible interfacing to keep the felt from stretching. Back the fabric pieces with a scrap of batting. Both of these will help the stitching really pop.
Sew rows of varying decorative stitches to create a unique custom design. It's so much fun to experiment!


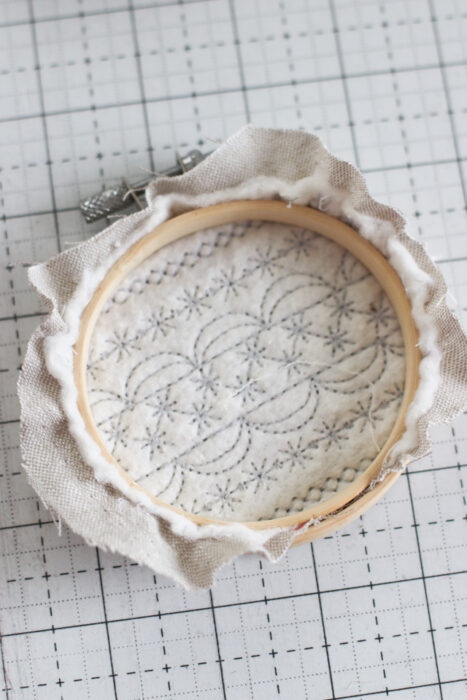
Center stitched piece in the embroidery hoop and pull taught. Trim outside corners, leaving enough fabric to fold over the inside hoop.

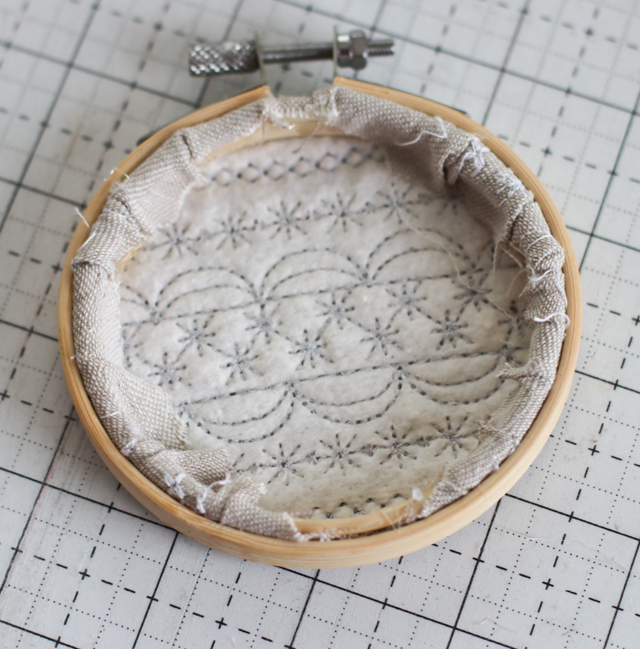
Roll edges behind the inside hoop and using a hot glue gun, carefully glue the fabric edges to the inside hoop.
Add a ribbon and you're done!
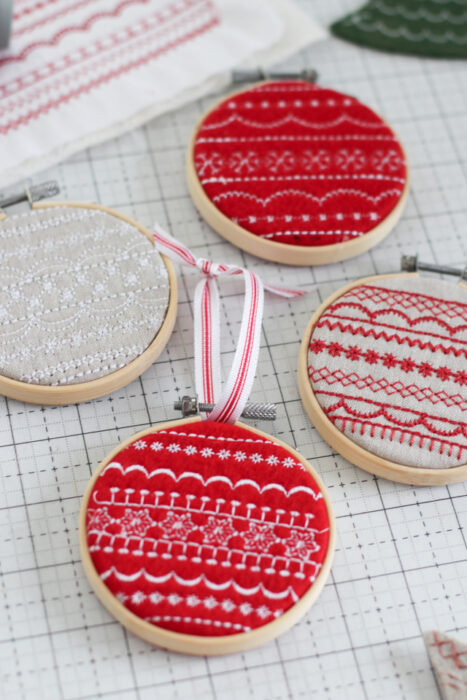
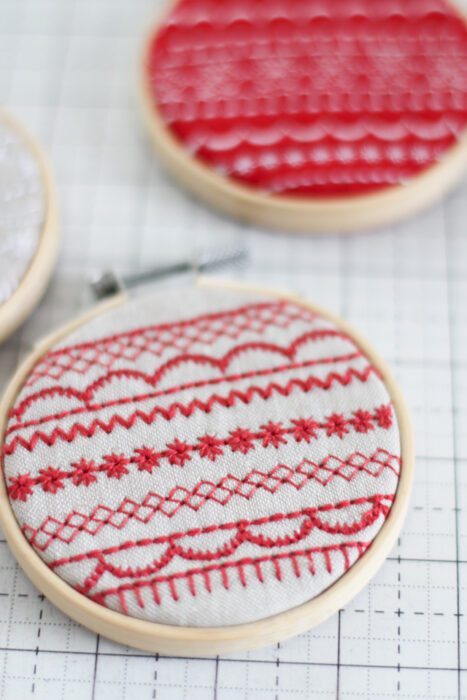
The red ornaments in this set were made with inexpensive felt. For the fabric pieces I used scraps of linen-type fabric with batting behind and a 30 wt thread so the stitching would really pop and give it a look of hand stitching.
When gluing these pieces, I trimmed back the batting as much as I could and then glued the fabric to the inside hoop.
And there you go! I know I keep saying this, but there are honestly infinite ways you could stitch and embellish these ornaments!
I'd love to see what you create. If you make any, tag me @diaryofaquilter on Instagram or Facebook and share them!

Thanks again to Baby Lock for sponsoring this post. I have been a Baby Lock ambassador for almost 8 years now and have loved every machine I’ve worked with. Baby Lock has a variety of machines, simple or complex, to fit your needs and budget. You can find your nearest Baby Lock dealer here.
Go HERE for tips for choosing the right sewing machine for you.
Don't have time to make custom-stitched ornaments this year? Pin this image so you can find it quick next year!
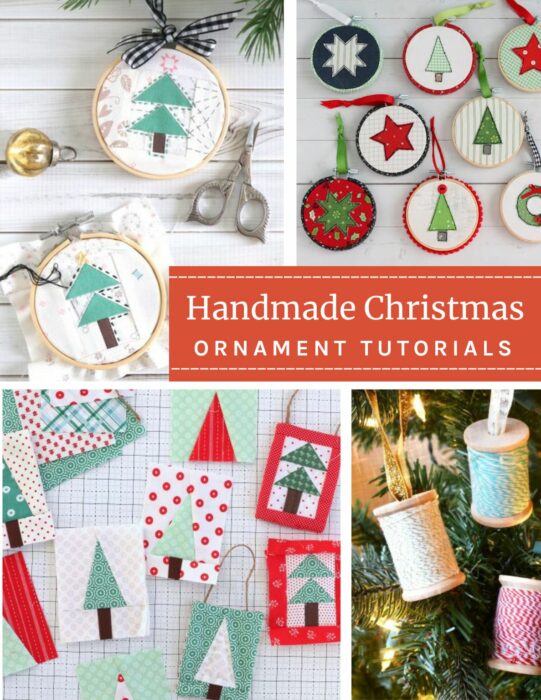
Looking for more handmade ornament ideas? I've got a whole list here!

Linda C. , Ga.USA
Thanks for the blog. what a neat way to play with all the stitches. I have used a old Christmas card for the back of the hoop. Lace around the hoop is also fun.
Liz
Thank you for sharing these great decorations.
Julie
Cutest idea ever! I never use all those decorative stitches on my machine. Finally a good excuse to play with them.
Janet Sinclair
I tried to download the Christmas shapes but it won't let me print them off?
Janet Sinclair
p.s. Thank you for all the cute and fun ideas to make ornaments. Very inspiring.
Mary
What a great idea. I have lots of decorative stitches on my machine. Merry Christmas!
Giuditta
What a fun project -- thanks for this post. After reading your previous advice, I've been using my Babylock Aria to create a book of stitch samples. This takes that process to a useful little sidetrack. You're a great ambassador!
Amy
Thank you!